TOSSED RECIPES
Simple meals, bold taste. Quick recipes made for real life — always fresh, always delicious. 🌿🍴
BEST CATEGORIES
TRENDING
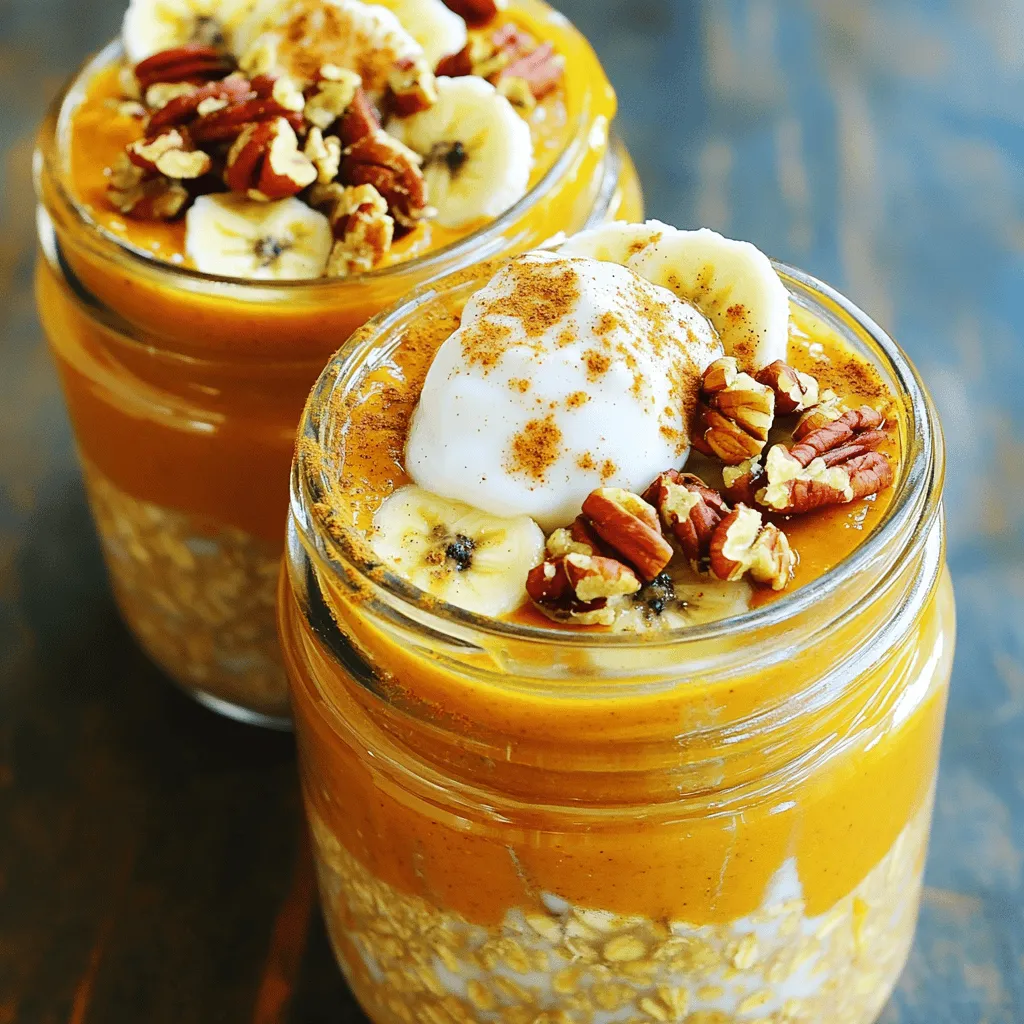
![To make a delightful pumpkin spice coffee cake, you need a few key ingredients. These ingredients create the perfect flavor and texture: - 2 cups all-purpose flour - 1 cup granulated sugar - 1/2 cup brown sugar, packed - 1/2 cup unsalted butter, softened - 1 cup canned pumpkin puree - 2 large eggs - 1/2 cup buttermilk - 1 tablespoon pumpkin spice mix (cinnamon, nutmeg, ginger, allspice) - 1 teaspoon baking soda - 1 teaspoon baking powder - 1/2 teaspoon salt - 1 cup walnuts, chopped (optional) - 1/2 cup powdered sugar (for glaze) - 2 tablespoons milk (for glaze) The pumpkin puree gives the cake moisture and rich flavor. The pumpkin spice mix adds warmth and sweetness. For a little crunch, you can add walnuts, but this is optional. If you want to customize your cake, consider these optional ingredients: - Chocolate chips for a sweet twist - Dried cranberries for a tart kick - Pecans instead of walnuts for a different nutty flavor To bake this delicious coffee cake, you will need some essential tools: - Mixing bowls - Measuring cups and spoons - A whisk - A spatula - An electric mixer or a whisk for creaming - A 9x13 inch baking dish For the baking part, I recommend using a glass or metal baking dish. Glass helps with even baking, while metal gives a nice crust. Make sure to grease and flour the dish to prevent sticking. With these ingredients and tools, you're ready to create a lovely pumpkin spice coffee cake! If you want to see the full recipe, just check the recipe section. First, we need to cream the butter and sugars together. In a large bowl, combine 1/2 cup of softened unsalted butter, 1 cup of granulated sugar, and 1/2 cup of packed brown sugar. Mix these until they are light and fluffy. This step adds air, making the cake soft. Next, we add the pumpkin. Pour in 1 cup of canned pumpkin puree. Mix it well until fully combined. Now, it’s time to add the eggs. Beat in 2 large eggs, one at a time. Make sure to mix well after adding each egg. This helps to bind the ingredients and adds moisture. In a separate bowl, we will combine the dry ingredients. Take 2 cups of all-purpose flour and add 1 tablespoon of pumpkin spice mix, 1 teaspoon of baking soda, 1 teaspoon of baking powder, and 1/2 teaspoon of salt. Whisk these together until well mixed. This will ensure an even spread of flavors and proper rising. Now, we will mix the dry ingredients with our wet mixture. Gradually add the dry mix to the pumpkin mixture, alternating with 1/2 cup of buttermilk. Mix until just combined. Avoid over-mixing, as this can make the cake tough. If you like, fold in 1 cup of chopped walnuts for texture. Now it's time to pour the batter. Grease and flour a 9x13 inch baking dish. Pour the batter into the dish and spread it evenly. Preheat your oven to 350°F (175°C). Bake the cake for 30 to 35 minutes. To check for doneness, insert a toothpick in the center. If it comes out clean, your cake is ready! Let it cool in the pan for about 10 minutes, then transfer it to a wire rack to cool completely. For a delicious finish, you can make a simple glaze with powdered sugar and milk. Whisk together 1/2 cup of powdered sugar and 2 tablespoons of milk until smooth. Drizzle it over the cooled cake. Enjoy this delightful treat with a cup of coffee! For the complete recipe, check out the Full Recipe section. To get the best texture, use room temperature ingredients. This helps the butter mix well with the sugars. Room temperature eggs also blend better, leading to a fluffier cake. Mixing the batter is key. Start slow to combine your wet and dry ingredients. If you mix too hard, the cake may turn out dense. Use a spatula to fold in ingredients gently. This keeps the air in, which makes your cake light and fluffy. You can add fun extras to boost flavor. Walnuts give a nice crunch, but you can also try pecans or even chocolate chips. If you want a twist, add a splash of vanilla or a hint of orange zest. Pair this coffee cake with something warm. A cup of coffee or tea works great. The spices in the cake blend well with the warmth of the drink. This combination makes every bite enjoyable. For the complete recipe, check out the [Full Recipe]. {{image_2}} To make this pumpkin spice coffee cake gluten-free, swap the all-purpose flour with a gluten-free blend. Look for a blend that includes xanthan gum. This helps mimic the texture of wheat flour. You might also try almond flour or coconut flour, but you will need to adjust the liquid in the recipe. While using gluten-free flour, the cake may taste a bit different. It could be denser or crumblier. To keep the taste great, add a bit more pumpkin puree or buttermilk. This will help keep it moist and flavorful. You can change the taste of the coffee cake by adding different spices. Try cardamom or cloves for a new twist. You can also add vanilla extract for a warm, sweet note. Want to add some crunch? Toss in some chopped pecans or almonds. They add a nice texture. If you like fruit, consider folding in some raisins or dried cranberries. These extras make the cake even more fun! To keep your pumpkin spice coffee cake fresh, store it properly. First, let the cake cool completely. Then, wrap it tightly in plastic wrap. This helps prevent it from drying out. For extra protection, place it in an airtight container. You can also use a cake dome if you have one. If you want to store it longer, put the wrapped cake in the freezer. It can stay fresh for up to three months. Just remember to label it with the date. When you are ready to enjoy your cake again, you can reheat it easily. The best way is to use the oven. Preheat your oven to 350°F (175°C). Place the cake on a baking sheet and cover it with foil. Heat for about 10-15 minutes. This method keeps the cake moist. You can also use the microwave. Just heat a slice for about 15-20 seconds. Keep an eye on it to avoid drying out. Enjoy your warm and tasty coffee cake! For the full recipe, check back to the beginning. How to make a pumpkin spice coffee cake from scratch? To make a pumpkin spice coffee cake, gather your ingredients: flour, sugars, butter, pumpkin puree, eggs, buttermilk, and spices. Cream the butter and sugars, then mix in the pumpkin and eggs. Combine the dry ingredients and add them to the wet mix. Pour the batter into a greased pan and bake at 350°F for 30-35 minutes. You can find the full recipe above. Can I use fresh pumpkin instead of canned? Yes, you can use fresh pumpkin! Just cook and puree the pumpkin first. Make sure it is smooth and not watery. This adds a fresh taste and may change the texture slightly. What can I serve with pumpkin spice coffee cake? Serve your cake with coffee or tea for a cozy treat. You can also pair it with whipped cream or a dollop of cream cheese frosting for extra flavor. Adding a side of fruit, like apple slices, brightens the plate. What to do if the cake is too dry? If your cake turns out dry, you can add a little more buttermilk next time. You might also check your oven temperature. An oven that runs hot can dry out baked goods. Why did my coffee cake sink in the middle? A sinking cake often means it was underbaked or the oven was too hot. Make sure to follow the baking time closely and test with a toothpick. If it comes out clean, it's done! In this blog post, we explored how to create a delicious pumpkin spice coffee cake. We covered key ingredients that enhance flavor and texture, essential tools for baking, and step-by-step instructions for success. I shared tips for perfecting the cake's texture and offered variations for different diets. Remember, proper storage is key to keeping the cake fresh. With the right techniques and recipes, you can enjoy this warm treat. Embrace your creativity in the kitchen and make it your own!](https://tossedrecipes.com/wp-content/uploads/2025/08/31f31c09-2642-4ef1-8ff2-5eee53e49c33.webp)

NEW RECIPES
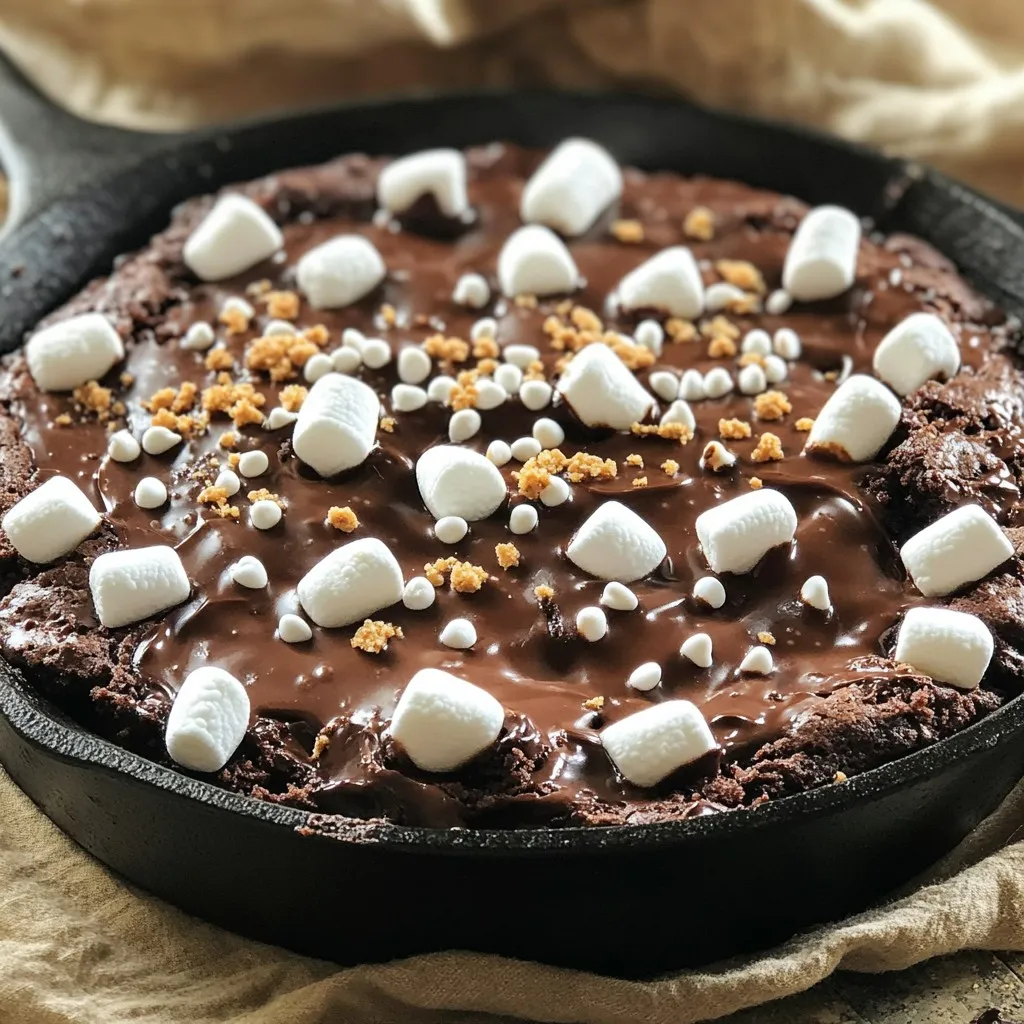
Smores Brownie Skillet Irresistibly Gooey Dessert
Get ready for a dessert that’s sure to wow your taste buds! This Smores Brownie Skillet combines gooey brownies with melty marshmallows and crunchy graham
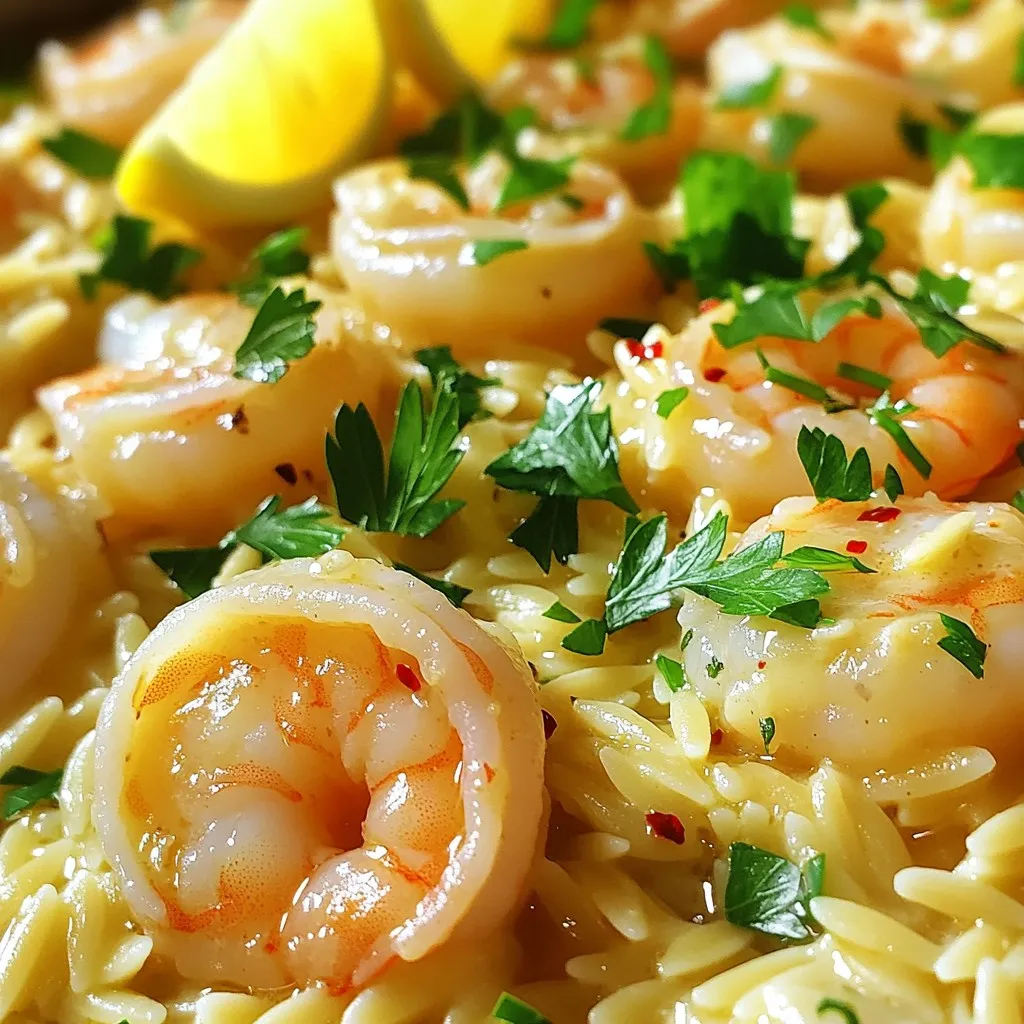
Garlic Butter Shrimp Scampi Orzo Flavorful Main Dish
Welcome to a dish that bursts with flavor! Garlic Butter Shrimp Scampi Orzo is your new go-to meal. Imagine succulent shrimp cooked in rich garlic

Mango Habanero Sticky Chicken Wings Flavorful Delight
Get ready to spice up your next game night or family dinner! My Mango Habanero Sticky Chicken Wings are a flavorful delight that marries sweet
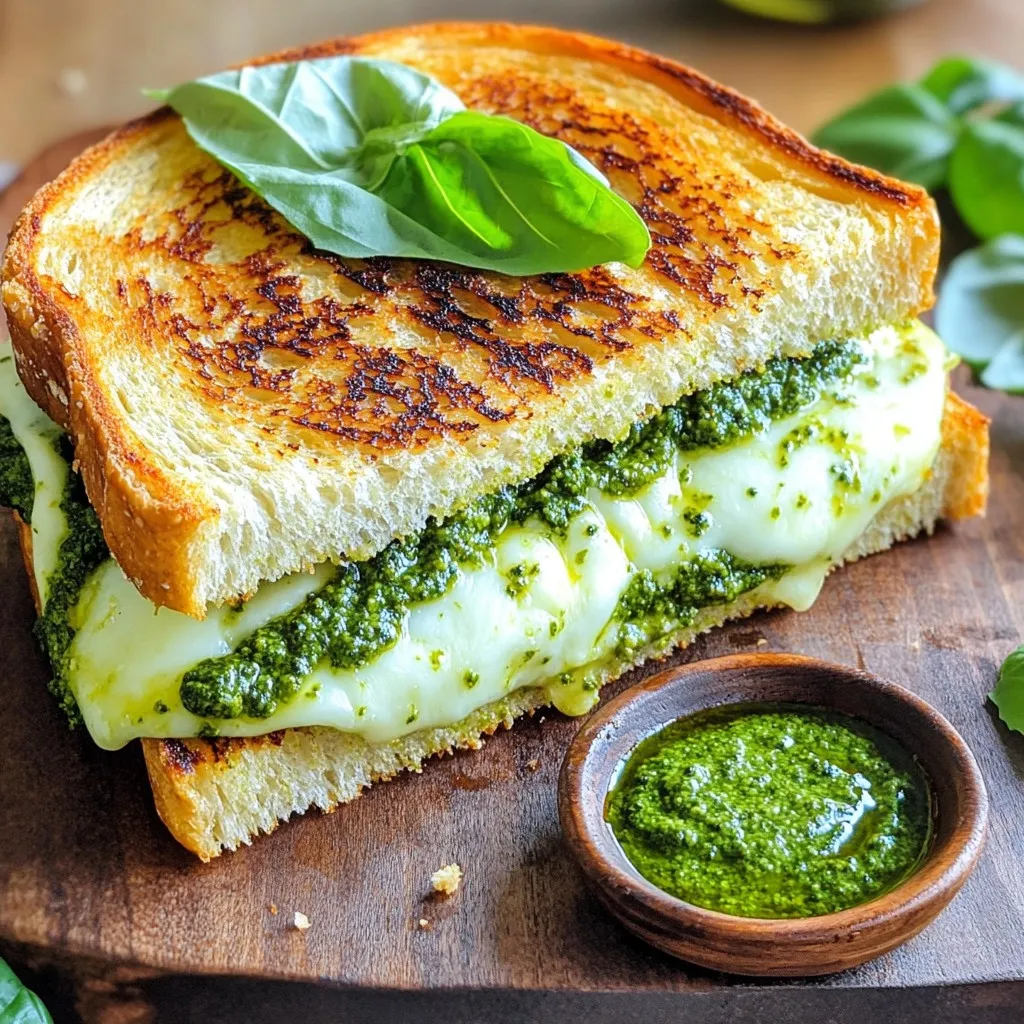
Ultimate Pesto Grilled Cheese Delightful and Cheesy Treat
Are you ready to elevate your grilled cheese game to new heights? This Ultimate Pesto Grilled Cheese combines fresh basil pesto, gooey mozzarella, and crispy
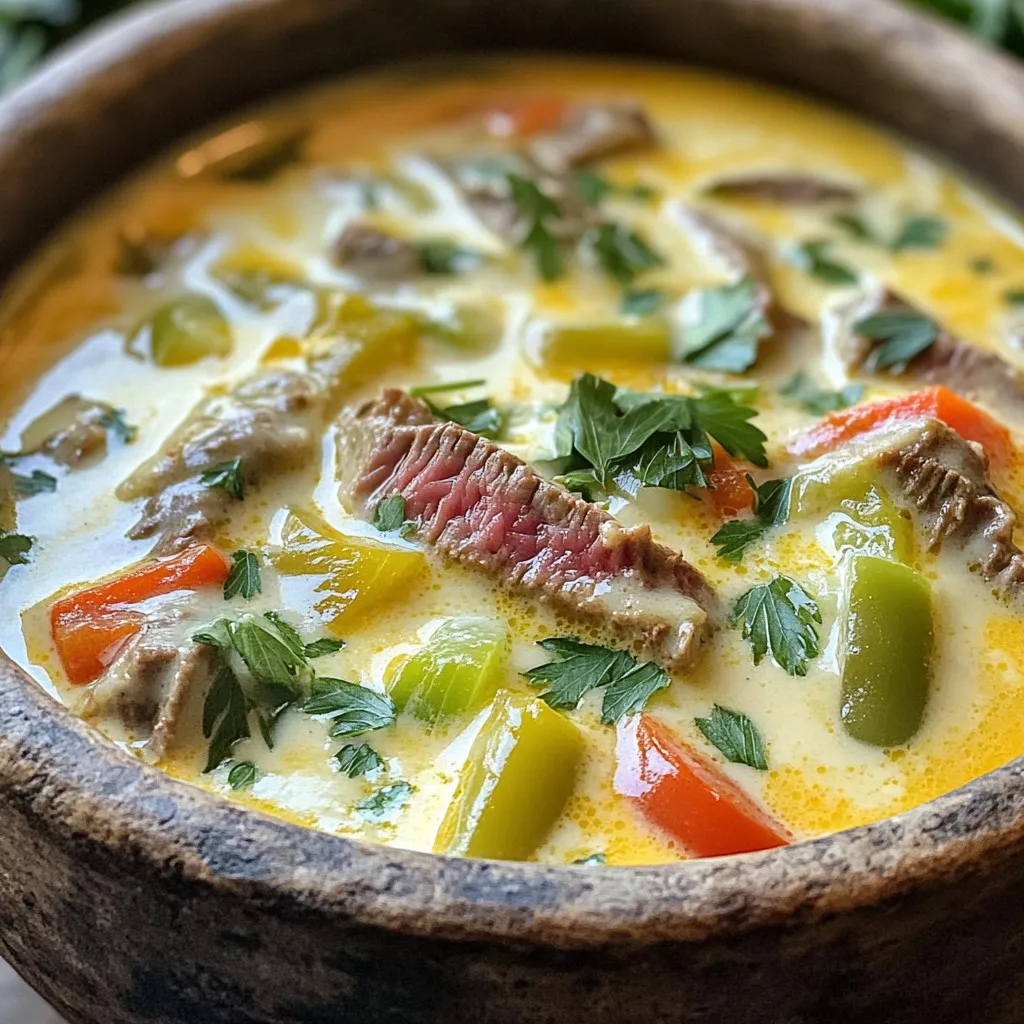
Philly Cheesesteak Soup Flavorful Comfort Bowl
Looking for a warm, satisfying meal? Let me introduce you to Philly Cheesesteak Soup. This tasty soup combines the bold flavors of a classic cheesesteak

Savory Japanese Chicken Katsu Bowls Easy Recipe
Are you ready to whip up a delicious and easy meal? My savory Japanese Chicken Katsu Bowls are a must-try! This dish features crispy chicken,

Autumn Sausage Tortellini Soup Cozy and Comforting Meal
As the leaves change color and the air becomes crisp, there’s nothing quite like a warm bowl of Autumn Sausage Tortellini Soup to bring comfort.

One-Pot Lasagna Soup Flavorful and Simple Recipe
Craving a comforting meal that’s both flavorful and easy? I’ve got just the thing for you: One-Pot Lasagna Soup! This tasty dish combines all the