WANT TO SAVE THIS RECIPE?
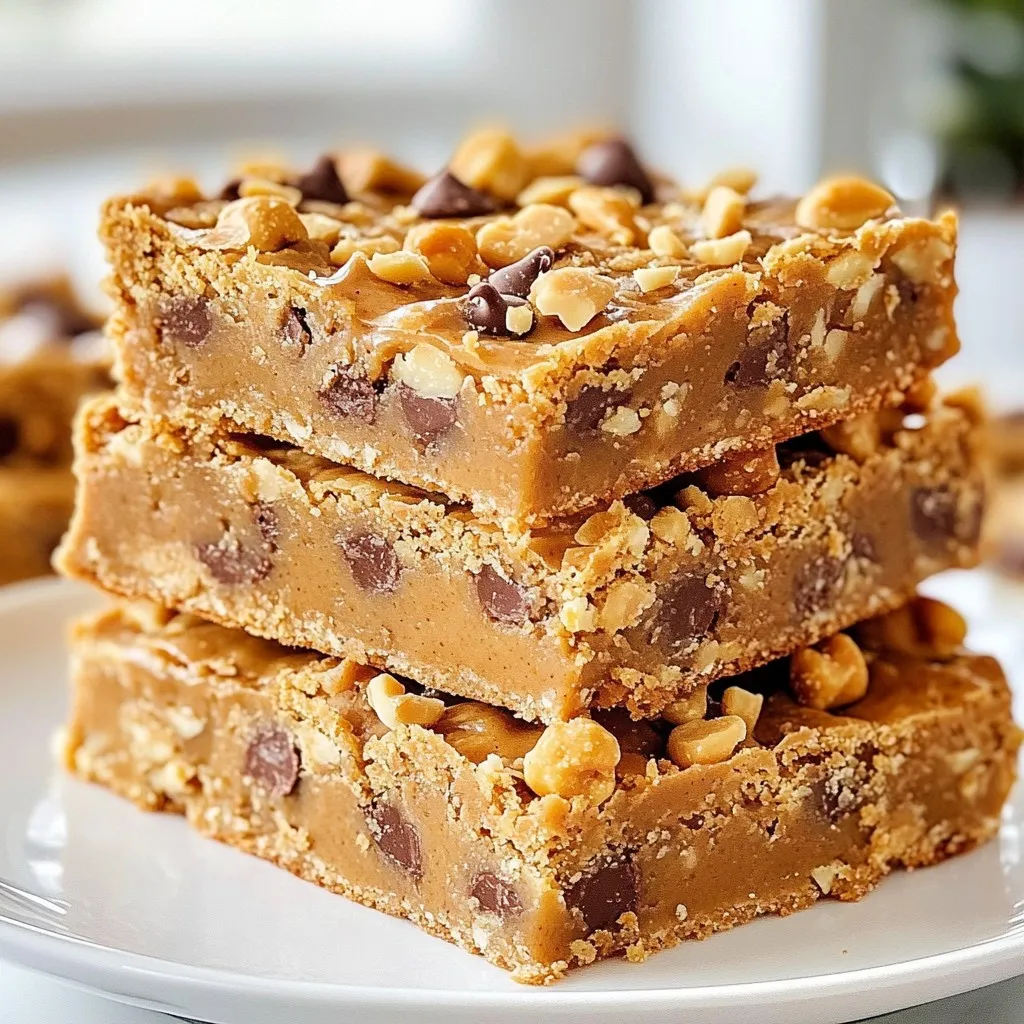
Looking for a quick and easy treat? These No-Bake Peanut Butter Bars are both simple and delicious! With just a few ingredients, you can whip up a snack that satisfies your sweet tooth without turning on the oven. I’ll guide you through each step, share storage tips, and even suggest tasty variations. Let’s make your new favorite treat today!
Why I Love This Recipe
- Quick and Easy: This recipe requires minimal preparation and cooking time, making it perfect for busy days.
- Nutritious Ingredients: Filled with wholesome ingredients like oats and nuts, these bars are a healthy snack option.
- Customizable: You can easily modify the recipe by adding your favorite mix-ins like chocolate chips or dried fruits.
- Perfect for Meal Prep: These bars store well in the fridge or freezer, making them a convenient choice for on-the-go snacking.
Ingredients
List of Ingredients
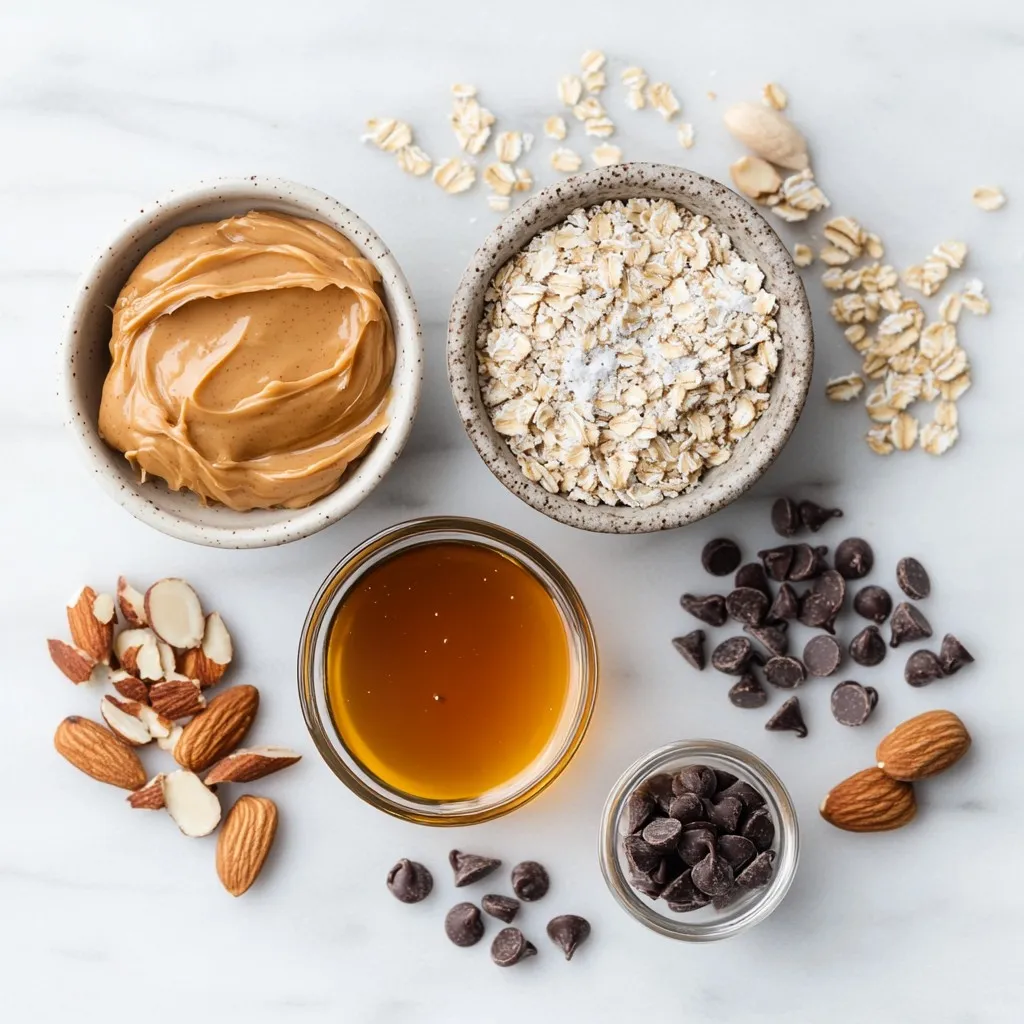
Here are the simple ingredients you need for my no-bake peanut butter bars:
– 1 cup creamy peanut butter
– 1/2 cup honey or maple syrup
– 2 cups rolled oats
– 1/2 cup coconut flour
– 1/4 cup chocolate chips (optional)
– 1/4 cup crushed nuts (like almonds or walnuts)
– 1/4 teaspoon salt
– 1 teaspoon vanilla extract
Optional Ingredients for Customization
You can make these bars your own! Here are some fun options:
– Add a scoop of protein powder for a protein boost.
– Swap honey for agave syrup for a vegan option.
– Mix in dried fruit like raisins or cranberries for extra flavor.
– Use different nut butters, like almond or cashew, for a twist.
Nutritional Information per Serving
Each bar is packed with nutrients. Here’s what you get per serving (1 bar):
– Calories: 200
– Protein: 6g
– Carbohydrates: 25g
– Fat: 10g
– Fiber: 3g
– Sugars: 8g
These bars are not just tasty; they also give you energy. Enjoy them as a snack or dessert!
Step-by-Step Instructions
Preparation Overview
Making no-bake peanut butter bars is easy and fun. You will need about 10 minutes to prep. Then, let the bars chill for at least two hours. This time helps them set. You will enjoy making this tasty treat!
Detailed Instructions for Each Step
1. Melt the Base: In a medium saucepan, heat 1 cup of creamy peanut butter and 1/2 cup of honey over low heat. Stir until both are melted and mixed well. Remove the pan from heat and let it cool a bit.
2. Mix Dry Ingredients: In a large bowl, combine 2 cups of rolled oats, 1/2 cup of coconut flour, 1/4 teaspoon of salt, and 1/4 cup of crushed nuts. If you want, save 1/4 cup of chocolate chips for later.
3. Combine Wet and Dry: Pour the warm peanut butter mix into the bowl with dry ingredients. Add 1 teaspoon of vanilla extract. Mix until it all comes together. You should see a thick dough-like texture.
4. Fold in Chocolate: If you like chocolate, now is the time to fold in the saved chocolate chips. This adds a nice touch!
5. Press into Pan: Line an 8×8 inch square pan with parchment paper. Press the mixture evenly into the pan. Use a spatula to smooth the top.
6. Chill to Set: Place the pan in the fridge for at least 2 hours. This helps the bars firm up.
7. Cut and Store: Once set, lift the bars from the pan and cut them. Store bars in an airtight container in the fridge for up to two weeks or freeze them for longer storage.
Cooking Tips for Best Results
– Mix Well: Make sure to mix the peanut butter and honey thoroughly. This ensures even flavor.
– Press Firmly: When pressing the mixture into the pan, press firmly. This helps the bars hold together.
– Chill Longer: If you want firmer bars, chill them longer than two hours. A good chill makes a big difference!
– Add Texture: For extra crunch, try adding different nuts or seeds. They can boost flavor and texture.
Tips & Tricks
How to Store Your Peanut Butter Bars
I recommend storing your peanut butter bars in an airtight container. Keep them in the refrigerator. They will stay fresh for up to two weeks this way. If you want to keep them longer, freeze them. Just wrap each bar in parchment paper before freezing. This helps keep them from sticking together.
Perfecting the Texture and Flavor
For the best texture, use creamy peanut butter. This keeps the bars moist and smooth. You can also mix in a bit of crunchy peanut butter for added texture. The oats and coconut flour give the bars a nice, chewy bite. Adjust the amount of honey or maple syrup to suit your taste. More sweetener makes the bars sweeter and softer.
Common Mistakes to Avoid
One common mistake is not letting the peanut butter mixture cool. If it’s too hot, it can melt the oats. Mix the dry ingredients well before combining them with the wet ones. This ensures even flavor and texture. Don’t skip the refrigeration step! Chilling is key for getting firm bars.
Pro Tips
- Use Natural Peanut Butter: Opt for natural peanut butter with no added sugars or oils for a healthier treat that enhances the flavor.
- Customize Your Mix-ins: Feel free to add dried fruits, seeds, or different types of nuts to personalize your bars and increase their nutritional value.
- Ensure Proper Cooling: Let the peanut butter mixture cool before mixing with dry ingredients to prevent the oats from becoming mushy.
- Cut with a Warm Knife: For clean cuts, use a warm knife to slice the bars, making it easier to get neat edges.
Variations
Flavor Variations: Adding Different Ingredients
You can change the flavor of your peanut butter bars by adding fun ingredients. Try mixing in some dried fruit, like raisins or cranberries. You can also add seeds, like chia or flaxseeds, for extra texture. If you love spice, a pinch of cinnamon or nutmeg can give a warm kick. You can even swap out peanut butter for almond or cashew butter for a different taste. Each addition will make the bars unique.
Dietary Adaptations: Gluten-Free and Vegan Options
These no-bake bars can fit many diets. To make them gluten-free, just use gluten-free oats. If you want a vegan treat, replace honey with maple syrup or agave nectar. Both options work well and keep the bars sweet. Check that your chocolate chips are dairy-free if you want to stay vegan. With these small changes, everyone can enjoy these tasty treats.
Alternate Toppings and Mix-ins
Toppings can make your bars even better. You might sprinkle some crushed nuts or seeds on top for crunch. Drizzling melted chocolate or peanut butter over the bars adds a nice touch. You can also use coconut flakes for a tropical vibe. Don’t forget to get creative! Mix in your favorite ingredients to make these bars truly yours.
Storage Info
How to Store No-Bake Peanut Butter Bars
Store your no-bake peanut butter bars in an airtight container. This keeps them fresh. Place the container in the fridge. They will stay good for up to two weeks. If you want to keep them longer, freezing is a great option.
Freezing for Long-Term Storage
To freeze the bars, first cut them into pieces. Wrap each bar in parchment paper. Place the wrapped bars in a freezer-safe container. They can last for about three months in the freezer. When you’re ready to eat them, just thaw in the fridge overnight.
Shelf Life and Freshness Tips
For the best taste, eat the bars within two weeks if stored in the fridge. Check for any signs of spoilage, like an off smell or color change. If you freeze them, label the container with the date. This way, you’ll know how long they’ve been stored.
FAQs
Can I use natural peanut butter?
Yes, you can use natural peanut butter. It will add a rich flavor. Just be aware that natural peanut butter can be runnier than regular peanut butter. This may change the texture slightly. If you find it too loose, you can add a bit more coconut flour.
How do I make these bars vegan?
To make these bars vegan, simply substitute honey with maple syrup. This keeps the sweetness while ensuring it is plant-based. Ensure your chocolate chips are dairy-free if you choose to add them.
What can I substitute for coconut flour?
If you don’t have coconut flour, you can use regular all-purpose flour. You can also use almond flour for a nutty flavor. Keep in mind that coconut flour is very absorbent. So, if you use a different flour, you might need to adjust the amount.
Can I add protein powder to the recipe?
Yes, you can add protein powder. It’s a great way to boost the nutritional value. Start with 1/4 cup of protein powder and reduce the coconut flour slightly. This helps maintain the right texture.
How long do these bars last in the fridge?
These bars last up to two weeks in the fridge. Store them in an airtight container. For longer storage, you can freeze them. They will stay fresh for about three months in the freezer.
You learned about making tasty peanut butter bars today. We covered key ingredients and the steps for easy preparation. I shared tips for perfecting texture and flavor, plus storage hints. Don’t forget the fun variations to keep things interesting. Lastly, I answered common questions to help you succeed. Enjoy making your bars your way, and remember that small changes can bring big flavors. Happy snackin
Peanut Butter Bliss Bars
Delicious and nutritious bars made with peanut butter, oats, and optional chocolate chips.
Course Dessert
Cuisine American
Servings 12
Calories 150 kcal
- 1 cup creamy peanut butter
- 0.5 cup honey or maple syrup
- 2 cups rolled oats
- 0.5 cup coconut flour
- 0.25 cup chocolate chips (optional)
- 0.25 cup crushed nuts (such as almonds or walnuts)
- 0.25 teaspoon salt
- 1 teaspoon vanilla extract
In a medium saucepan, gently heat the peanut butter and honey (or maple syrup) over low heat, stirring until both are melted and well combined. Remove from heat and let cool slightly.
In a large mixing bowl, combine the rolled oats, coconut flour, salt, and crushed nuts. If using chocolate chips, reserve them for later.
Pour the warm peanut butter mixture into the dry ingredients and add the vanilla extract. Mix well until everything is fully combined and forms a thick dough-like consistency.
If desired, fold in the reserved chocolate chips.
Line an 8x8 inch square pan with parchment paper. Press the mixture evenly into the bottom of the pan, smoothing the top with a spatula.
Refrigerate for at least 2 hours or until firm. Once set, remove from the pan and cut into bars.
Store the bars in an airtight container in the refrigerator for up to two weeks, or freeze for longer storage.
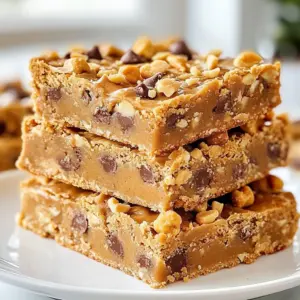
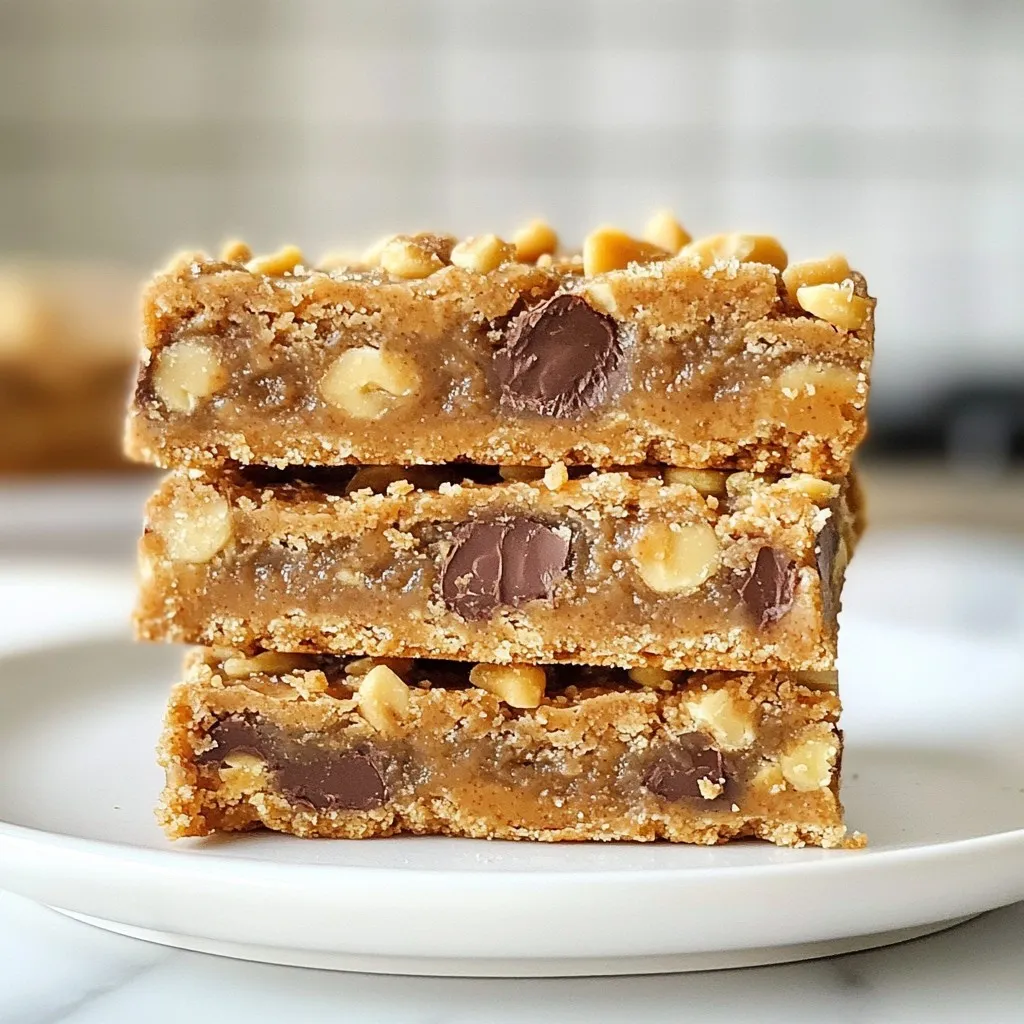
Stack the bars neatly on a plate and sprinkle some crushed nuts on top for a decorative touch. You can also wrap them individually in parchment paper for a great on-the-go snack!
Keyword bars, healthy, peanut butter, snack
WANT TO SAVE THIS RECIPE?