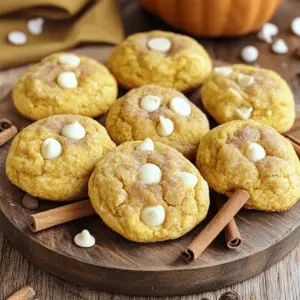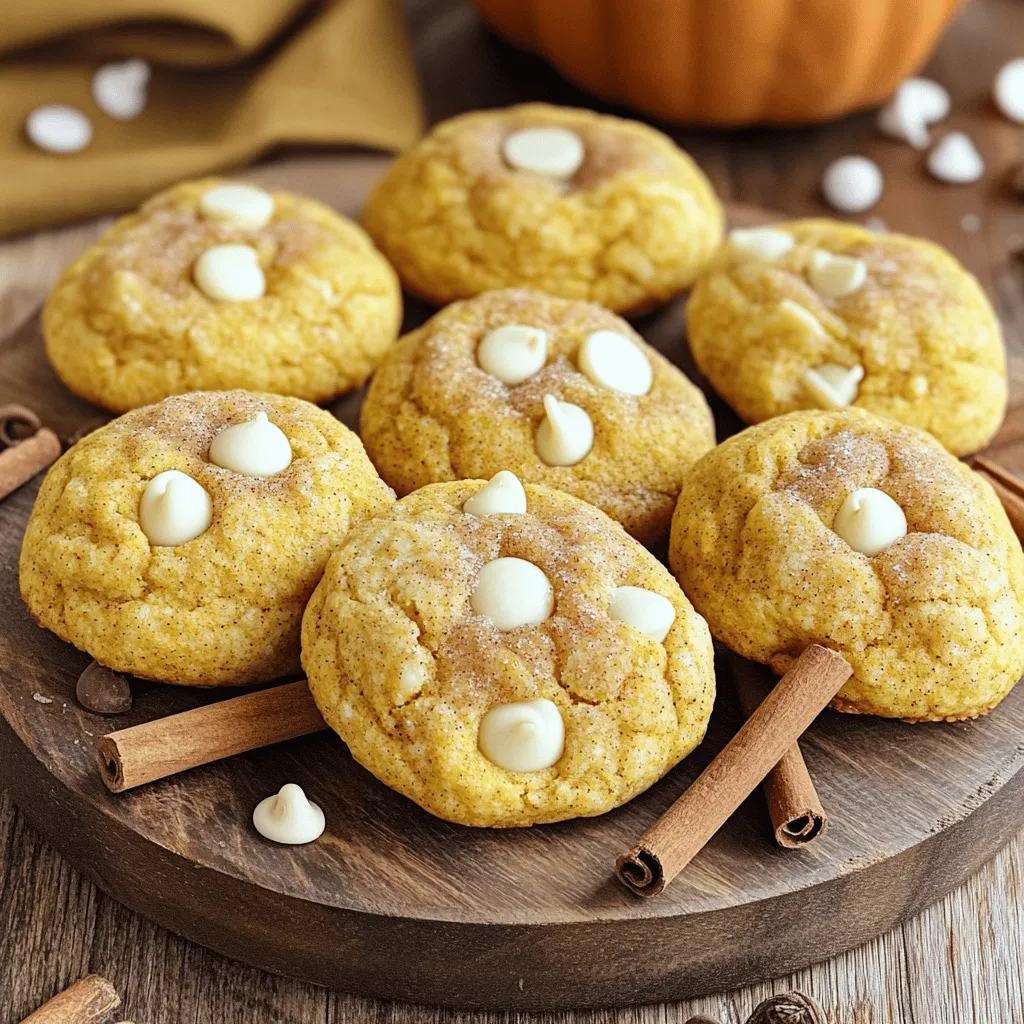
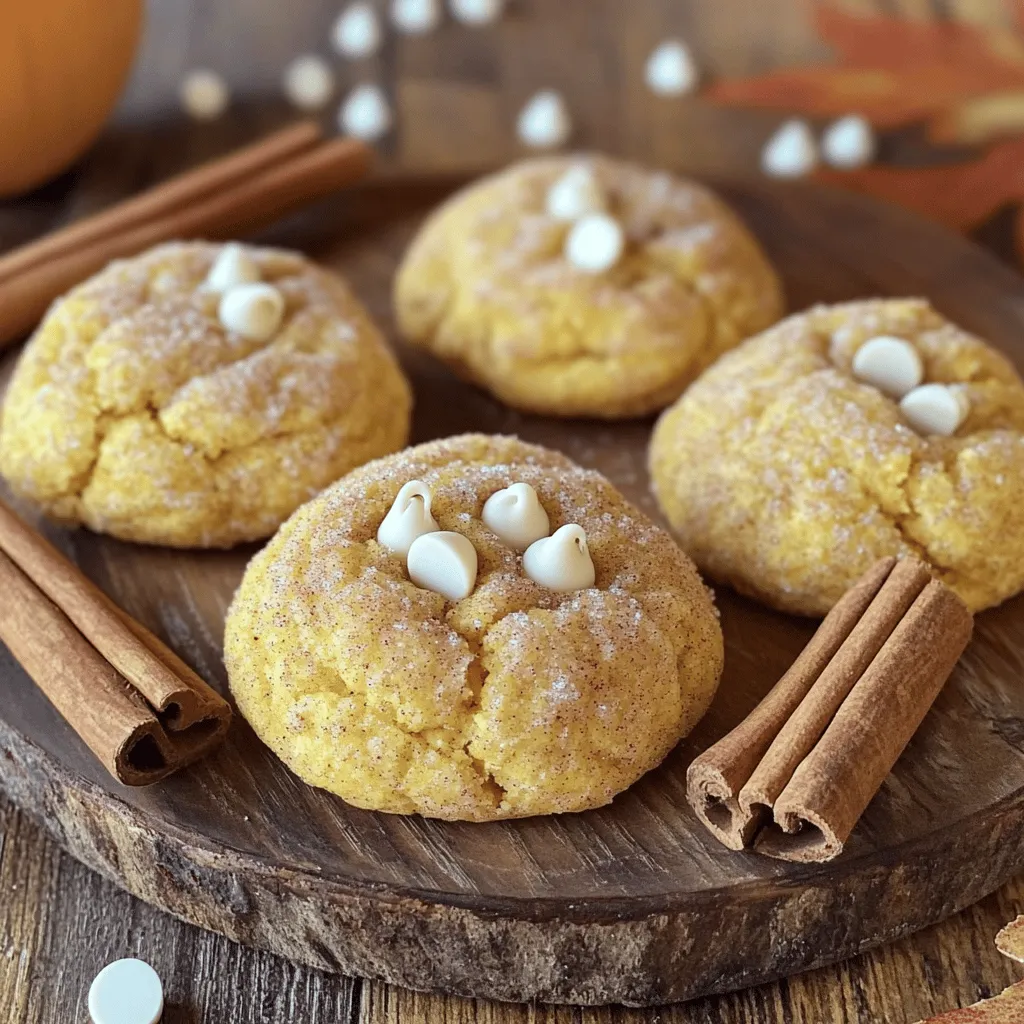
If you’re on the hunt for a tasty treat that screams fall, look no further! White chocolate pumpkin snickerdoodles are a delightful blend of rich flavors and cozy spices. With a soft texture, these cookies are perfect for sharing or enjoying with a warm drink. In this blog, I’ll share easy steps, handy tips, and exciting variations to make your baking experience a success. Get ready to impress your family and friends!
Ingredients
Key Ingredients for White Chocolate Pumpkin Snickerdoodles
To make these tasty cookies, you will need fresh and simple ingredients. Here’s what you need:
– 1 cup unsalted butter, softened
– 1 cup granulated sugar
– 1 cup packed brown sugar
– 1 cup pumpkin puree
– 2 large eggs
– 4 cups all-purpose flour
– 1 teaspoon baking soda
– 1 teaspoon cream of tartar
– 1 teaspoon ground cinnamon
– 1/2 teaspoon ground nutmeg
– 1/2 teaspoon ground ginger
– 1/4 teaspoon salt
– 1 cup white chocolate chips
– 1/4 cup granulated sugar (for rolling)
– 1 tablespoon cinnamon (for rolling)
Each of these ingredients plays a role in building flavor and texture. The butter makes the cookies rich, while pumpkin gives them moisture and a cozy flavor. The white chocolate chips add sweetness and creaminess, making every bite delightful.
Suggested Add-Ins
You can customize your snickerdoodles with fun add-ins. Here are some ideas:
– Chopped nuts like walnuts or pecans for crunch
– Dried cranberries or raisins for a fruity twist
– A dash of vanilla extract for extra flavor
– Swaps for dark chocolate chips if you prefer a richer taste
Feel free to mix and match to create your own version of this recipe!
Equipment Needed
You don’t need fancy tools to make these cookies. Here is what you will need:
– Large mixing bowl
– Measuring cups and spoons
– Whisk or electric mixer
– Baking sheets
– Parchment paper
– Cookie scoop or spoon
– Wire rack for cooling
Having the right tools will help you craft perfect cookies with ease. This setup makes it simple to mix, bake, and cool your White Chocolate Pumpkin Snickerdoodles. For the complete recipe, check out the Full Recipe section.
Step-by-Step Instructions
Prepping Your Dough
Start by gathering your ingredients. You will need butter, sugar, pumpkin, and spices. First, preheat your oven to 350°F (175°C). Line two baking sheets with parchment paper. In a large bowl, cream the softened butter, granulated sugar, and brown sugar together. Mix until the mixture is light and fluffy. Next, add in the pumpkin puree and the eggs. Stir until everything is mixed well.
In another bowl, whisk together your dry ingredients. This includes flour, baking soda, cream of tartar, cinnamon, nutmeg, ginger, and salt. Slowly add the dry mix to the wet mix. Stir gently until just combined. Be careful not to overmix. Finally, fold in the white chocolate chips. This adds a sweet touch to your cookies.
Baking the Cookies
Now it’s time to shape the cookies. In a small bowl, mix the 1/4 cup of granulated sugar with 1 tablespoon of cinnamon. Scoop tablespoon-sized portions of dough. Roll each portion into a ball. Then, roll each ball in the cinnamon-sugar mixture. Place the dough balls on the prepared baking sheets, leaving about 2 inches between them.
Bake in your preheated oven for 10-12 minutes. The edges should be lightly golden, while the middles may look a bit soft. This is fine; they will firm up as they cool.
Cooling and Serving
Once baked, remove the cookies from the oven. Let them cool on the baking sheets for about 5 minutes. After that, transfer them to a wire rack to cool completely. For a lovely presentation, arrange the cookies on a festive platter. You can even add fresh cinnamon sticks or some extra white chocolate chips as a garnish. Enjoy your tasty White Chocolate Pumpkin Snickerdoodles! For the complete recipe, check out the Full Recipe.
Tips & Tricks
How to Achieve Perfect Texture
To get the best texture, use room temperature butter. It helps create a fluffy dough. When you mix the butter and sugars, beat until light and creamy. Be careful not to overmix the dough after adding the flour. This step ensures that the cookies stay soft and chewy. The pumpkin puree adds moisture, so your dough should not be dry.
Baking Time Adjustments
Baking times may vary by oven. I suggest checking your cookies at 10 minutes. The edges should be golden, while the centers look soft. If you like a softer cookie, take them out at 10 minutes. If you prefer a firmer bite, let them bake for up to 12 minutes. Remember, the cookies continue to cook on the tray once you take them out.
Common Mistakes to Avoid
One common mistake is not measuring the flour correctly. Too much flour can lead to dry cookies. Always scoop the flour and level it off with a knife. Another mistake is skipping the cinnamon-sugar roll. It adds a delicious flavor and makes the cookies look nice. Lastly, don’t skip cooling on the baking sheet. This step helps the cookies set perfectly. For the full recipe, check out the details above.
Variations
Gluten-Free Version
You can easily make these cookies gluten-free. Swap all-purpose flour for a gluten-free blend. Look for one that works well in baking. Many brands have great options that rise well. Use a blend with xanthan gum for best results. This will keep the texture soft and chewy. Just follow the same steps in the Full Recipe!
Incorporating Different Spices
Want to change things up? You can add new spices to your dough. Try adding a pinch of cloves or allspice. These spices add warmth and depth. You can also adjust the cinnamon level to suit your taste. For a fun twist, include cardamom. It gives a unique flavor that pairs well with pumpkin. Just remember to keep the spice balance right.
Other Mix-Ins and Flavor Boosts
Mix-ins can really take your cookies to the next level. Add chopped nuts like pecans or walnuts for crunch. You can also try dried fruit like cranberries or apricots for a sweet burst. If you love chocolate, mix in dark chocolate chips. This adds a rich flavor that complements the white chocolate. Get creative and have fun with these variations!
Storage Info
Best Storage Practices
To keep your White Chocolate Pumpkin Snickerdoodles fresh, store them in an airtight container. This helps prevent them from drying out. You can keep them at room temperature for up to a week. If you want to maintain their soft texture, add a slice of bread to the container. The bread keeps the cookies moist.
Freezing Instructions
You can freeze these cookies if you want to enjoy them later. First, let the cookies cool completely. Then, place them in a single layer on a baking sheet. Freeze them for about an hour. Once frozen, move them to a freezer bag or airtight container. They can last up to three months in the freezer. When ready to eat, just thaw them at room temperature or warm them in the oven.
Shelf Life of Cookies
These cookies have a great shelf life. When stored properly, they stay fresh for about one week at room temperature. If you freeze them, they last for three months. Enjoying them sooner gives you the best taste and texture. For the best experience, eat them within the first few days after baking. If you want to try the recipe, you can find the full recipe at the beginning of the article.
FAQs
How can I make these cookies dairy-free?
You can easily make these cookies dairy-free. Use vegan butter instead of regular butter. Also, choose dairy-free white chocolate chips. These swaps keep the rich flavor without any dairy.
What’s the best way to substitute pumpkin in this recipe?
If you need a substitute for pumpkin, try using applesauce or mashed banana. Both options add moisture and sweetness. You can also use butternut squash puree for a similar taste. Just keep the amount the same as pumpkin in the recipe.
Can I lower the sugar content without compromising taste?
Yes, you can lower the sugar. Try reducing the granulated sugar by half and using a sugar substitute. You can also add unsweetened cocoa powder or spices to enhance flavor. This way, you keep the taste great while using less sugar.
In this post, we covered how to make white chocolate pumpkin snickerdoodles. We explored key ingredients and suggested add-ins for flavor. I shared step-by-step instructions, tips for perfect texture, and common mistakes to avoid. We also discussed gluten-free variations and storage practices.
Remember, baking is about fun and creativity. Use this guide to enjoy tasty cookies your way. Happy baking!