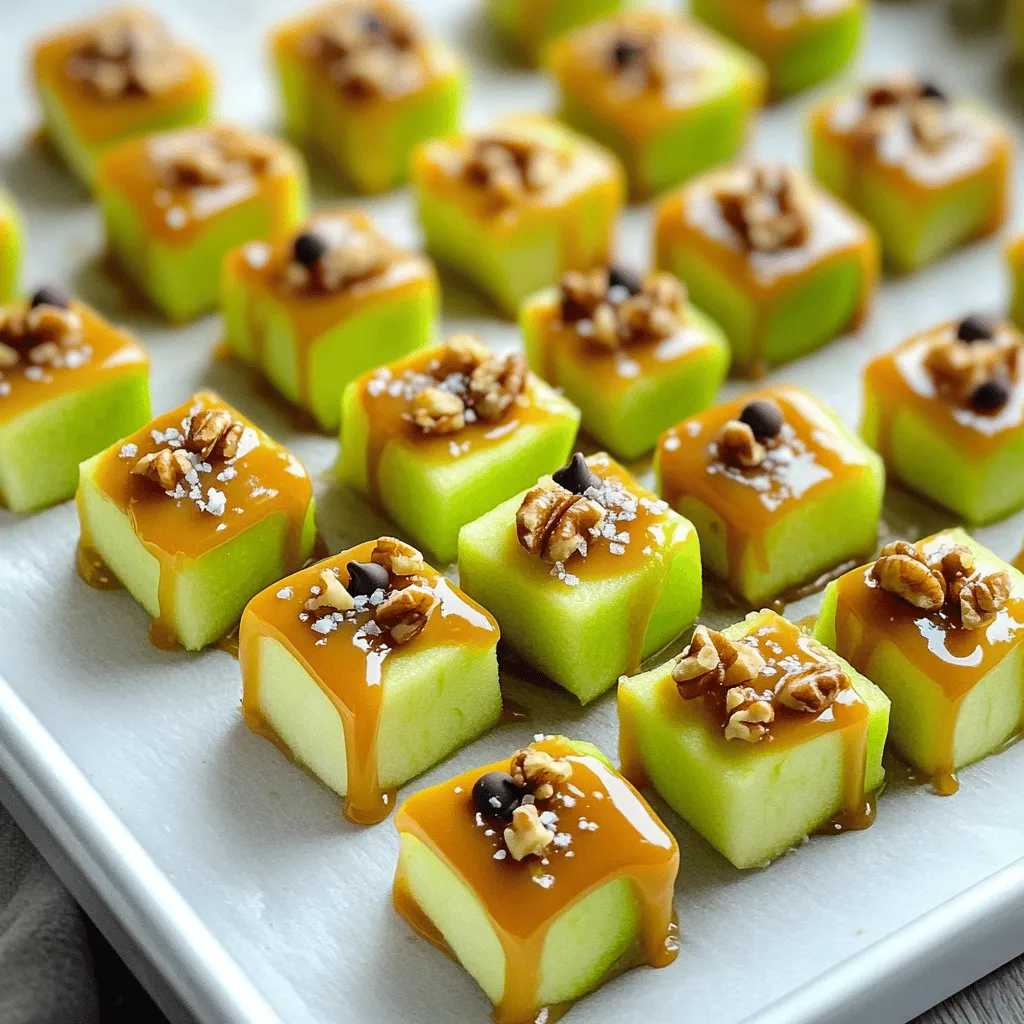
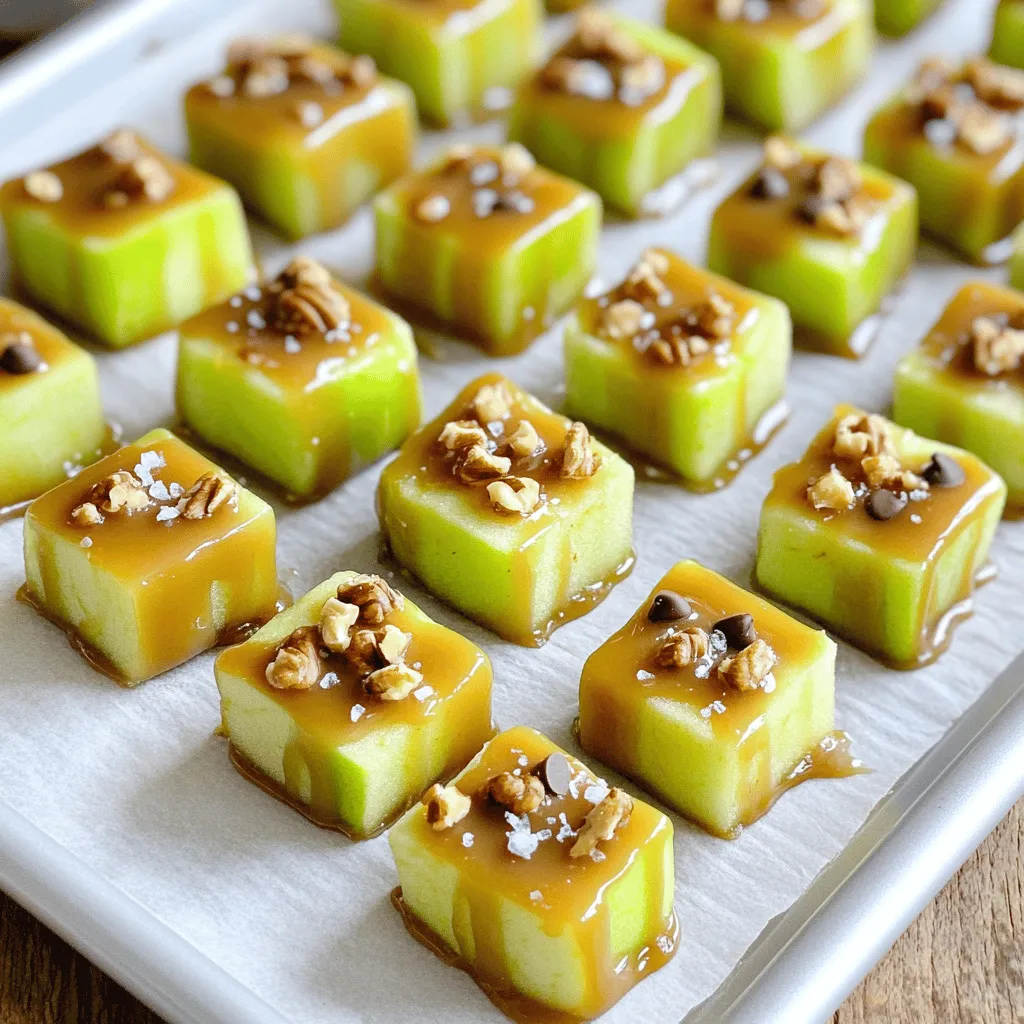
Get ready to satisfy your sweet tooth with these Mini Caramel Apple Bites! They’re simple to make, perfect for any occasion, and packed with flavor. You’ll learn about the best apple types, how to melt the caramel just right, and fun topping ideas to customize your treats. Whether you crave a classic version or want to try exciting twists, I’ve got you covered. Let’s dive into this tasty recipe!
Ingredients
Apples
For mini caramel apple bites, I recommend using Granny Smith or Honeycrisp apples. These apples give a nice balance of sweet and tart flavors. You will need 2 medium-sized apples for this recipe.
Caramel Sauce
You can choose either store-bought or homemade caramel sauce. If you want a quick option, store-bought works great. For those who enjoy cooking, make your own caramel sauce for fresher flavors. You will need 1 cup of caramel sauce for coating.
Toppings
Toppings add fun and crunch. You can use crushed nuts like walnuts, pecans, or peanuts. These nuts add great texture and flavor. If you like chocolate, you can sprinkle on 1/4 cup of mini chocolate chips as an optional topping. Finally, sprinkle a little 1/4 teaspoon of sea salt on top to enhance the taste.
For the full recipe, check the sections below for step-by-step instructions.
Step-by-Step Instructions
Preparing the Apples
Start by washing your apples well under cold water. This removes any dirt or wax. Dry them with a clean towel. For cutting, place an apple on a cutting board. Slice it into quarters and remove the core. Cut each quarter into small cubes, about 1 inch wide. This size is perfect for dipping and eating.
Melting the Caramel
You can melt caramel in two ways. For the stovetop method, use a small saucepan. Add the caramel sauce and coconut oil if you want it smoother. Heat it on low, stirring so it does not burn. For the microwave method, place the caramel in a bowl. Heat it in 30-second bursts, stirring in between until it is smooth and pourable.
Coating and Setting
Now, dip each apple cube into the warm caramel. Let the excess drip off. This helps prevent a sticky mess. Next, roll each caramel-coated bite in crushed nuts or mini chocolate chips if you like. Place them on a lined baking sheet. Finally, chill the bites in the fridge for 15-20 minutes. This makes the caramel harden nicely. After chilling, sprinkle a little sea salt on top for extra flavor.
These steps create delightful Mini Caramel Apple Bites. For the full recipe, refer to the instructions above.
Tips & Tricks
Achieving Perfect Caramel
To make great caramel, keep the heat low. High heat can burn the sugar quickly. Stir the caramel often to help it heat evenly. Add a bit of coconut oil for a smooth mix. If it gets too thick, add a splash of water to loosen it up. This keeps your caramel silky and easy to work with.
Serving Suggestions
Make your platter pop! Arrange the mini caramel apple bites in a circle. Add colorful fruits or nuts around them for extra flair. For a fun twist, serve them in small cups. This way, each bite is ready to grab and enjoy. You can even add a stick to each bite for easy handling.
Making Ahead
You can prep these treats in advance. Cut the apples and store them in water with lemon juice. This keeps them fresh and bright. Make the caramel the day before, too. Just warm it up when you’re ready to coat the apple bites. Store the finished treats in a sealed container in the fridge. They stay tasty for about two days before they lose their crunch.

Variations
Flavor Combinations
You can make mini caramel apple bites even more fun with flavor twists. Adding spices can change the whole taste. Try mixing in cinnamon or nutmeg for warmth. These spices pair well with sweet apples. You could also go for different toppings. Coconut flakes add a tropical vibe, while colorful sprinkles bring a festive touch. Each bite can surprise your taste buds with new flavors.
Dietary Adjustments
If you follow a vegan diet, don’t worry! You can find vegan caramel options at many stores. Look for caramel made with coconut cream or other plant-based ingredients. For nut-free variations, skip the nuts and use seeds like pumpkin or sunflower seeds. You can still have a tasty treat without worrying about allergies. These adjustments let everyone enjoy mini caramel apple bites!
Storage Info
Best Practices for Storage
To keep your mini caramel apple bites fresh, store them in a cool place. Use an airtight container to prevent them from drying out. Place a piece of parchment paper between layers to avoid sticking. This keeps each bite intact and ready to enjoy.
Shelf Life
These apple bites last about three to five days in the fridge. If you want to freeze them, they can last up to three months. Just make sure to wrap them well to avoid freezer burn. To thaw, leave them in the fridge overnight before serving. For the full recipe, check out the details above.
FAQs
Can I use different types of apples?
Yes, you can! I recommend using Granny Smith or Honeycrisp apples.
Granny Smith apples are tart and crisp, which balances the sweet caramel.
Honeycrisp apples have a sweet flavor and great crunch.
Both types work well and add a nice texture to your bites.
How can I make the caramel sauce thicker/thinner?
To thicken the caramel, cook it a bit longer over low heat.
You can also add more sugar or corn syrup for extra thickness.
To thin the caramel, add a bit of milk or cream while heating.
Stir well to mix it in, and keep adjusting until you reach your desired consistency.
What are some alternative toppings?
If you want nut-free options, try using crushed cookies or sprinkles.
Coconut flakes are a great addition for a tropical twist.
You can also just drizzle more caramel or chocolate on top.
These choices keep your bites sweet and fun without nuts.
How long do Mini Caramel Apple Bites last?
These bites can last up to three days in the fridge.
Store them in an airtight container to keep them fresh.
If you freeze them, they can last about a month.
Just remember to let them thaw in the fridge before enjoying again.
In this article, we explored how to make delicious Mini Caramel Apple Bites. We discussed the best apples, like Granny Smith or Honeycrisp, and compared store-bought and homemade caramel sauces. You learned about fun toppings like nuts and mini chocolate chips, along with easy step-by-step instructions for preparing, melting, and coating. Finally, we shared tips for perfecting your caramel, serving, and storing your bites. This treat is easy and fun. Enjoy making these bites for your next gathering!

