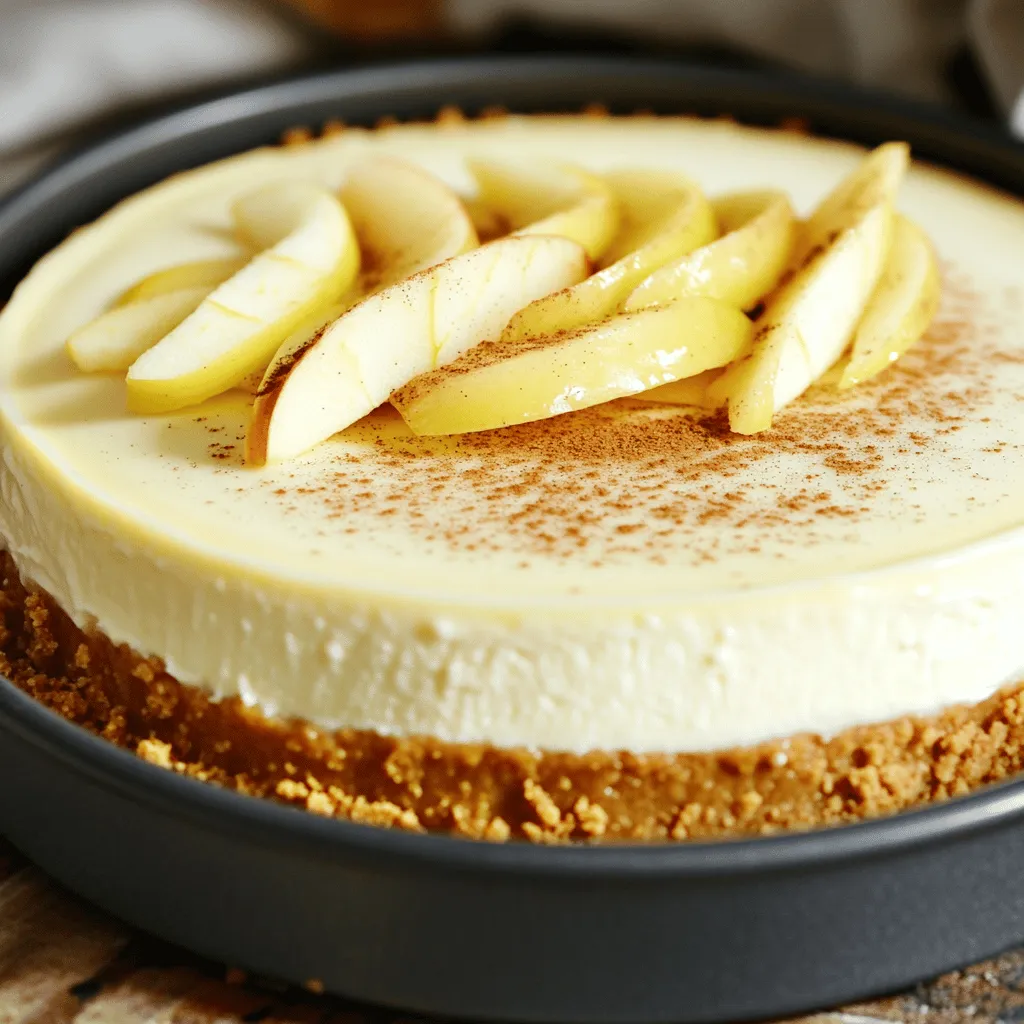
Are you ready to impress your friends and family with a dessert that captures the essence of fall? My Apple Cider Cheesecake is creamy, flavorful, and perfect for any gathering. With a rich apple cider reduction and a delightful blend of spices, this dessert will become your new seasonal favorite. Join me as I walk you through each step, from selecting the best ingredients to baking the perfect cheesecake. Let’s dive into this delicious fall recipe!
Ingredients
Main Ingredients for Apple Cider Cheesecake
– 1 ½ cups graham cracker crumbs
– ½ cup unsalted butter, melted
– 2 cups cream cheese, softened
– 1 cup granulated sugar
– 1 teaspoon vanilla extract
– 3 large eggs
– 1 cup apple cider, reduced (about 2 cups raw cider)
– 1 teaspoon ground cinnamon
– ½ teaspoon ground nutmeg
– 2 tablespoons all-purpose flour
– ½ cup sour cream
When choosing ingredients, think fresh and high quality. For the cream cheese, select full-fat for the best flavor and texture. Look for real apple cider, not the clear, sweet drink. This will give the cheesecake a true apple taste.
If you have dietary needs, you can make some swaps. For a gluten-free crust, use crushed gluten-free cookies instead of graham crackers. You can replace sour cream with a dairy-free option, like coconut cream. For a lower sugar version, try a sugar substitute that measures like sugar.
Using good ingredients makes a big difference. They enhance flavors and make your cheesecake shine. Don’t rush this part; it sets the stage for a great dessert. For the full recipe, check out the link.
Step-by-Step Instructions
Preparing the Apple Cider Reduction
The apple cider reduction gives the cheesecake its rich flavor. To make it, boil 2 cups of apple cider in a saucepan. Watch it closely as it boils. Once it starts simmering, reduce heat and let it cook for 20-30 minutes. Stir occasionally. You want the cider to reduce to about 1 cup. When it reaches this amount, take it off the heat and let it cool.
Making the Crust
Start by preheating your oven to 325°F (163°C). In a medium bowl, mix 1 ½ cups of graham cracker crumbs and ½ cup of melted unsalted butter. Combine them until crumbly. Next, press this mixture firmly into the bottom of a 9-inch springform pan. Bake the crust for 10 minutes. After baking, take it out of the oven and let it cool.
Creating the Cheesecake Filling
Now for the filling! In a large mixing bowl, beat 2 cups of softened cream cheese with 1 cup of granulated sugar until smooth. Add 1 teaspoon of vanilla extract and blend well. Then, add 3 large eggs one at a time. Mix well after each egg. Pour in the cooled apple cider reduction, 1 teaspoon of ground cinnamon, ½ teaspoon of ground nutmeg, and 2 tablespoons of all-purpose flour. Mix everything until smooth. Finally, gently fold in ½ cup of sour cream.
Baking and Cooling
Pour the cheesecake batter over the cooled crust in your springform pan. Bake for 55-65 minutes. The center should set but still jiggle slightly. When done, turn off the oven and crack the door. Let the cheesecake cool in the oven for about an hour. This helps prevent cracks. After cooling, refrigerate it for at least 4 hours, or better yet, overnight. For the full recipe, check the link provided.
Tips & Tricks
Techniques for Perfect Cheesecake Texture
Room temperature ingredients help your cheesecake mix smoothly. Cold cream cheese can lead to lumps. Take your cream cheese and eggs out ahead of time. Let them warm up for about 30 minutes. This step makes blending easier.
Be careful not to overmix your batter. Overmixing adds too much air. This can cause cracks in your cheesecake. Mix just until the ingredients blend together. A smooth batter is key, but don’t go overboard.
Serving Suggestions
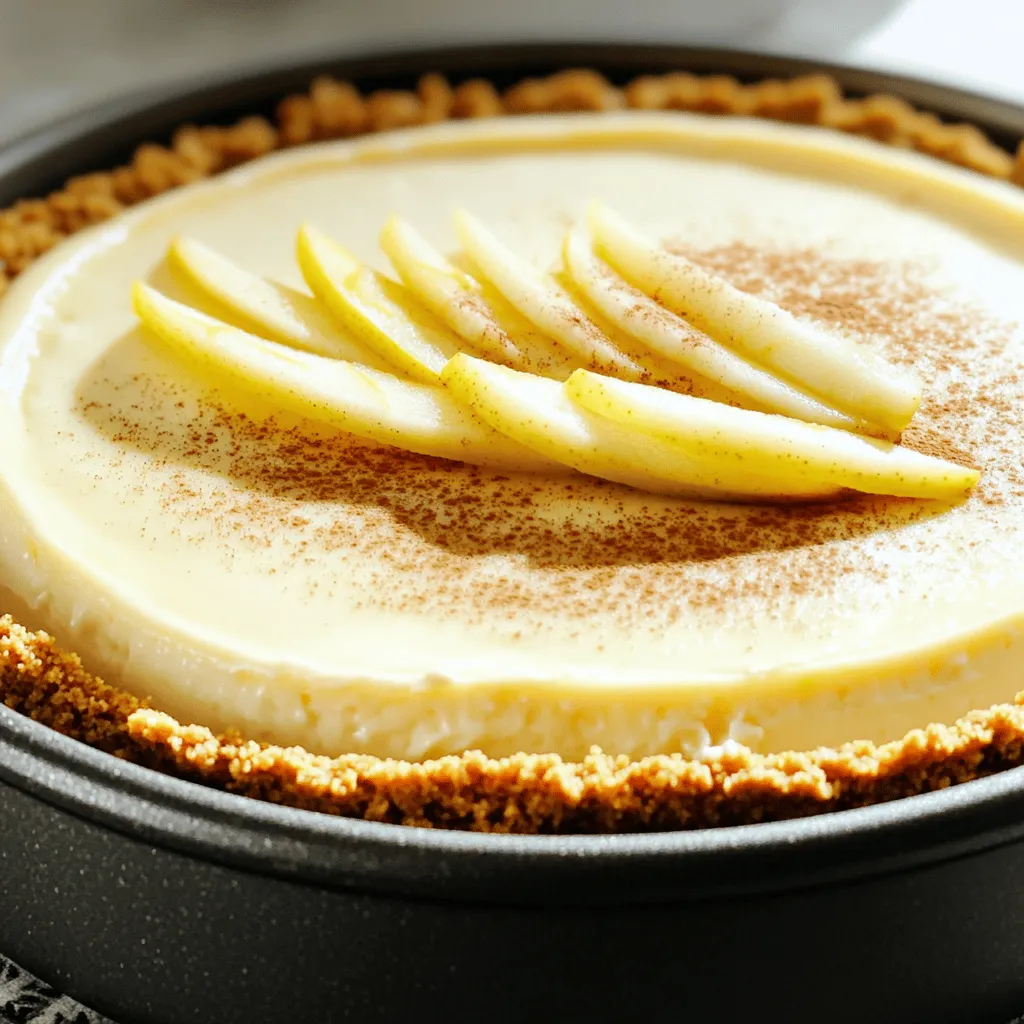
For a great presentation, sprinkle cinnamon on top. You can also add thin apple slices for color. Use a nice plate to show off your cheesecake. A drizzle of caramel sauce adds a sweet touch.
Pair your cheesecake with whipped cream or vanilla ice cream. These toppings balance the tartness of the apple cider. You might also serve it with spiced tea or coffee. These drinks go well with the dessert’s flavors.
Common Mistakes to Avoid
One common mistake is baking at too high a temperature. This can lead to cracks. Always follow the recipe’s temperature closely. Cooling your cheesecake slowly helps, too. After baking, leave the oven door cracked for an hour.
Another issue is not measuring ingredients right. Be precise with your measurements, especially the apple cider. Too much or too little can change the flavor. Double-check your ingredients to avoid mishaps.
For the full recipe, check out the details provided above.
Variations
Alternative Flavors and Add-Ins
You can make your apple cider cheesecake even more special by adding different fruits or spices. For example, try mixing in chopped pears or dried cranberries for a twist. If you like a bit of a kick, add a dash of ginger or cardamom. You can also swap out the apple cider with peach or berry purees. This change gives the cheesecake a whole new flavor. Customize it to fit your taste!
Crust Variations
The crust is the foundation of your cheesecake. You can use graham crackers, but there are many other options. For a gluten-free crust, try crushed almonds or oats. If you want something sweet, use chocolate cookie crumbs. You can even make a no-bake crust with just nuts and dates. This keeps it simple and quick. Each crust type brings a new texture and flavor to the dessert.
Seasonal Adaptations
Seasonal fruits can really enhance your cheesecake. In fall, add pumpkin puree for a festive flair. In spring, fresh strawberries or blueberries can brighten up the flavor. You can also adjust the spices for different holidays. Use nutmeg and cloves for winter, or lemon zest for summer. This keeps your cheesecake fresh and fun all year round.
Storage Info
Best Practices for Storing Cheesecake
To keep your apple cider cheesecake fresh, store it in the fridge. Wrap it tightly with plastic wrap or place it in an airtight container. This helps prevent it from absorbing other smells. The cheesecake stays fresh for about five days in the fridge.
For longer storage, you can freeze the cheesecake. First, let it cool completely. Wrap it well in plastic wrap and then in aluminum foil. This helps protect it from freezer burn. It can last for up to three months in the freezer. When you’re ready to enjoy it, thaw it in the fridge overnight.
Reheating and Serving Leftovers
If you have leftover cheesecake, you can enjoy it cold right from the fridge. But if you want it warm, heat it gently. Preheat your oven to 325°F (163°C). Place the cheesecake in the oven for about 10 minutes. Keep an eye on it to avoid overcooking.
You can also get creative with leftovers. Crumble some cheesecake over ice cream for a delicious treat. You could blend it into a milkshake or use it in a parfait with fruit and granola. These ideas add fun and flavor to your leftover cheesecake. For the full recipe, check out the Apple Cider Cheesecake recipe.
FAQs
How to make a cheesecake without cracks?
To avoid cracks, use a water bath. The steam helps bake the cheesecake evenly. Keep the oven temperature low, around 325°F (163°C). Don’t open the oven door while baking. When it’s done, turn off the heat. Crack the door open and let it cool slowly. This helps keep the texture smooth.
Can I use store-bought apple cider?
Yes, you can use store-bought apple cider. Look for natural, unfiltered cider for the best flavor. Brands like Martinelli’s or local farm ciders work well. Avoid ciders with added sugars or preservatives. They can change the taste of your cheesecake.
How long does homemade cheesecake last in the fridge?
Homemade cheesecake lasts about five to seven days in the fridge. Store it in an airtight container to keep it fresh. Watch for signs of spoilage like a sour smell or mold. If you see any, it’s best to throw it away. Enjoy your cheesecake while it’s fresh for the best taste!
You now have all the tools to make a delicious apple cider cheesecake. We covered the key ingredients, detailed step-by-step instructions, and essential tips for success. Remember, the quality of your ingredients matters, and patience is key during baking and cooling.
Explore variations to match the season and your tastes. With the right techniques, you can avoid common mistakes and serve a stunning dessert. Keep these guidelines in mind for a delightful experience every time you bake. Enjoy your cheesecake journey!
