Crispy Rice with Spicy Shrimp Salad Flavorful Delight

Get ready to dive into a dish that will wow your taste buds! In this blog post, I’ll show you how to make Crispy Rice with Spicy Shrimp Salad, packed …
Get ready to dive into a dish that will wow your taste buds! In this blog post, I’ll show you how to make Crispy Rice with Spicy Shrimp Salad, packed …
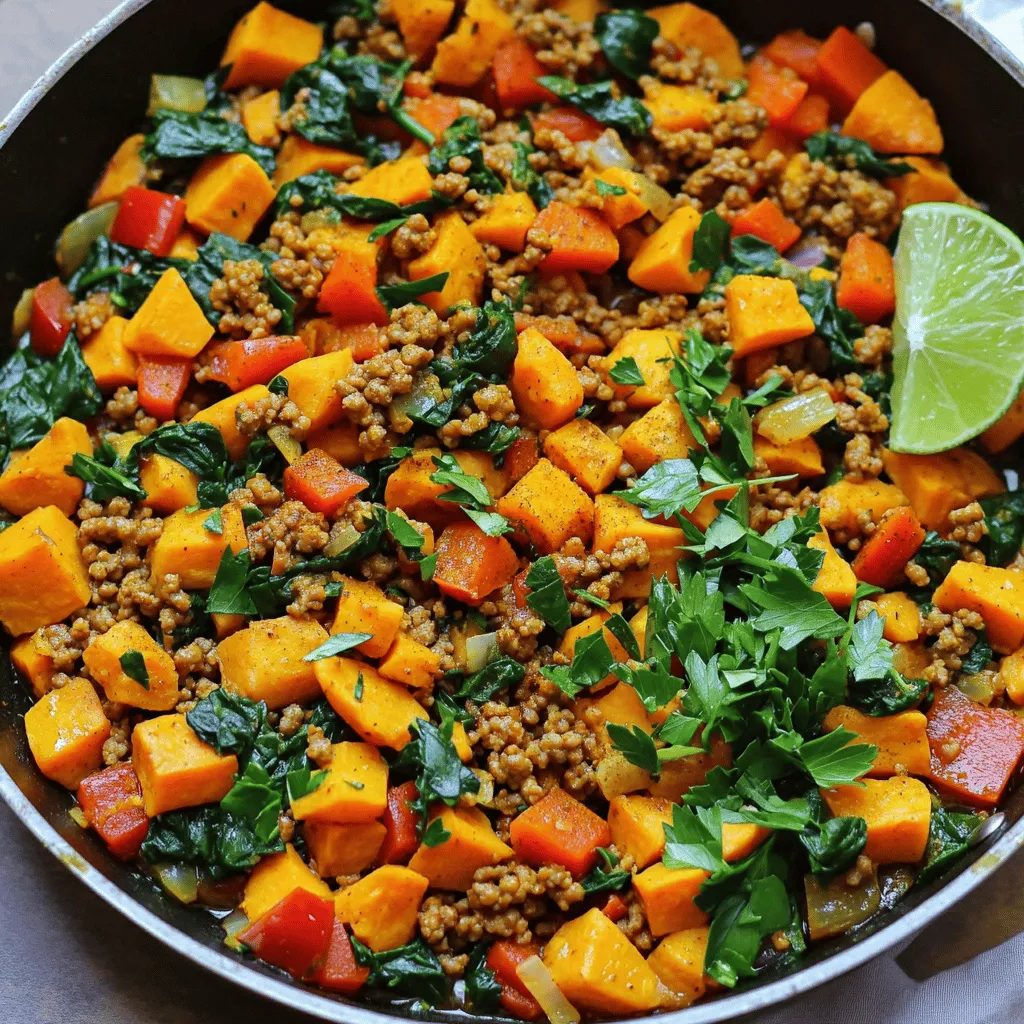
Are you looking for a simple, healthy meal that packs flavor? You’ve found it with my Ground Turkey Sweet Potato Skillet. This dish brings together lean turkey, colorful veggies, and …
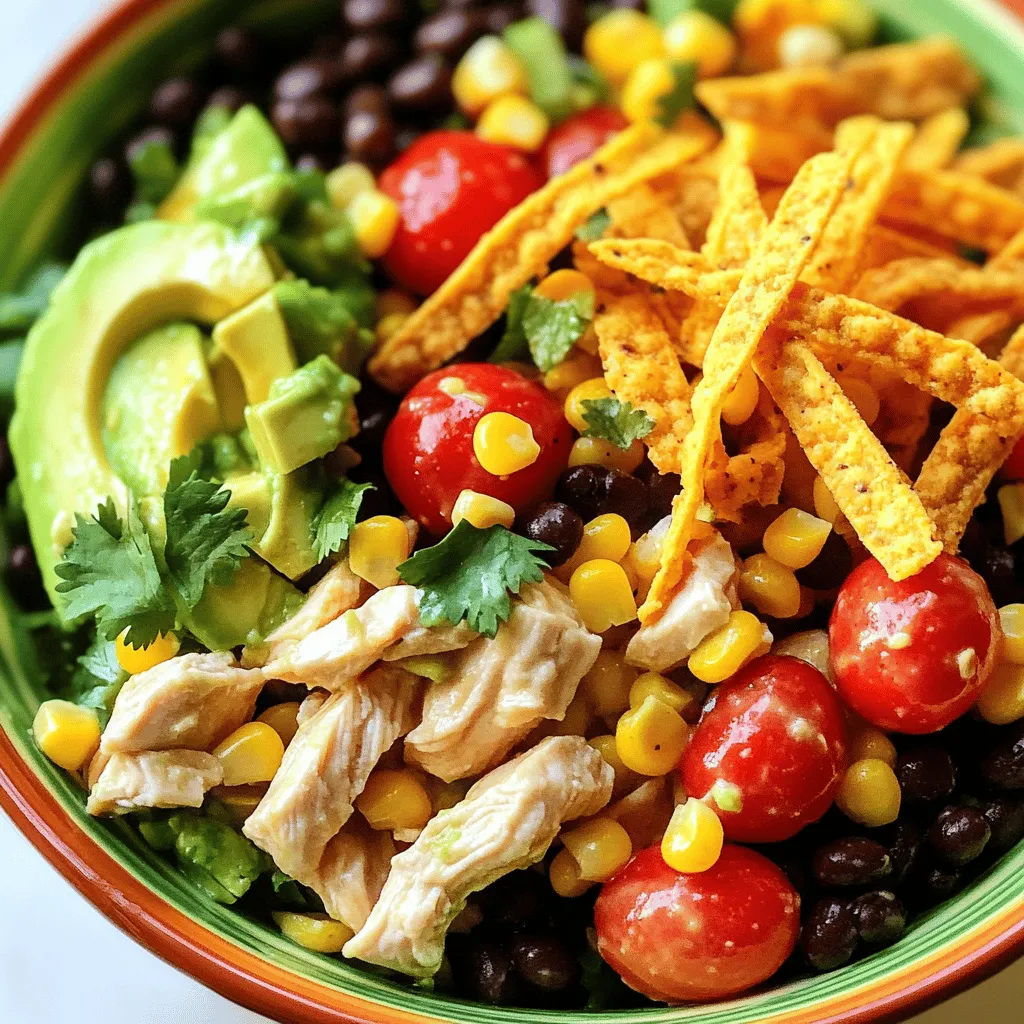
Welcome to your next go-to meal: Spicy Southwest Chicken Salad! This dish packs a punch with bold flavors and fresh ingredients. You’ll love how easy it is to whip up …
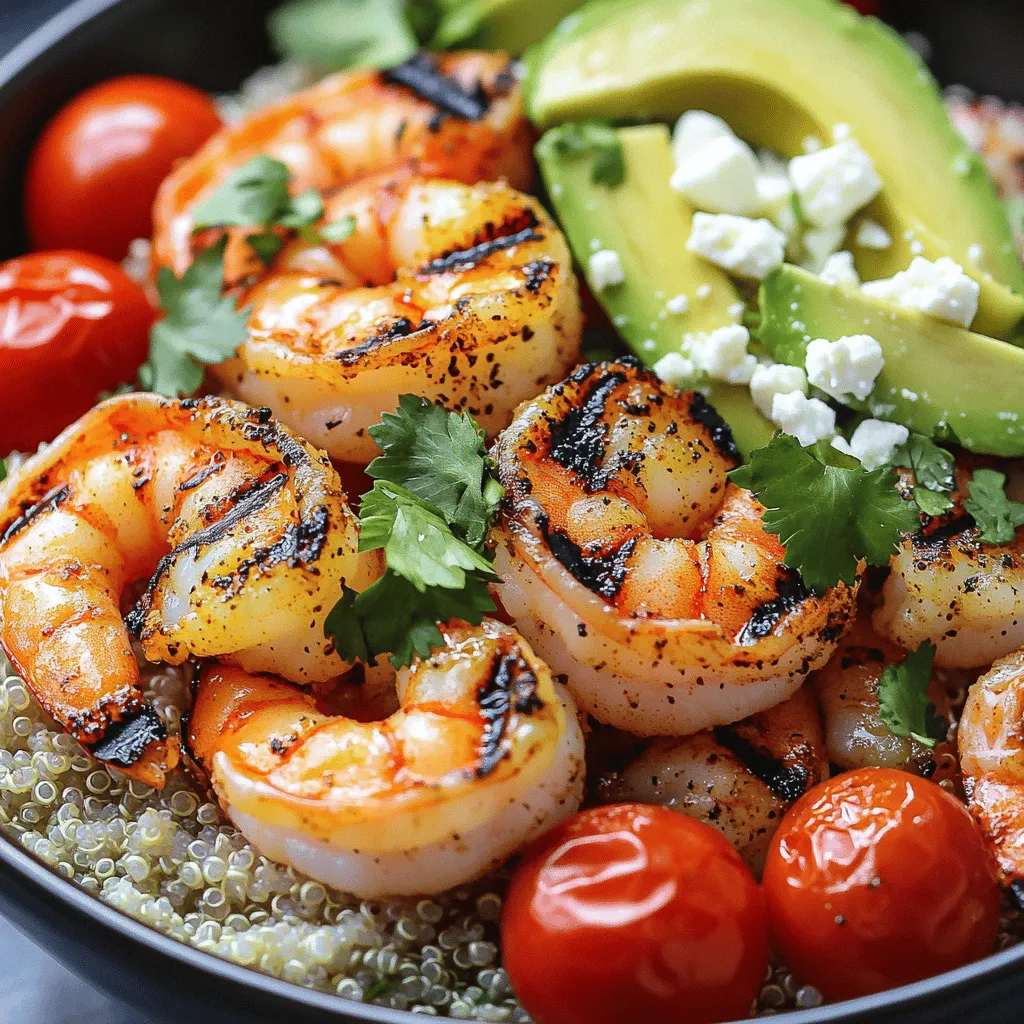
Are you ready to enjoy a fresh and tasty meal? The Grilled Shrimp Bowl is easy to make and full of flavor. I’ll guide you through every step, from picking …

Are you ready to impress your family and friends with a fun twist on a classic? These Chicken Parmesan Pillows are not just tasty; they’re simple to make, too! With …
![- 2 cups cooked chicken, shredded - 1/4 cup honey - 2 tablespoons hot sauce (adjust to taste) - 4 cups mixed greens (arugula, spinach, romaine) - 1 cup cherry tomatoes, halved - 1/2 cup cucumber, diced - 1/4 cup red onion, thinly sliced - 1/2 cup feta cheese, crumbled - 1/4 cup sliced almonds (toasted) - Salt and pepper to taste - 2 tablespoons olive oil When I make this Honey Hot Chicken Salad, I love how easy it is to gather the ingredients. First, I shred the cooked chicken, which gives the salad its hearty base. The honey adds a touch of sweetness, while the hot sauce brings in a spicy kick. You can adjust the hot sauce to suit your taste, which makes it fun for everyone. For the salad base, I use a mix of greens. I often choose arugula, spinach, and romaine. They create a great texture and color. I add halved cherry tomatoes for freshness and diced cucumber for crunch. Thinly sliced red onion adds a nice bite, and crumbled feta cheese gives it a salty flavor. Finally, I sprinkle toasted sliced almonds on top for an extra crunch. Salt and pepper enhance the dish, and a drizzle of olive oil ties everything together. This combination of ingredients makes every bite a delightful experience. You can find the full recipe to see how it all comes together. - In a small bowl, mix honey and hot sauce until combined. - Adjust hot sauce according to spice preference. You can add more for extra heat or less for a milder taste. This step is key. It sets the tone for your salad's flavor. - Toss shredded chicken with the honey-hot sauce mixture. - Ensure the chicken is evenly coated. This helps every bite burst with flavor. You can use leftover chicken for ease. Shredded rotisserie chicken works great. - Place mixed greens in a large bowl. - Layer cherry tomatoes, cucumber, red onion, and feta on top. You can use any fresh veggies you like. - Add the coated chicken over the salad ingredients. - Drizzle olive oil over the salad and season with salt and pepper to taste. - Top with toasted sliced almonds for added crunch. This gives the salad texture. - Gently toss the salad to combine all ingredients just before serving. Make sure every bite has the delicious flavors mixed in. For the full recipe, check the recipe section above. To get the best taste from your Honey Hot Chicken Salad, try different hot sauces. Each sauce adds a unique kick. I love using a smoky chipotle sauce for depth. If you want more heat, add extra sauce. If you prefer it sweeter, adjust the honey. A little more honey can balance the spice nicely. This salad is perfect for many occasions. You can serve it for lunch, dinner, or at potlucks. It pairs well with crusty bread or pita chips for a nice crunch. You can also add a side of fruit for freshness. Everyone loves a colorful plate! Make your salad look as good as it tastes. Arrange the ingredients neatly in the bowl. Use a large platter for family-style serving. This way, everyone can help themselves. Add some fresh herbs on top for a pop of color. Your guests will love this fun and tasty dish! {{image_2}} If you want a lighter dish, use Greek yogurt instead of honey. This swap lowers the sugar while keeping it tasty. You can also use tofu or chickpeas instead of chicken for a vegetarian option. Both choices add protein and flavor without meat. You can make this salad even more fun by adding fruits. Try apple slices or dried cranberries for a sweet touch. If you like creaminess, include avocados. They add a rich flavor and a smooth texture, making every bite delightful. Seasonal vegetables can boost the taste of your salad. Bell peppers or zucchini are great options to add crunch and color. Fresh herbs like basil or cilantro also brighten the dish. These small changes keep your salad exciting all year round. Keep your Honey Hot Chicken Salad in an airtight container in the fridge. This way, it stays fresh and safe to eat. I recommend enjoying it within 2-3 days for the best taste and texture. When reheating, gently warm the chicken in the microwave or on the stovetop. This keeps the chicken moist and tasty. Avoid reheating the greens to keep them crisp and fresh. You can freeze the unassembled salad components. This means you can store the chicken and veggies separately. Remember to thaw the chicken before mixing it with the greens. Do not freeze the greens, as they will lose their crunch and texture. For the full recipe, check out my [Full Recipe]. Honey hot chicken salad blends spicy and sweet flavors with chicken and fresh veggies. You get tender chicken tossed in a sticky honey-hot sauce. The salad base is crisp and refreshing, made with greens and colorful vegetables. This dish is perfect for lunch or dinner. To lower the heat, cut back on the hot sauce in the recipe. Start with less than two tablespoons. You can always add more later if needed. This way, you can adjust the spice to suit your taste buds. Yes, you can prep this salad ahead of time. Mix the chicken and sauce first. Keep the veggies and greens separate until you are ready to serve. This keeps everything fresh and crisp. Yes, it can be gluten-free. Make sure the hot sauce and other ingredients do not contain gluten. Always check labels to be safe. This salad matches well with quinoa, bread rolls, or grilled vegetables. These sides add variety and make your meal more filling. You can mix and match for a perfect plate. For the complete recipe, check out the [Full Recipe]. This article shared a simple way to make Honey Hot Chicken Salad. You learned about the main ingredients, preparation steps, and tips for flavor. Remember, you can customize this recipe with different veggies and proteins. It’s a great dish for any meal. Enjoy the mix of sweet and spicy flavors. Try making it your own by adding your favorite ingredients. It’s a tasty and healthy option that everyone will love.](https://tossedrecipes.com/wp-content/uploads/2025/05/54743b1f-b255-4f1b-8688-2d838a91f0a5.webp)
Craving a meal that’s both sweet and spicy? You’re in the right place! My Honey Hot Chicken Salad is simple to whip up, packed with flavors, and perfect for any …
![- 1 large sweet onion (like a Vidalia) - 1 cup all-purpose flour - 1 teaspoon paprika - 1 teaspoon garlic powder - 1 teaspoon onion powder - 1/2 teaspoon cayenne pepper (adjust for spice preference) - 1/2 teaspoon salt - 1/2 teaspoon black pepper - 2 large eggs - 1 cup breadcrumbs (panko for extra crunch) - Olive oil spray The main star of this dish is the sweet onion. I love using a Vidalia onion for its gentle sweetness. It blooms beautifully and absorbs all the flavors. The flour and spices form a tasty coating. I use paprika, garlic powder, onion powder, cayenne pepper, salt, and black pepper for zest. Adjust the cayenne to fit your taste. Two large eggs help the coating stick to the onion. Panko breadcrumbs add that crispy texture we all crave. When you spray the blooming onion with olive oil, it creates a lovely golden color. - Calories per serving: Approximately 250 calories - Macronutrient breakdown: - Carbs: 35g - Protein: 6g - Fat: 10g This dish is a fun snack for sharing! Each serving is tasty, with a nice balance of carbs and protein. The calories come from the coating and the onion itself. Enjoy this crispy treat guilt-free! For the complete recipe, check out the [Full Recipe]. Preparing the onion for blooming Start with a large sweet onion, like a Vidalia. Cut off the top of the onion, and peel away the outer layers. Place the onion upside down on a cutting board. Use a sharp knife to slice down about an inch from the bottom. You want to create 8-12 petal-like sections. Be careful not to cut through the root. Once done, gently pull apart the petals to form the blooming shape. Setting up the coating stations Next, you need to set up your breading stations. In a medium bowl, mix together the flour, paprika, garlic powder, onion powder, cayenne pepper, salt, and black pepper. In a second bowl, whisk the two large eggs until they are combined. In a third bowl, pour in the breadcrumbs. Proper techniques for coating the onion Now it's time to coat your blooming onion. First, dip the onion into the flour mixture, ensuring all the petals get coated well. Shake off any extra flour. Then, move the onion to the bowl of beaten eggs, letting any excess egg drip back into the bowl. Finally, coat it with the breadcrumbs, pressing gently to help them stick. Preheating the air fryer Before you cook, preheat your air fryer to 370°F (188°C). This helps the onion cook evenly and get crispy. Cooking time and temperature settings Place the coated blooming onion in the air fryer basket. Make sure the petals are spread out for even cooking. Cook for 12-15 minutes, flipping halfway through. The onion should turn golden brown and become crispy. For a detailed recipe, check the Full Recipe. To make the best blooming onion, start with even coating. When you dip the onion in flour, make sure to cover all the petals. This step helps the flavors stick better. Shake off any extra flour. For the egg wash, let excess egg drip off before moving to the breadcrumbs. This ensures a nice crunch. Next, adjust seasoning to taste. I suggest tasting the flour mixture before coating the onion. If you like more heat, add extra cayenne pepper. For a milder flavor, cut back on the spice. Personalizing the seasoning makes your blooming onion truly yours. When choosing an air fryer for this recipe, consider the size and features. Brands like Philips, Ninja, and Cosori are great options. They offer reliable performance and even cooking. A model with a digital display can help you set precise times and temperatures. Look for air fryers with baskets that are easy to clean. Non-stick surfaces make your cooking experience smoother. Also, ensure the model fits your kitchen space. A compact design is perfect for smaller kitchens. Try my full recipe for a delicious blooming onion experience! {{image_2}} You can easily change the taste of your blooming onion. Spice variations are a fun way to do this. You might try different pepper types. Using jalapeño or smoked paprika adds a new kick. For a milder option, use sweet bell pepper powder. This small change can make a big difference. You can also explore alternative coatings. If you need gluten-free options, try almond flour or gluten-free breadcrumbs. These swaps keep the crunch while being safe for gluten-free diets. You can have great taste and texture without worry. Pairing sauces with your blooming onion adds more joy. A homemade spicy ranch is a popular choice. To make it, mix sour cream, ranch dressing, and hot sauce. Adjust the spice level to your liking. This sauce adds a creamy, zesty flavor that complements the onion's crunch. Other complementary sauces include sweet chili sauce or garlic aioli. Sweet chili gives a nice contrast with its sweetness. Garlic aioli offers a rich, savory taste that pairs well. These sauces make your blooming onion even more delightful. For the full recipe, check out the Air Fryer Blooming Onion section. To store your blooming onion, let it cool down to room temperature. This step prevents moisture buildup. Once cooled, wrap it in plastic wrap or place it in an airtight container. You can keep it in the fridge for up to three days. Make sure to consume it within that time for the best taste. When reheating, the goal is to keep the crispiness. The best method is using the air fryer again. Preheat your air fryer to 350°F (175°C). Place the blooming onion inside for about 5-7 minutes. This will help restore its crunch. You can also use an oven. Just place it on a baking sheet at 350°F (175°C) for 10-12 minutes. Avoid using the microwave, as it will make it soggy. Can I make a blooming onion without an air fryer? Yes, you can. You can deep fry a blooming onion in hot oil. Just heat oil to 350°F (175°C) and fry for about 5-7 minutes. This method gives a crispy texture, but it is less healthy than air frying. What type of onion is best for a blooming onion? A large sweet onion is best. I recommend using Vidalia onions. They are mild and sweet, which makes them perfect for this dish. Their size also helps create the best bloom effect. How do I know when the blooming onion is done? Look for a golden-brown color. The petals should be crispy. You can also check the softness of the onion by gently poking it with a fork. If it feels tender, it is ready. What are the best dipping sauces for a blooming onion? Some great choices are spicy ranch and homemade aioli. You can also try garlic sauce or a zesty BBQ sauce. These flavors pair well with the onion's sweetness. Can I prepare this recipe in advance? You can prepare the onion and coat it ahead of time. Store it in the fridge for a few hours before air frying. This makes it easy to cook when you are ready to serve. Just remember to spray it with olive oil just before cooking. For the full recipe, check the dedicated section above! In this post, we covered how to make a delicious blooming onion using simple ingredients and step-by-step instructions. We explored tips for perfecting your dish and discussed different flavor variations and sauces. Remember, practice makes perfect. Don’t worry if your first try isn’t ideal—just keep adjusting. Enjoy your blooming onion with friends or at family gatherings. It's fun and tasty! With these clear steps, you're ready to impress everyone. Happy cooking!](https://tossedrecipes.com/wp-content/uploads/2025/05/9961343a-0c96-43d2-b160-6207d789da91.webp)
If you’re looking for a fun and tasty snack, you’ve found the right recipe! Air Fryer Blooming Onion is crispy, flavorful, and sure to impress. I’ll guide you through making …

Are you ready to indulge in a treat that combines the best of muffins and cookies? Blueberry muffin cookies are soft, chewy, and bursting with flavor. Perfect for breakfast, dessert, …
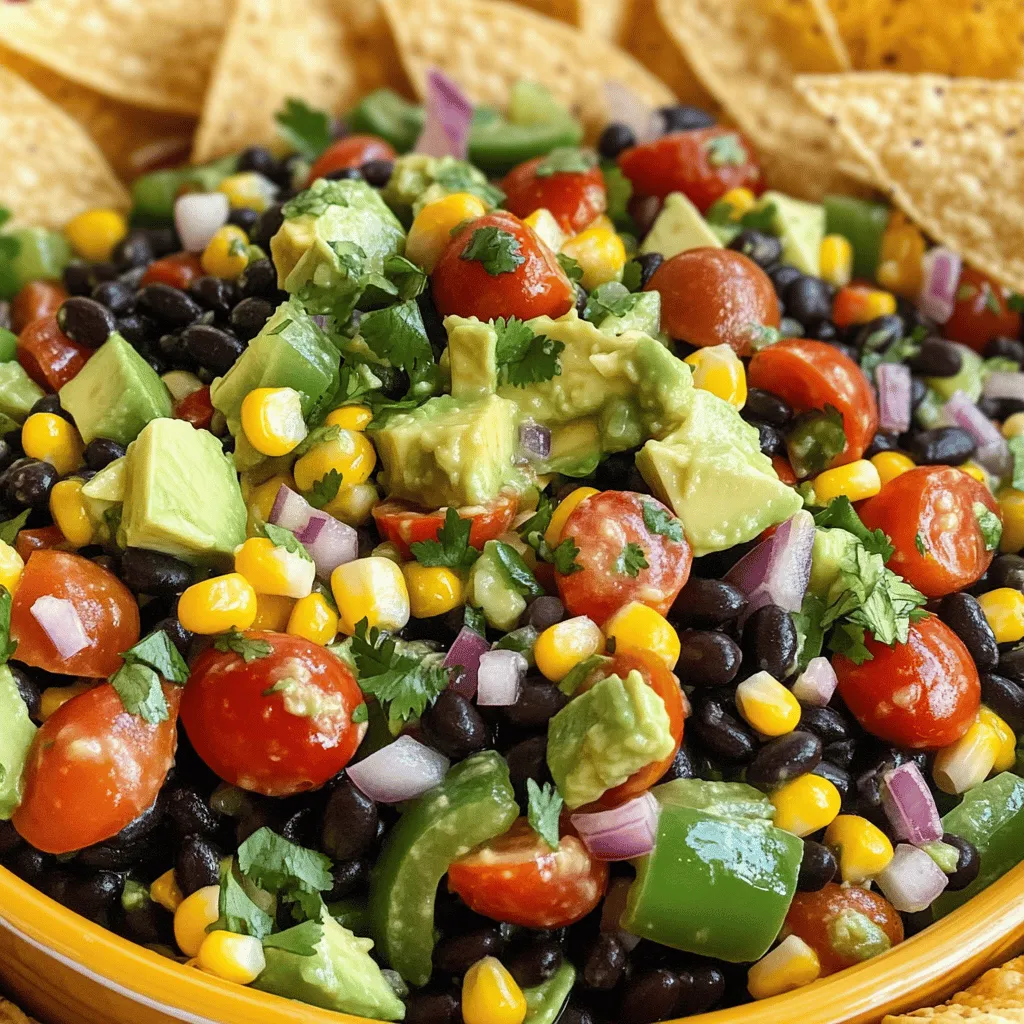
Looking for a fresh and flavorful dish that will wow your guests? Look no further than Cowboy Caviar! This vibrant mix of black beans, corn, and crunchy veggies will brighten …
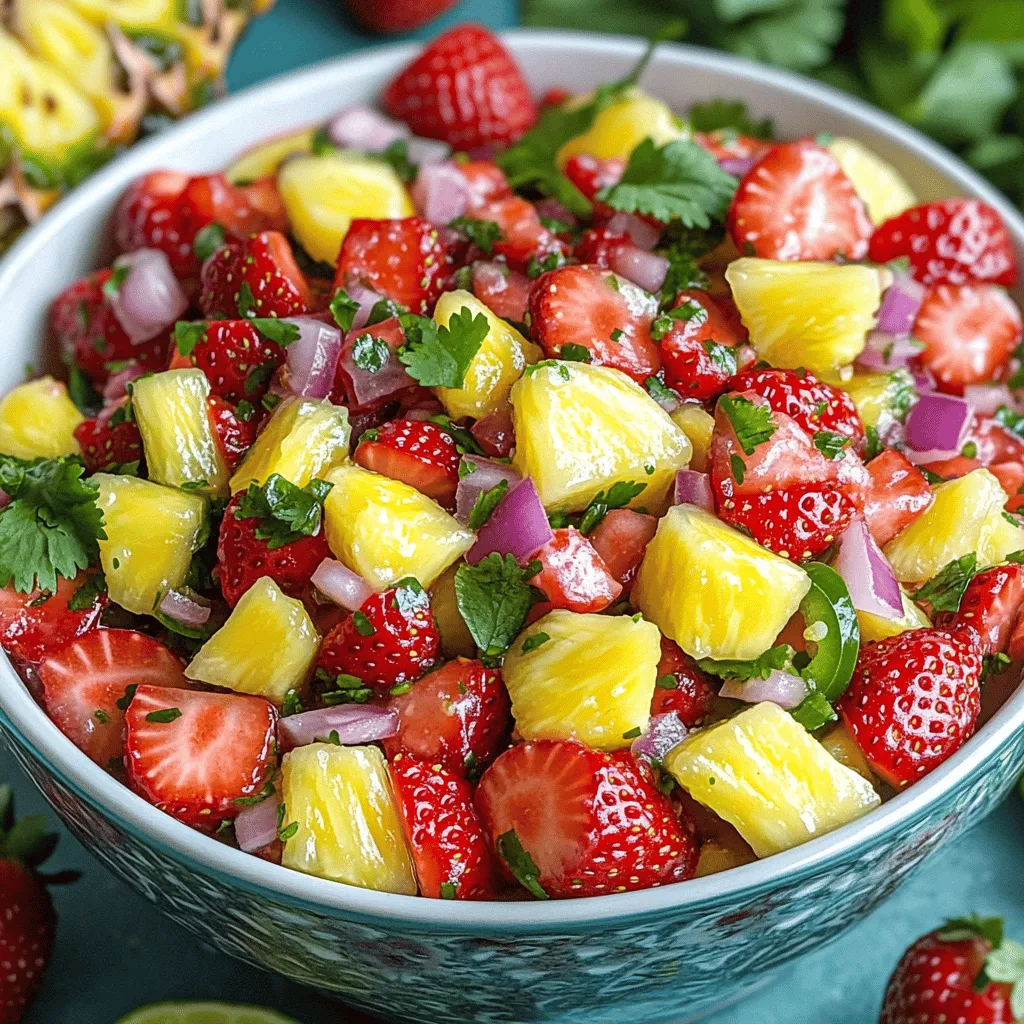
Welcome to the world of fresh flavors! If you love bright, zesty dishes, Strawberry Pineapple Salsa is for you. This quick and easy recipe combines sweet strawberries and tangy pineapple …