Bakery Style Chocolate Pumpkin Loaf Deliciously Rich
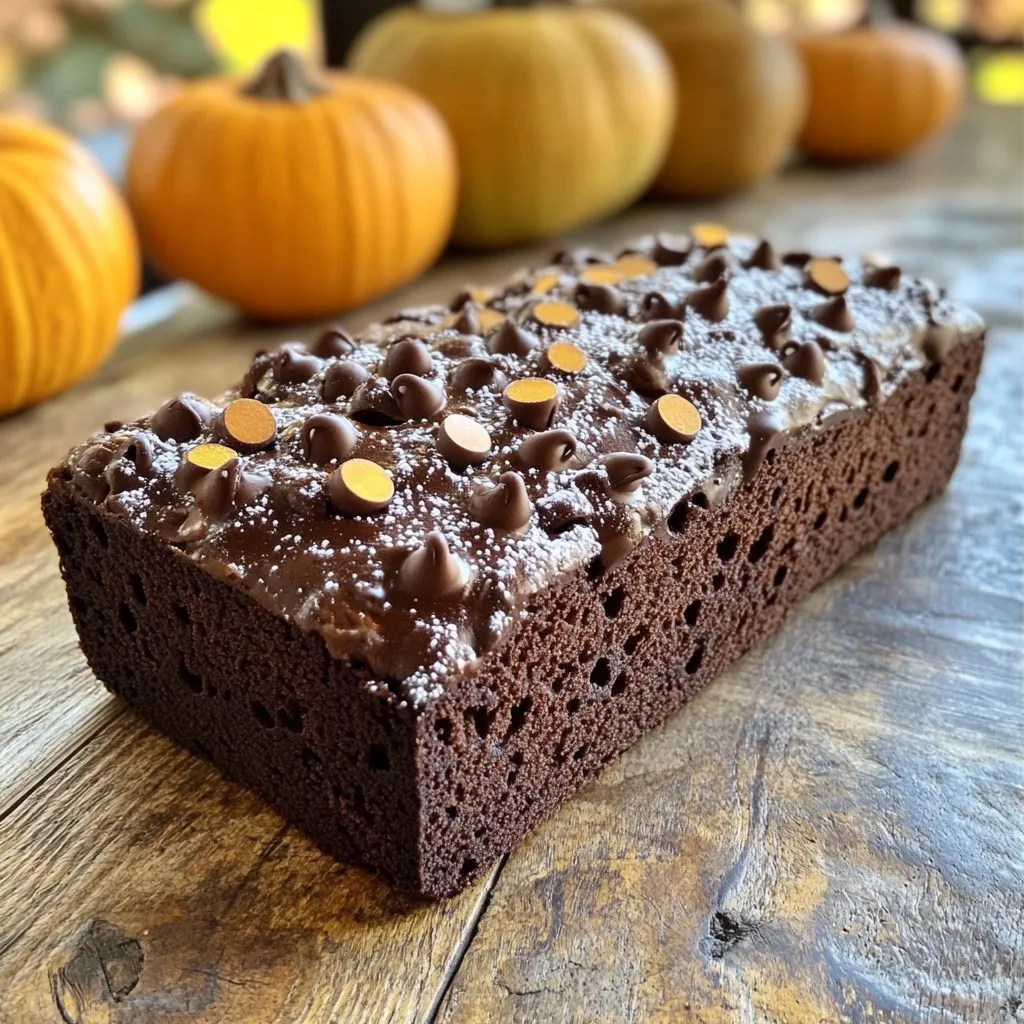
Get ready to bake a treat that combines comforting pumpkin and rich chocolate in one delicious loaf! My Bakery Style Chocolate Pumpkin Loaf is easy to make and perfect for …
Get ready to bake a treat that combines comforting pumpkin and rich chocolate in one delicious loaf! My Bakery Style Chocolate Pumpkin Loaf is easy to make and perfect for …

Welcome to my kitchen! Today, I’m sharing a tasty recipe for Slow Cooker Honey Mustard Chicken and Potatoes. This dish blends juicy chicken thighs, sweet honey, and zesty Dijon mustard, …
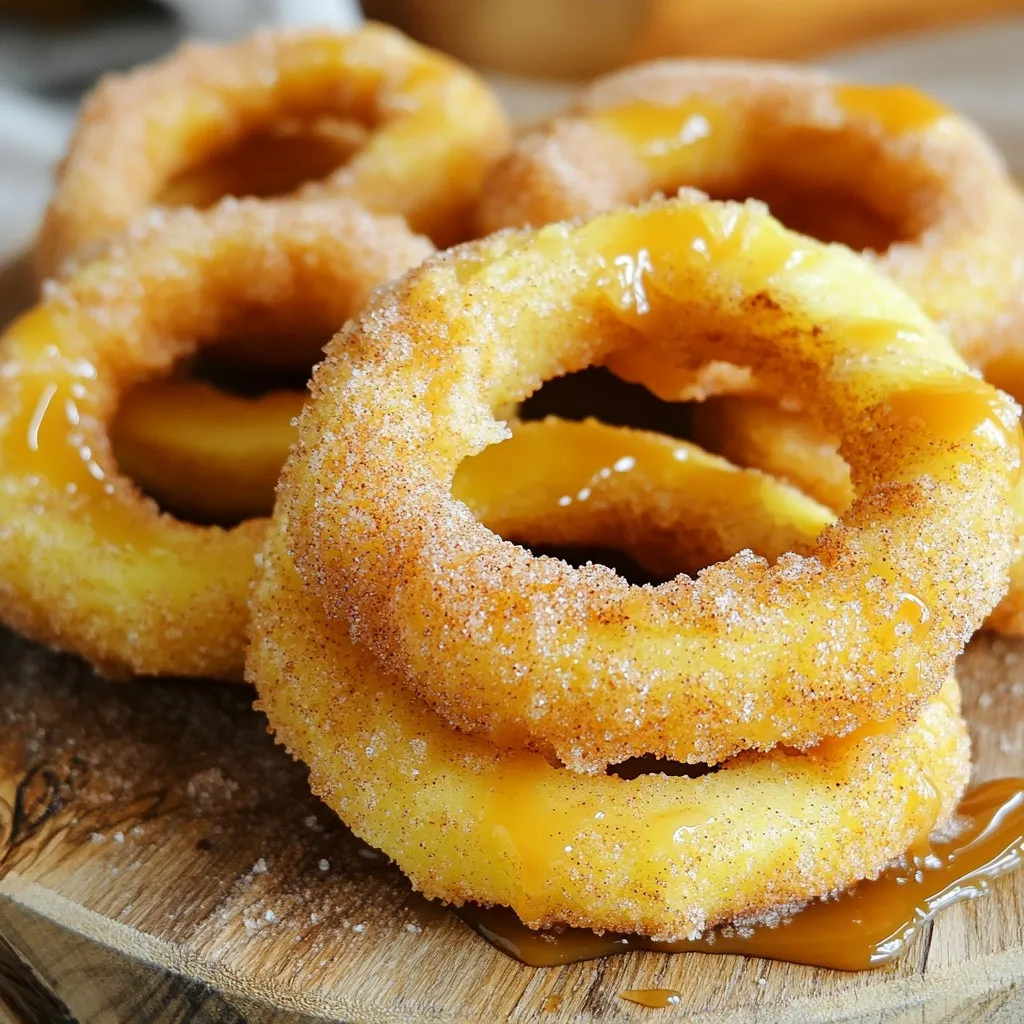
If you’re craving a sweet and crispy treat, look no further than Air Fryer Cinnamon Sugar Apple Rings. These delicious bites are easy to make and perfect for any occasion. …
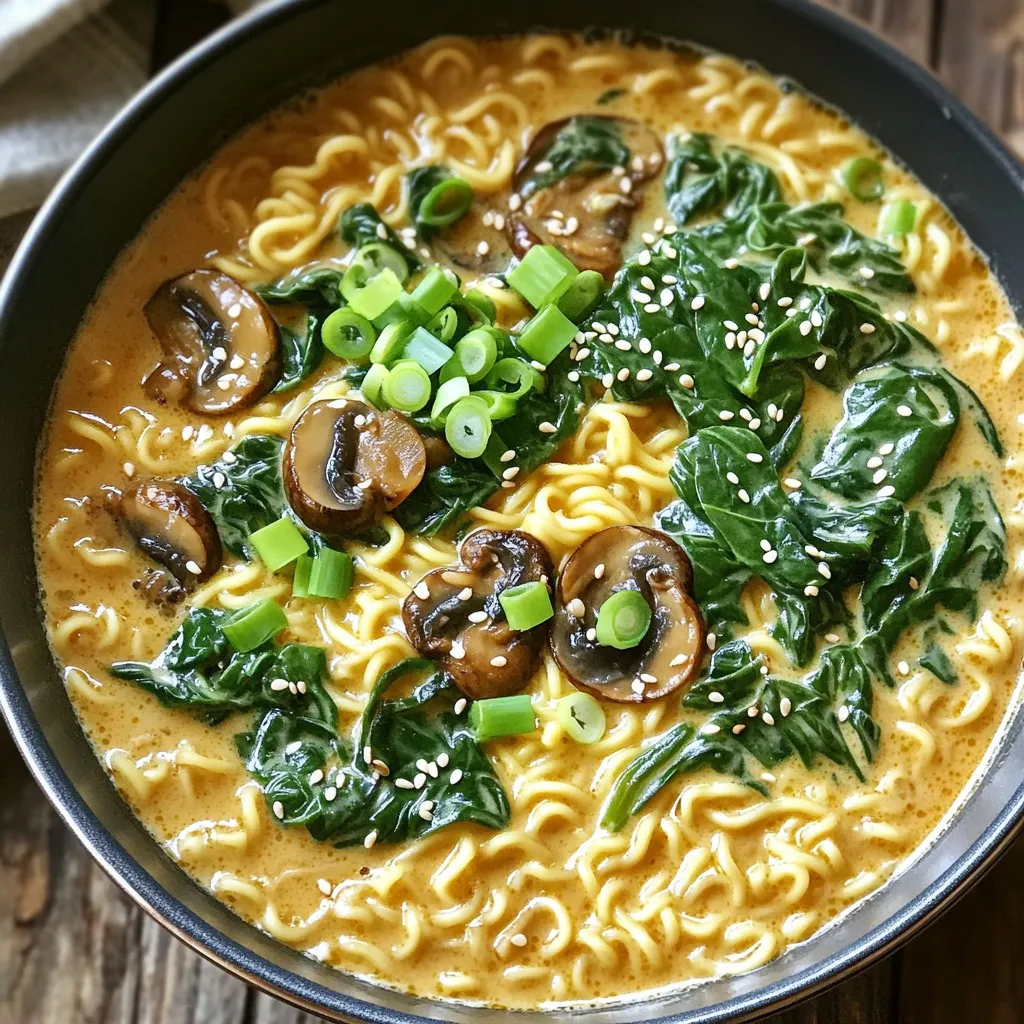
Are you craving a warm, hearty meal that’s easy to make? Look no further! This One Pot Creamy Spinach Mushroom Ramen Delight is a game-changer. With simple ingredients like ramen …

If you love pumpkin treats, you need to try Pumpkin Cream Cheese Muffin Tops! These delicious bites are soft, creamy, and bursting with flavor. Perfect for breakfast or a snack, …
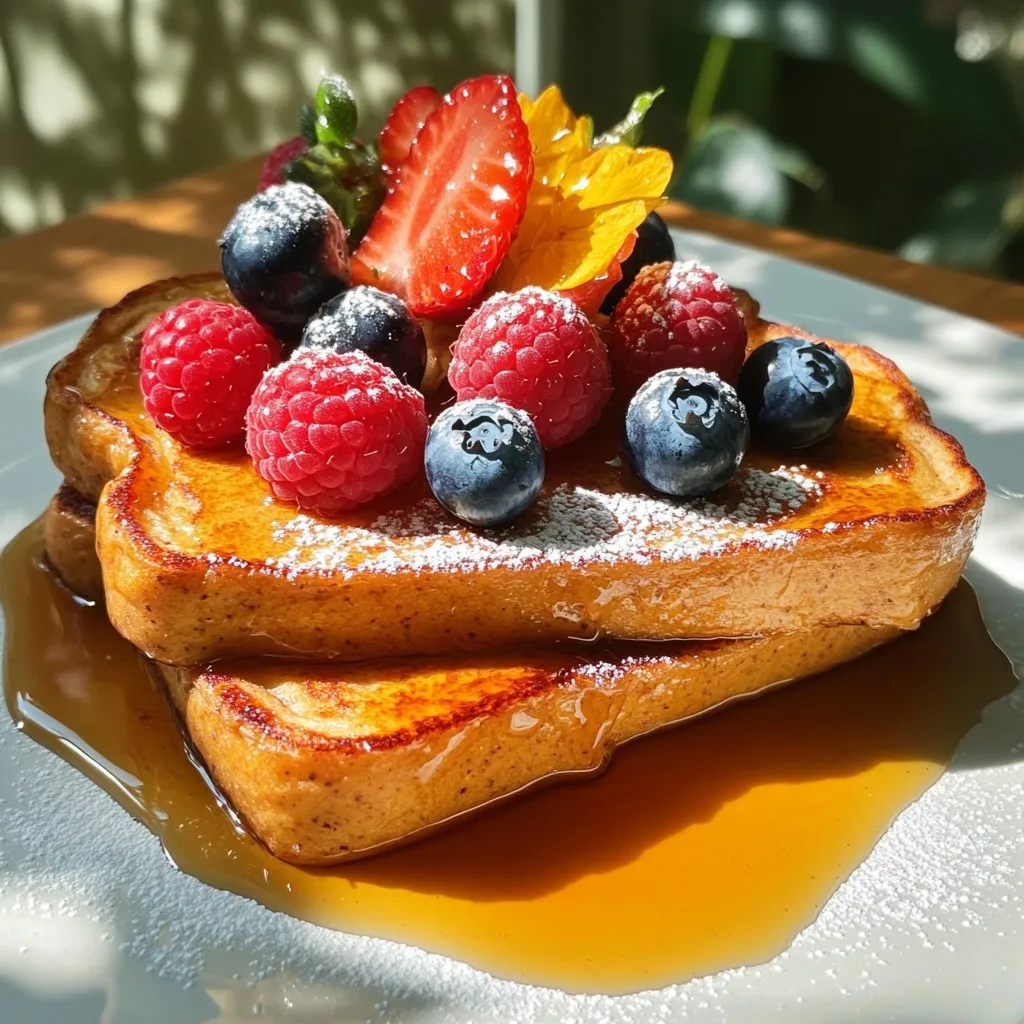
Are you ready to whip up a quick and tasty breakfast? My Minute Protein French Toast is perfect for busy mornings. This recipe is not just fast; it’s packed with …
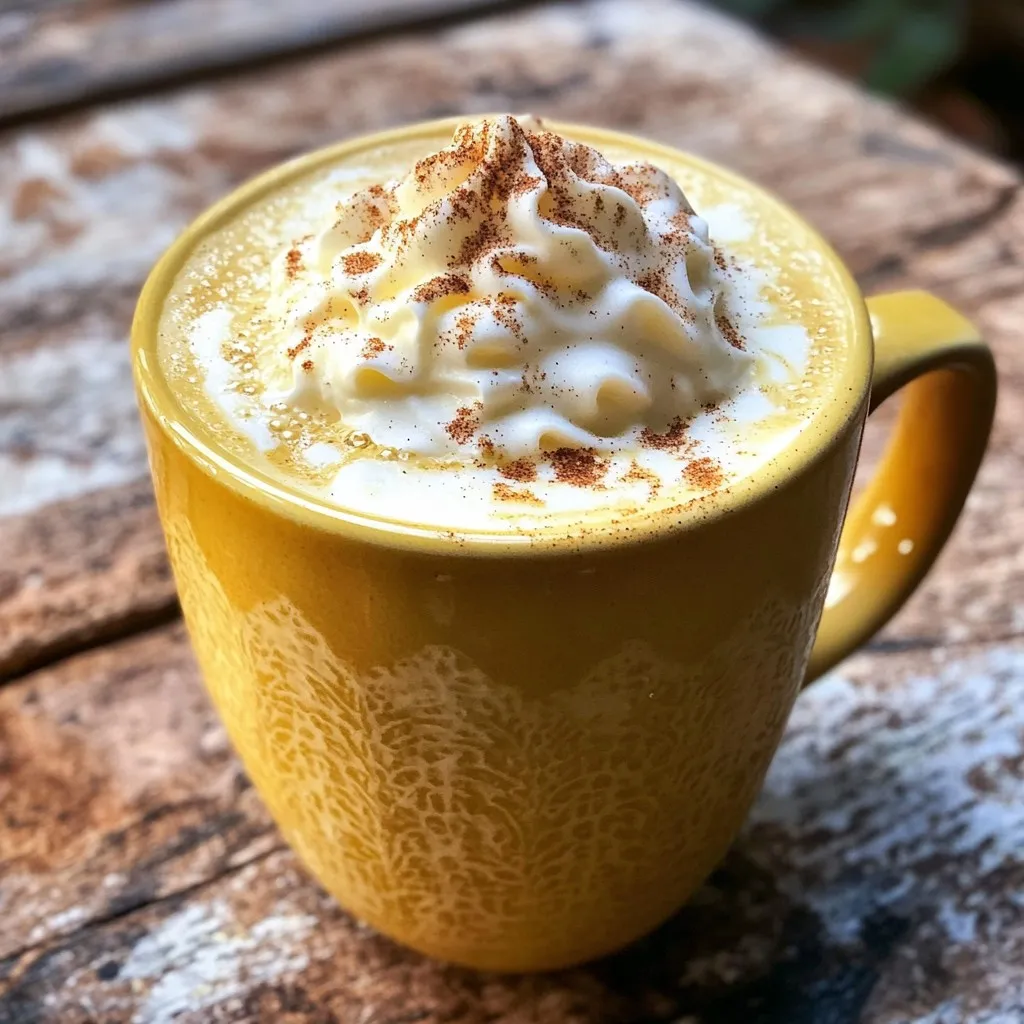
Looking to upgrade your coffee routine? Try a Maple Brown Sugar Latte! This warm drink combines rich espresso with the sweet notes of maple syrup and brown sugar. It’s creamy, …
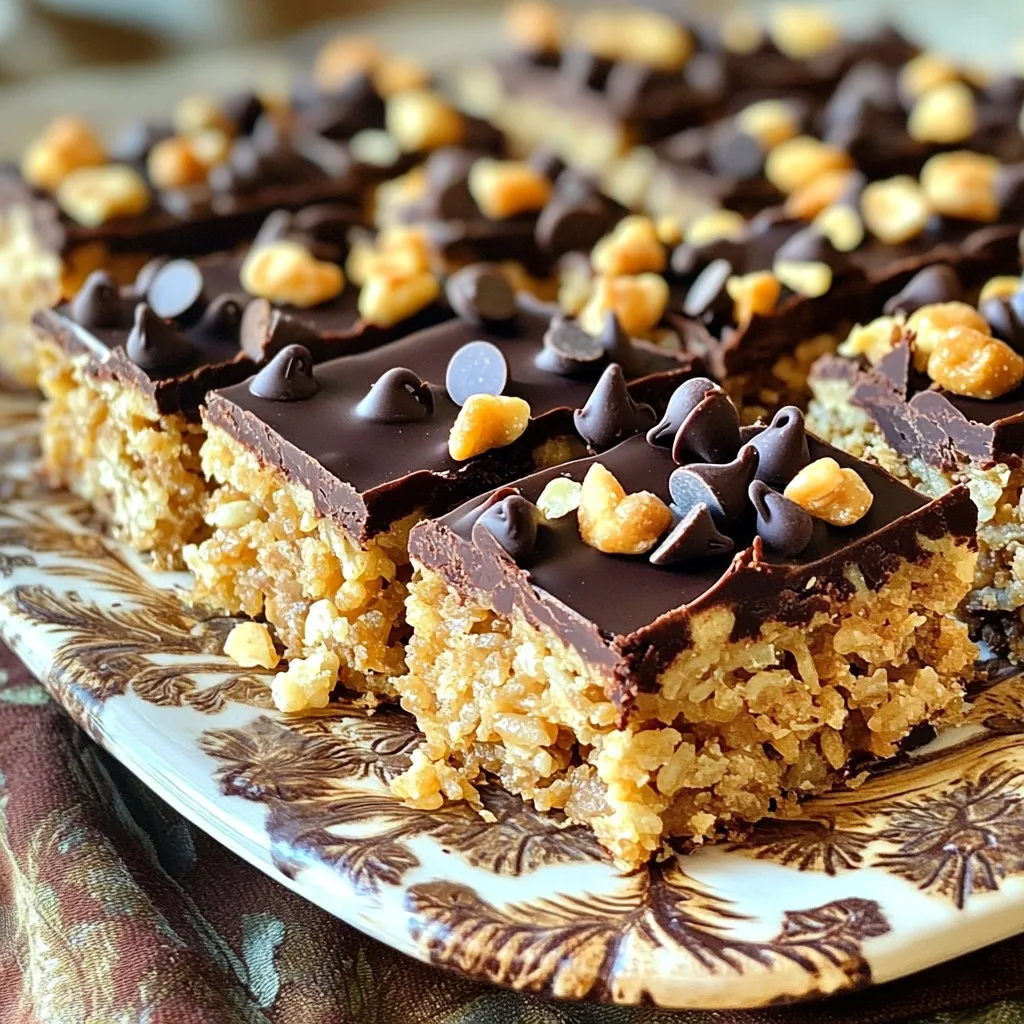
Looking for a sweet treat that’s easy to make? You’ve hit the jackpot with these no-bake Chocolate Peanut Butter Crunch Bars! With creamy peanut butter, crispy cereal, and rich chocolate, …
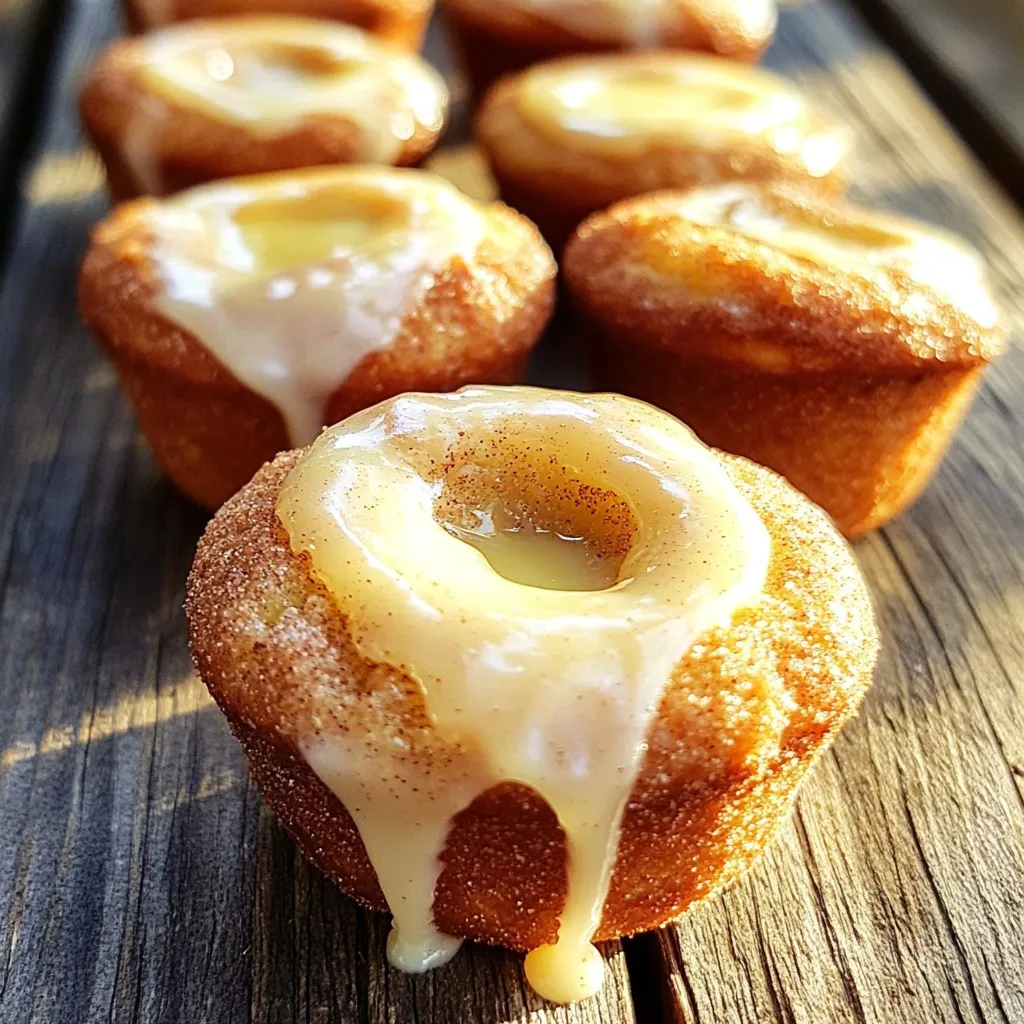
If you’re craving a sweet treat that’s simple to make, you’re in the right place! My Apple Cider Donut Muffins are fluffy, flavorful, and packed with that lovely fall vibe. …
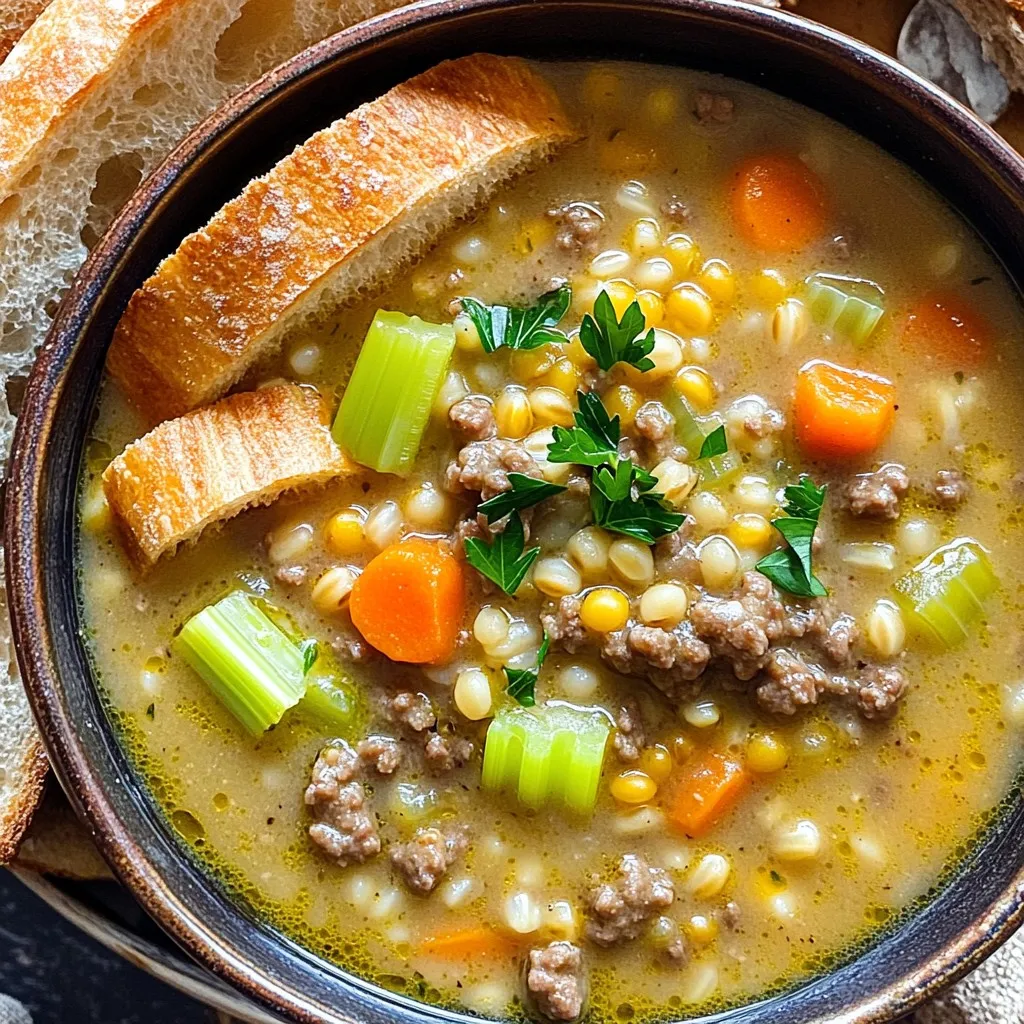
Warm up your evenings with my Creamy Beef & Barley Slow Cooker Soup Delight. This hearty soup is packed with flavor, loaded with tender beef, and rich barley. It’s easy …