Air Fryer Garlic Breaded Zucchini Crispy Delight
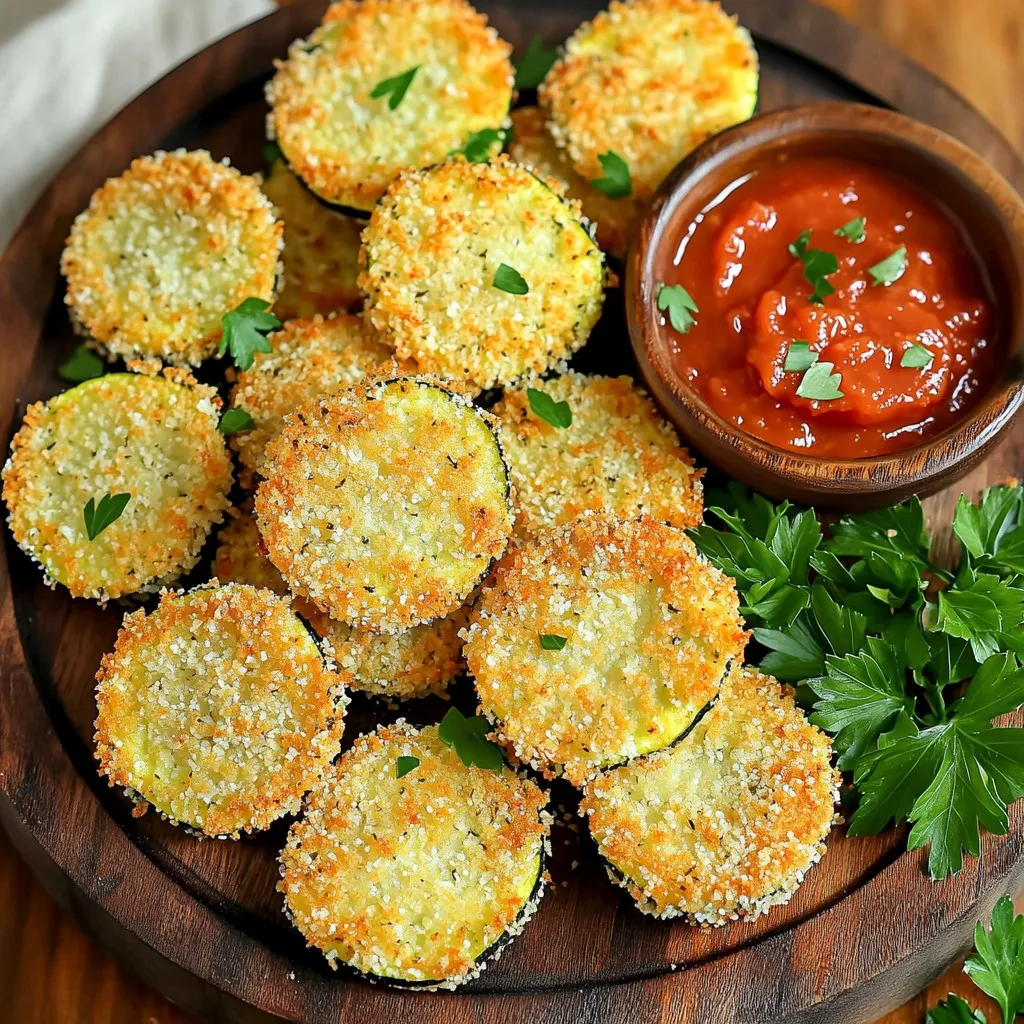
Are you ready to transform simple zucchini into a crispy, tasty treat? My Air Fryer Garlic Breaded Zucchini recipe is here to help! With just a handful of ingredients, you …
Are you ready to transform simple zucchini into a crispy, tasty treat? My Air Fryer Garlic Breaded Zucchini recipe is here to help! With just a handful of ingredients, you …

Looking for an easy weeknight meal that bursts with flavor? This Tuscan Chicken Tortellini Skillet checks all the boxes! In just one pot, you’ll combine tender chicken, creamy sauce, and …
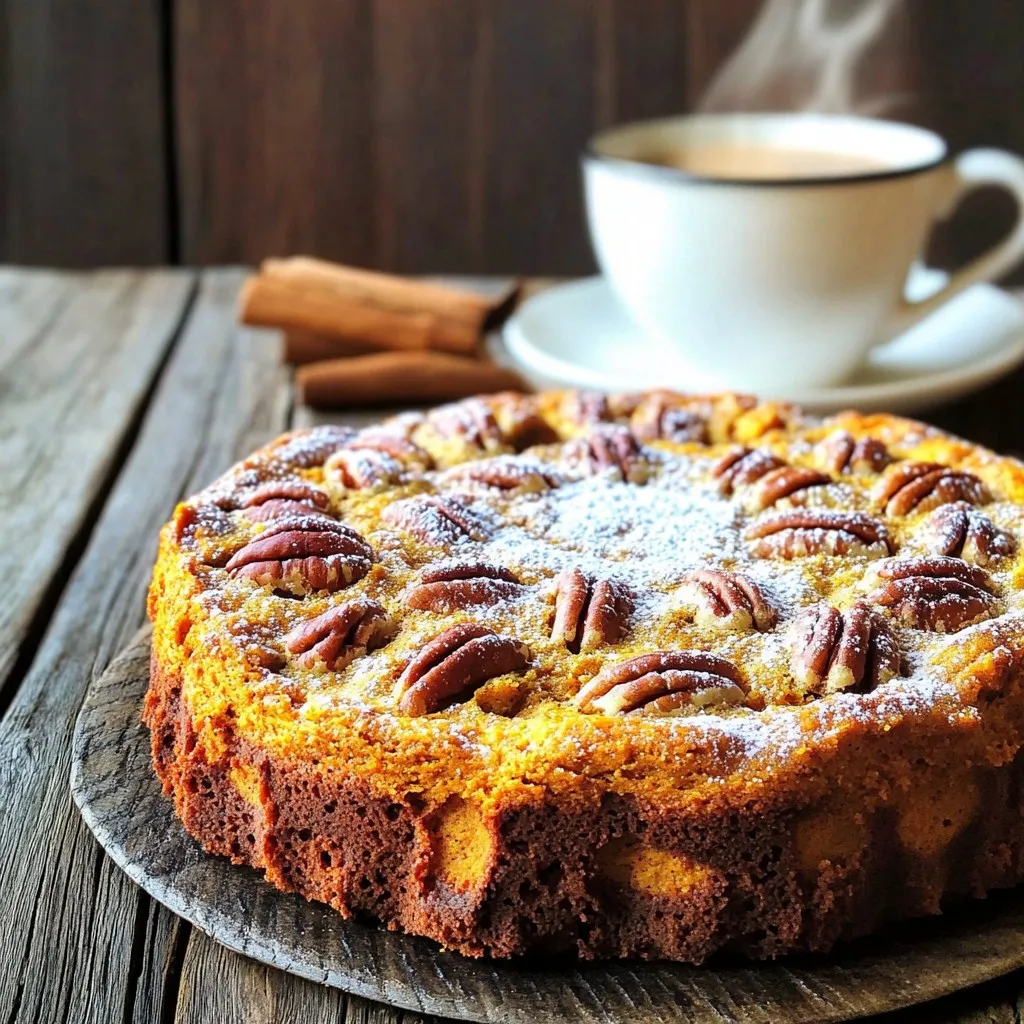
Fall is here, and it’s the perfect time for a cozy treat. You’ll love this Pumpkin Pecan Coffee Cake! With rich flavors of pumpkin, warm spices, and crunchy pecans, it …
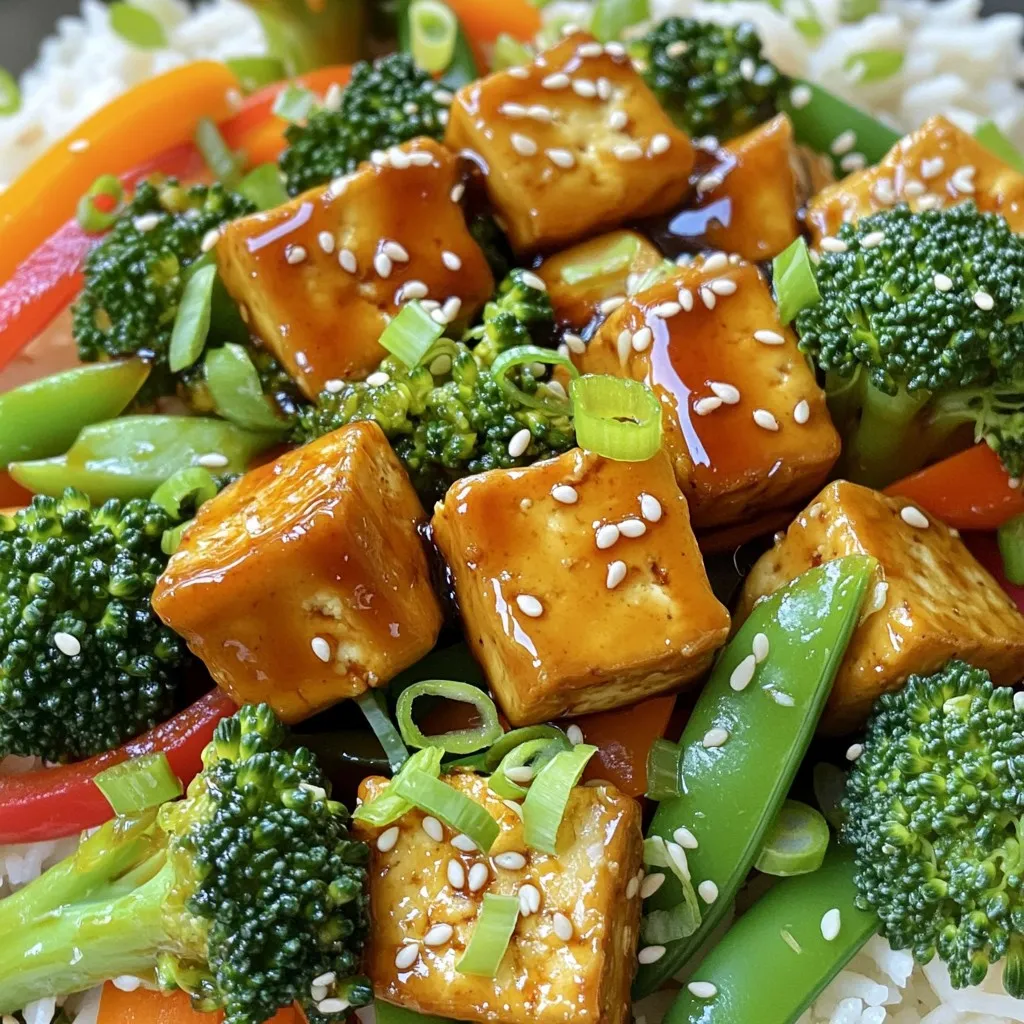
Feeling tired of takeout? I’ve got a fantastic solution for you: Teriyaki Tofu Stir Fry! This dish packs all the bold flavors you love from takeout and is way healthier. …
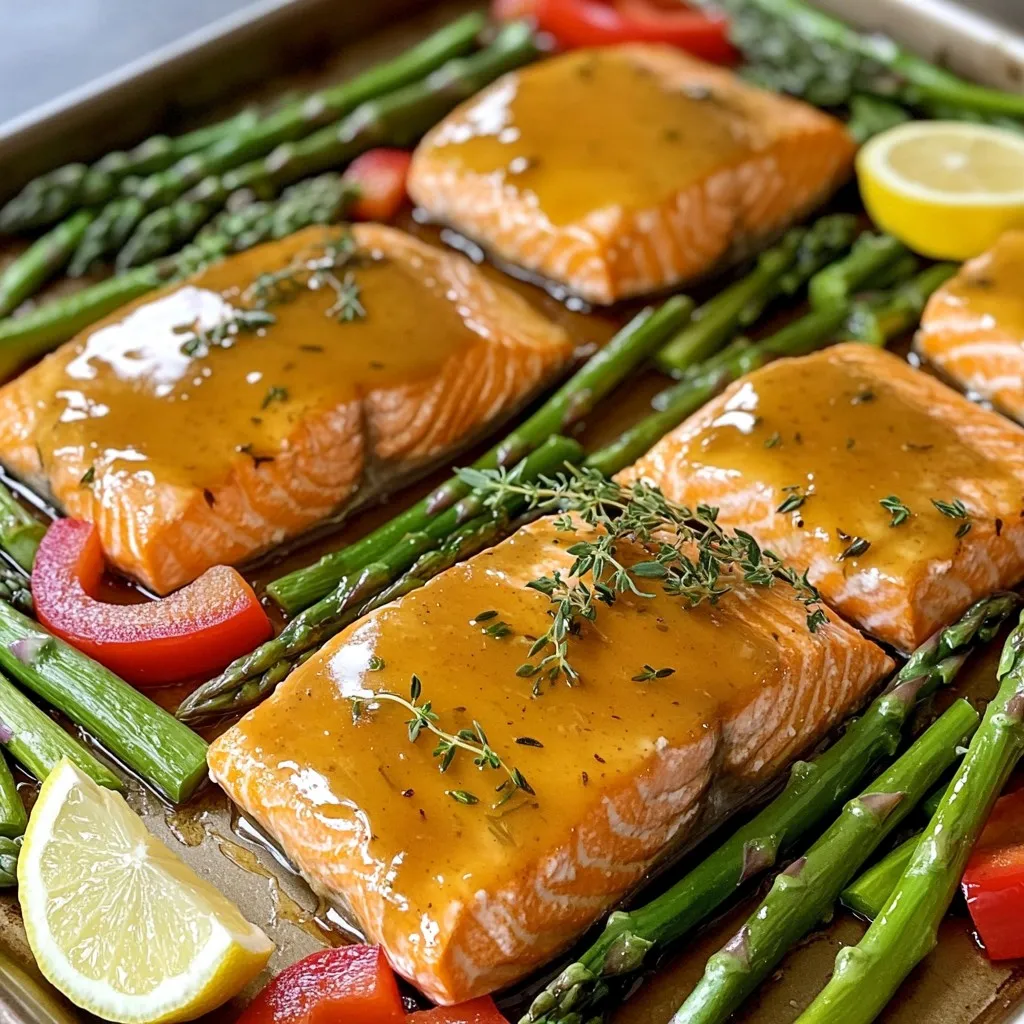
Looking for a quick and tasty meal? Try my Maple Dijon Sheet Pan Salmon! This dish is packed with flavor and is super easy to make. With just a few …
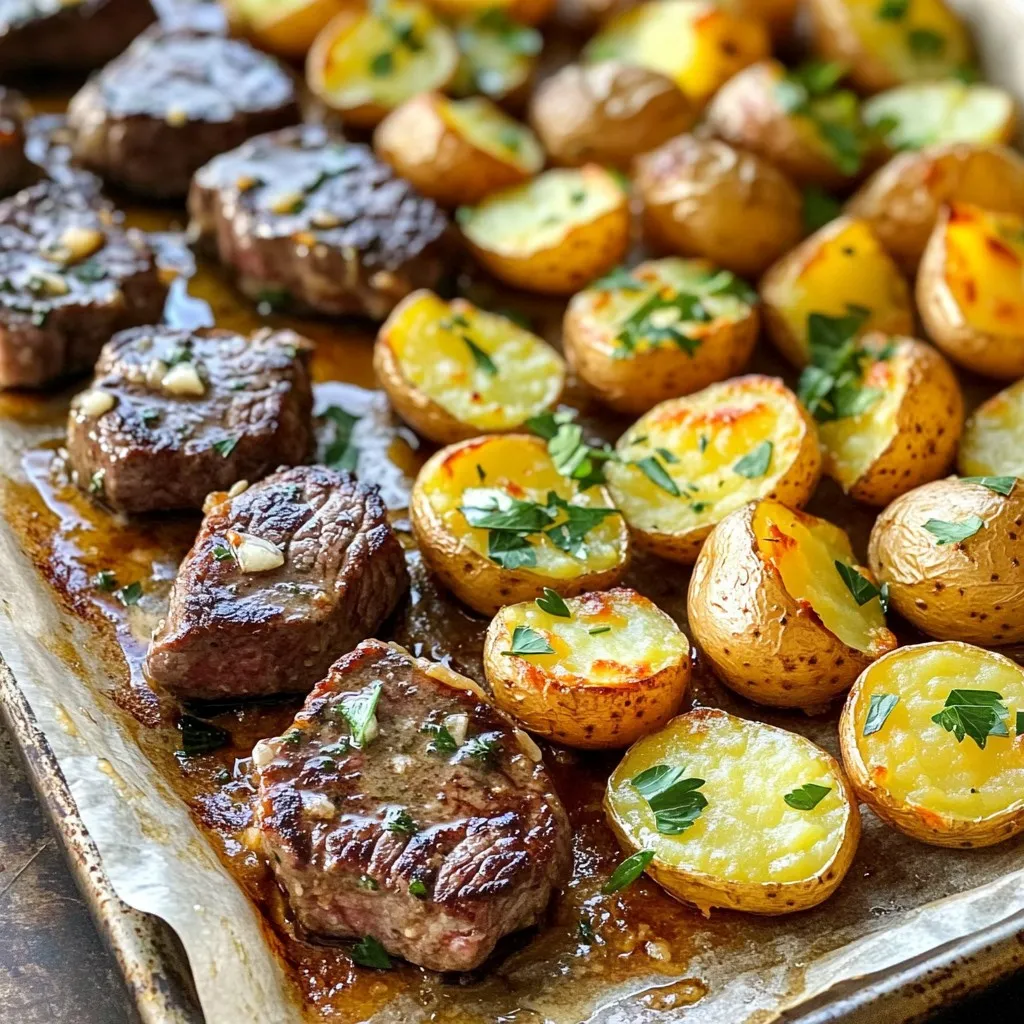
Are you ready to elevate your dinner game? This Sheet Pan Garlic Butter Steak Bites & Potatoes recipe is a game changer! In just one pan, you will enjoy juicy …
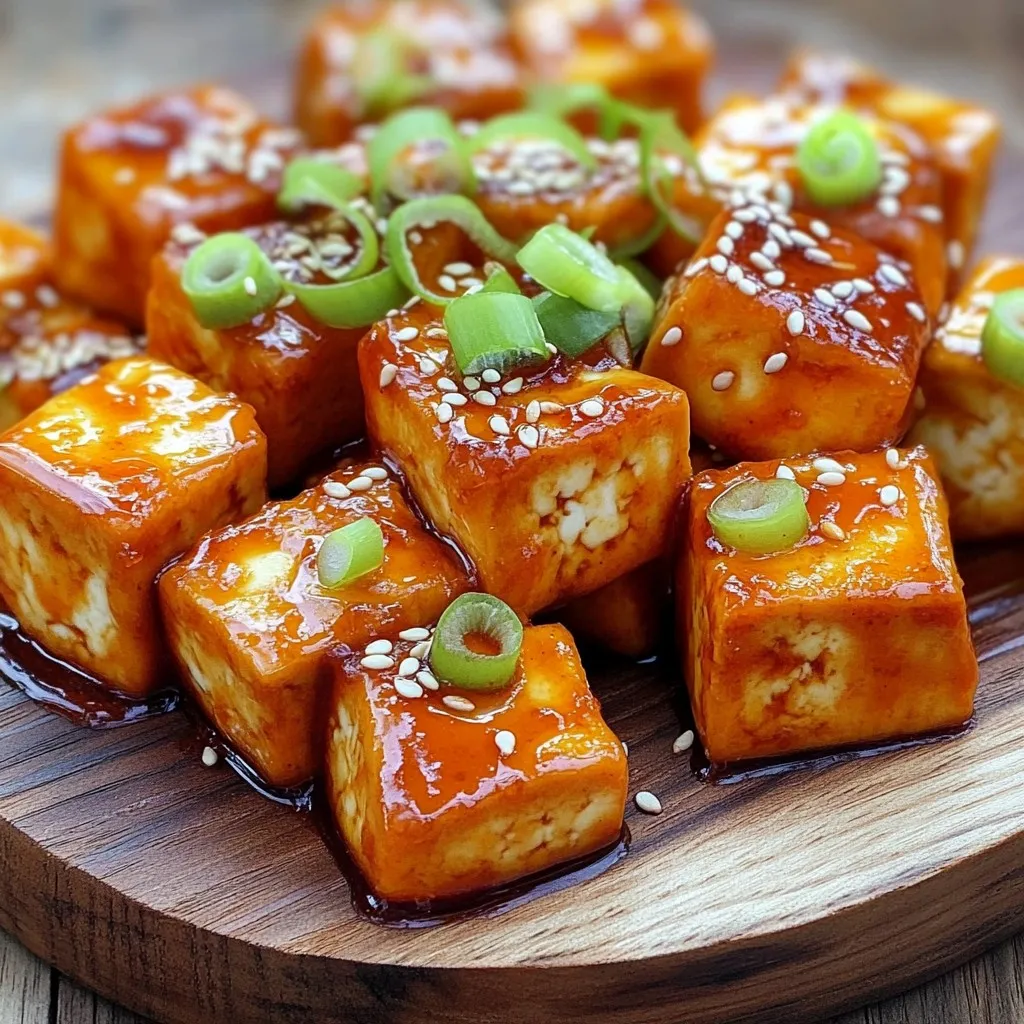
Are you craving a dish that’s bursting with flavor and crunch? My Air Fryer Crispy Honey Sriracha Tofu Delight will satisfy your taste buds and keep you coming back for …
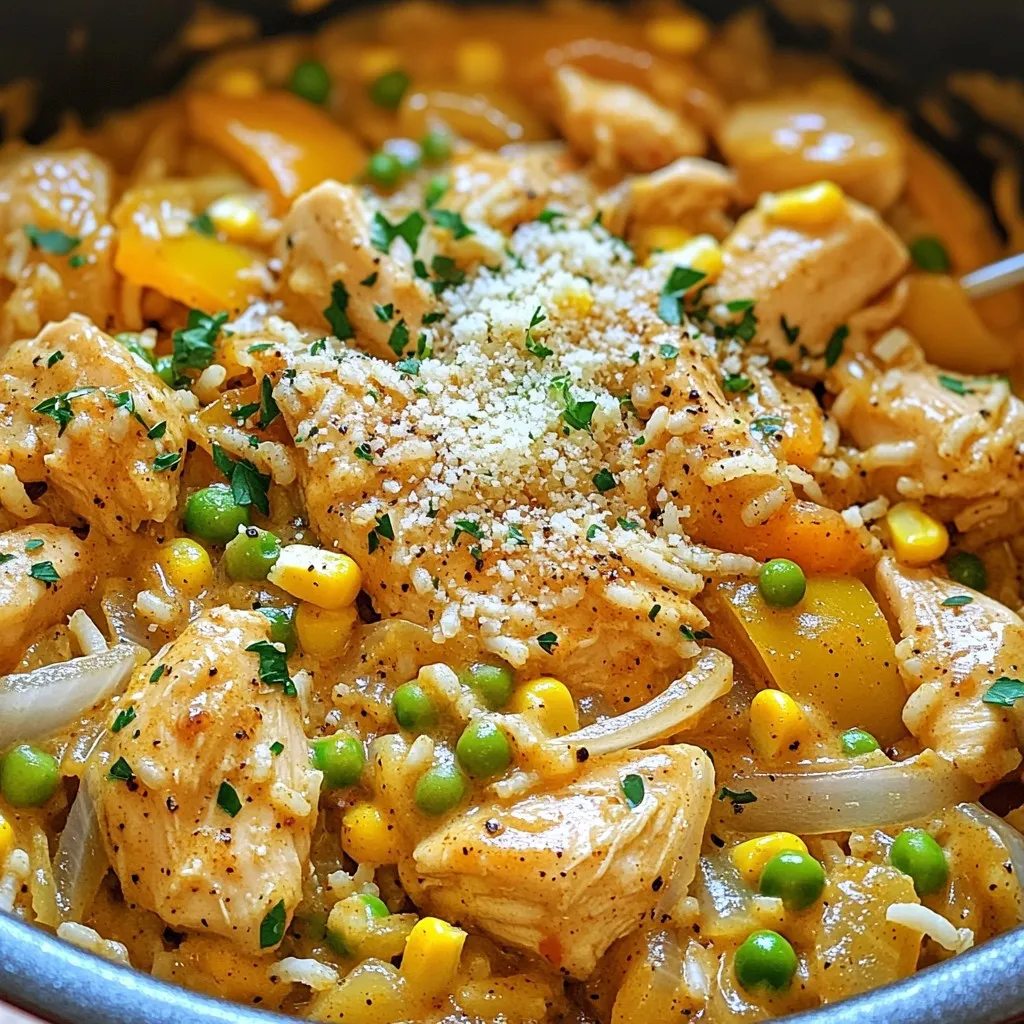
Welcome to my kitchen! Today, I’m excited to share my one-pot creamy Cajun chicken and rice delight. This dish is packed with bold flavors and creamy goodness, all in one …
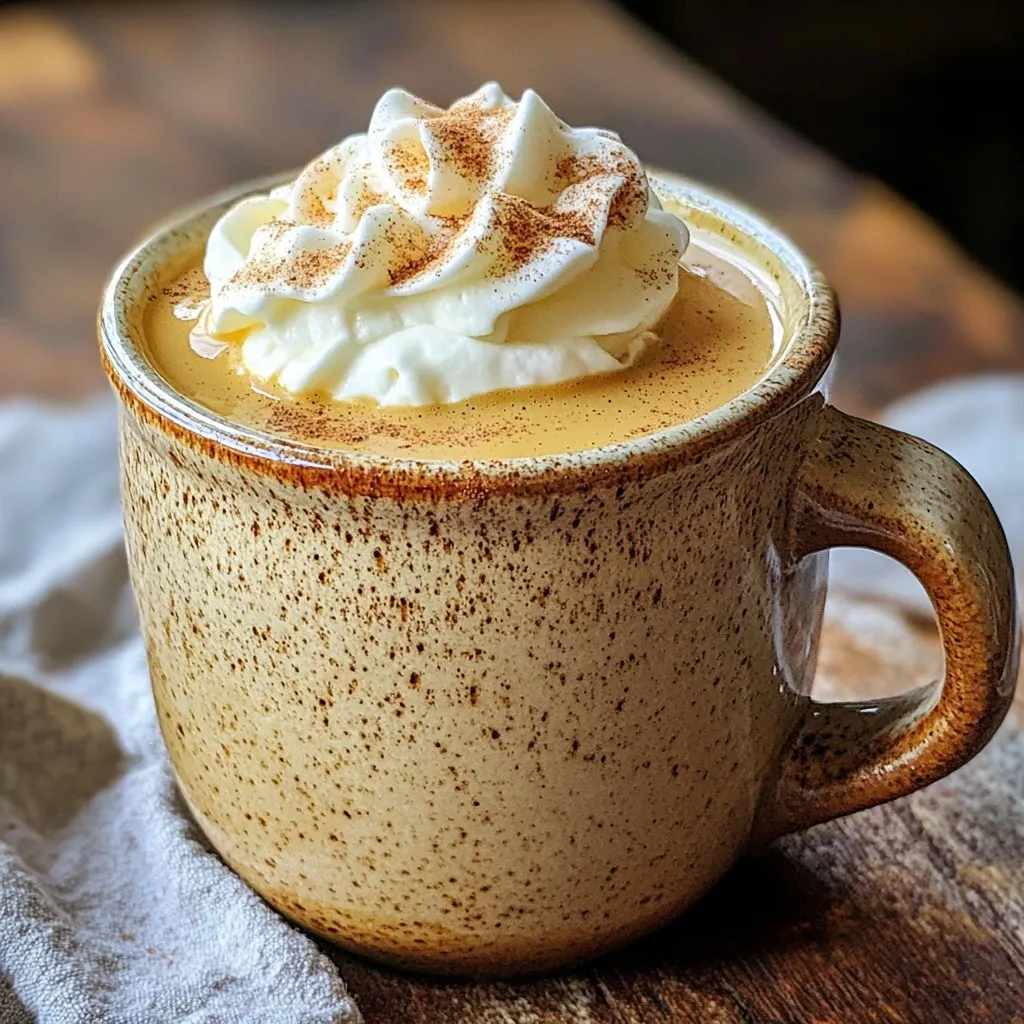
Welcome to my Spiced Maple Latte with Whipped Cream Delight! If you crave a cozy drink that warms you up and excites your taste buds, you’re in the right place. …
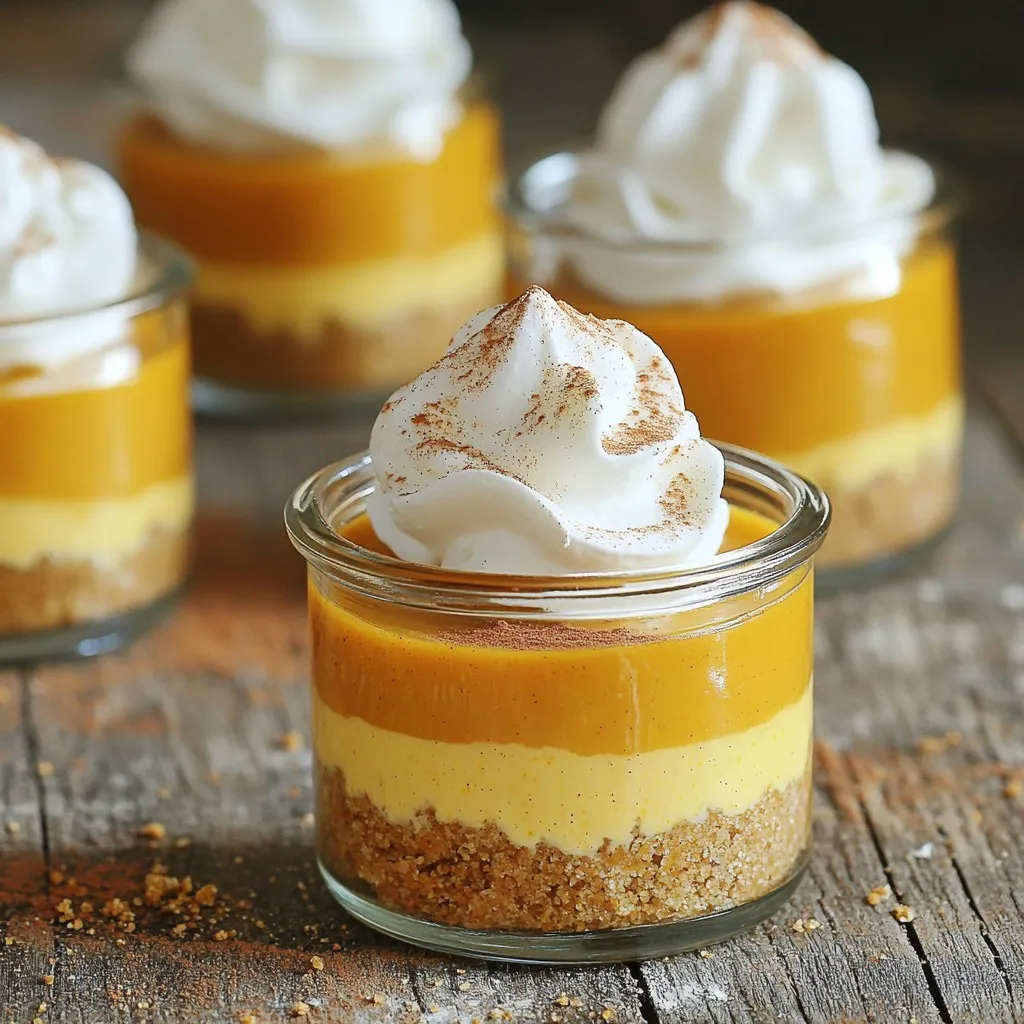
Looking for a dessert that’s both easy and delicious? You’ve found it! These No-Bake Pumpkin Pie Cheesecake Cups combine the creamy goodness of cheesecake with the warm flavors of pumpkin …