Peanut Butter Banana Overnight Oats Simple Breakfast
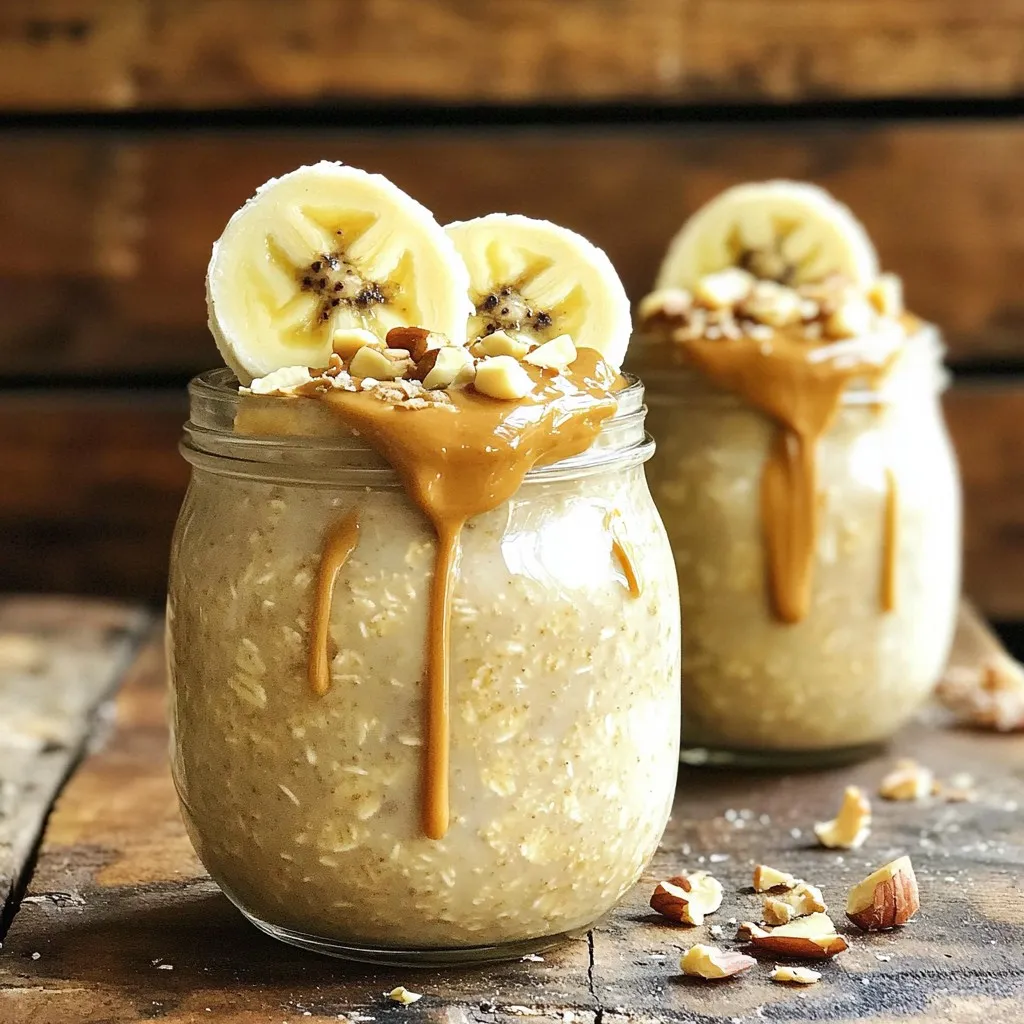
If you’re looking for a quick and tasty breakfast, let me introduce you to Peanut Butter Banana Overnight Oats. This simple recipe combines creamy peanut butter, ripe bananas, and hearty …