Crispy Honey Mustard Chicken in the Air Fryer Recipe
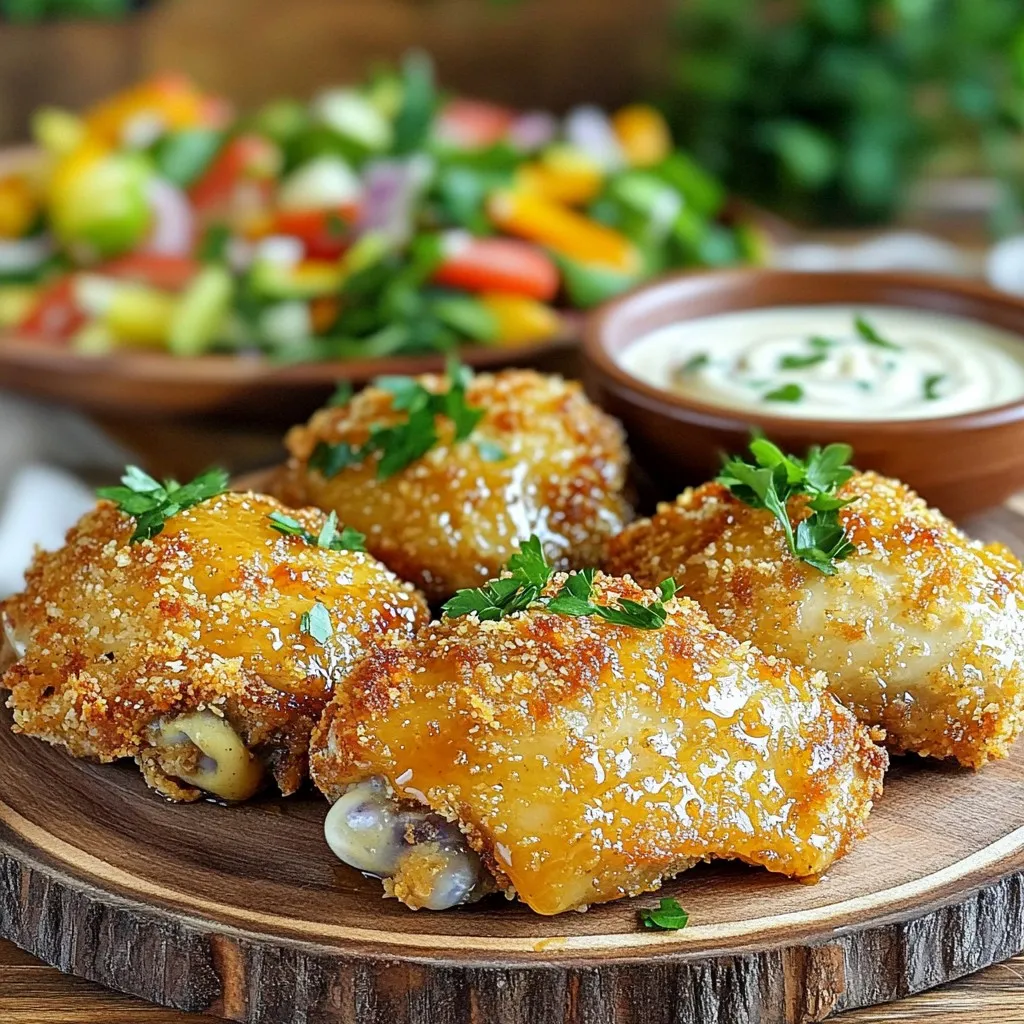
Looking for a quick dinner that packs a flavor punch? You’ll love this Crispy Honey Mustard Chicken made in the air fryer! With just a few simple ingredients like Dijon …
Looking for a quick dinner that packs a flavor punch? You’ll love this Crispy Honey Mustard Chicken made in the air fryer! With just a few simple ingredients like Dijon …
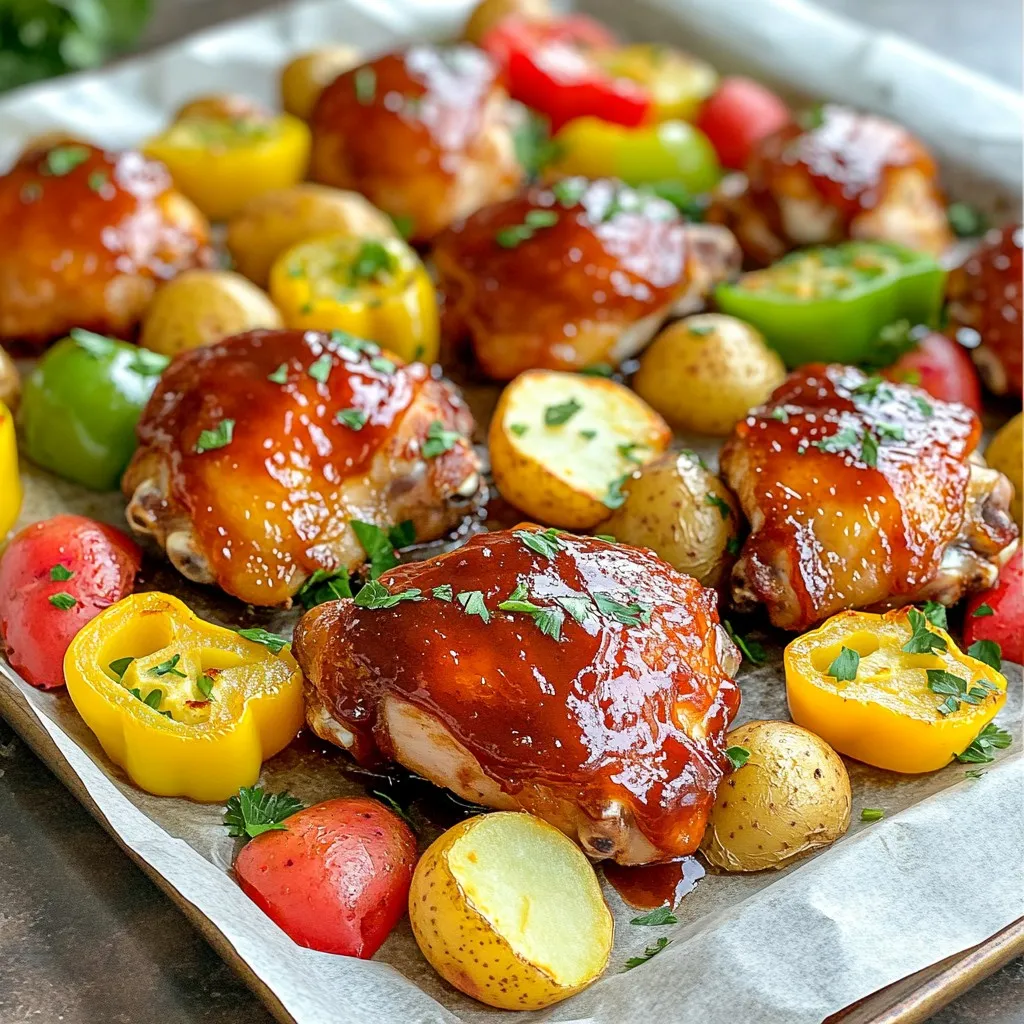
Are you ready to elevate your dinner game? My Sweet and Smoky BBQ Sheet Pan Chicken is packed with flavor and super easy to make. You’ll enjoy juicy chicken combined …
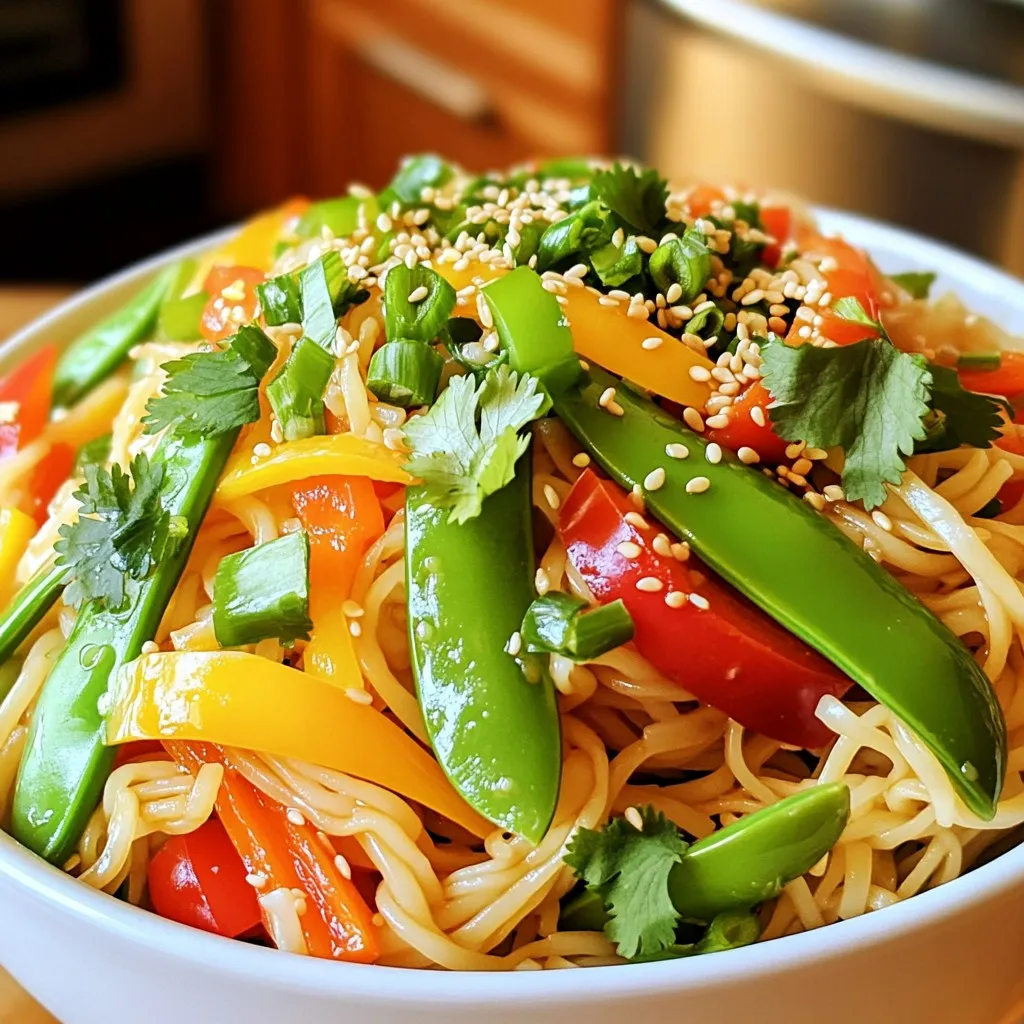
If you’re looking for a quick and tasty meal, try these Sesame Chili Crisp Noodle Bowls! You can whip this up in just 15 minutes, making it perfect for busy …
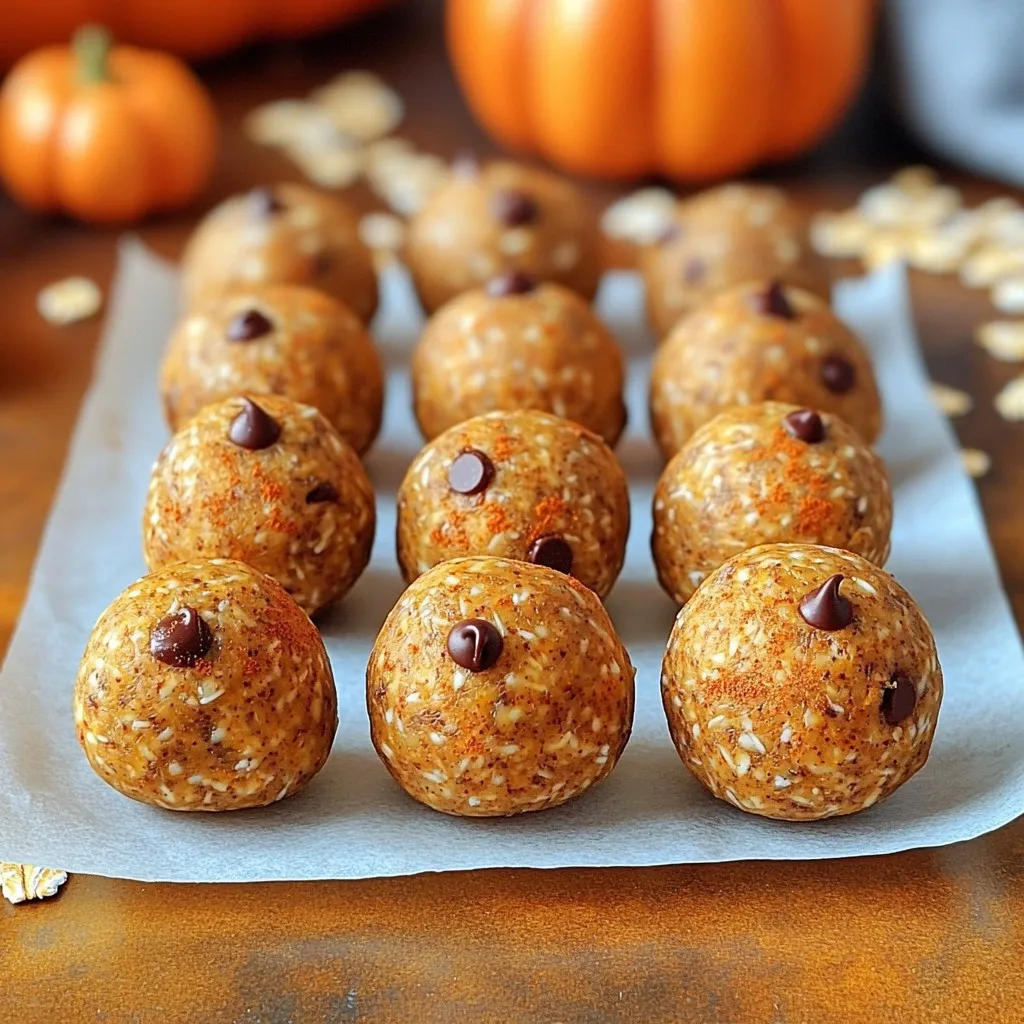
Craving a tasty treat that’s both fun and easy? You’ll love these no-bake pumpkin spice energy balls! Packed with flavor and nutrition, they are perfect for a quick snack or …
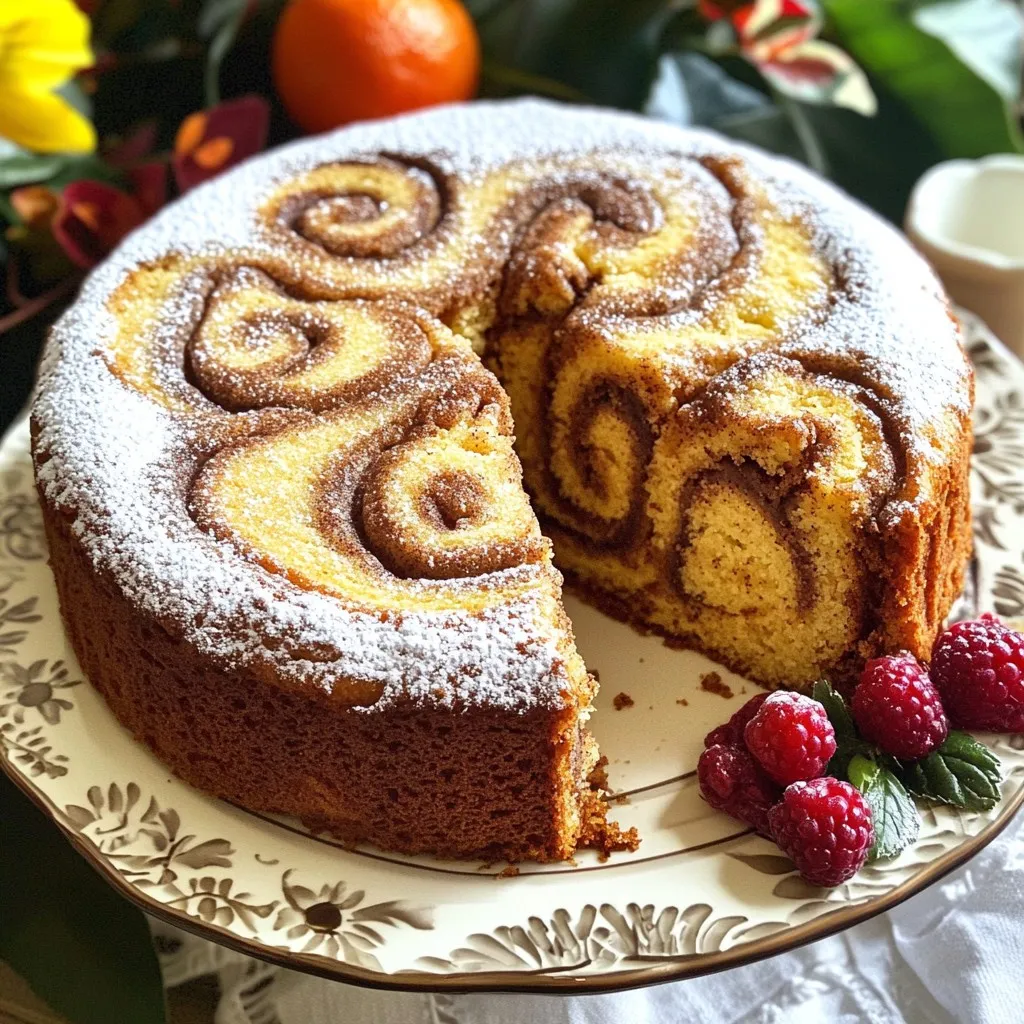
Do you crave the sweet joy of a bakery-style coffee cake? You’re in for a treat! My Cinnamon Swirl Coffee Cake Bakery Style Delight will fill your kitchen with inviting …
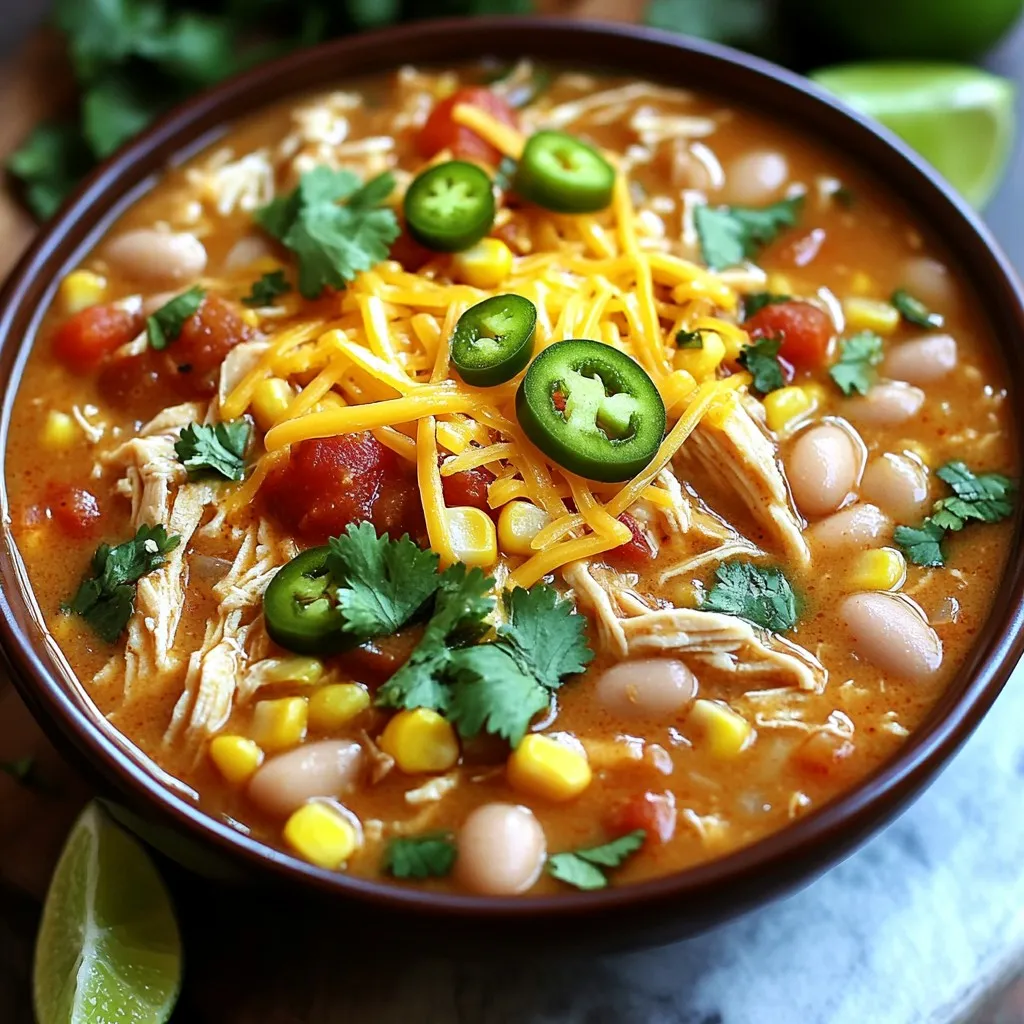
Are you ready to warm up your day with a bowl of creamy white bean chicken chili? This easy slow cooker dish packs in flavor and comfort, making it perfect …
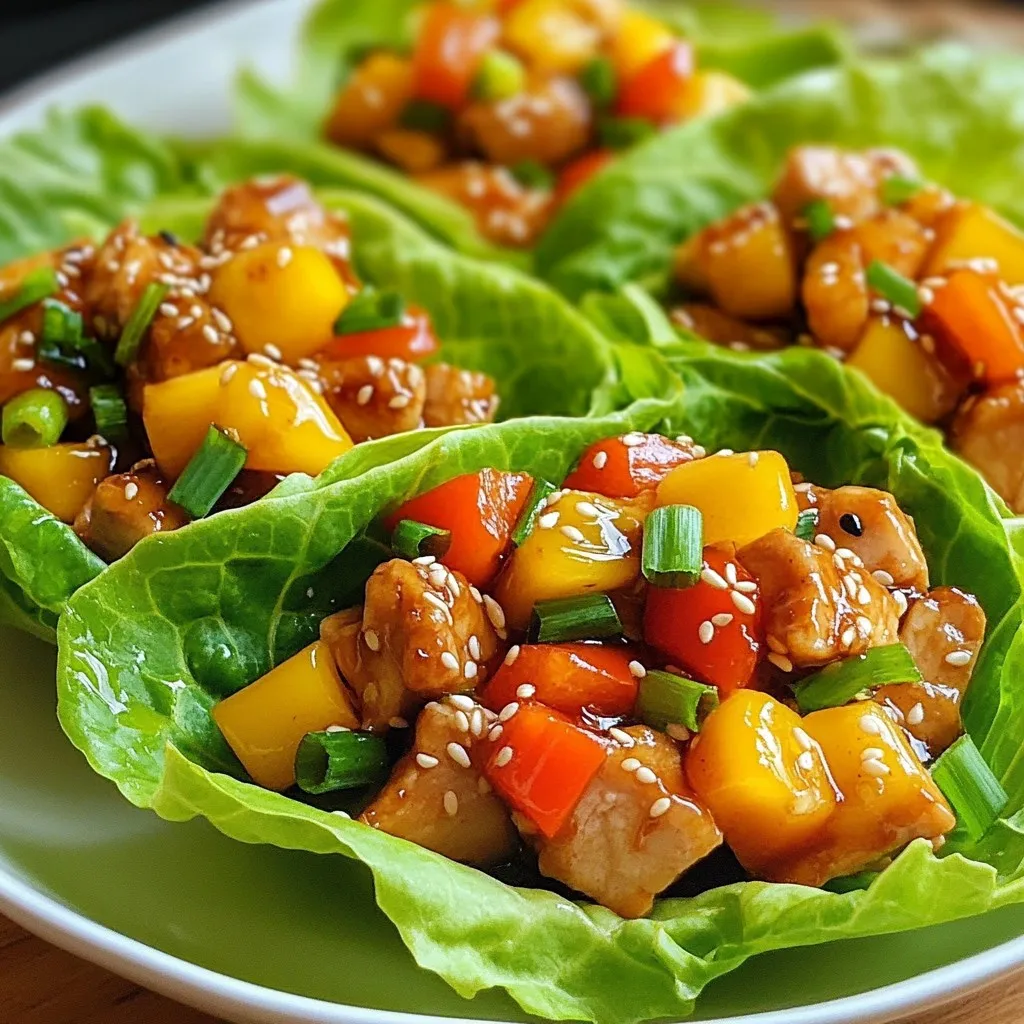
Are you ready for a fresh and flavorful meal? Teriyaki Chicken Lettuce Cups are the perfect solution! Packed with tender chicken, crunchy veggies, and a sweet sauce, these cups are …
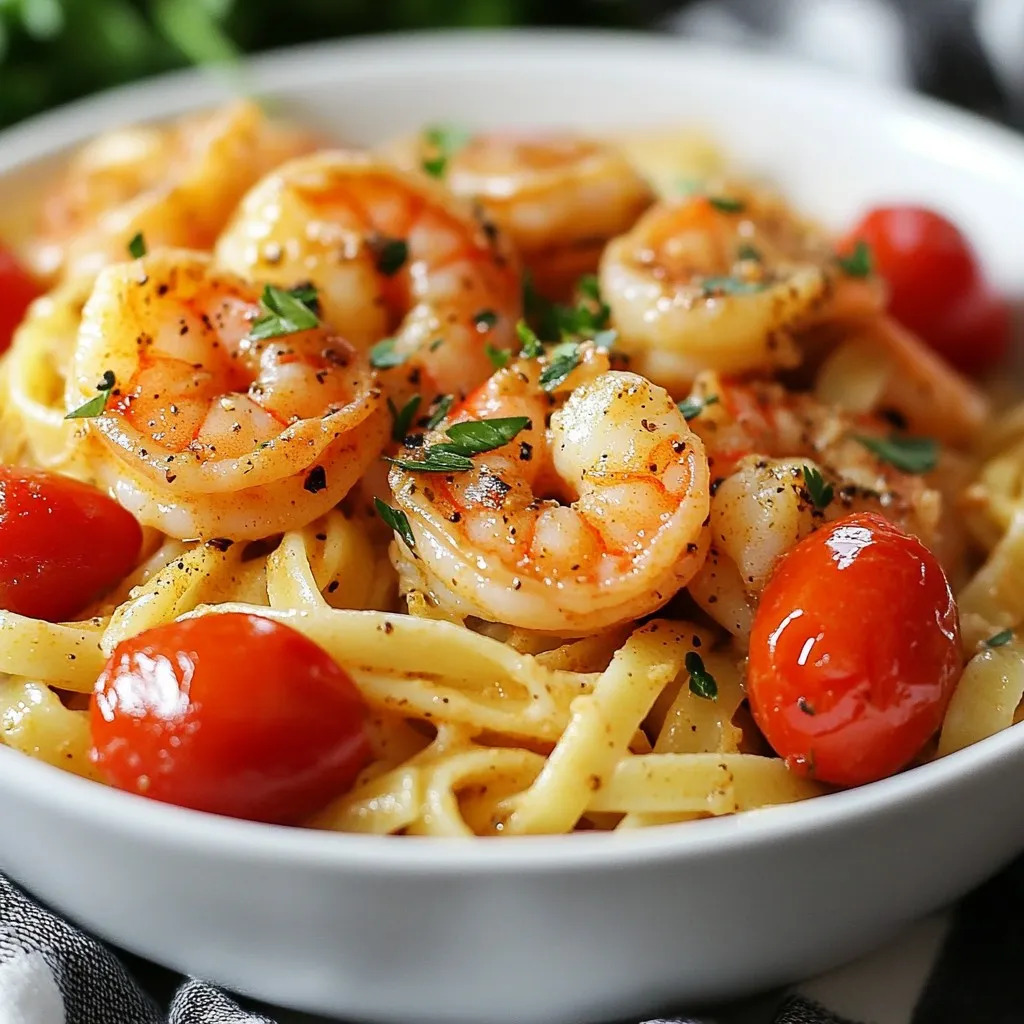
Are you craving a quick and tasty meal that packs a punch? Look no further than my Minute Cajun Shrimp Pasta! This dish combines succulent shrimp with bold Cajun flavors, …
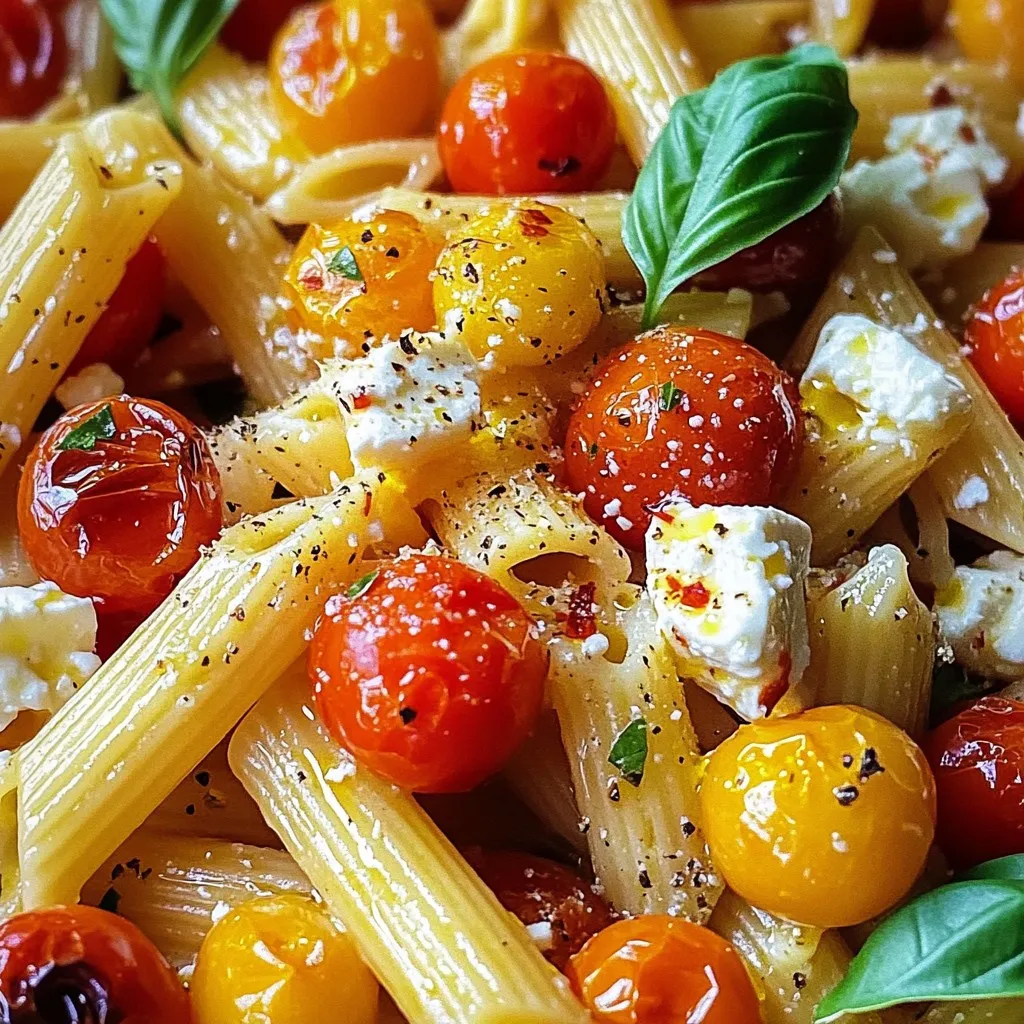
Are you ready for a flavor explosion? This TikTok Feta Roasted Tomato Pasta is the perfect dish! With creamy feta and sweet roasted tomatoes, this pasta is easy to make …

Looking for a simple yet delicious dinner idea? This Creamy Lemon Chicken and Rice recipe is your answer! It’s an easy one-pot meal bursting with flavor and creaminess. You’ll learn …