Slow Cooker Beef Stroganoff with Egg Noodles Delight

Welcome to “Slow Cooker Beef Stroganoff with Egg Noodles Delight.” If you want a warm, comforting meal that thrill your taste buds, you’re in the right place! This easy recipe …
Welcome to “Slow Cooker Beef Stroganoff with Egg Noodles Delight.” If you want a warm, comforting meal that thrill your taste buds, you’re in the right place! This easy recipe …

If you love crispy chicken wings, you’re in for a treat! In this blog, I’ll show you how to make Air Fryer Garlic Parmesan Chicken Wings that are tasty and …
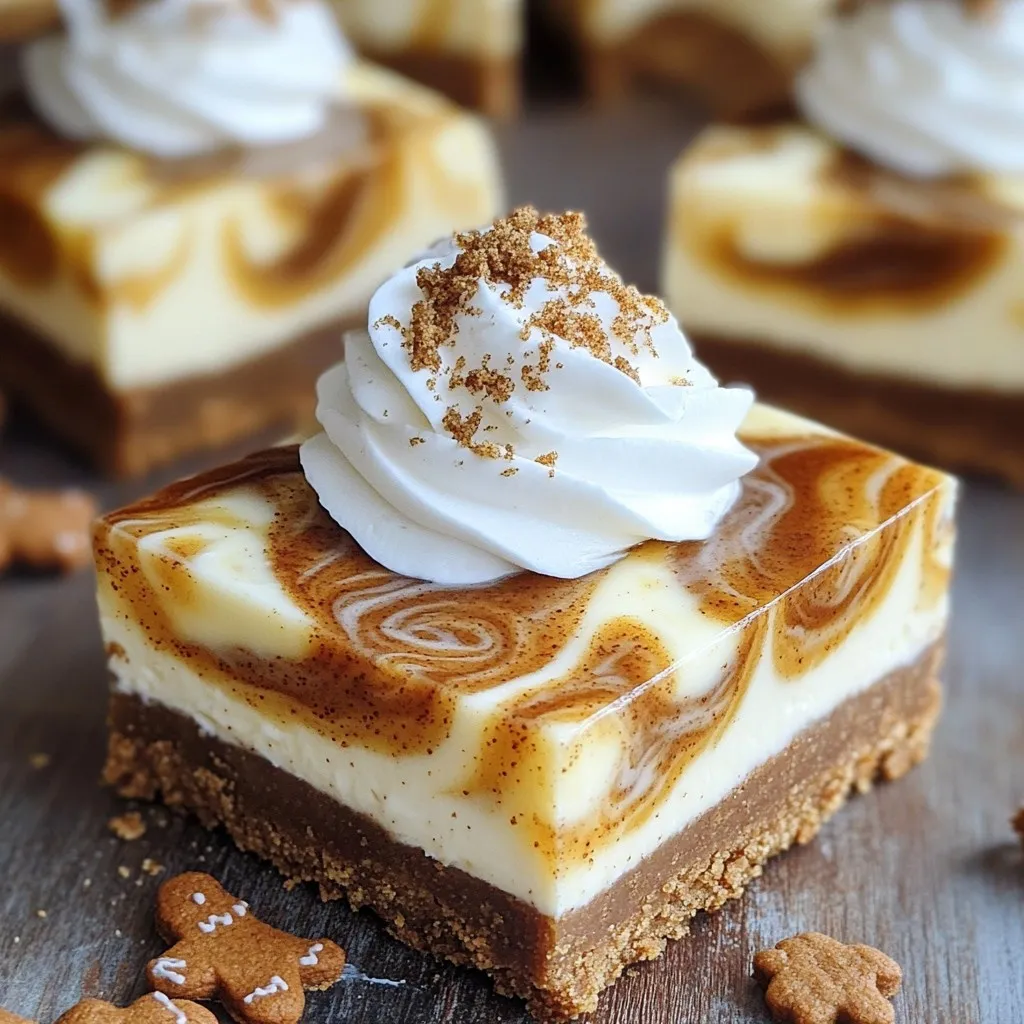
Looking for a festive treat that’s easy to make and delicious? You’re in the right place! These No Bake Gingerbread Cheesecake Bars mix cozy gingerbread flavors with rich cheesecake creaminess. …

Start your mornings right with my Minute Egg White Breakfast Wraps! These wraps are quick to make and packed with protein. You can enjoy a healthy breakfast that fuels your …
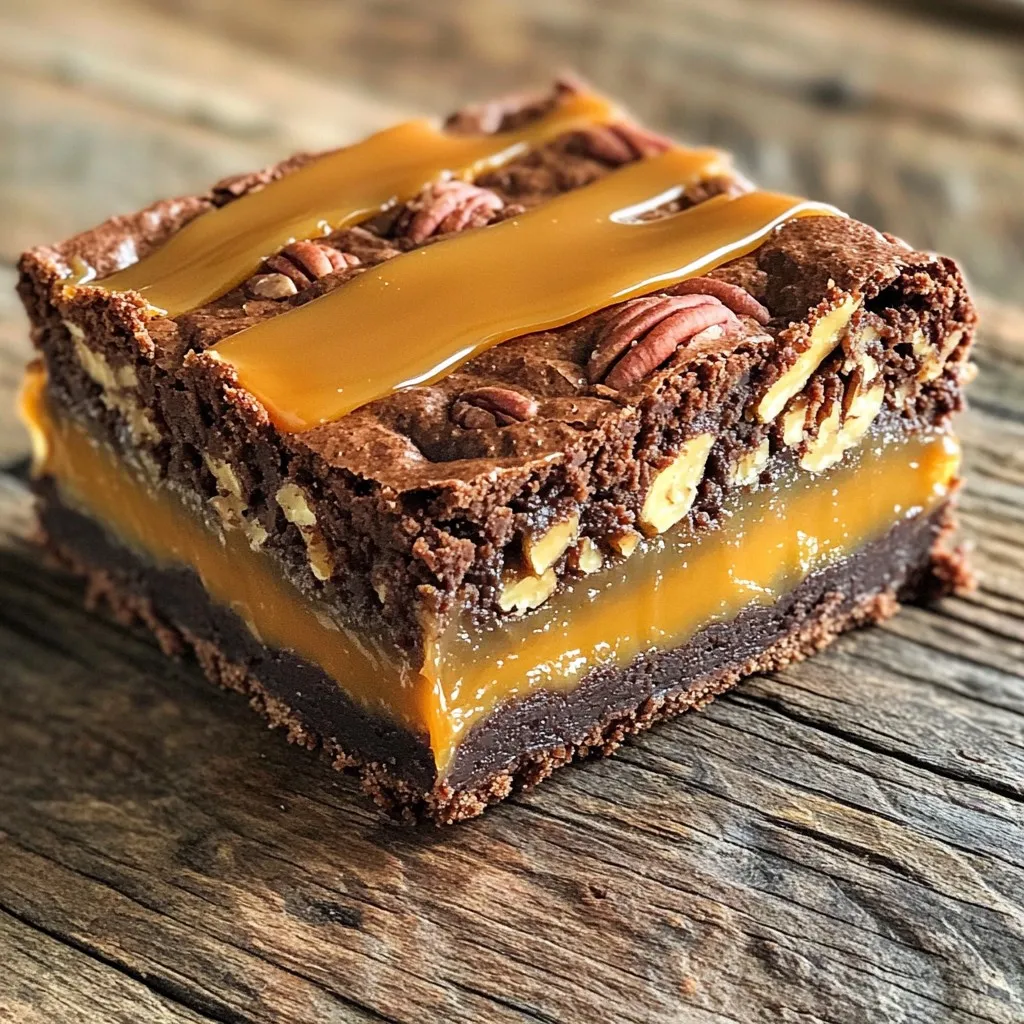
If you love sweet and crunchy treats, you’re in for a real delight! These Caramel Pecan Turtle Brownie Bars are an easy and tasty way to satisfy your cravings. With …
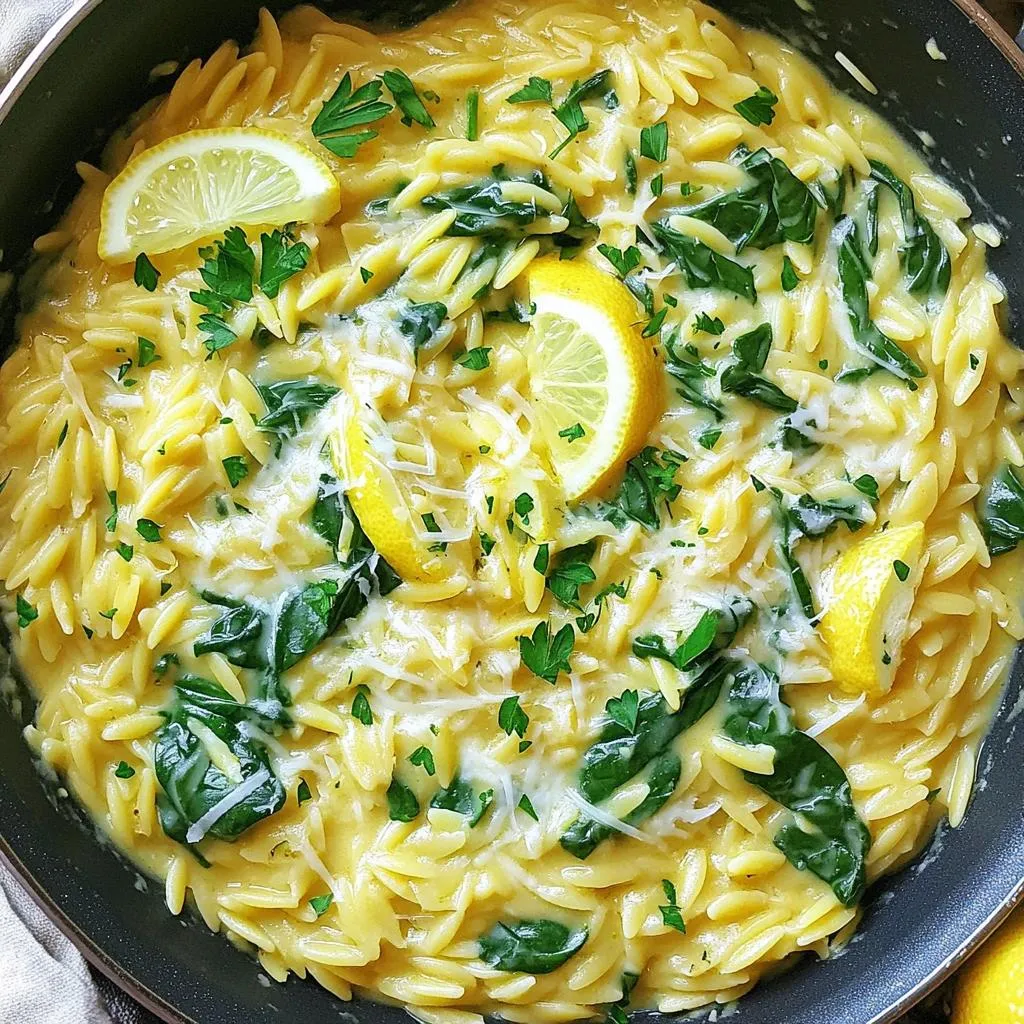
Looking for a quick, tasty dinner? Try my One-Pan Creamy Lemon Parmesan Orzo. This dish is creamy, zesty, and easy to make. You only need one pan, so cleanup is …
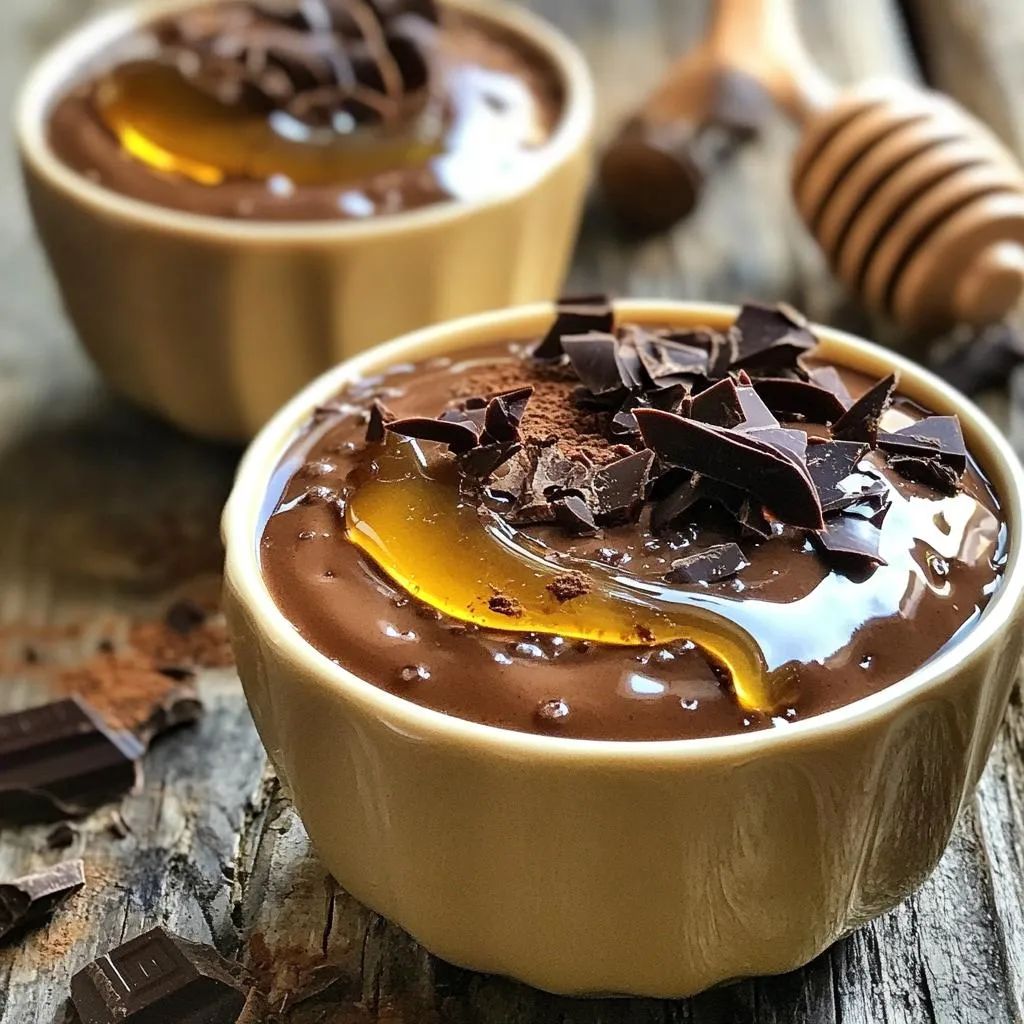
Craving a sweet treat that packs a protein punch? Meet your new favorite dessert: High-Protein Mocha Cottage Cheese Pudding! This rich and smooth pudding combines cottage cheese, cocoa, and coffee …

If you crave a warm, comforting treat, let me introduce you to my Warm Cranberry Orange Glazed Bread. This delightful bread bursts with flavors of fresh cranberries and zesty orange, …

Get ready for a sweet holiday treat with my No-Bake Eggnog White Chocolate Truffles! Perfect for festive gatherings or cozy nights in, these truffles offer a rich flavor without any …

Looking for a quick, tasty meal? You’ve found it! My One-Pot Spinach Artichoke Tortellini combines fresh flavors and creamy goodness without the mess of many pots. You will love how …