Smores Brownie Skillet Irresistibly Gooey Dessert

Get ready for a dessert that’s sure to wow your taste buds! This Smores Brownie Skillet combines gooey brownies with melty marshmallows and crunchy graham crackers. In just a few …
Get ready for a dessert that’s sure to wow your taste buds! This Smores Brownie Skillet combines gooey brownies with melty marshmallows and crunchy graham crackers. In just a few …
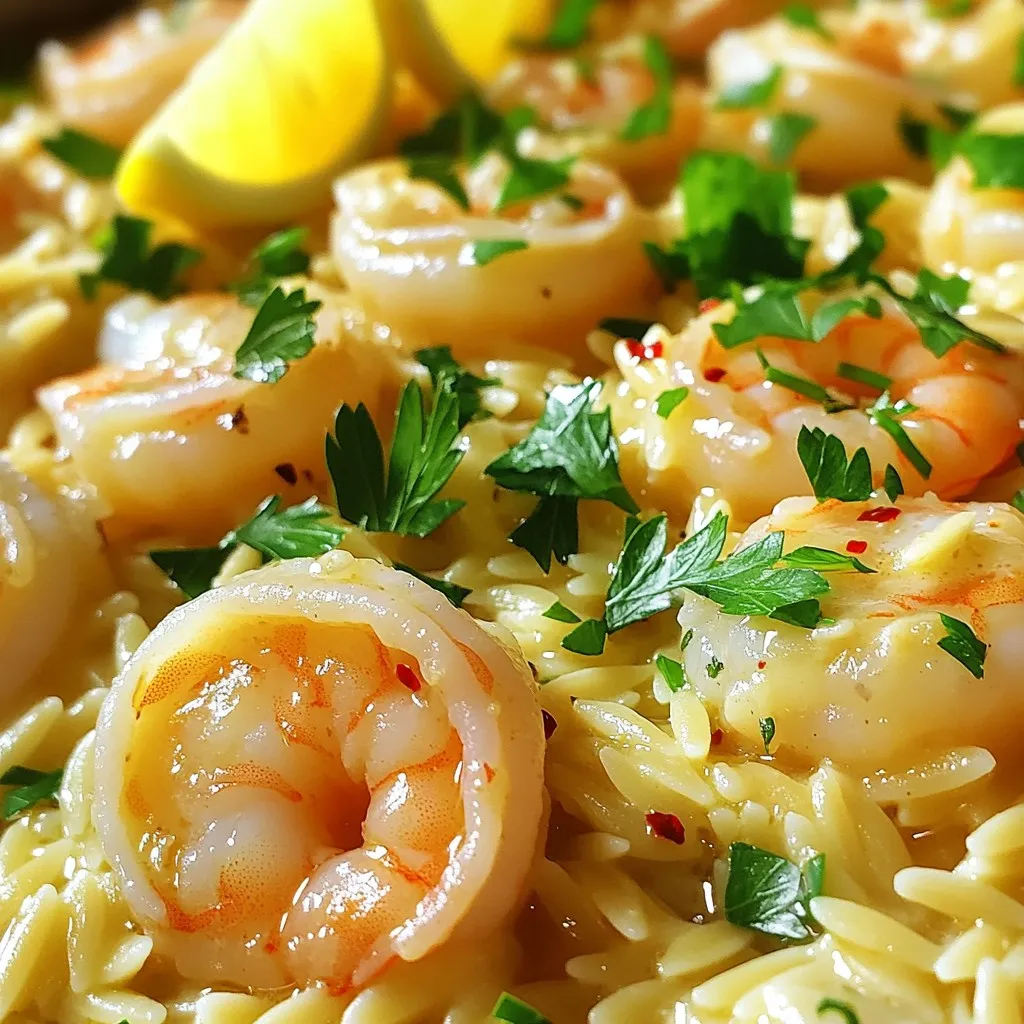
Welcome to a dish that bursts with flavor! Garlic Butter Shrimp Scampi Orzo is your new go-to meal. Imagine succulent shrimp cooked in rich garlic butter, perfectly paired with tender …

Get ready to spice up your next game night or family dinner! My Mango Habanero Sticky Chicken Wings are a flavorful delight that marries sweet and heat with every bite. …

Are you ready to elevate your grilled cheese game to new heights? This Ultimate Pesto Grilled Cheese combines fresh basil pesto, gooey mozzarella, and crispy sourdough bread for a delightful, …

Looking for a warm, satisfying meal? Let me introduce you to Philly Cheesesteak Soup. This tasty soup combines the bold flavors of a classic cheesesteak with a creamy base. Perfect …

Are you ready to whip up a delicious and easy meal? My savory Japanese Chicken Katsu Bowls are a must-try! This dish features crispy chicken, fluffy rice, and crunchy cabbage. …

As the leaves change color and the air becomes crisp, there’s nothing quite like a warm bowl of Autumn Sausage Tortellini Soup to bring comfort. This soup is rich, hearty, …

Craving a comforting meal that’s both flavorful and easy? I’ve got just the thing for you: One-Pot Lasagna Soup! This tasty dish combines all the classic tastes of lasagna in …

Welcome to my loaded potato soup recipe! If you’re craving something warm and filling, you’ve found it. This hearty dish combines creamy potatoes, savory cheese, and crisp bacon, making it …
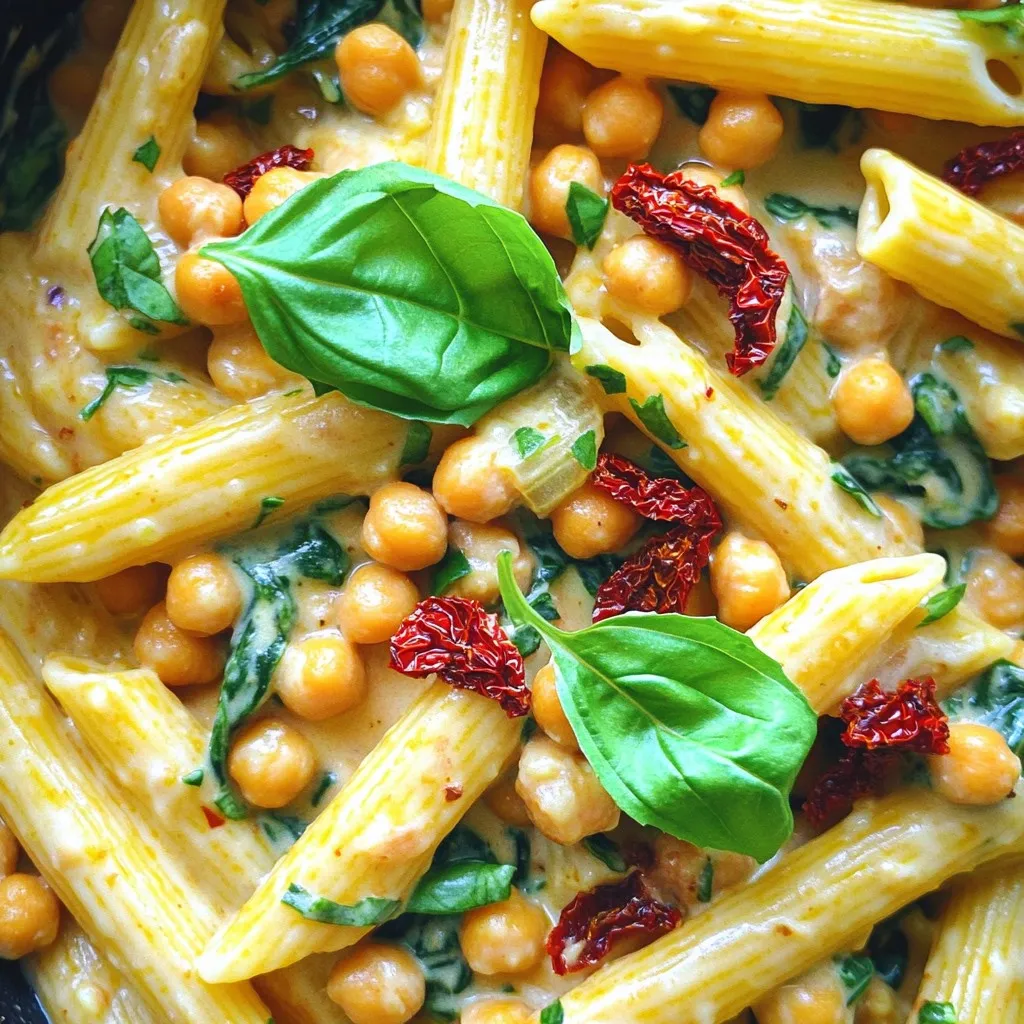
Craving a dish that is both flavorful and comforting? Look no further than my Sun-Dried Tomato Vegan Pasta! This easy recipe combines the rich taste of sun-dried tomatoes, hearty chickpeas, …