Air Fryer Cinnamon Sugar Apple Chips Crunchy Delight
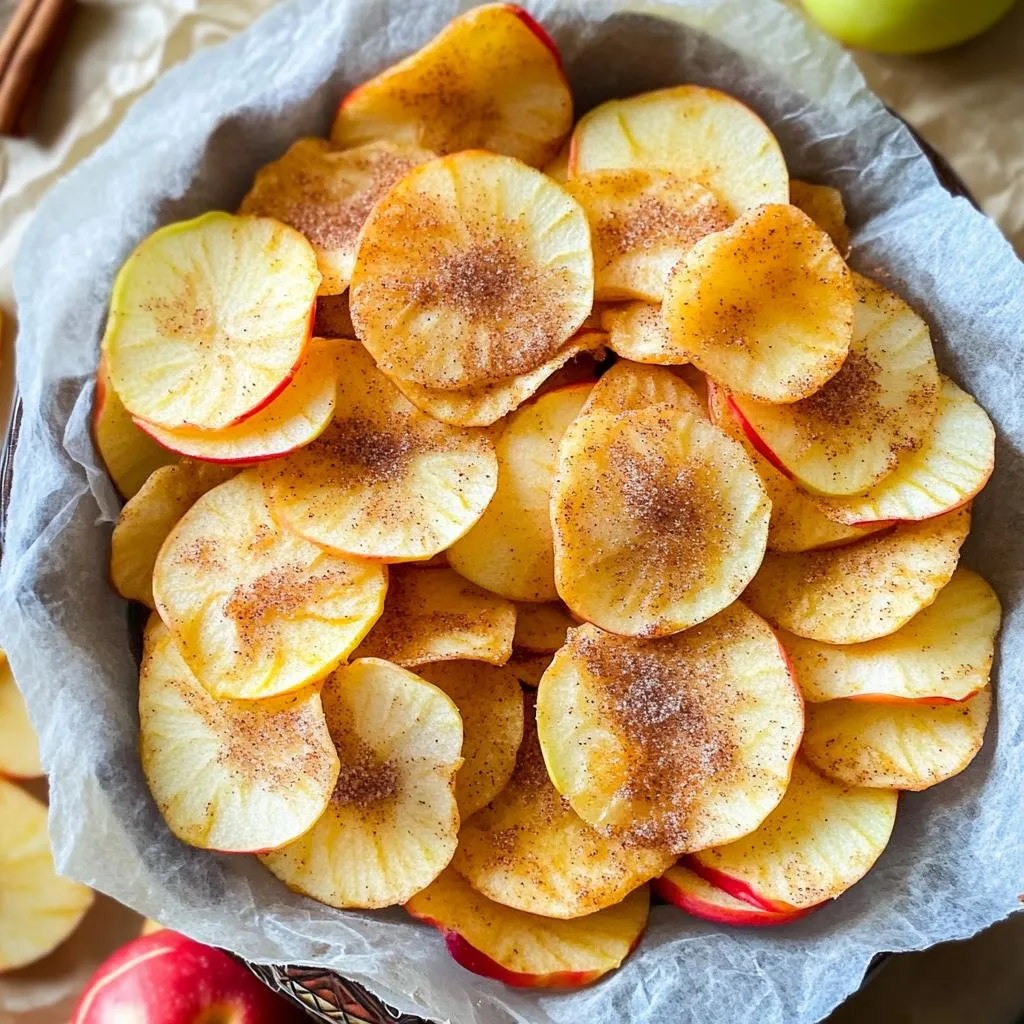
Are you ready to snack smarter? With just a few ingredients and your trusty air fryer, you can make crunchy and delicious Cinnamon Sugar Apple Chips! They’re the perfect blend …
Are you ready to snack smarter? With just a few ingredients and your trusty air fryer, you can make crunchy and delicious Cinnamon Sugar Apple Chips! They’re the perfect blend …
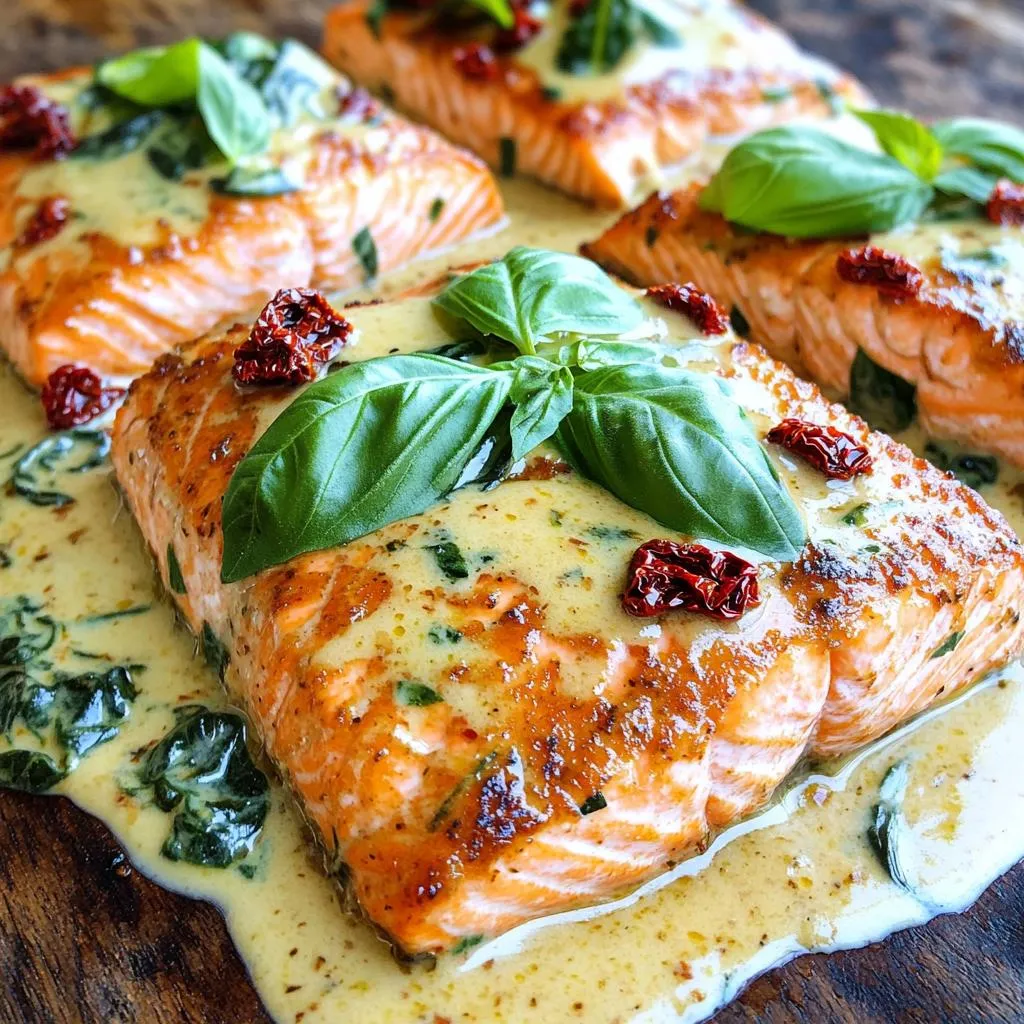
Are you ready to impress your taste buds? This Creamy Tuscan Sun-Dried Tomato Salmon is a quick, flavorful dish that elevates any dinner. Loaded with fresh ingredients like garlic, sun-dried …
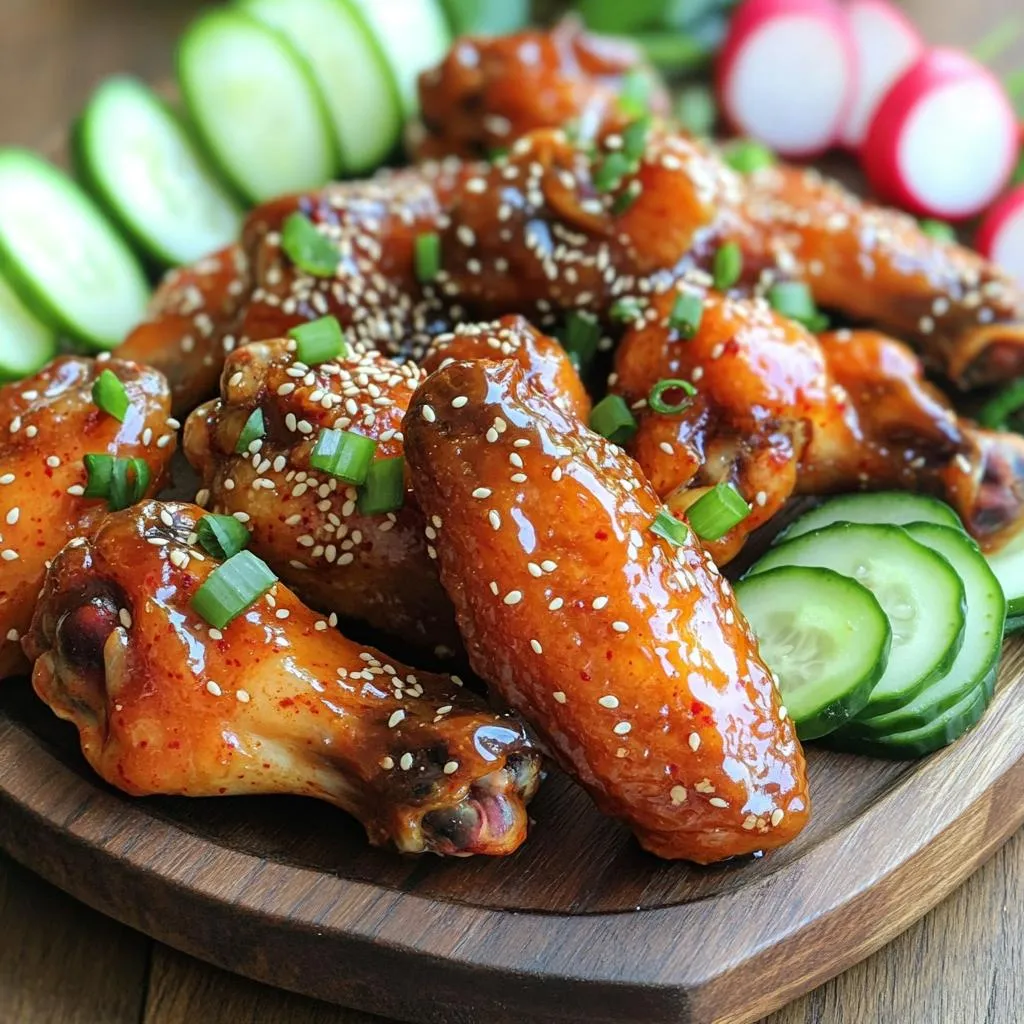
Get ready to spice up your game day or dinner table with my Savory Spicy Korean BBQ Chicken Wings recipe! These wings pack a punch with bold flavors and crispy …

Looking for a sweet treat that’s easy to make? These No-Bake Matcha White Chocolate Truffles are your answer! With just a few simple ingredients, you can whip up a delightful …
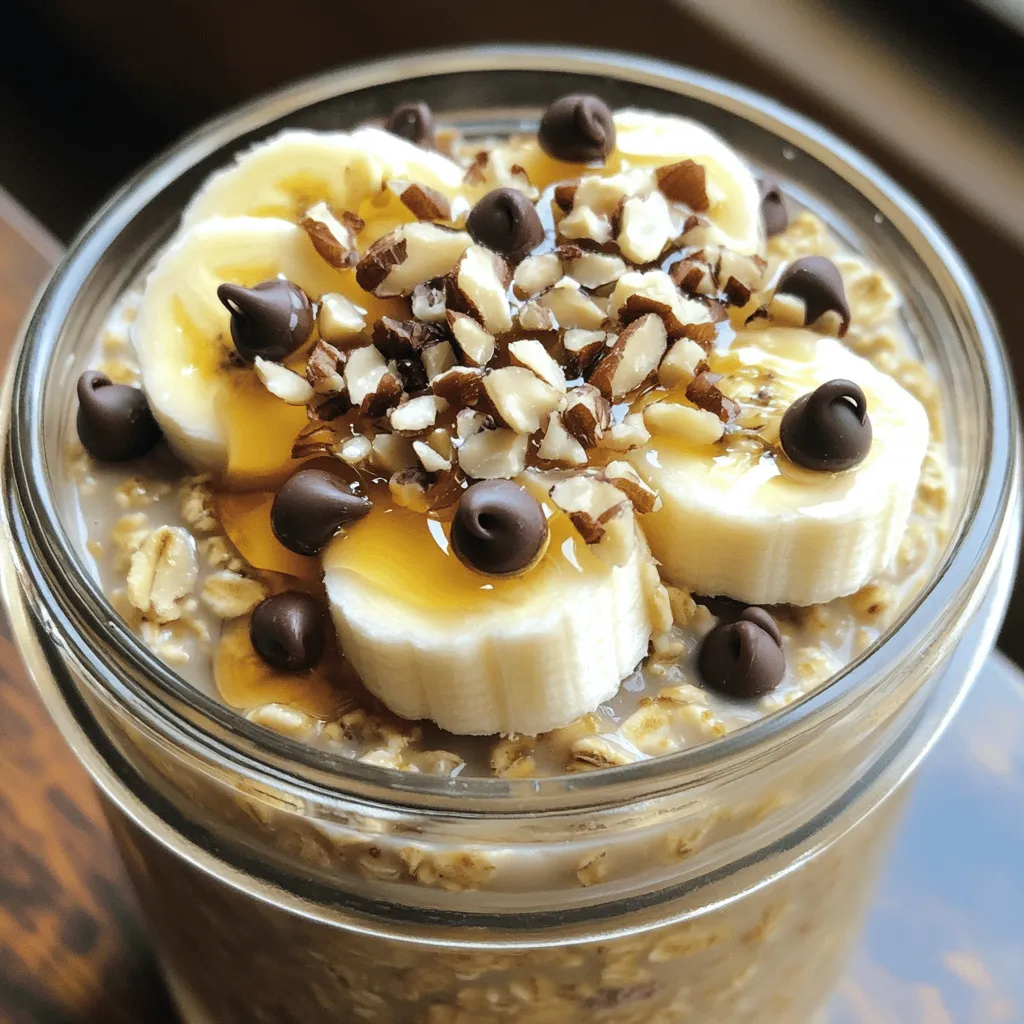
If you’re looking for a quick and tasty breakfast, you’re in the right place! My High-Protein Cookie Dough Overnight Oats recipe combines yummy flavors with great nutrition. You get the …

Are you ready to make a sweet treat that’s easy and fun? These No-Bake Salted Caramel Pretzel Bars mix salty and sweet in every bite. Perfect for any occasion, they …
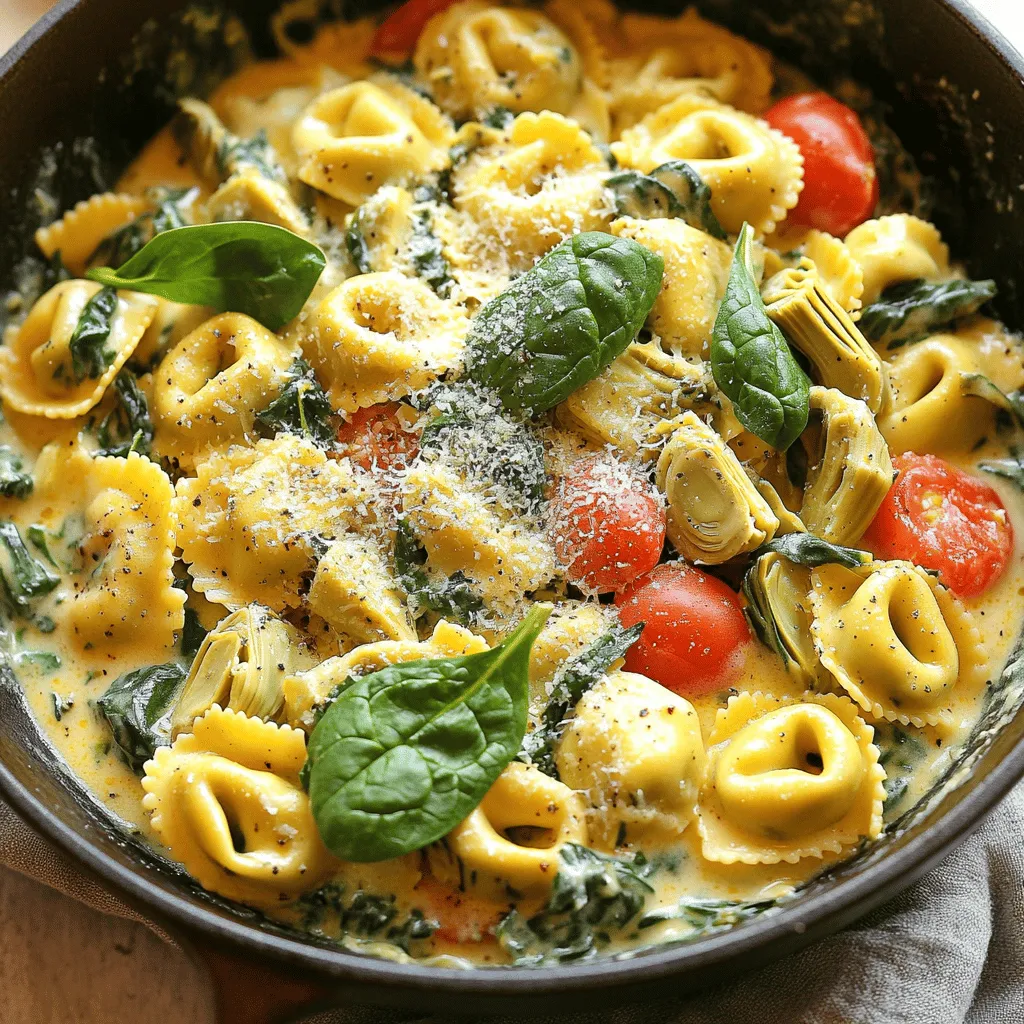
Welcome to your new favorite recipe: One-Pot Spinach Artichoke Tortellini Skillet Delight! If you love quick and tasty meals, this dish is for you. You’ll enjoy creamy flavors and fresh …
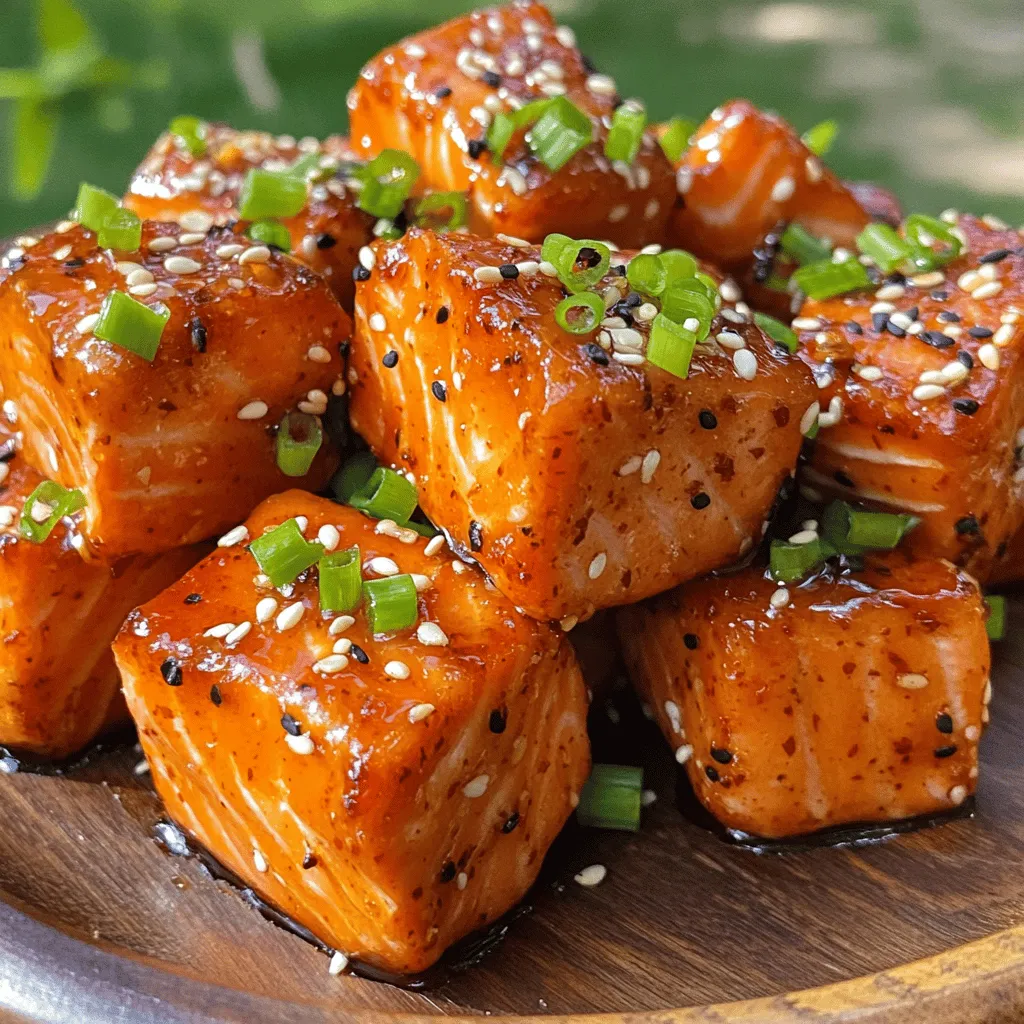
Looking for a flavor-packed treat that’s easy to make? Try my Air Fryer Honey Sriracha Salmon Bites! They combine sweet honey and spicy Sriracha for a tasty twist on salmon. …

If you love bold flavors and easy meals, you’ll adore this Slow Cooker Coconut Curry Chickpea Stew! This hearty dish combines creamy coconut milk, tender chickpeas, and colorful veggies, all …
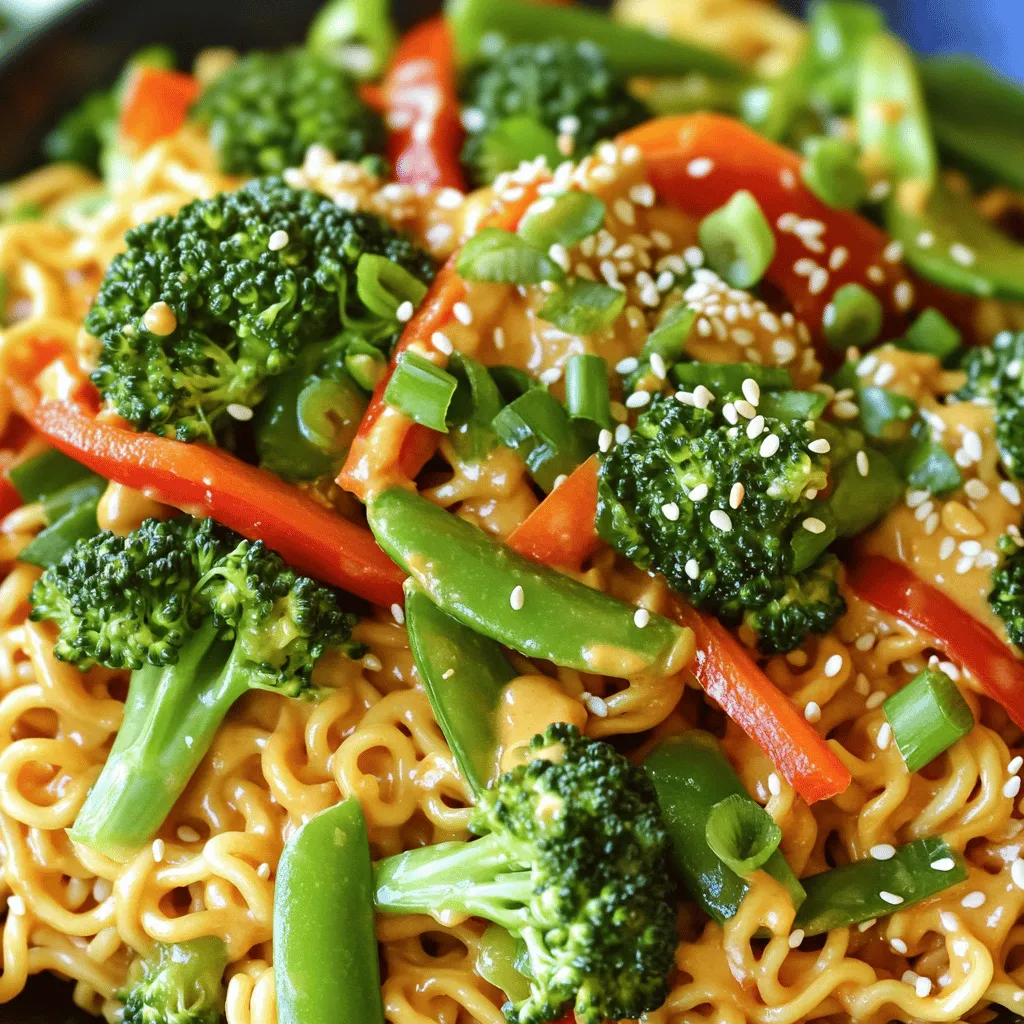
Looking for a quick meal that bursts with flavor? You’re in the right place! My Minute Spicy Peanut Ramen Stir Fry is fast, tasty, and easy. In just a few …