Instant Pot Creamy Tuscan Chicken Pasta Delight
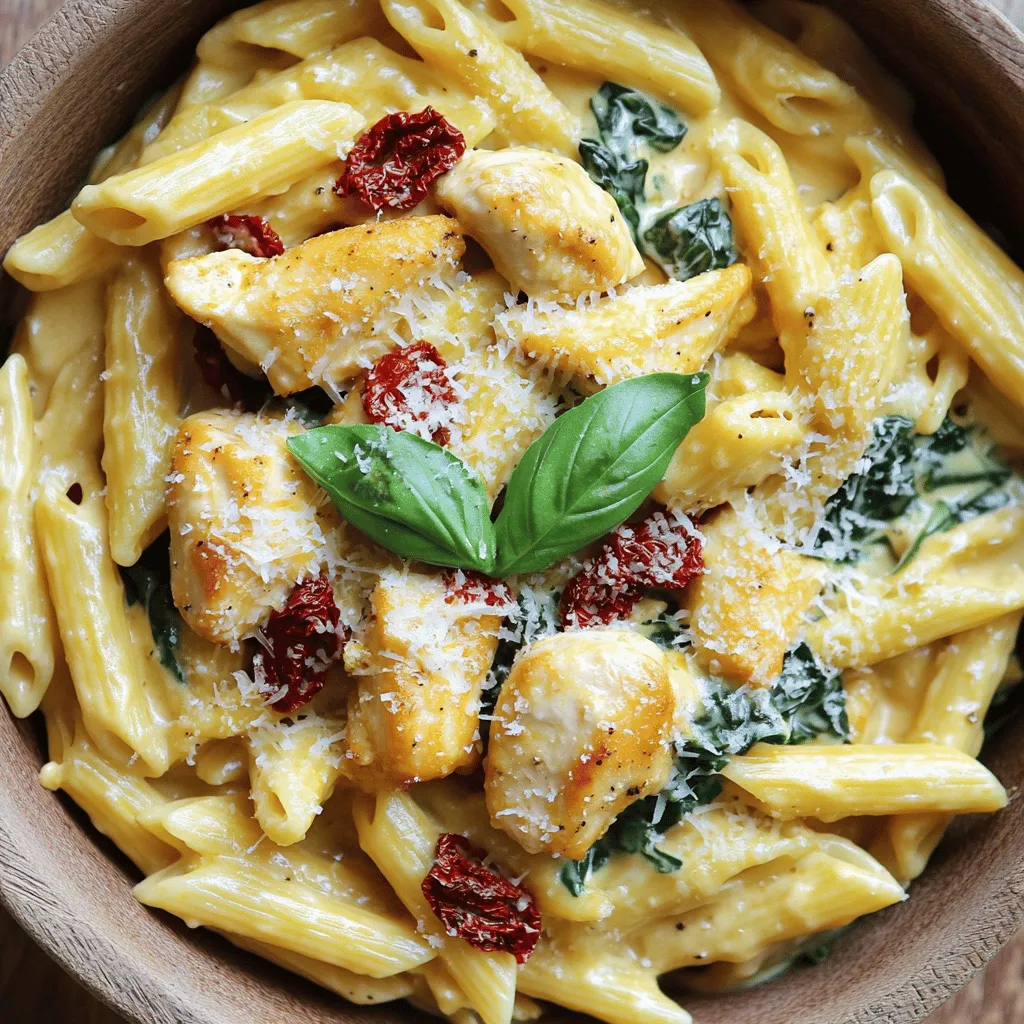
Craving a rich and creamy pasta dish that’s easy to whip up? You’re in the right place! My Instant Pot Creamy Tuscan Chicken Pasta Delight combines tender chicken, sun-dried tomatoes, …
Craving a rich and creamy pasta dish that’s easy to whip up? You’re in the right place! My Instant Pot Creamy Tuscan Chicken Pasta Delight combines tender chicken, sun-dried tomatoes, …
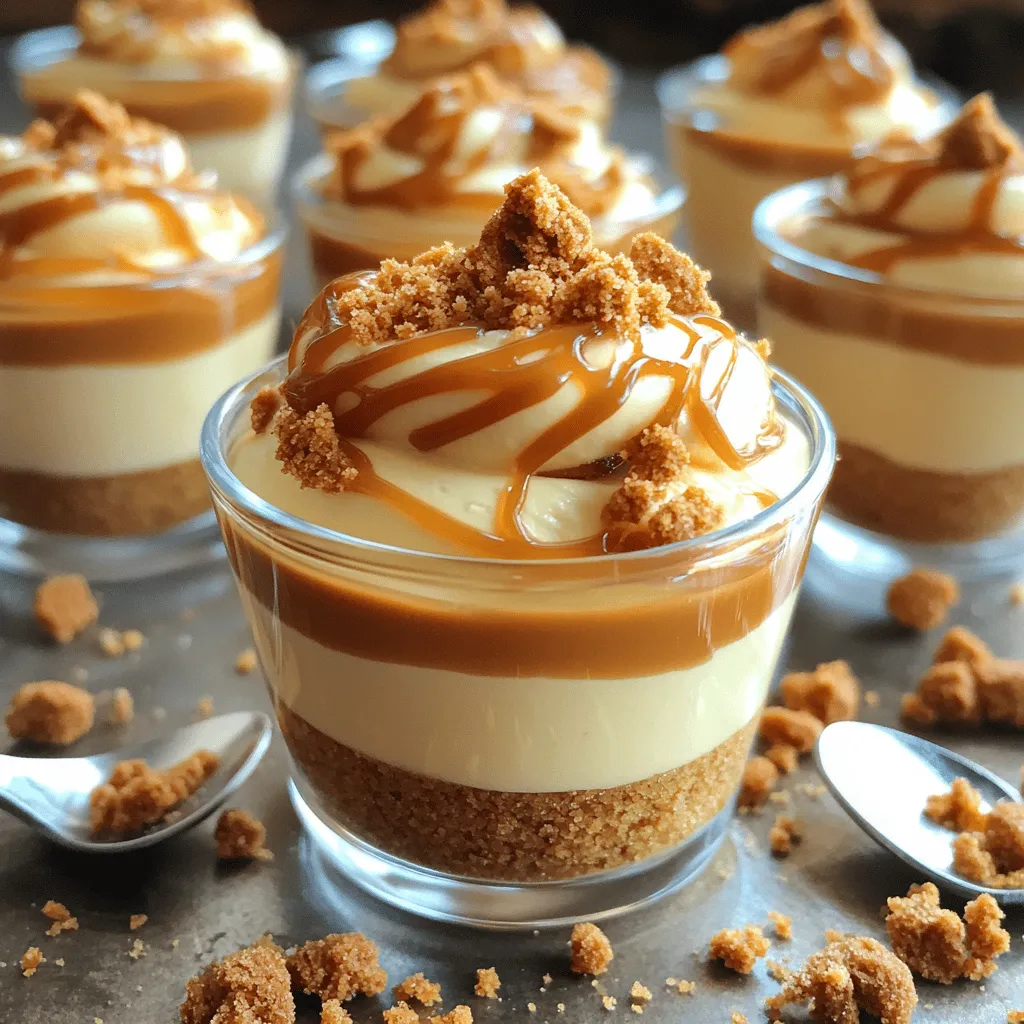
Craving something sweet and easy? You’re in the right place! In this post, I’ll show you how to make No-Bake Biscoff Cheesecake Cups. These creamy treats are perfect for any …
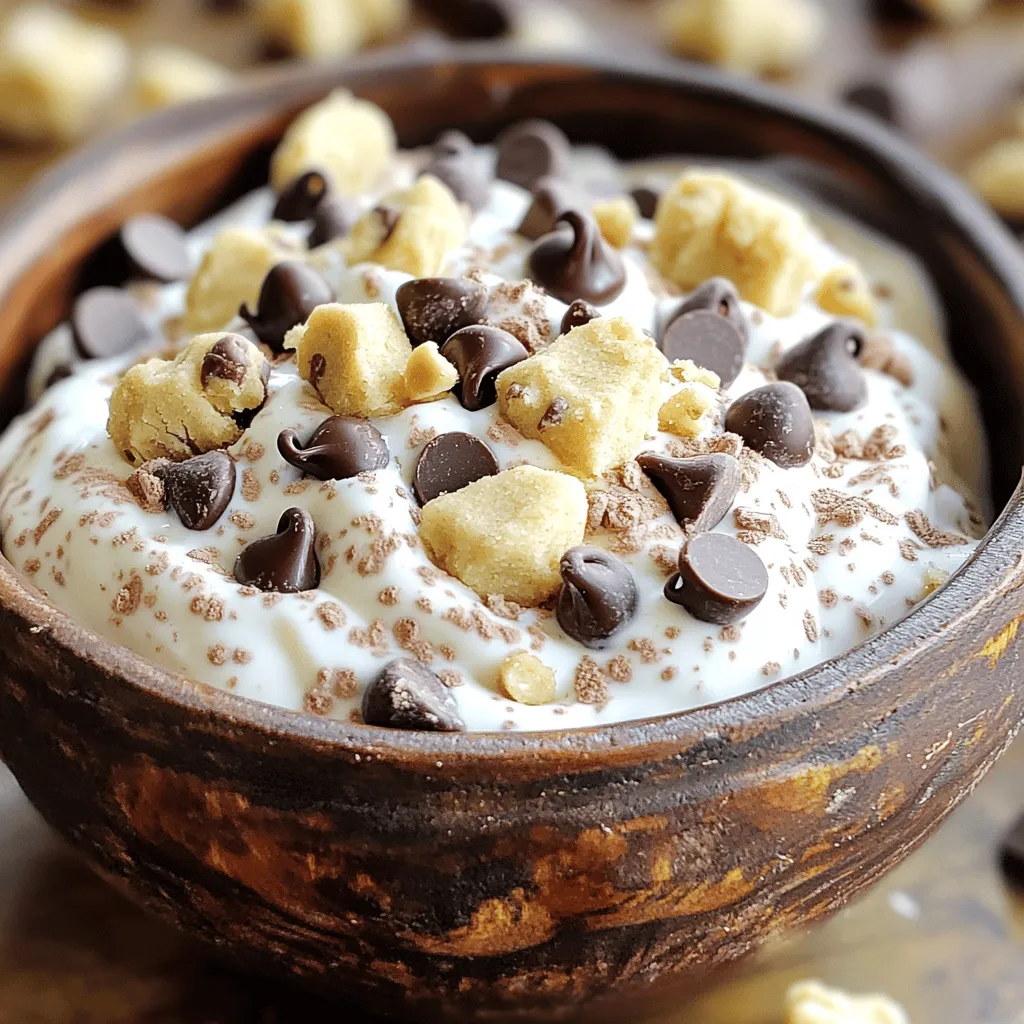
Craving a treat that satisfies your sweet tooth but won’t derail your diet? Look no further! This Chocolate Chip Cookie Dough Greek Yogurt Delight offers a creamy, dreamy dessert packed …
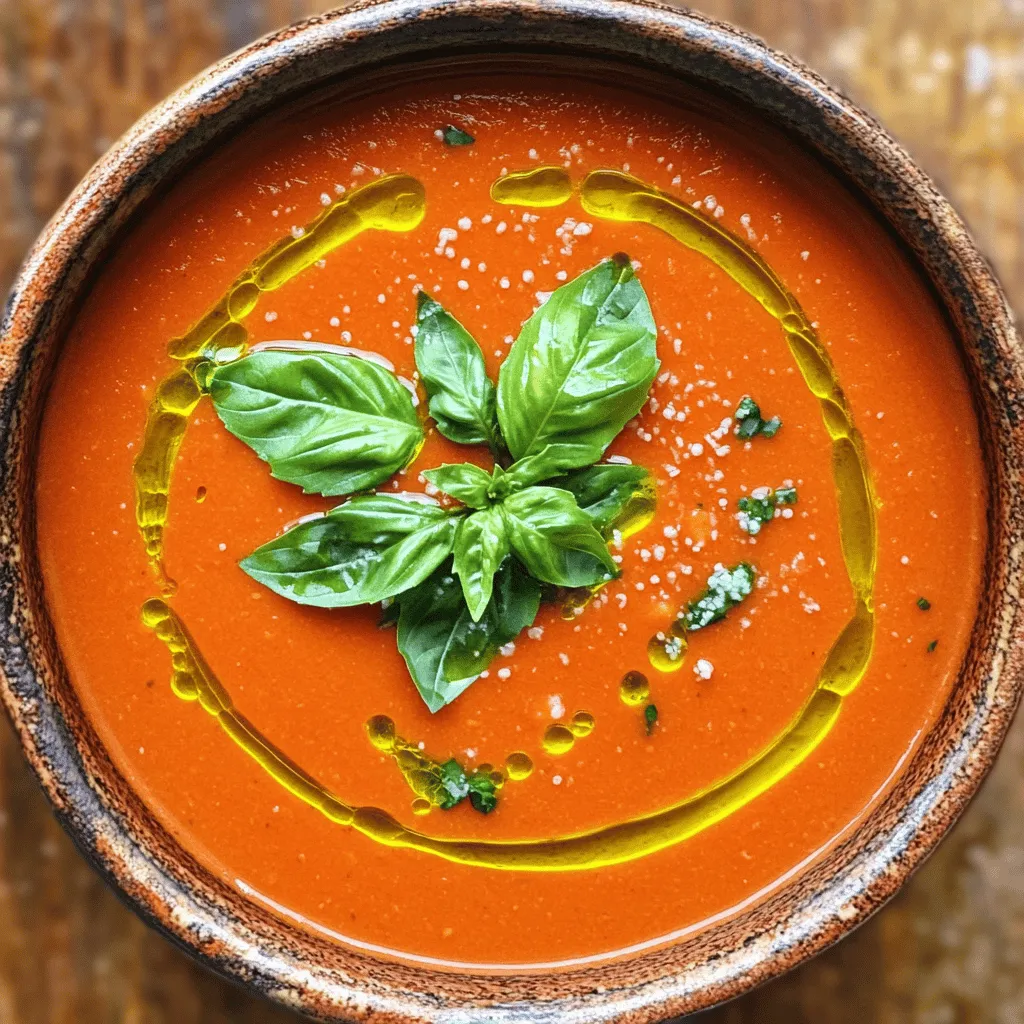
Ready to enjoy a bowl of creamy goodness? My Instant Pot Creamy Tomato Basil Soup is simple, delicious, and made in no time. With just a few fresh ingredients and …
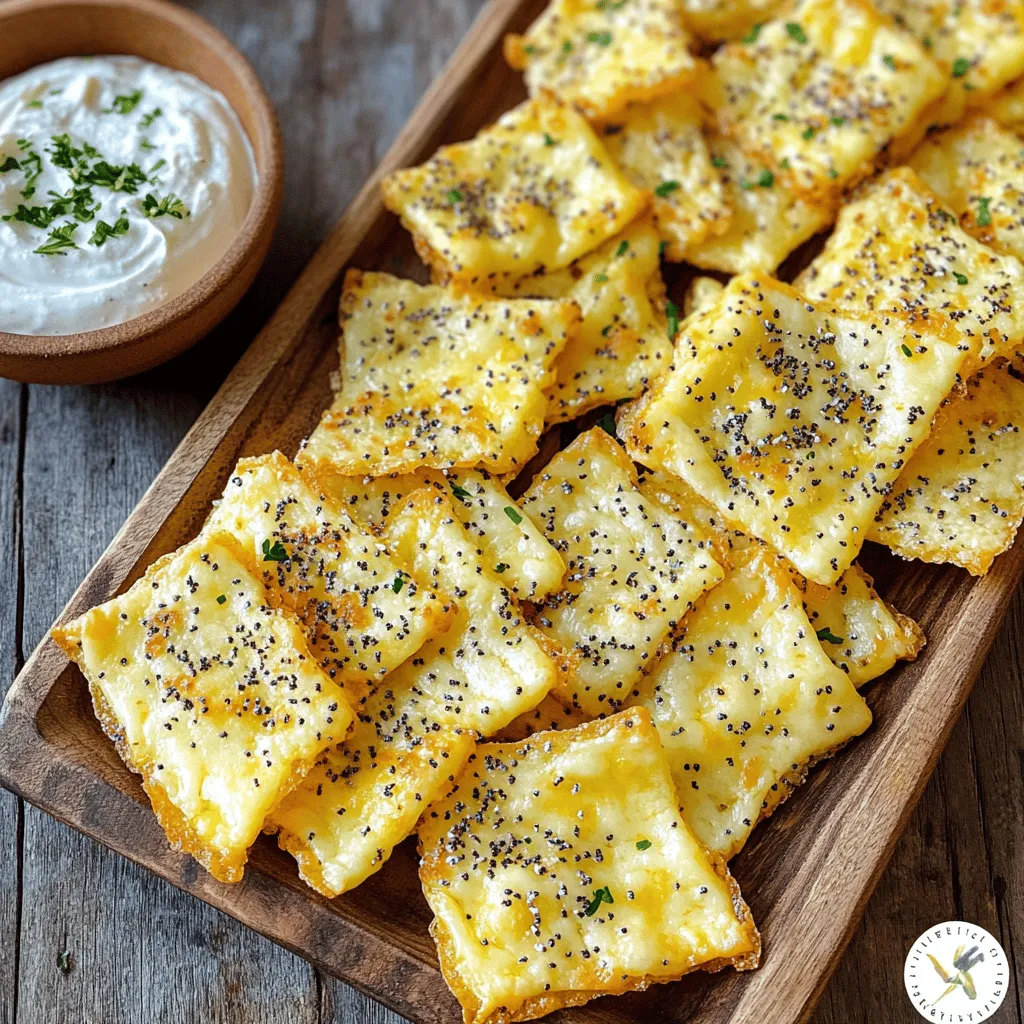
Looking for a crispy snack that fits your keto lifestyle? Try my Keto Everything Bagel Cheese Chips! This savory treat uses just a few simple ingredients to deliver big flavor. …

Fall is the perfect time for cozy treats. If you love pumpkin spice lattes, you’ll adore this simple mug cake recipe! In just minutes, you can enjoy a warm, fluffy …
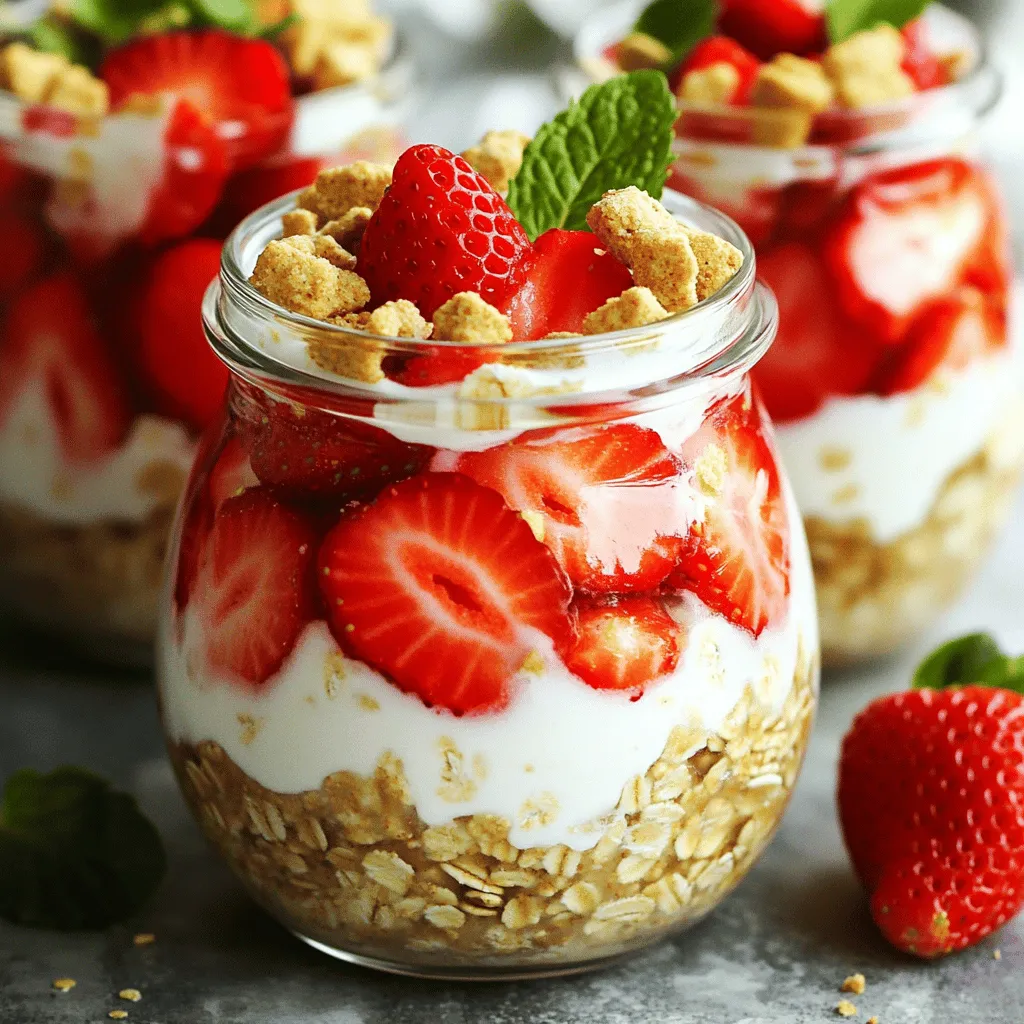
Looking for a quick, tasty breakfast? Strawberry Shortcake Overnight Oats are your answer! This easy recipe blends sweet strawberries with creamy yogurt, giving you a refreshing start to your day. …

Are you ready for a sweet treat that requires no machine? My No-Churn Chocolate Peanut Butter Cup Ice Cream Delight is the perfect answer! With simple ingredients like heavy cream, …
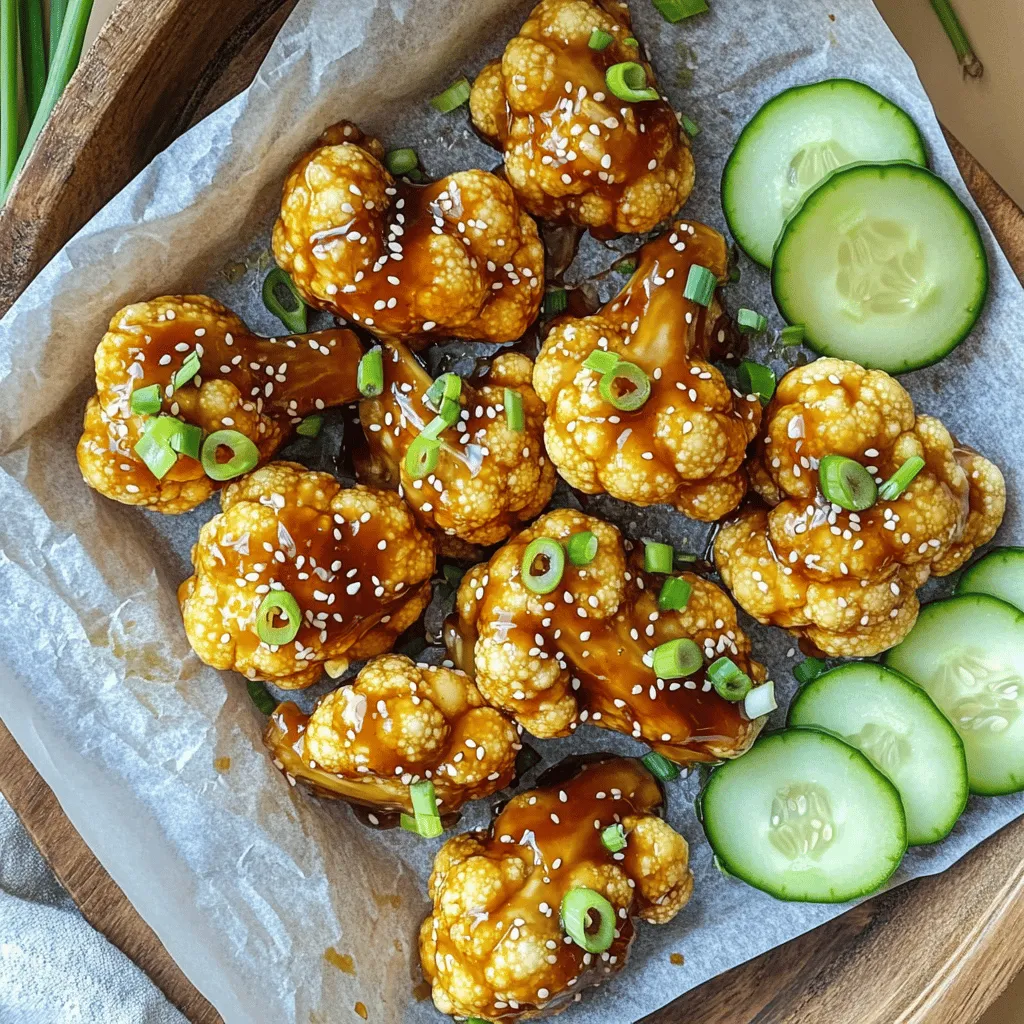
If you’re looking for a tasty snack that’s also healthy, I’ve got the perfect recipe for you. My Savory Air Fryer Teriyaki Cauliflower Wings are easy to make and packed …

Craving a warm, cozy drink that captures fall’s magic? You’re in the right spot! My Creamy Pumpkin Spice White Hot Chocolate Delight combines the rich flavors of white chocolate and …