Bakery-Style Red Velvet Crinkle Cookies Delight

Are you ready for a treat that looks as good as it tastes? Bakery-Style Red Velvet Crinkle Cookies will take your baking game to new heights. With their rich color …
Are you ready for a treat that looks as good as it tastes? Bakery-Style Red Velvet Crinkle Cookies will take your baking game to new heights. With their rich color …
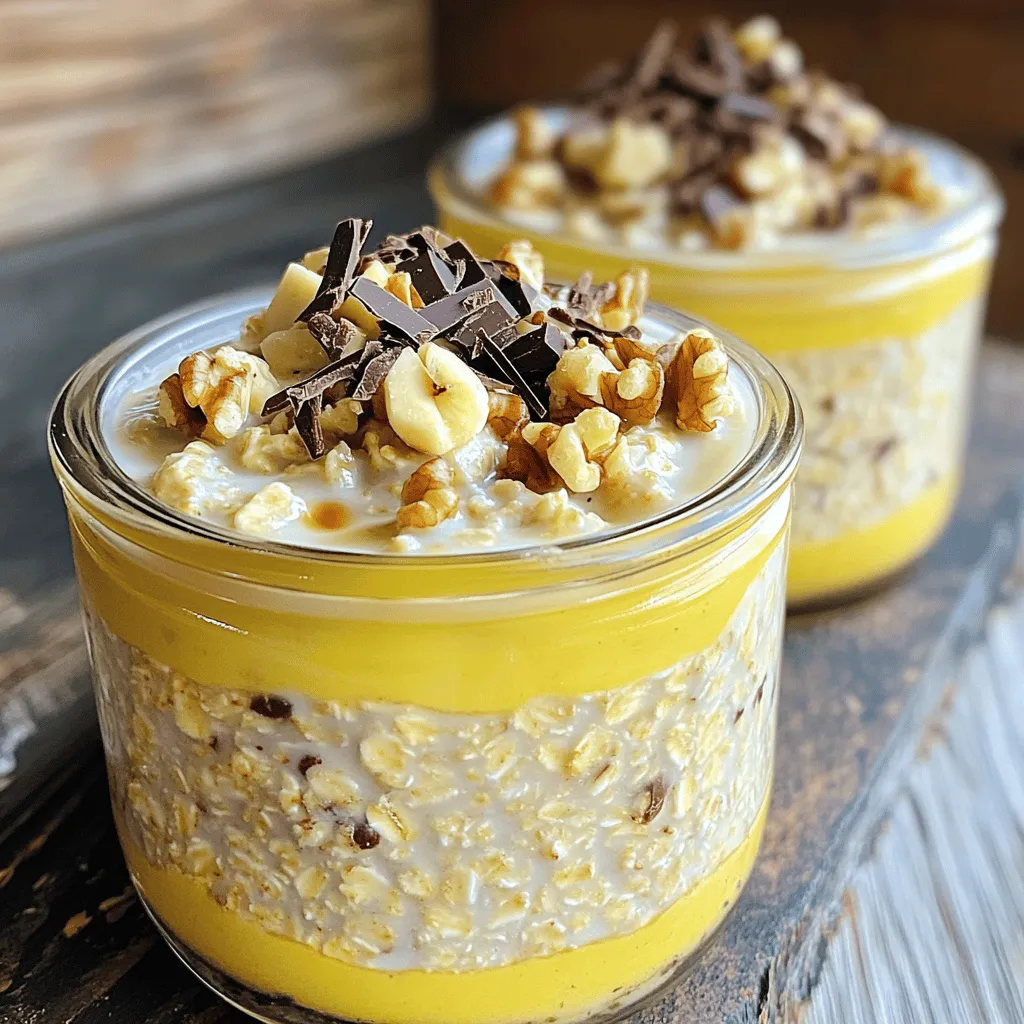
Are you ready to transform your breakfast routine? Try my High-Protein Banana Bread Overnight Oats! This delicious and filling recipe combines rolled oats, ripe bananas, and tasty protein options, all …

Are you ready to spice up your dinner routine? These Flavorful Sheet-Pan Greek Chicken Pitas with Tzatziki pack a punch! This easy recipe combines juicy chicken, fresh veggies, and homemade …

Are you ready for a quick and tasty treat? These Minute Honey Garlic Salmon Bites are a game changer! With just a few simple ingredients like salmon, honey, and garlic, …
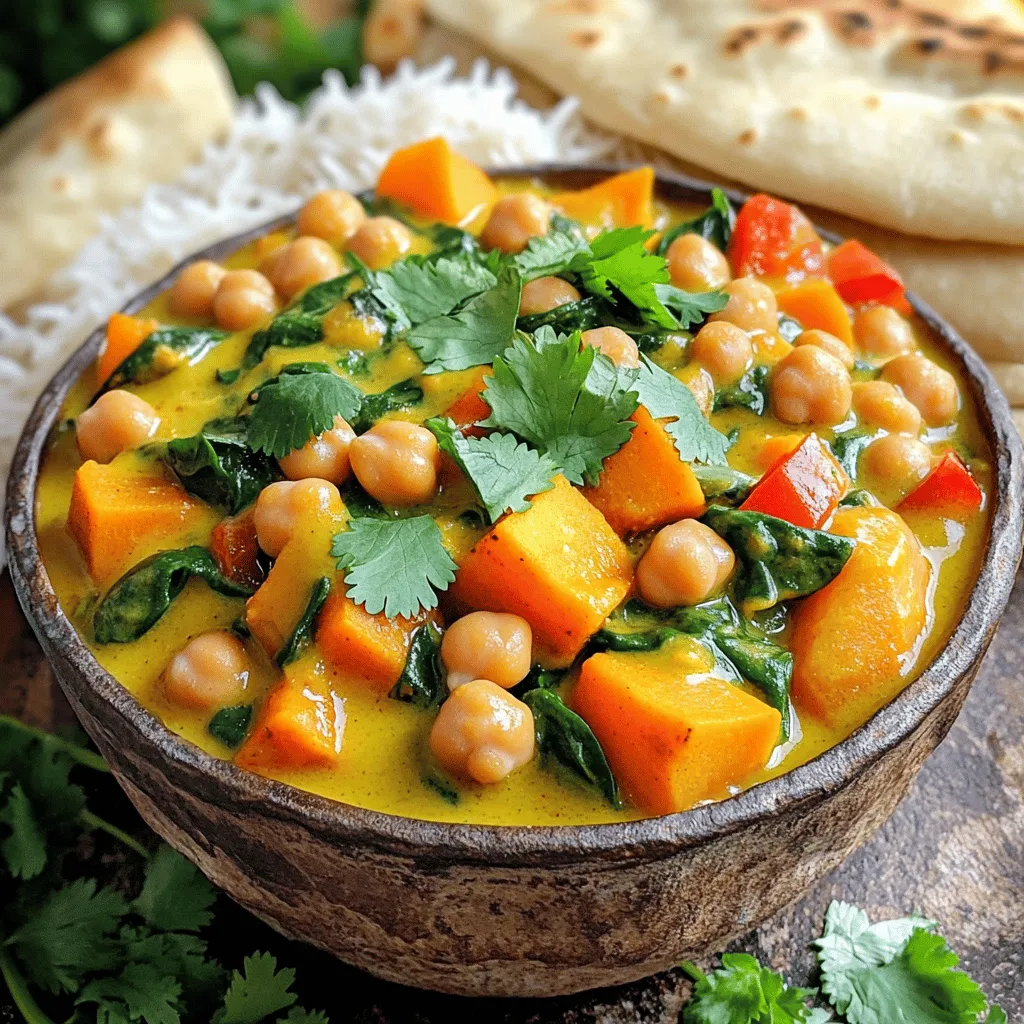
Looking for a warm, cozy meal that’s packed with flavor? Look no further than my Slow Cooker Coconut Curry Chickpea Stew Delight! This easy recipe combines rich coconut milk with …
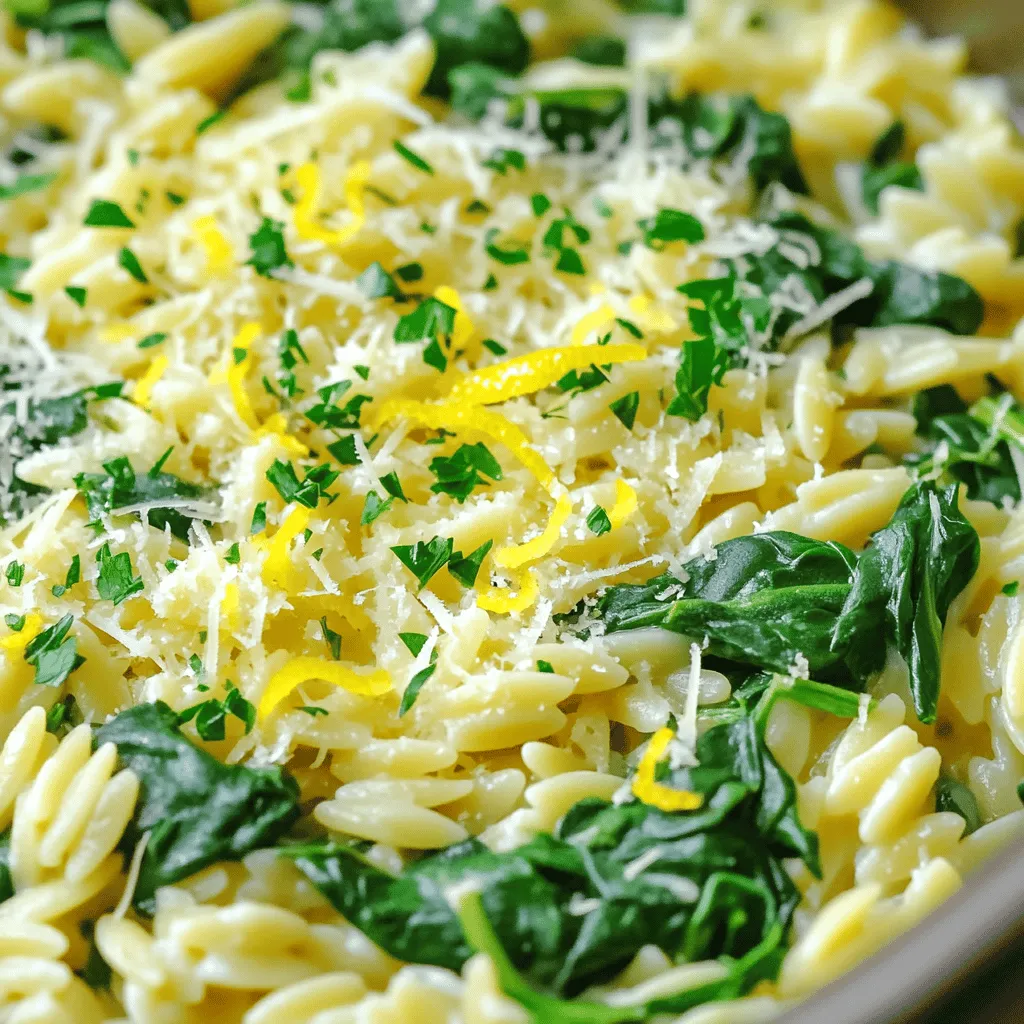
Welcome to my kitchen, where simplicity meets flavor! Today, we’re diving into a delightful one-pot recipe: Lemon Parmesan Orzo with Spinach. This dish is creamy, zesty, and packed with nutrients, …

Craving a sweet treat that’s easy and fun to make? Look no further than these Chewy Brown Butter M&M Cookie Bars! With rich brown butter and colorful M&Ms, these bars …

Get ready to indulge in a cool treat that’s perfect for any occasion! My Strawberry Shortcake Icebox Cake is simple and delicious, combining fresh strawberries and whipped cream layered between …
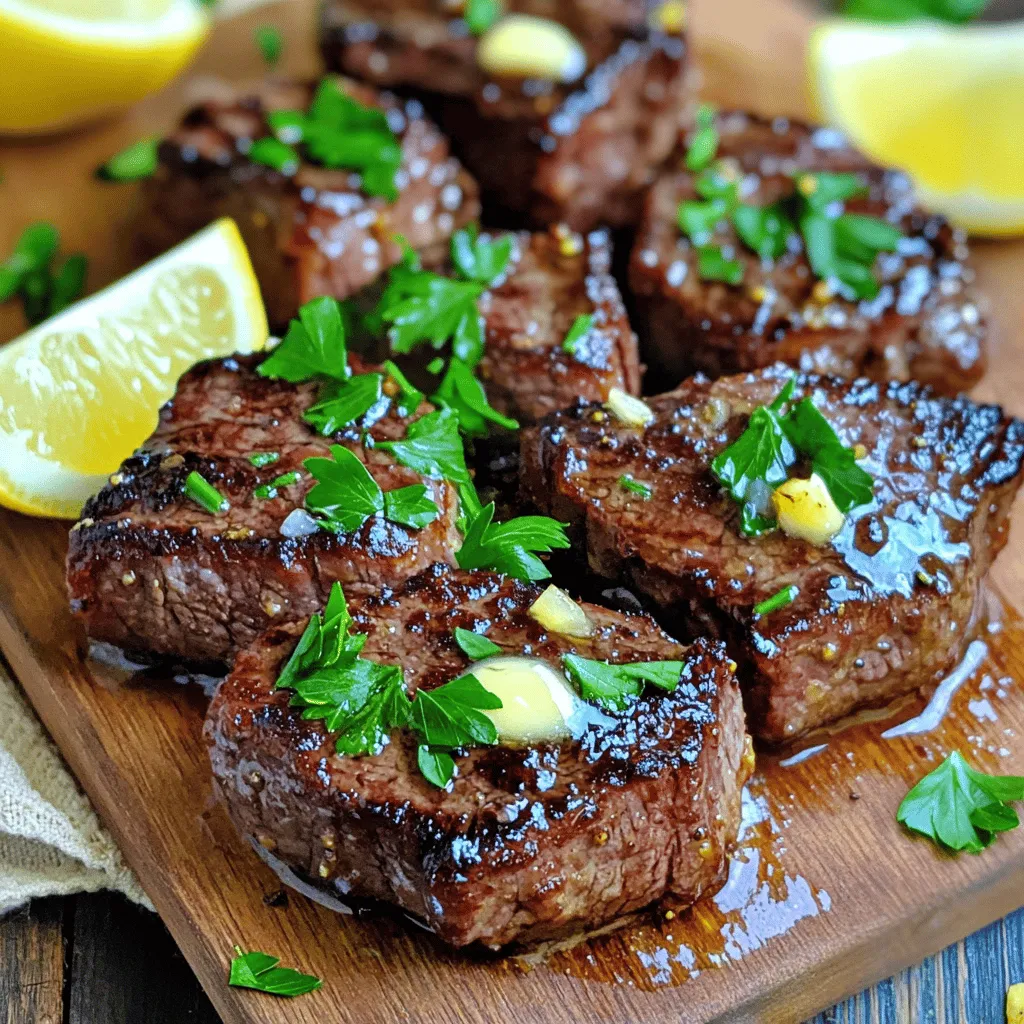
Craving a quick and tasty meal? Let me show you how to make Skillet Garlic Butter Steak Bites! This dish combines tender sirloin steak, rich butter, and aromatic garlic for …

Looking for a tasty snack that’s easy to make? These Air Fryer Everything Bagel Chicken Bites are perfect! You get juicy chicken coated in a crunchy, flavor-packed crust. With simple …