Minute Creamy Pesto Tortellini Quick and Easy Dish
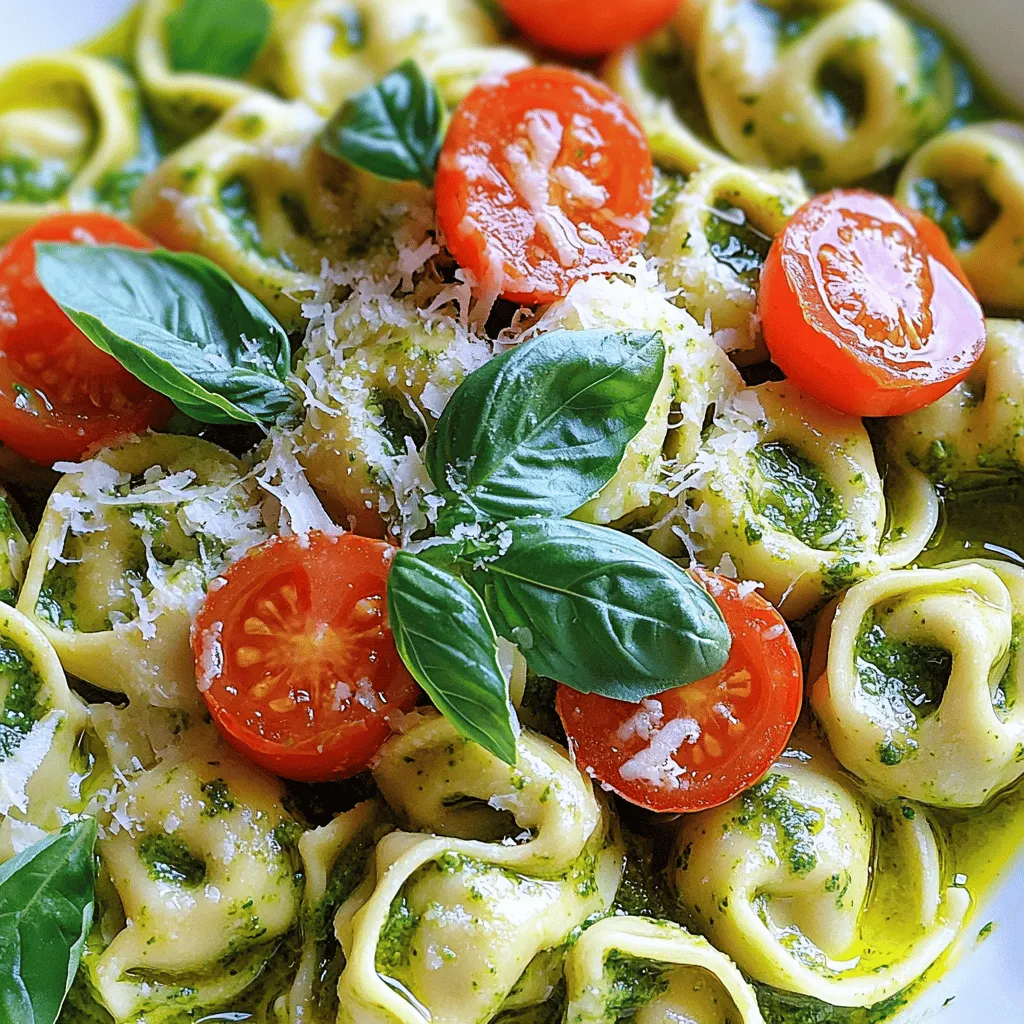
Craving a quick, tasty meal? Look no further! This Minute Creamy Pesto Tortellini dish offers rich flavors in just minutes. With cheese tortellini, fresh basil pesto, and a creamy sauce, …