Air Fryer Lemon Pepper Salmon Bites Simple Recipe

Want a quick, tasty meal? Try these Air Fryer Lemon Pepper Salmon Bites! This simple recipe packs bold flavors and is easy to make. In just a few steps, you’ll …
Want a quick, tasty meal? Try these Air Fryer Lemon Pepper Salmon Bites! This simple recipe packs bold flavors and is easy to make. In just a few steps, you’ll …

Are you ready to indulge in fall’s favorite drink without leaving your home? This Starbucks Copycat Pumpkin Cream Cold Brew Delight is your ticket to seasonal bliss! I’ll guide you …
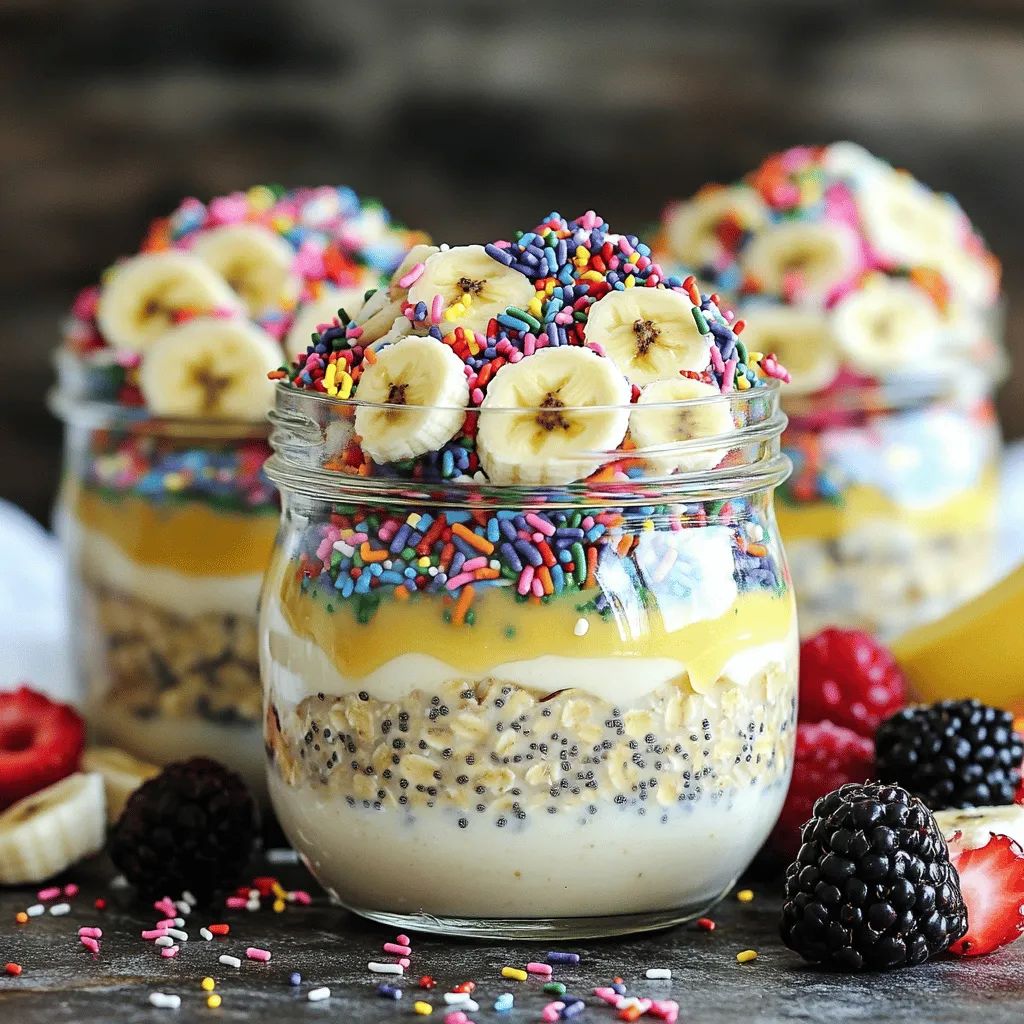
Craving a delicious way to enjoy your birthday cake every day? You’re in the right place! This High Protein Birthday Cake Overnight Oats recipe blends creamy oats with sprinkles to …

Looking for a cozy dinner idea? This Slow Cooker Creamy White Chicken Chili is the answer! In just a few easy steps, you can create a warm, satisfying meal that’s …

If you’re craving a sweet treat that’s both chewy and rich, look no further. Brown Butter Salted Caramel Blondies are a game-changer in dessert! With a nutty flavor from the …

Looking for a tasty and healthy meal? Let me introduce you to Air Fryer Stuffed Zucchini Boats! In this easy recipe, you’ll learn how to create flavorful, hearty boats using …

Looking for a quick, tasty snack that packs a protein punch? No-Bake Oreo Protein Balls are your answer! With just a few simple ingredients, you can whip up these delightful …

Are you ready to warm up your kitchen with a hearty meal? My Slow Cooker Tuscan White Bean Chicken Stew will delight your taste buds and fill your home with …

Get ready for a tasty twist on a classic dish! Sheet Pan Fajita Salmon is an easy, one-pan meal that’s full of flavor. You’ll enjoy fresh salmon paired with vibrant …

Craving something cool and creamy that’s also vegan? You need to try my Vegan Chocolate Peanut Butter Nice Cream Delight! This guilt-free treat combines ripe bananas, rich cocoa powder, and …