Pesto Chicken Flatbread Delightfully Simple Recipe
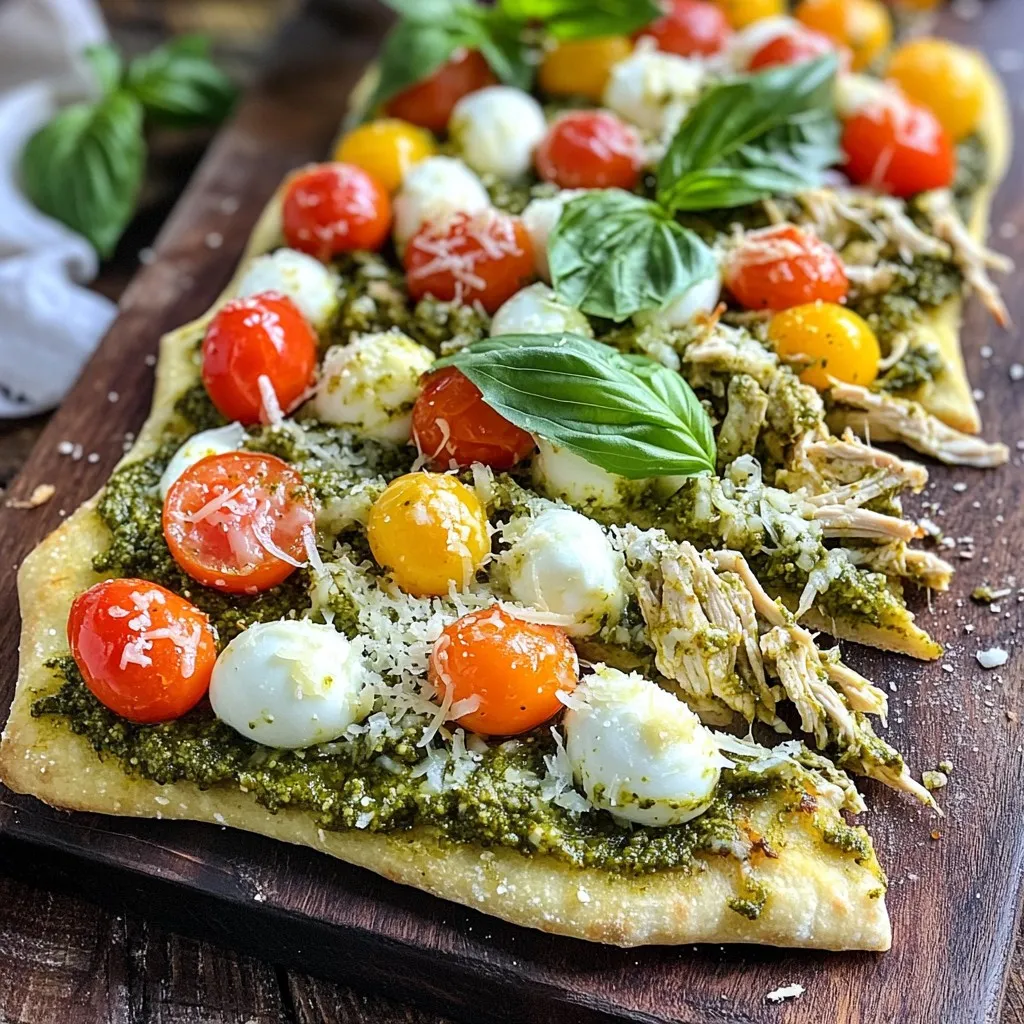
Are you ready for a dish that combines flavor and simplicity? This Pesto Chicken Flatbread recipe is just what you need for a quick meal. You can whip it up …
Are you ready for a dish that combines flavor and simplicity? This Pesto Chicken Flatbread recipe is just what you need for a quick meal. You can whip it up …
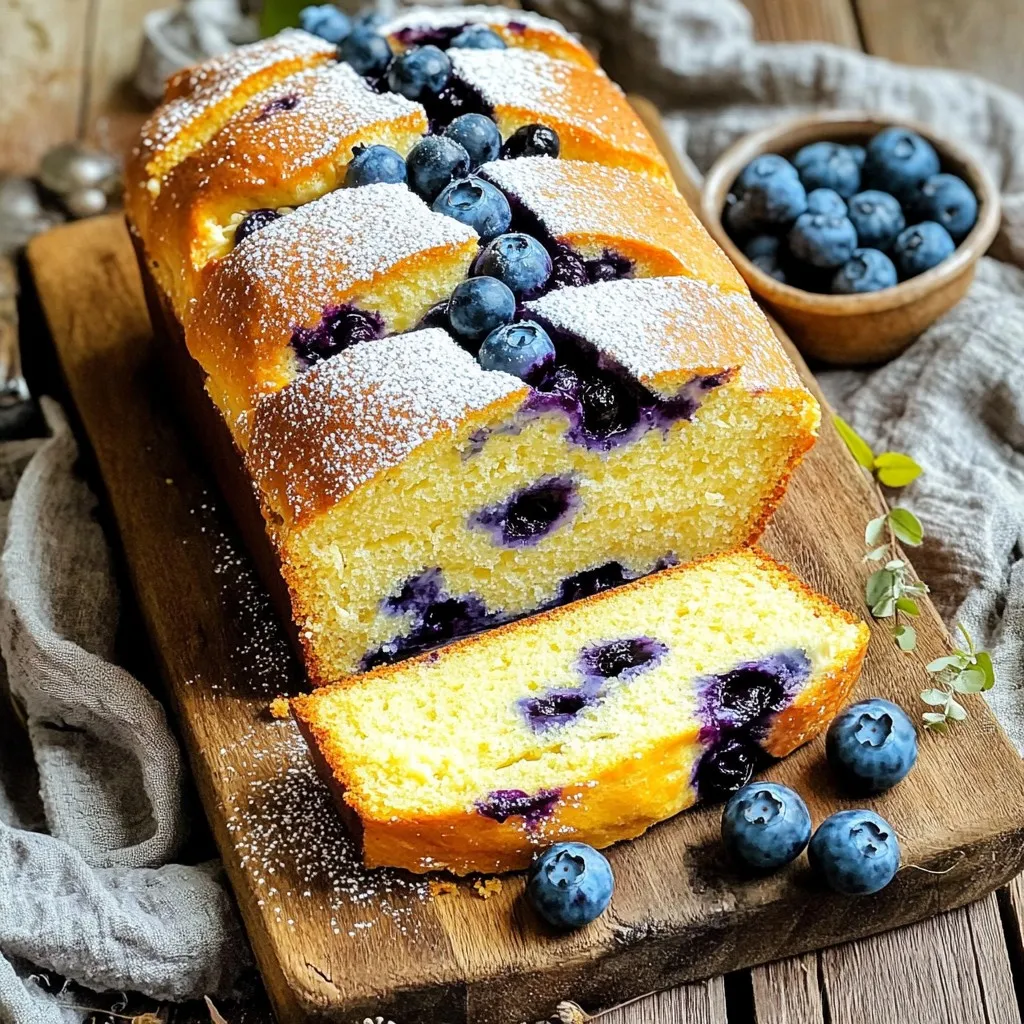
Are you ready to bake something delightful? This Blueberry Cream Cheese Bread recipe is simple and scrumptious! You’ll love how creamy and sweet the bread turns out. Packed with fresh …
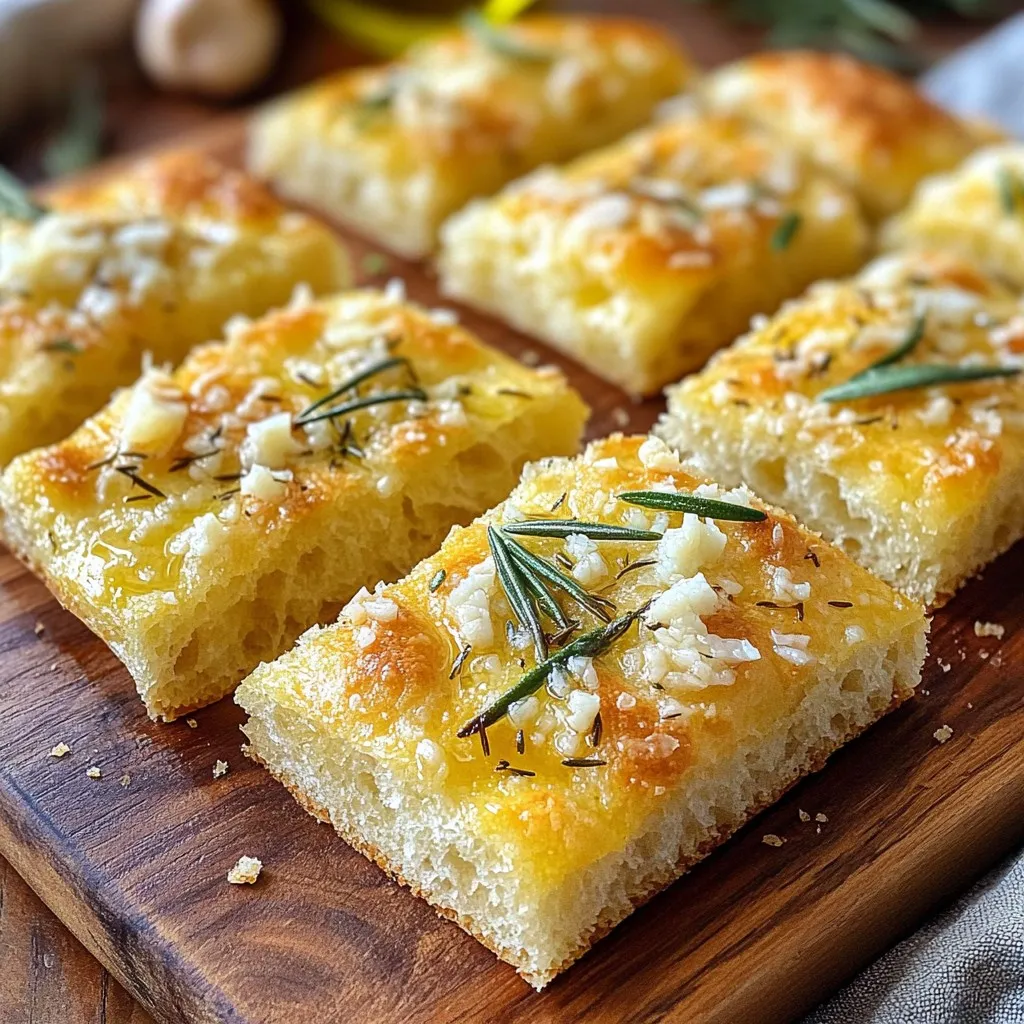
Are you ready to impress your friends and family with a simple yet delicious Garlic Parmesan Focaccia? This easy recipe involves just a few ingredients and straightforward steps, making it …

Get ready for a delicious twist on a classic favorite! Deviled egg macaroni salad combines the creamy richness of deviled eggs with the comforting appeal of macaroni. In this easy …
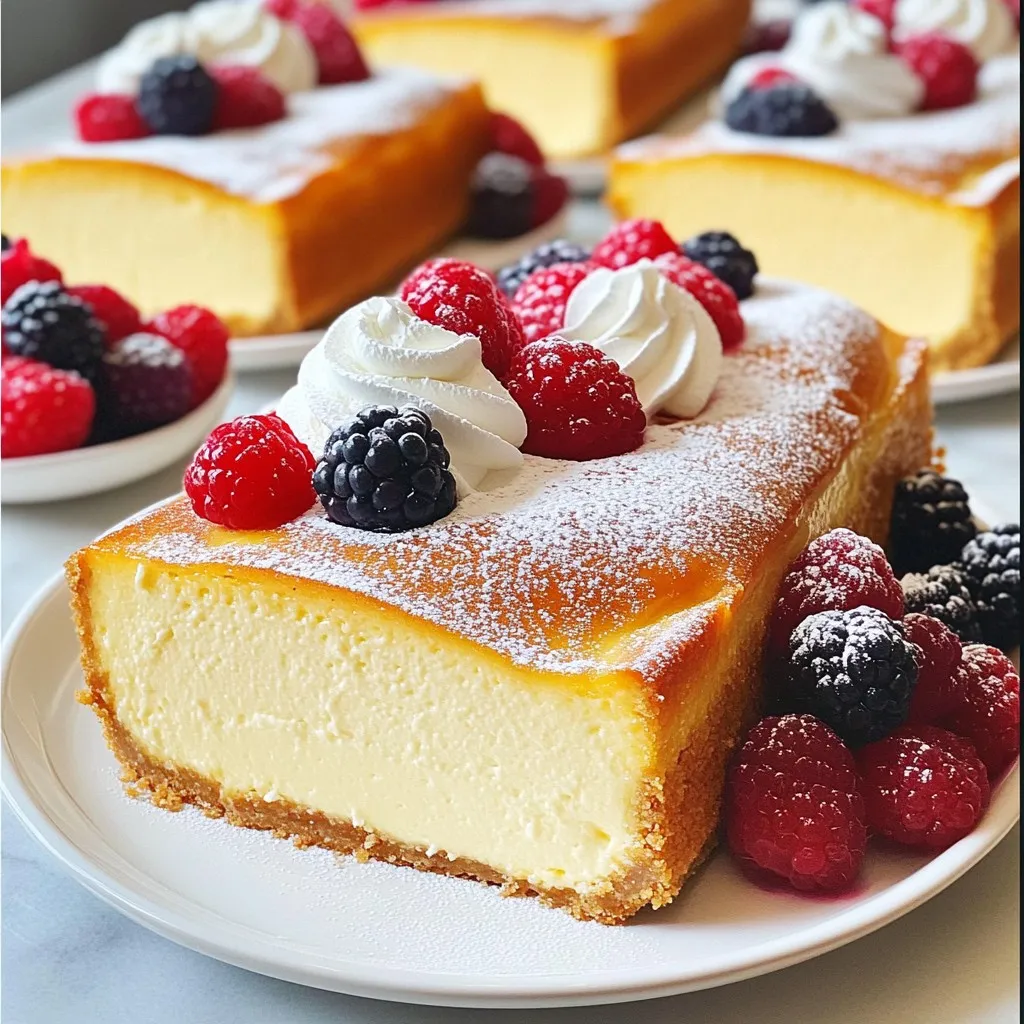
Are you ready to indulge in a creamy, melt-in-your-mouth dessert? This Basque Cheesecake Loaf combines a rich flavor with a simple recipe that anyone can follow. I’ll guide you through …
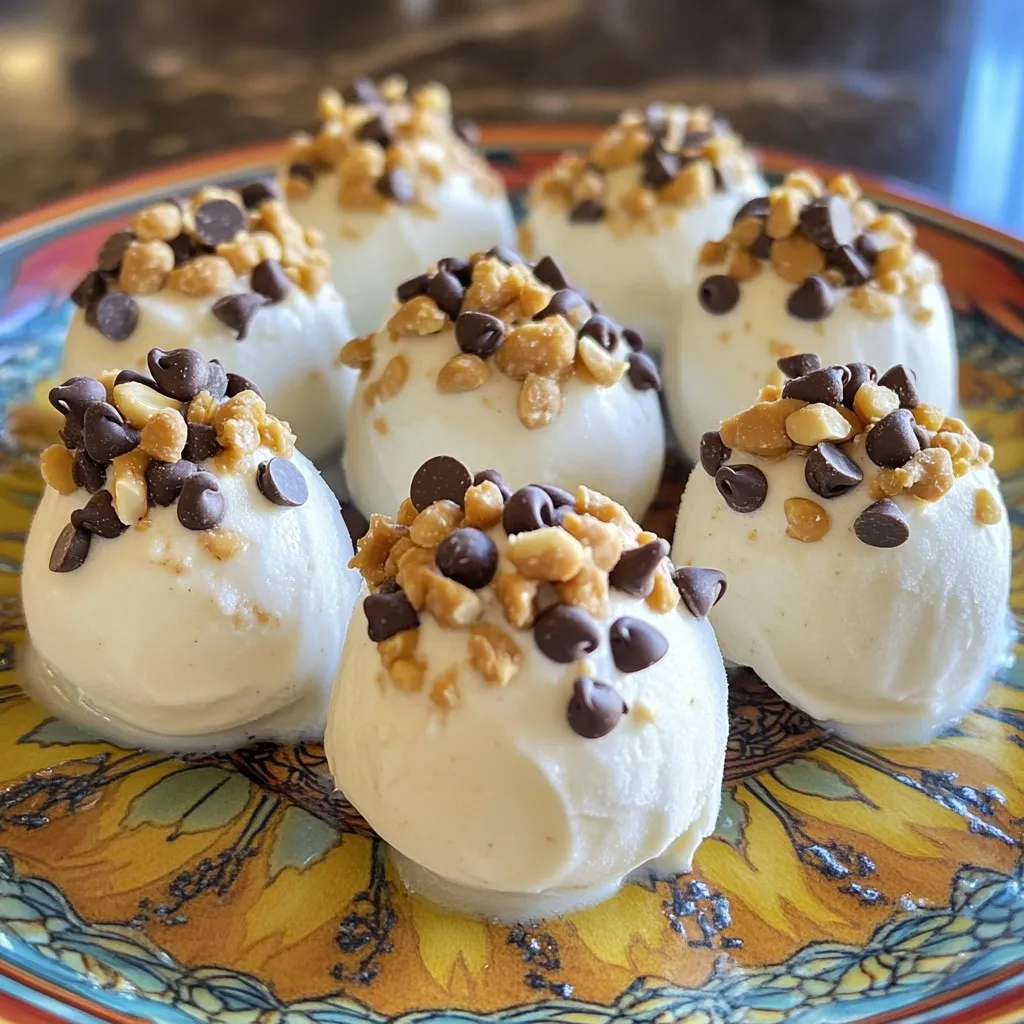
Looking for a tasty snack that’s both healthy and easy to make? Frozen Peanut Butter Yogurt Bites are your answer! Smooth Greek yogurt and creamy peanut butter unite to create …
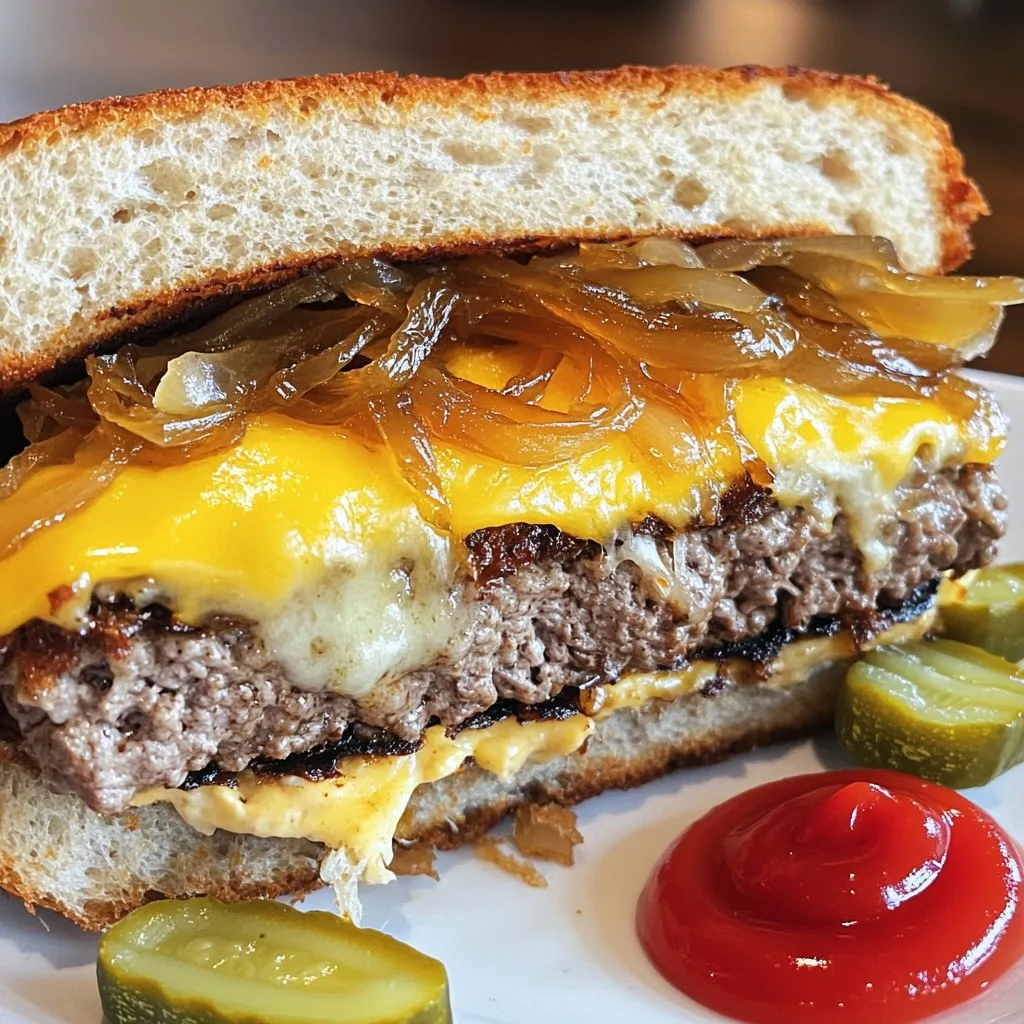
There’s something special about a Classic Patty Melt. It’s the ultimate comfort food that warms you up and satisfies your cravings. Imagine juicy beef patties nestled between two slices of …

Looking for an easy and tasty meal? You’re in the right spot! This Sheet-Pan Garlic Herb Steak & Asparagus Delight brings bold flavors to your dinner table without the fuss. …
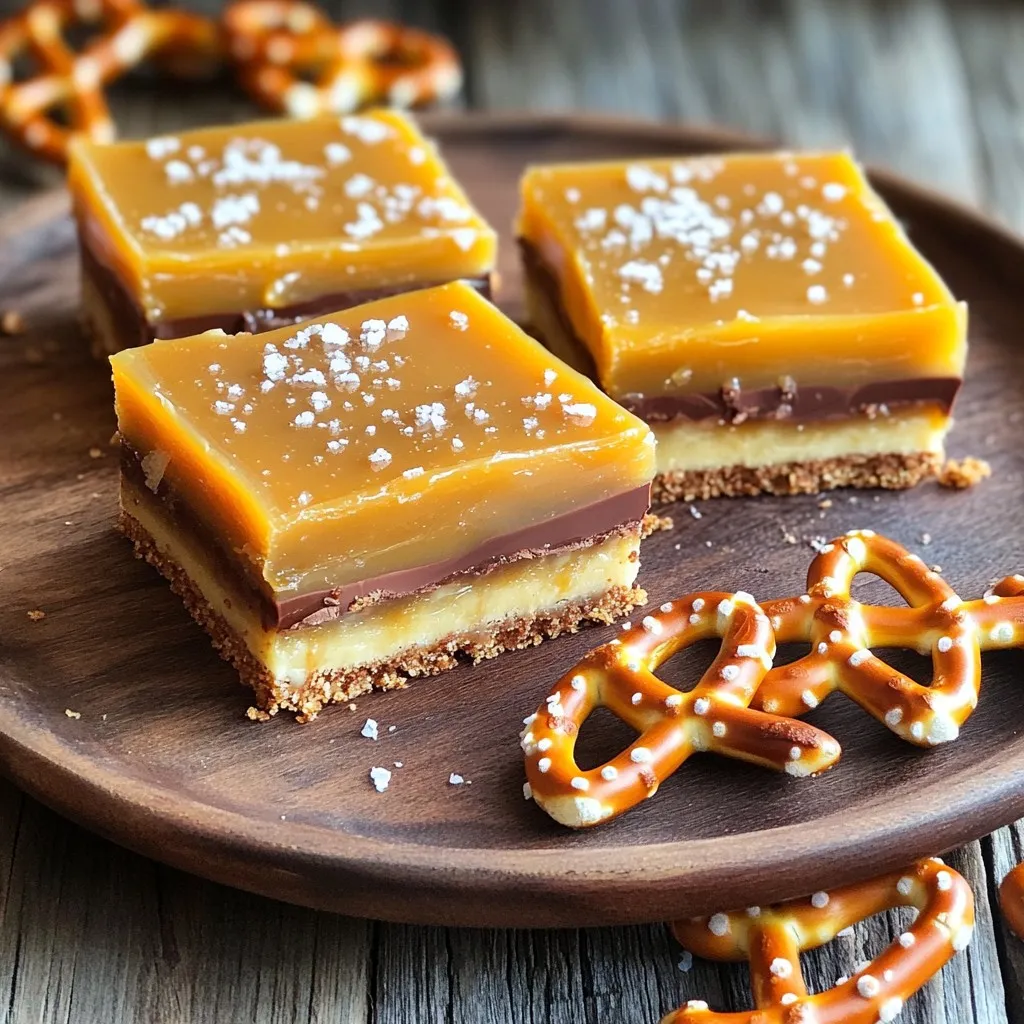
Are you ready for a sweet treat that’s super simple to make? These No-Bake Salted Caramel Pretzel Bars combine salty, sweet, and crunchy in every bite. With just a few …

Looking for a hearty, delightful meal that bursts with flavor? Dive into my Creamy Roasted Red Pepper Lasagna Skillet Delight! This dish combines creamy cheeses, roasted red peppers, and tender …