Air Fryer Cinnamon Sugar Apple Chips Delightful Snack
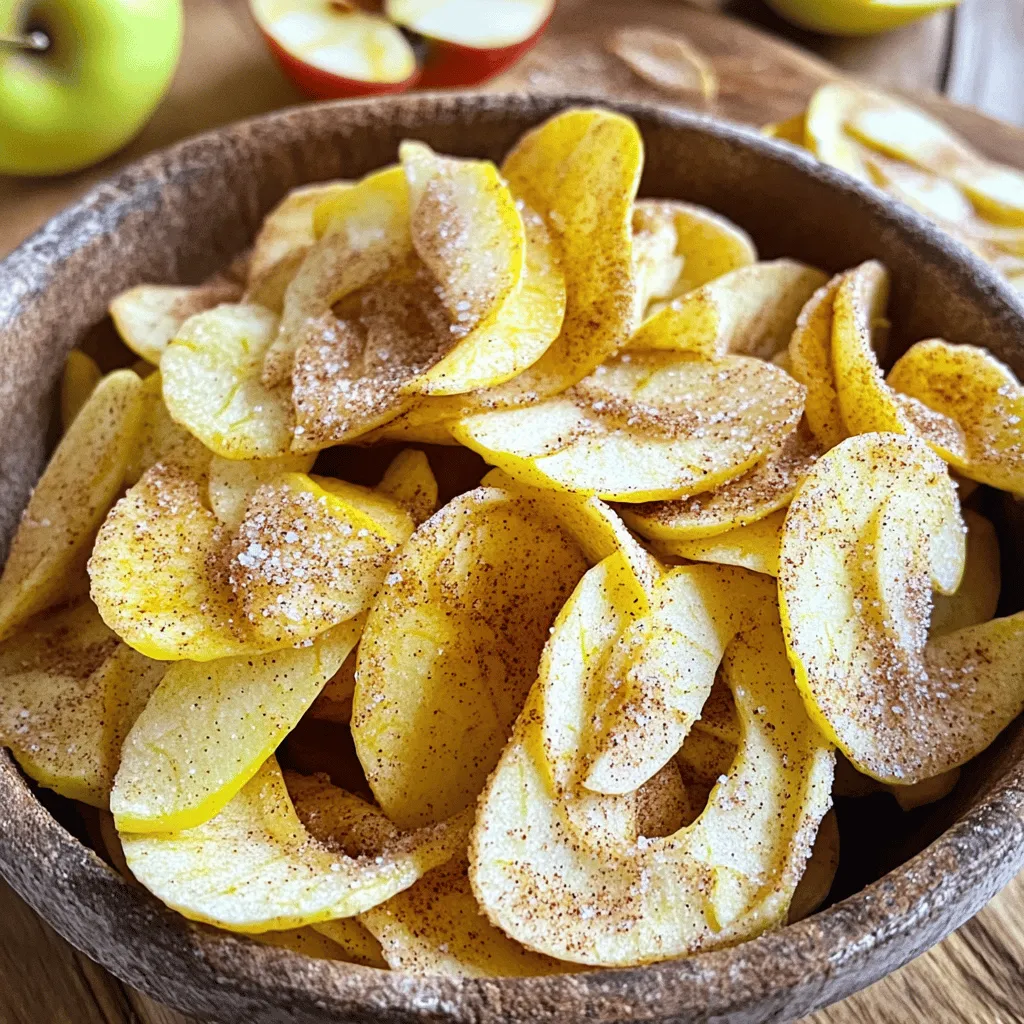
Do you crave a tasty snack that’s easy to make? Look no further! Air Fryer Cinnamon Sugar Apple Chips are your answer. They are sweet, crunchy, and fun to eat. …
Do you crave a tasty snack that’s easy to make? Look no further! Air Fryer Cinnamon Sugar Apple Chips are your answer. They are sweet, crunchy, and fun to eat. …

Ready to spice up your meals with a burst of flavor? My Lentil & Pumpkin Coconut Curry is a delicious dish that’s both simple and satisfying. Packed with nutritious ingredients …
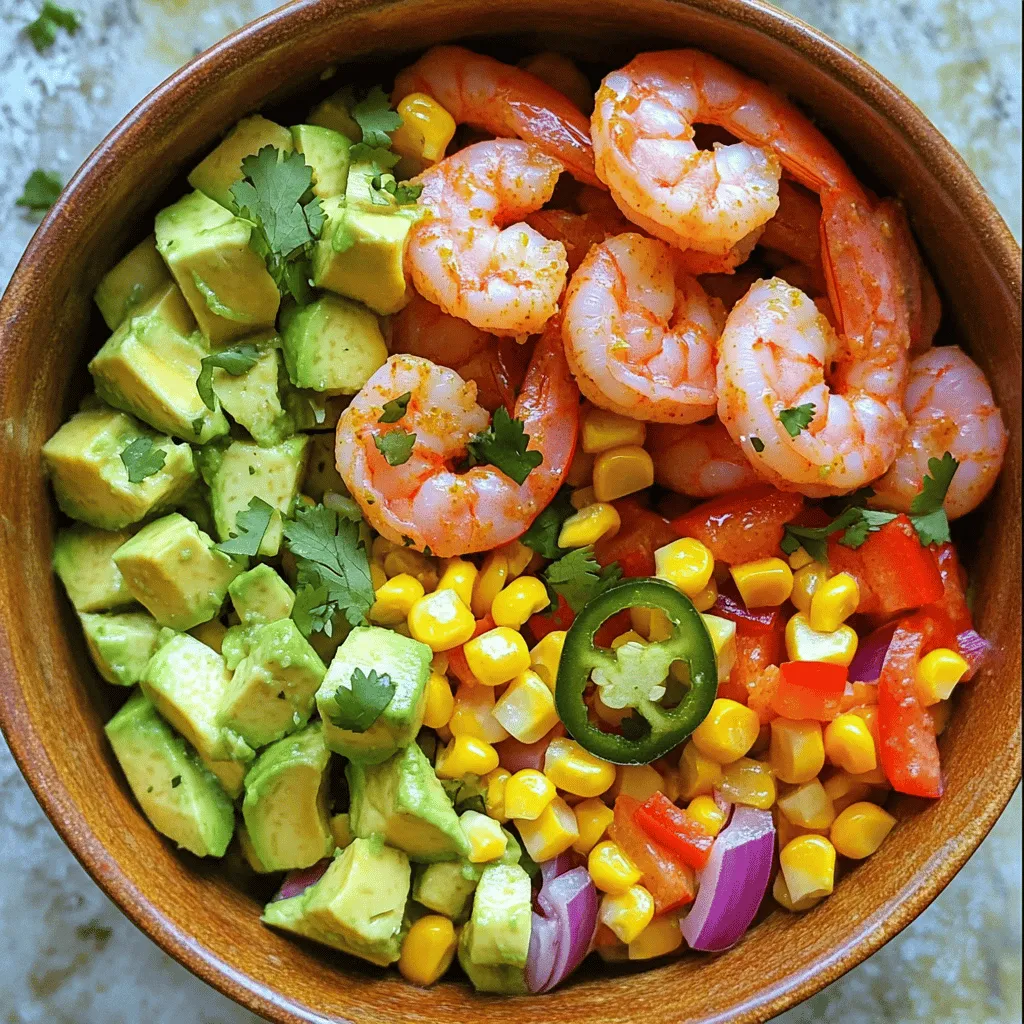
Looking for a bright and tasty dish? My Chili Lime Shrimp & Corn Avocado Salad is just the thing! Packed with fresh ingredients and a zesty marinade, this salad brings …
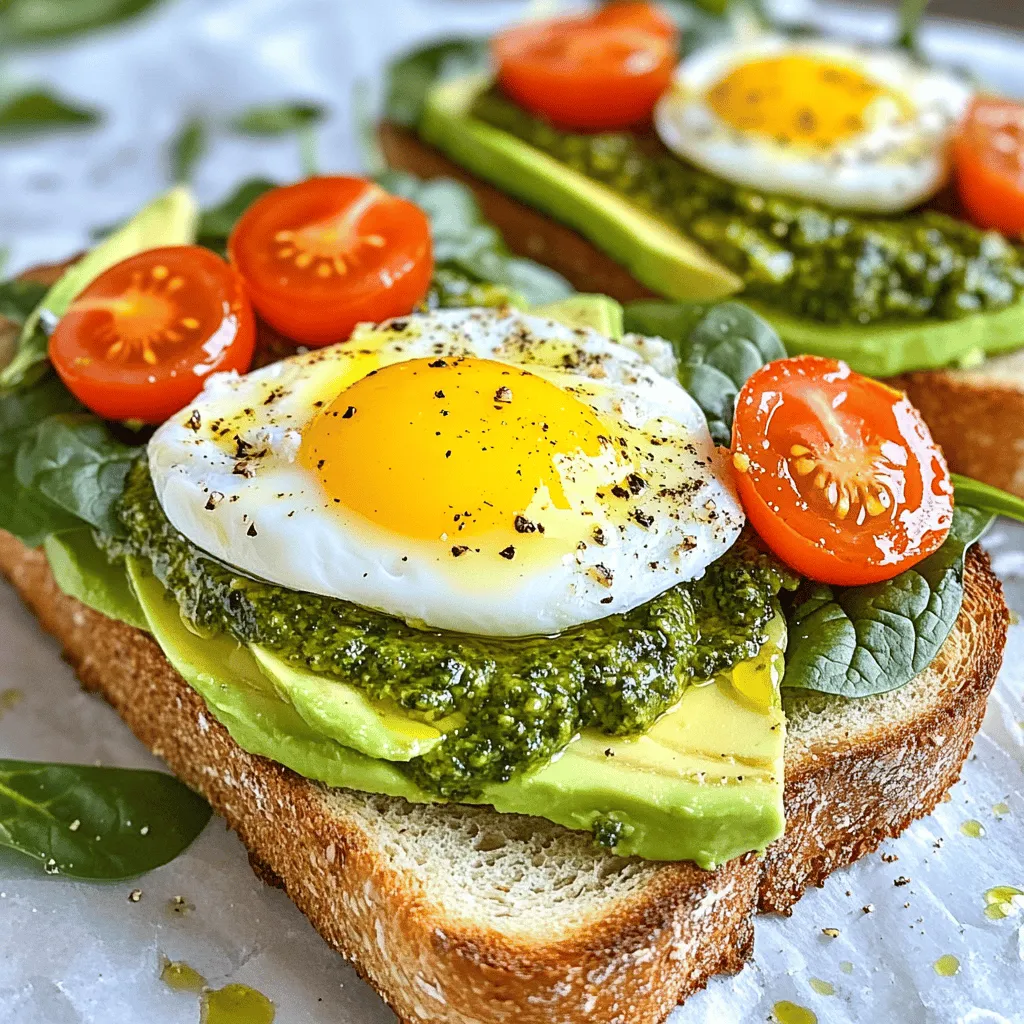
Start your day with a burst of flavor and energy! My Pesto Egg Breakfast Sandwiches are simple to make and full of taste. Whether you’re a busy parent or a …
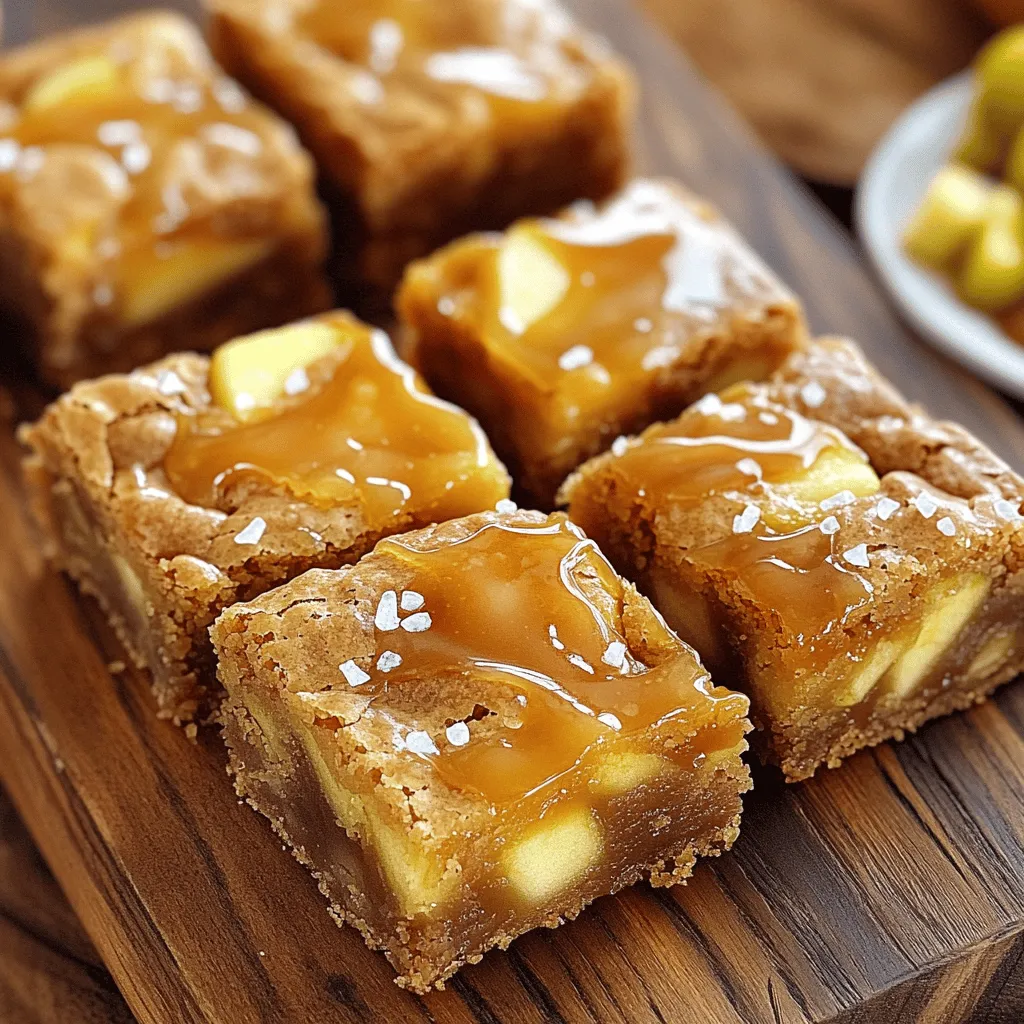
Indulge in the warm, gooey goodness of Brown Butter Salted Caramel Apple Blondies! You’ll love how the rich brown butter melds with sweet apples and a decadent caramel swirl. This …
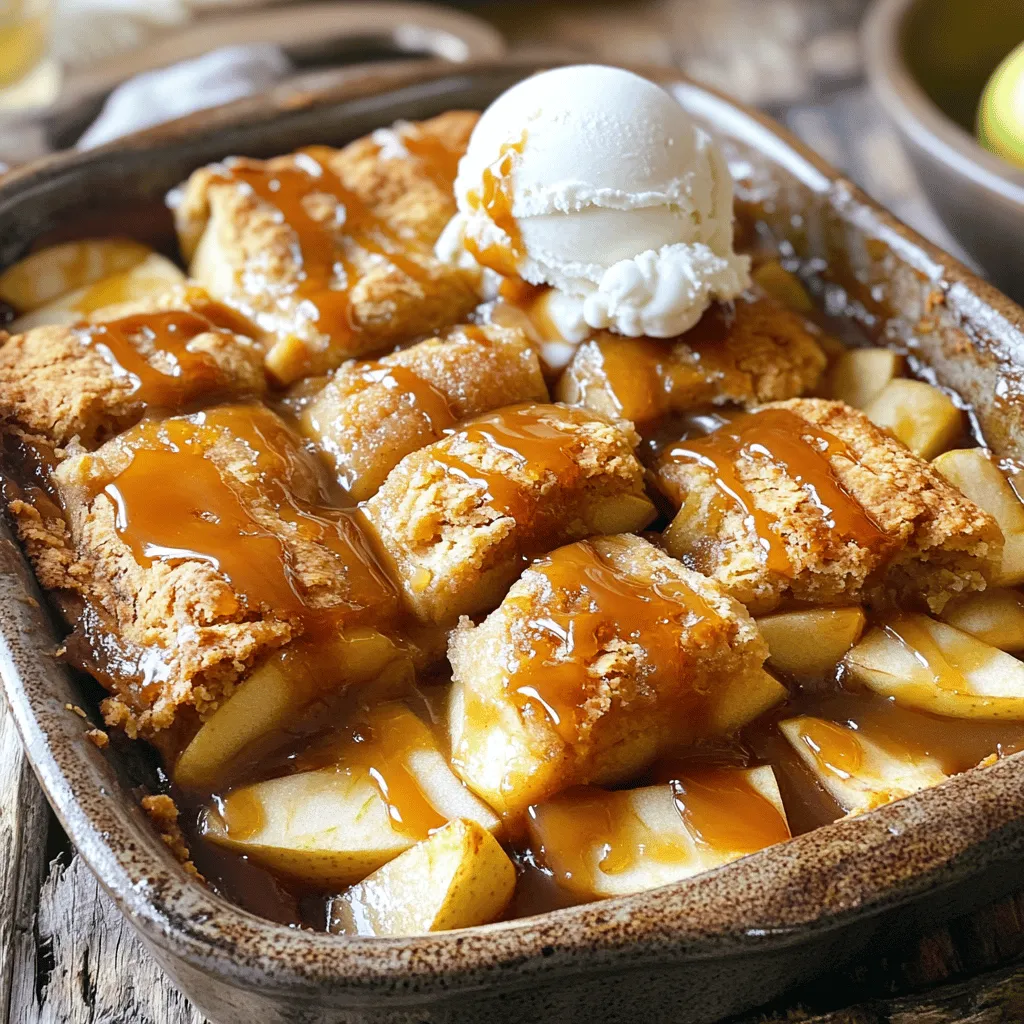
Are you ready to indulge in a warm and delicious dessert that’s both simple and delightful? My Caramel Apple Cobbler recipe combines juicy apples with a crispy topping, all drizzled …
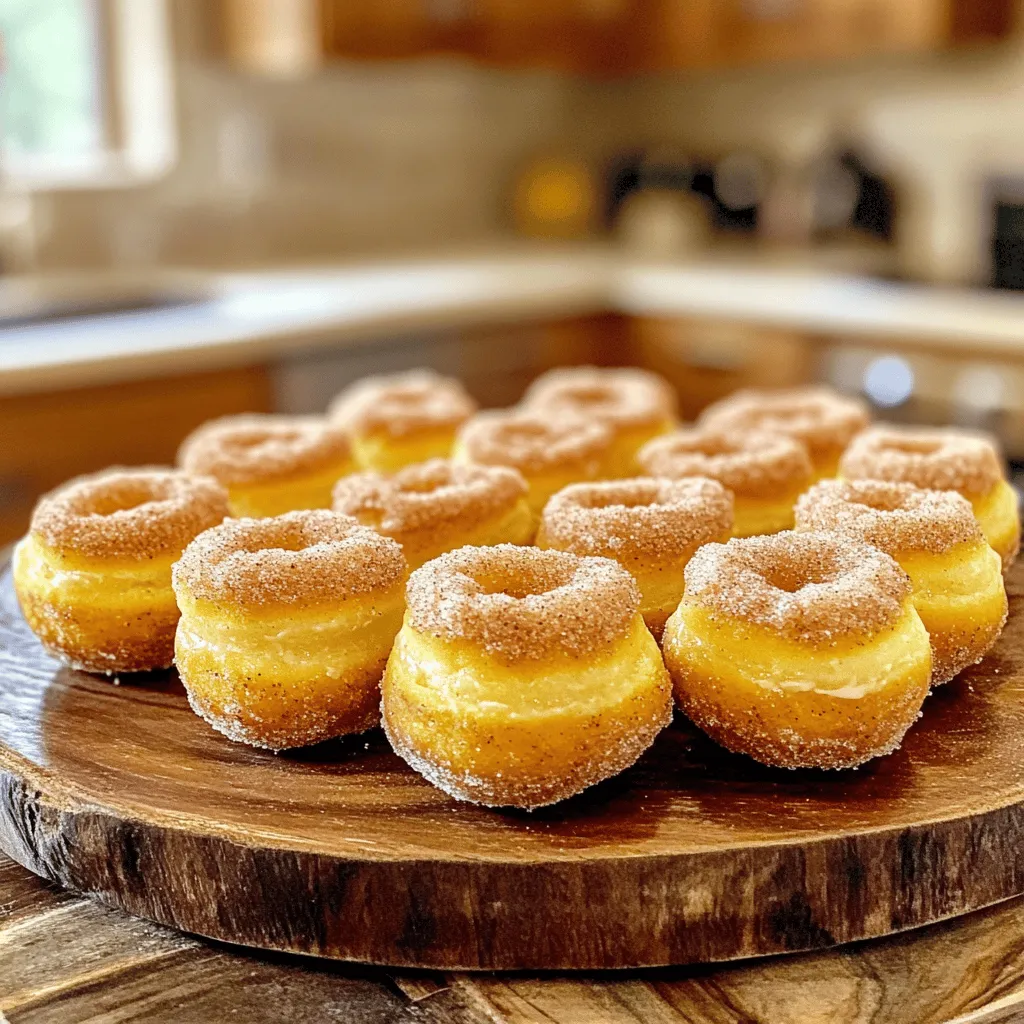
There’s nothing quite like the cozy, sweet taste of Cinnamon Sugar Pumpkin Donut Holes. In this simple and sweet recipe, I will guide you through each step to create these …
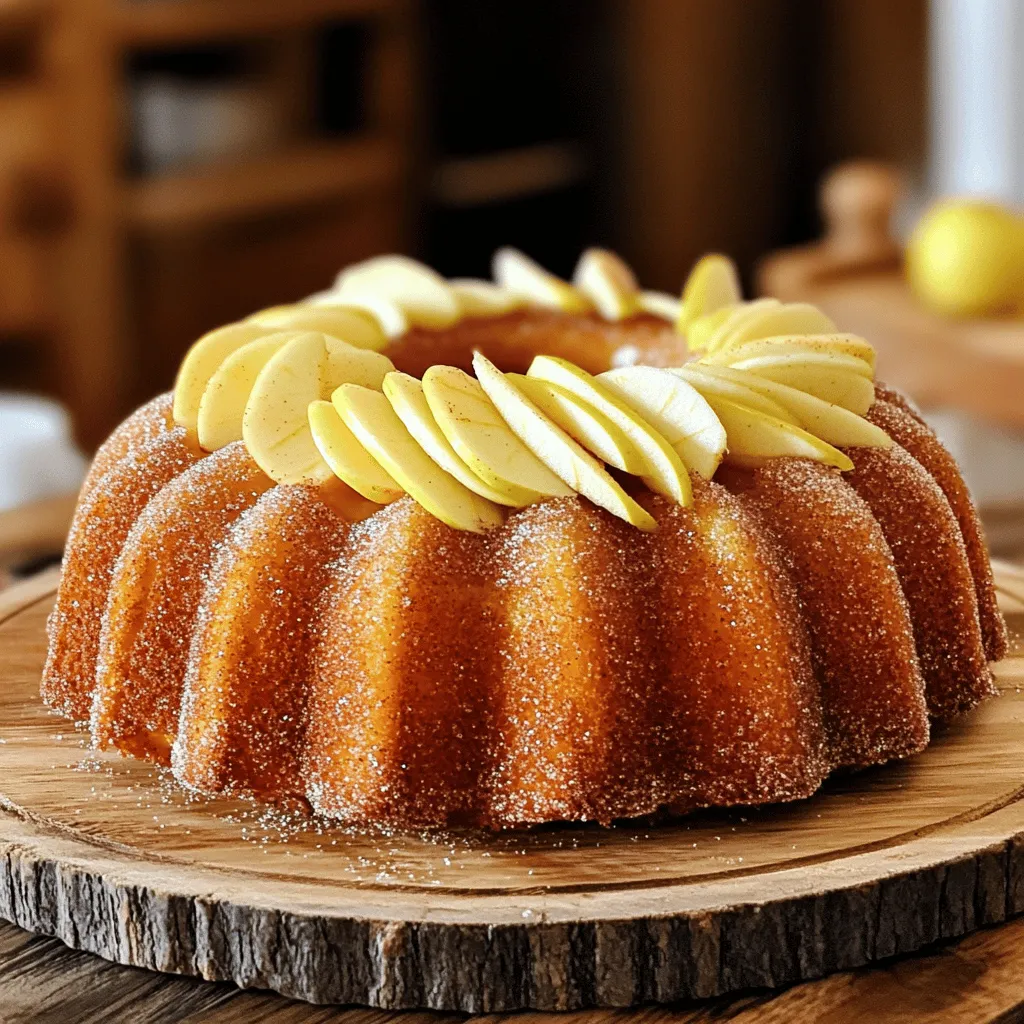
Craving a fall treat that bursts with flavor? You’re in the right place! This Apple Cider Donut Cake offers the warm spices and rich apple taste we all love. It’s …

Looking for a simple yet delicious side dish? Try my Slow Cooker Maple Glazed Carrots! This recipe blends sweet maple syrup with buttery, tender carrots for a perfect balance of …
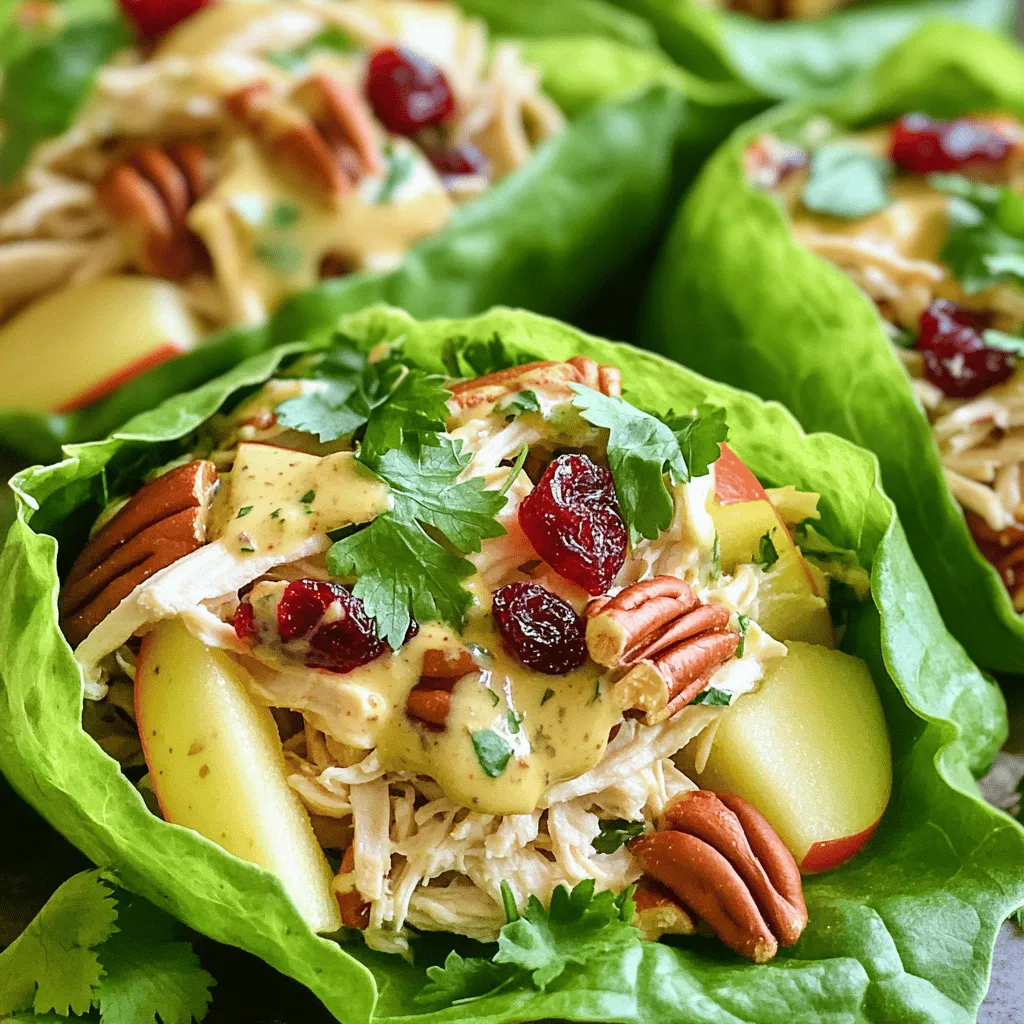
Looking for a quick and healthy meal? Try my Cranberry Pecan Chicken Salad Wraps! With juicy chicken, sweet cranberries, and crunchy pecans, these wraps bring joy to your taste buds. …