Pumpkin Spice Latte Cupcakes Irresistible Flavor Treats
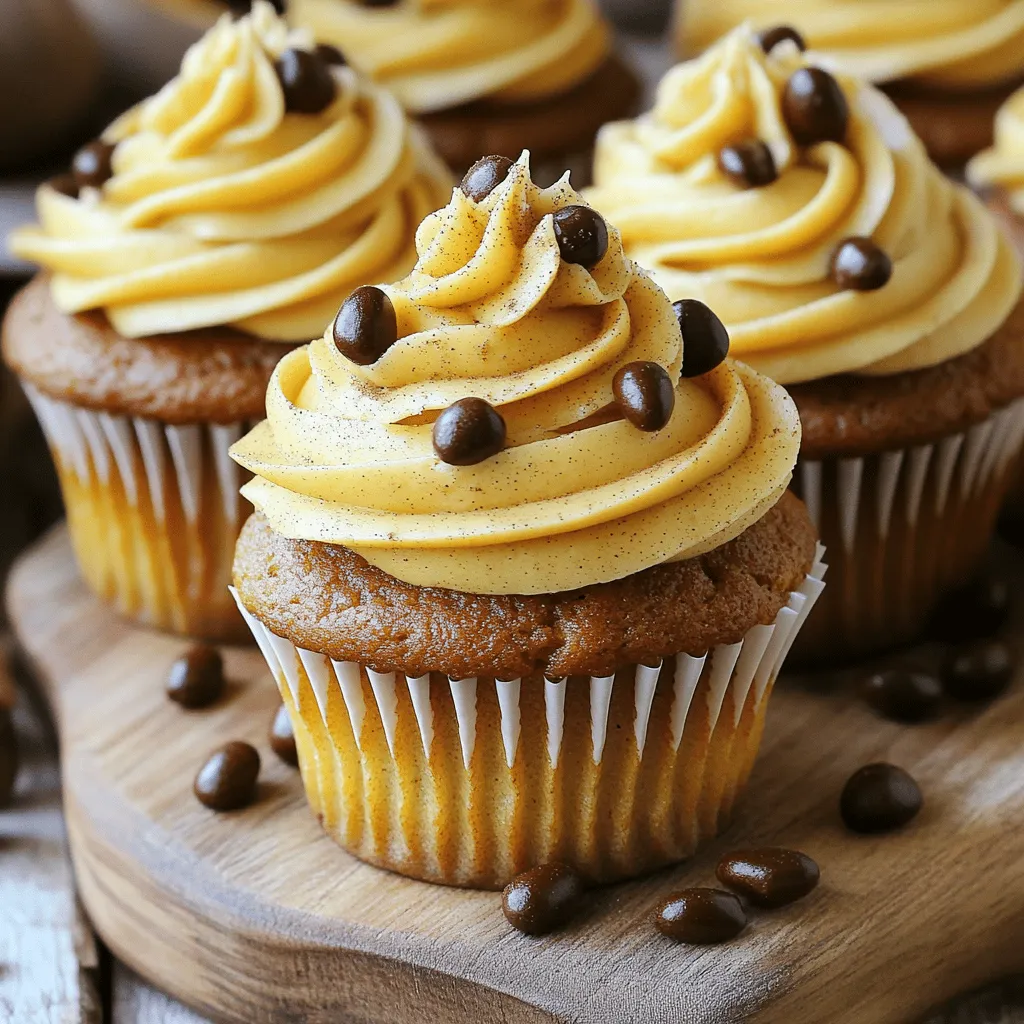
If you love pumpkin spice lattes, wait until you try these Pumpkin Spice Latte Cupcakes! Imagine soft, spiced cupcakes topped with rich coffee frosting. In this guide, I’ll show you …