Honey Soy Salmon & Veggies Sheet Pan Delight
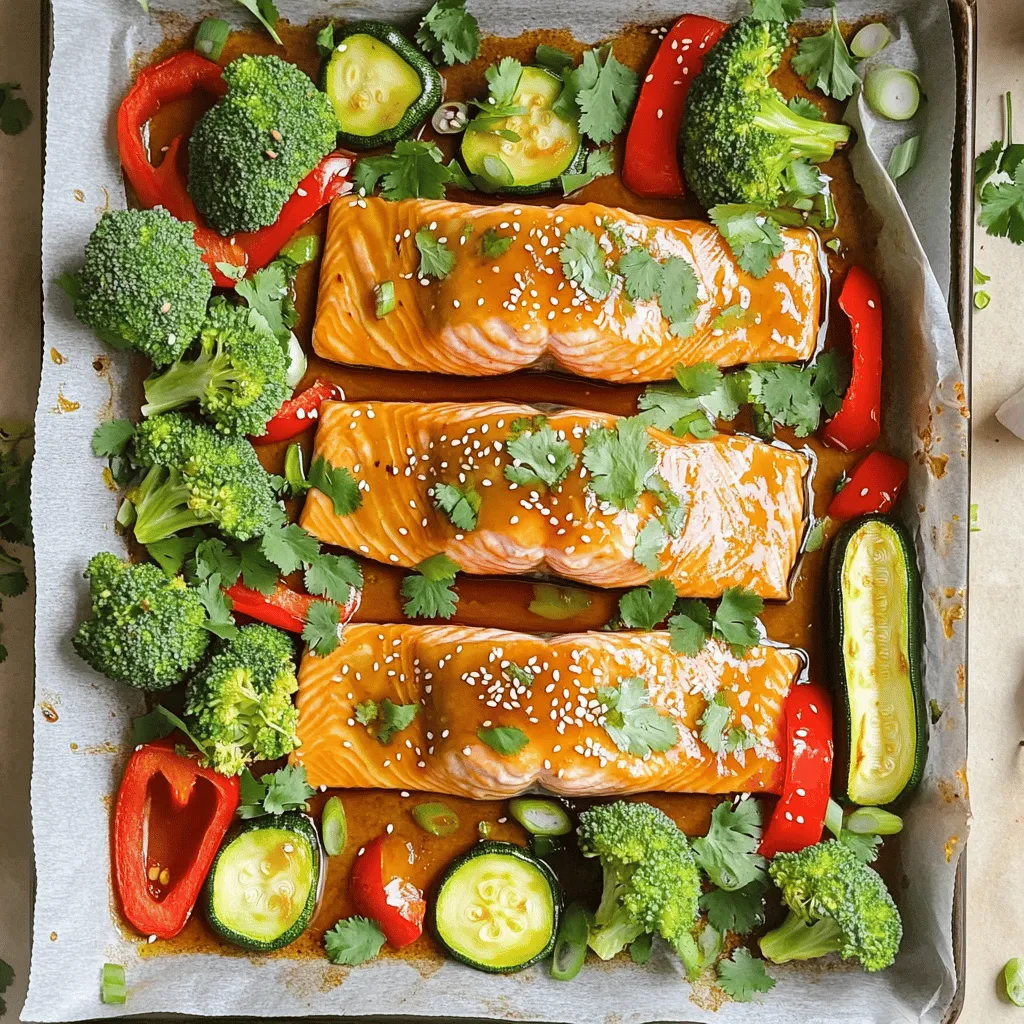
Are you ready to create a delicious and healthy meal? My Honey Soy Salmon & Veggies Sheet Pan Delight is your answer! This easy recipe uses fresh salmon, colorful veggies, …
Are you ready to create a delicious and healthy meal? My Honey Soy Salmon & Veggies Sheet Pan Delight is your answer! This easy recipe uses fresh salmon, colorful veggies, …

Fall is here, and that means it’s time for a delicious treat: Pumpkin Spice Whoopie Pies! These soft, spiced cookies filled with creamy goodness are the perfect blend of sweet …

Are you ready to impress your family with a delightful dinner? This Creamy Mushroom Spinach Pasta is a dish that strikes the perfect balance of rich flavor and wholesome ingredients. …

Get ready to impress your taste buds with my Brown Sugar Pineapple Chicken! This simple grilling recipe combines sweet and savory flavors that make dinner exciting. I’ll guide you through …

Do you crave a dish that combines the comfort of mac and cheese with a spicy kick? Look no further! In this blog post, I’ll guide you through making Buffalo …

Are you ready to dive into the cozy world of Pumpkin Spice Cream Cheese Cookies? If you love warm, rich flavors and soft, chewy cookies, you’re in for a treat. …
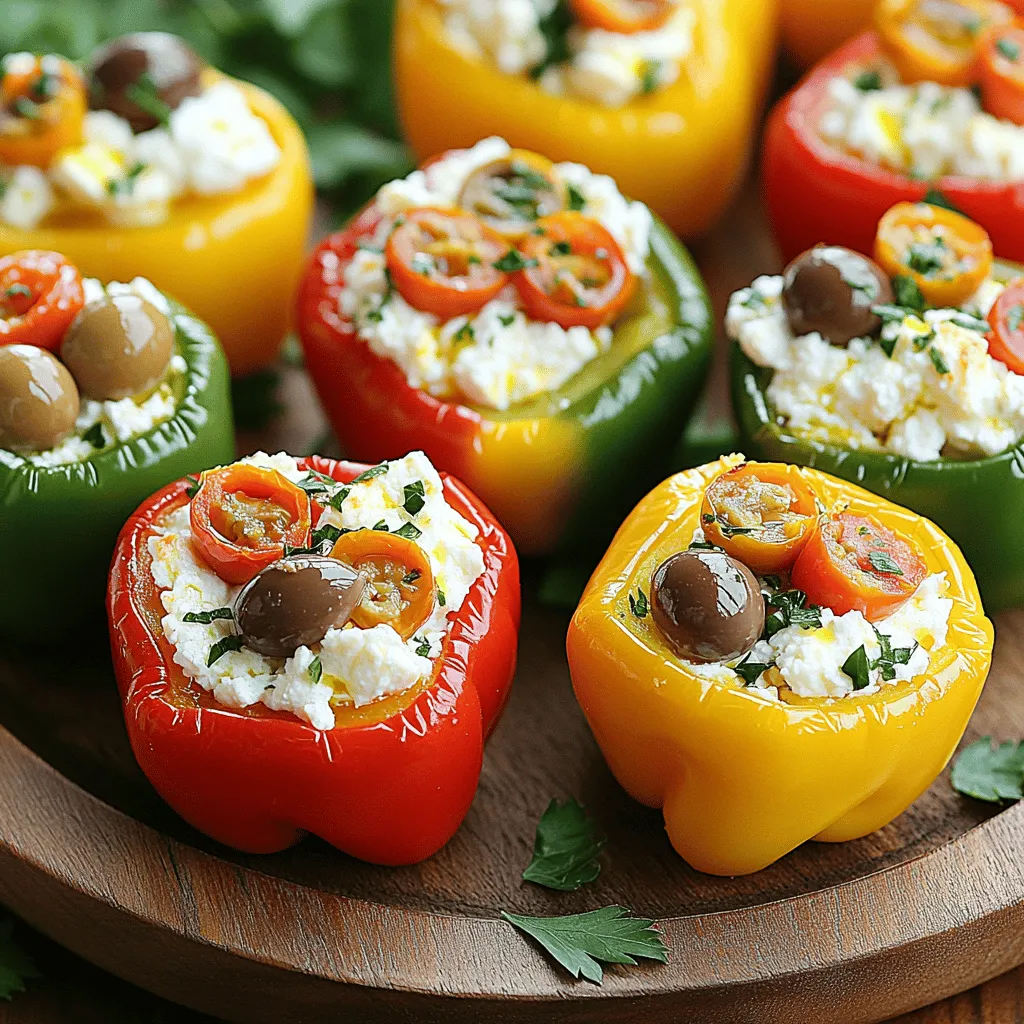
Looking for a tasty dish that’s easy to make? Try my Crispy Feta Stuffed Peppers in the air fryer! This delightful recipe offers a crunch you won’t want to miss. …
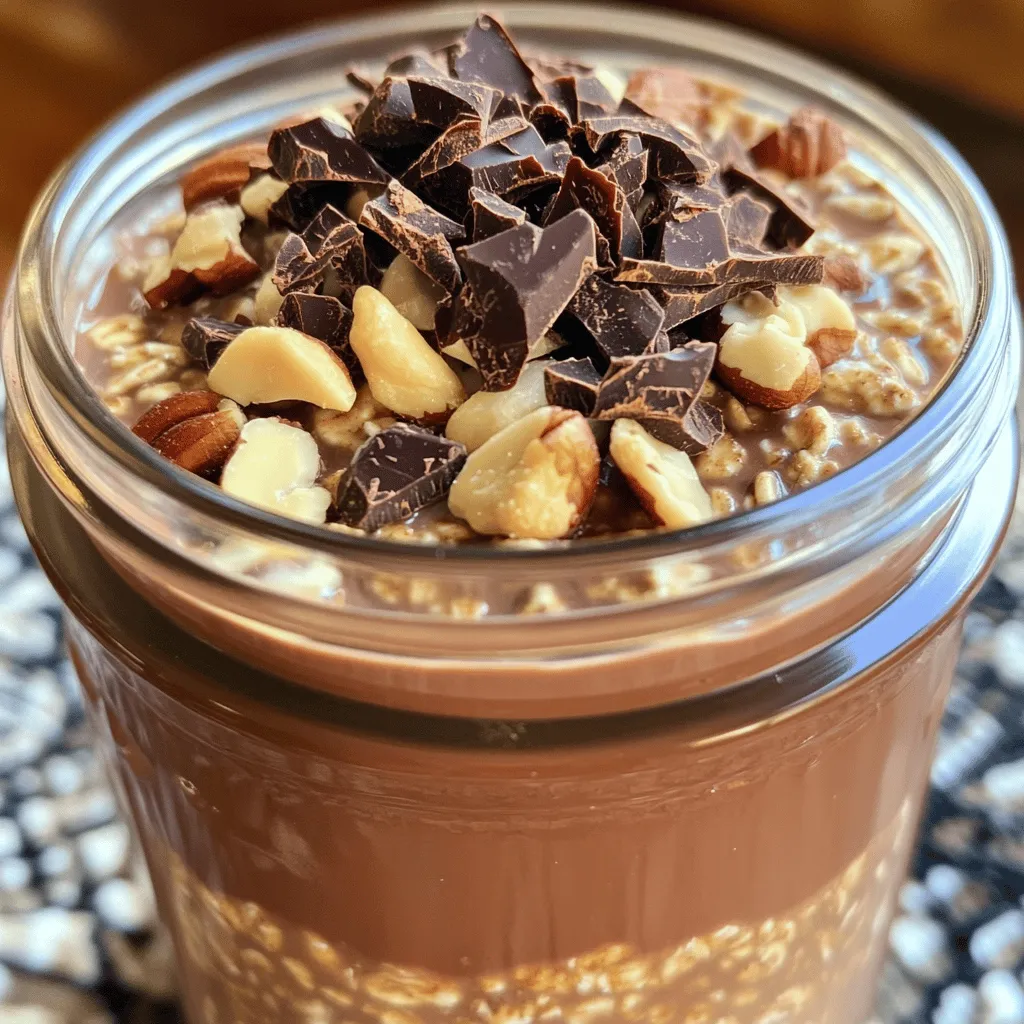
Start your day with a tasty lift! These Mocha Protein Overnight Oats offer a delicious boost to your morning routine. Packed with rolled oats, cocoa, coffee, and protein, they are …
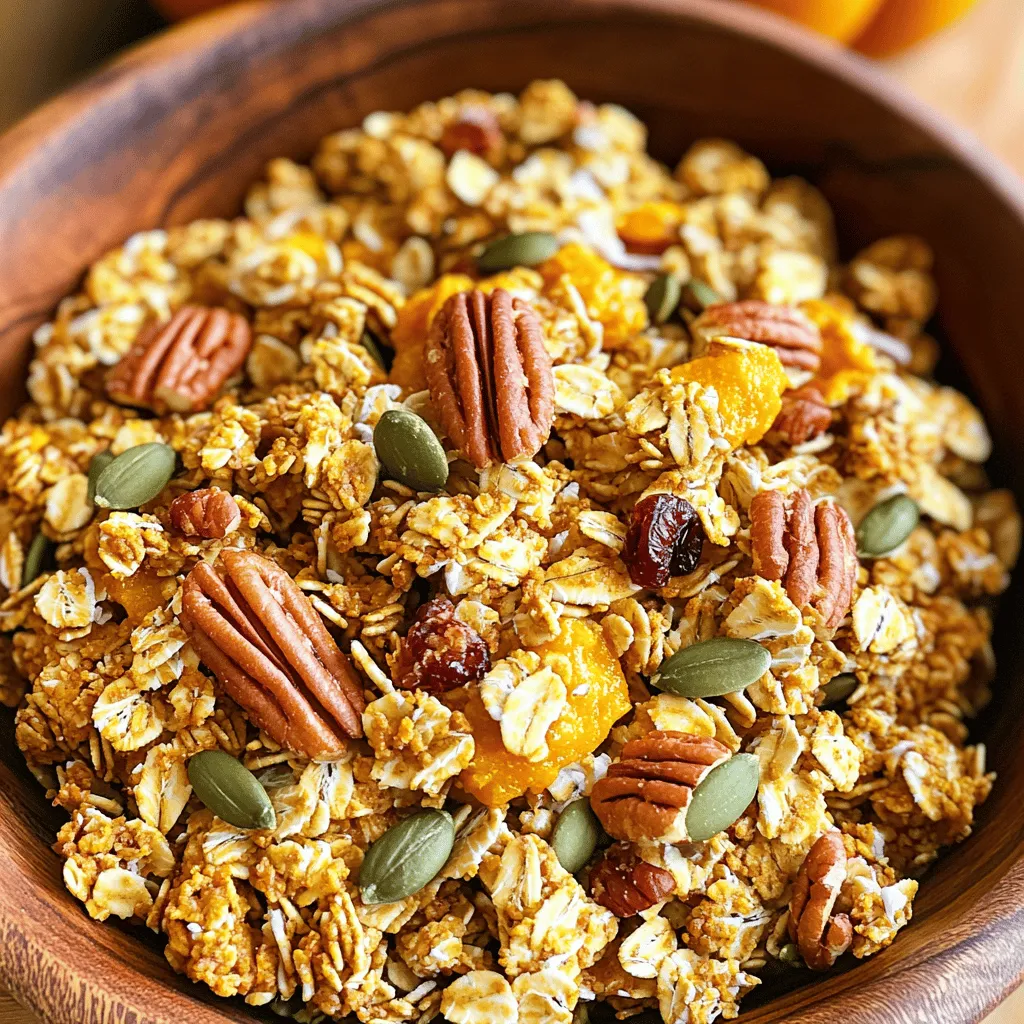
Embrace the warm flavors of fall with my Pumpkin Spice Granola. This tasty treat is not just for snacking—it’s a delicious breakfast option that’s easy to make. Packed with wholesome …
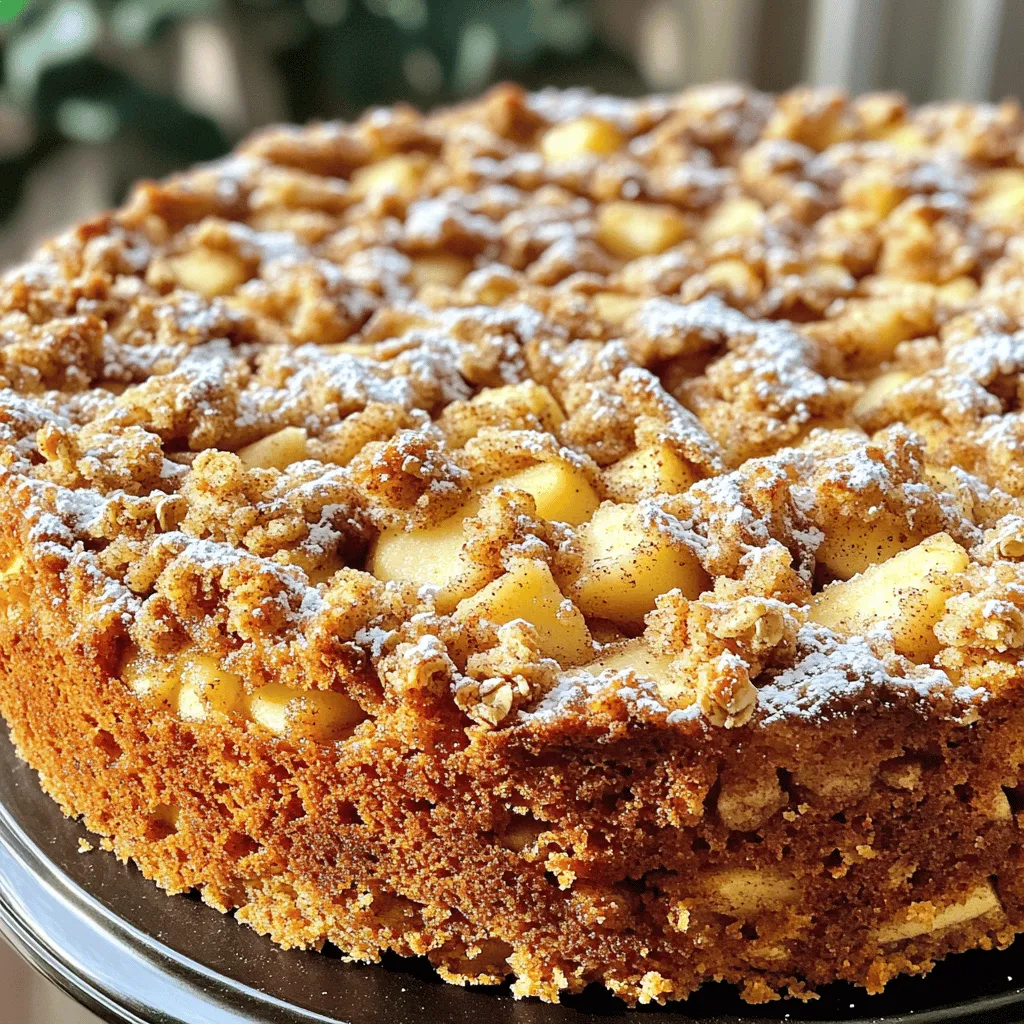
Are you ready to indulge in a slice of heaven? My Cinnamon Apple Crumb Cake is easy to make and bursting with flavor. With warm cinnamon and sweet apples, every …