Miso Ginger Ramen with Crispy Tofu Flavorful Dish
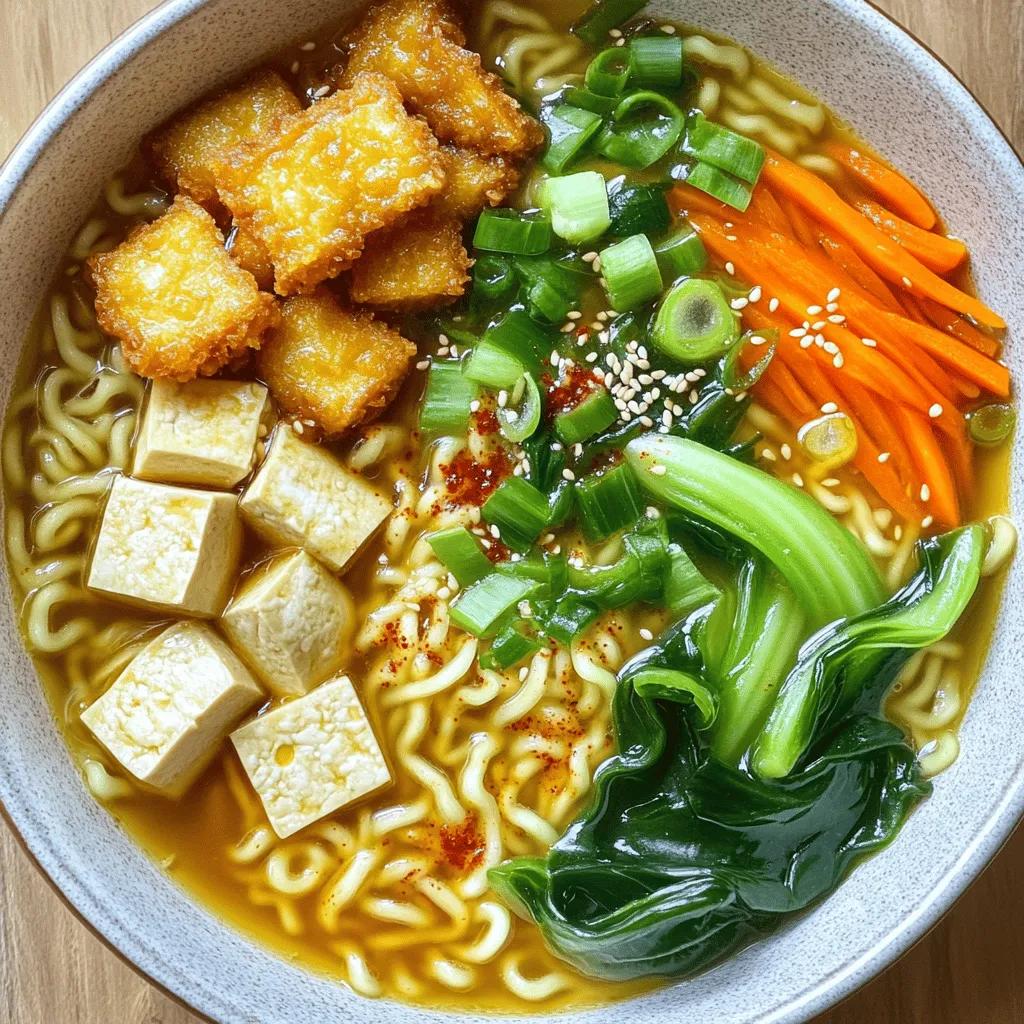
If you love bold flavors and cozy bowls of comfort, you’ll adore this Miso Ginger Ramen with Crispy Tofu! This dish combines rich miso, fresh ginger, and tofu that’s crispy …
If you love bold flavors and cozy bowls of comfort, you’ll adore this Miso Ginger Ramen with Crispy Tofu! This dish combines rich miso, fresh ginger, and tofu that’s crispy …

Craving a delightful treat that’s both tasty and easy to make? Look no further! This Chocolate Chip Zucchini Bread combines the rich flavor of chocolate with the moisture of fresh …

Are you ready to spice up your dinner? These Spicy Honey Garlic Chicken Thighs are your answer! Juicy and packed with flavor, this dish pairs sweet honey and zesty garlic …
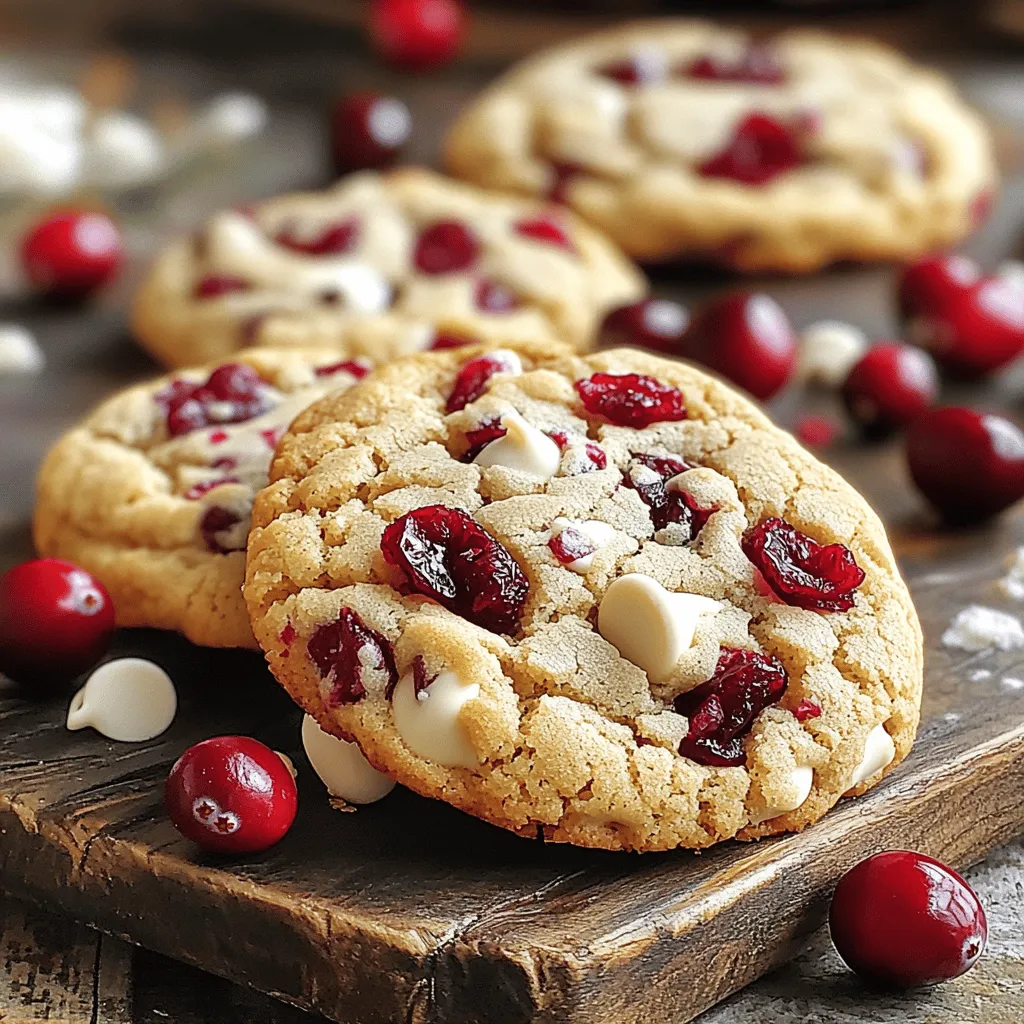
If you’re dreaming of a sweet treat that captures the flavor of the holidays, you’ve landed in the right place! In this post, I’m excited to share my recipe for …
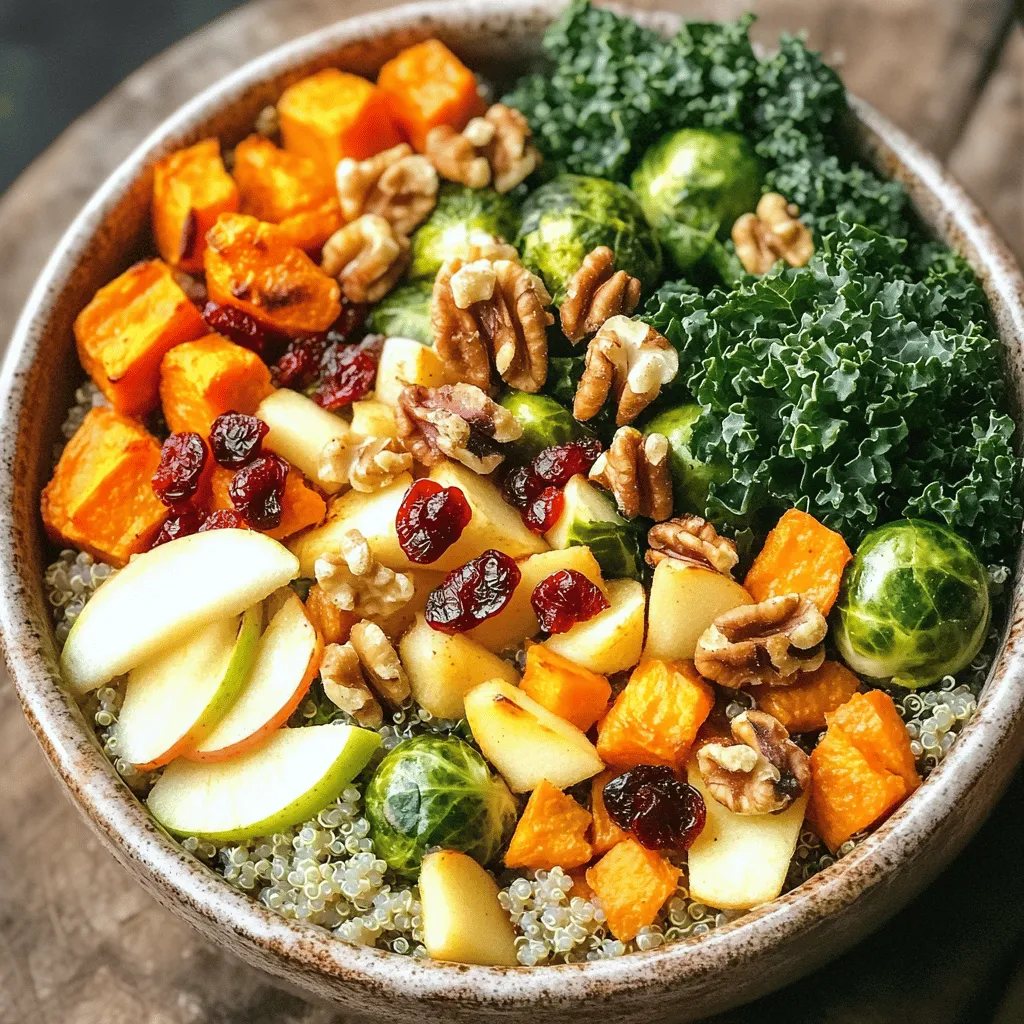
Are you ready for a dish that captures autumn’s best flavors? The Autumn Harvest Buddha Bowl brims with warm, tasty ingredients like sweet potatoes, quinoa, and Brussels sprouts. Not only …
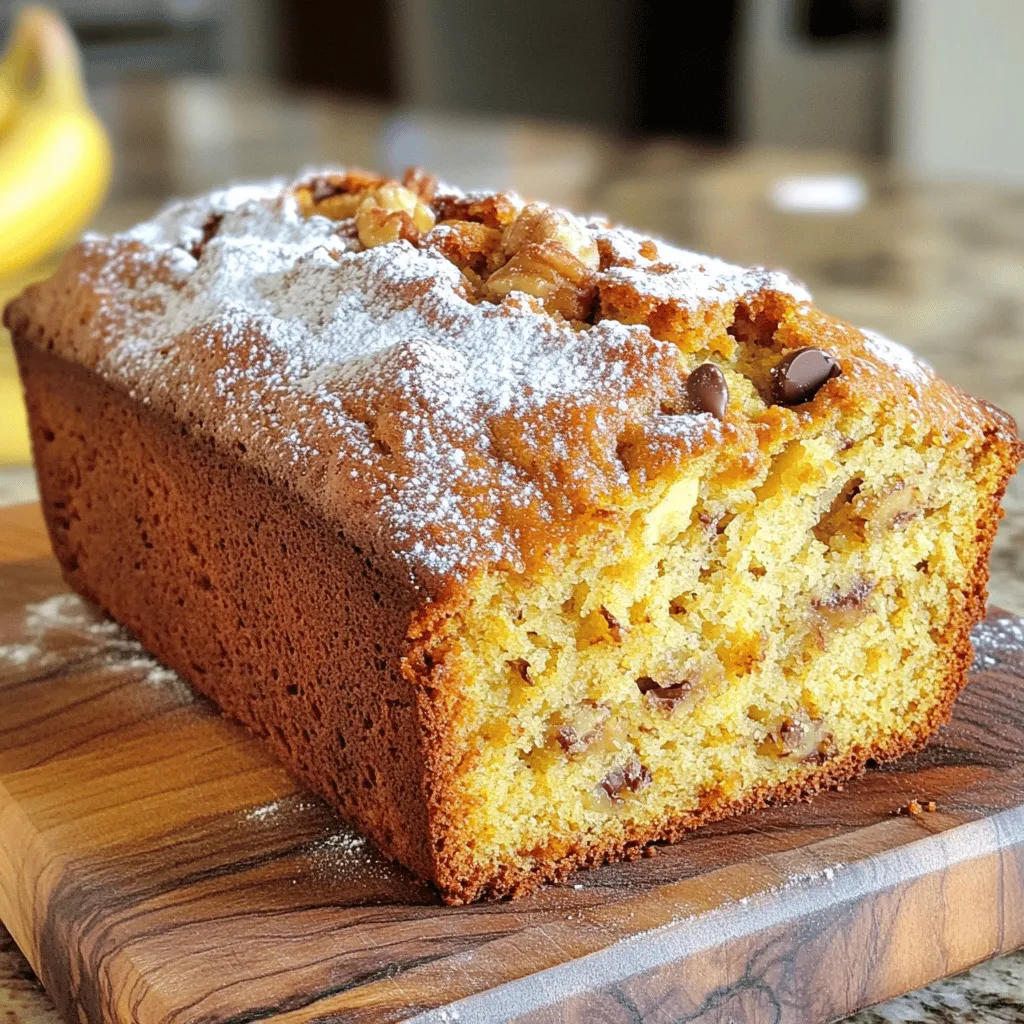
Get ready to enjoy a slice of Greek Yogurt Banana Bread that’s both healthy and delicious! With ripe bananas and creamy Greek yogurt, this recipe delivers moist and flavorful bread …

If you’re craving a sweet, tangy treat, my Blueberry Lemon Yogurt Muffins are just the thing! Packed with juicy blueberries and zesty lemon, these muffins are easy to make and …

Are you ready to turn a classic into a comforting casserole? Stuffed Bell Pepper Casserole is the perfect meal for busy nights. It’s packed with flavor, healthy ingredients, and is …

Craving a sweet treat that’s both easy and satisfying? You’re in the right place! These No Bake Oreo Truffles combine just four simple ingredients—Oreo cookies, cream cheese, white chocolate, and …
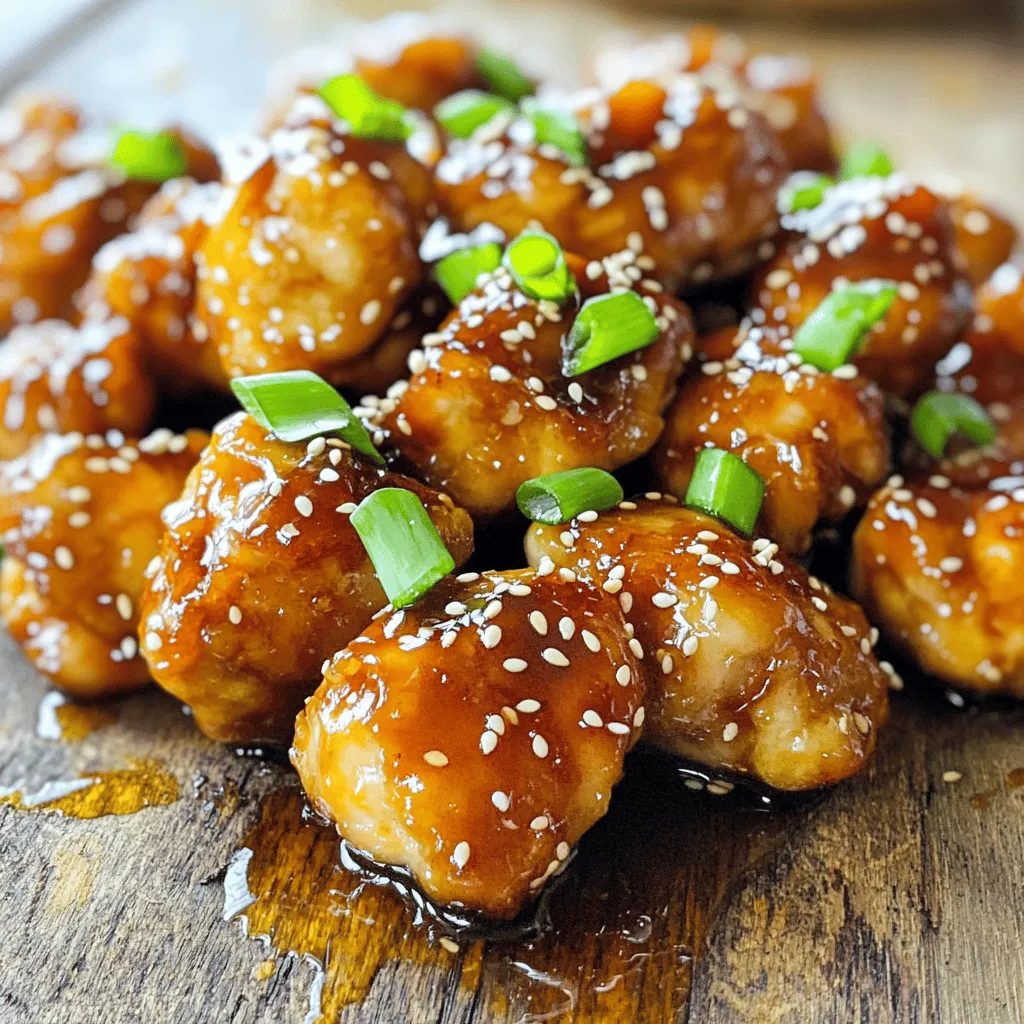
If you crave a simple yet delicious dish, Honey Garlic Chicken Bites are for you! This quick recipe combines juicy chicken with sweet honey and savory garlic for a flavor …