Chocolate Chip Zucchini Bread Flavorful and Easy Recipe
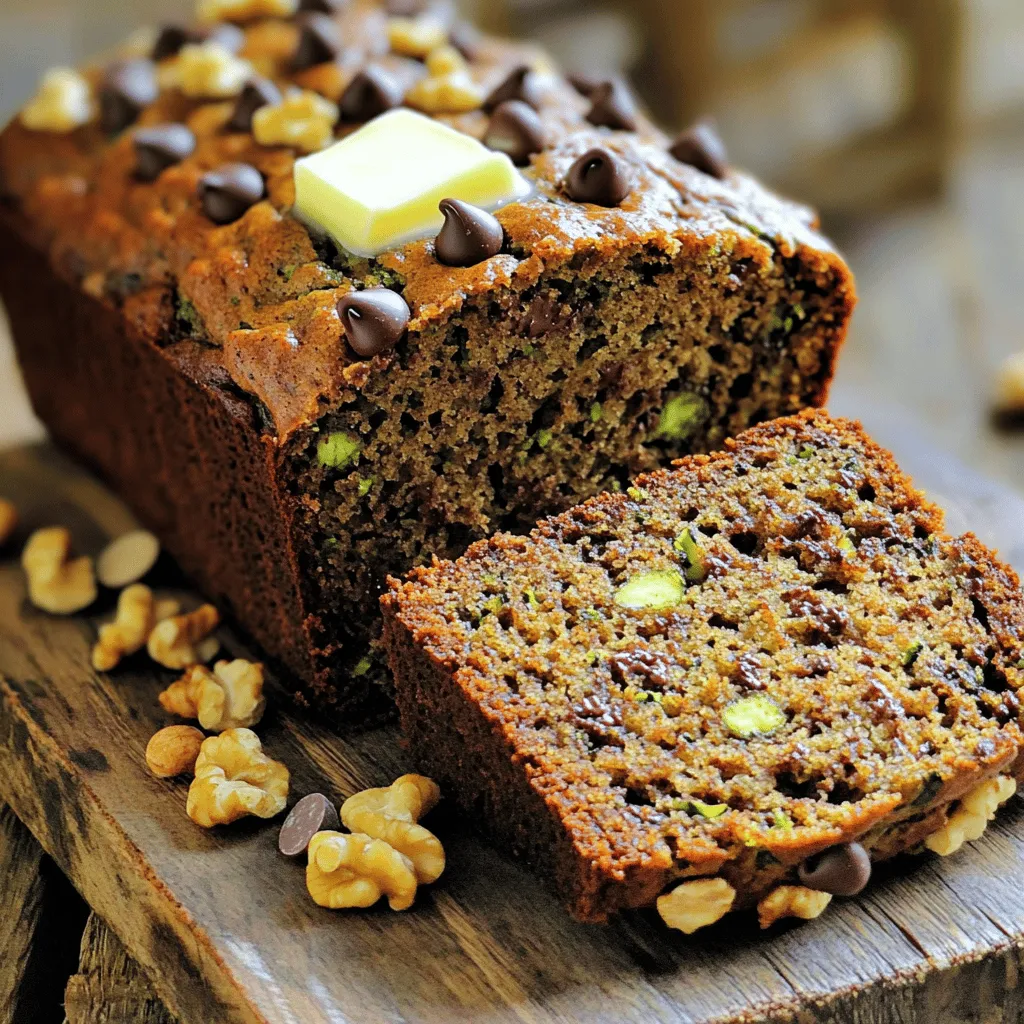
Are you ready to bake something delicious? Chocolate Chip Zucchini Bread is easy and full of flavor. Whether you’re a seasoned baker or just starting out, this recipe will impress. …