One-Pot Lemon Garlic Orzo Quick and Easy Recipe
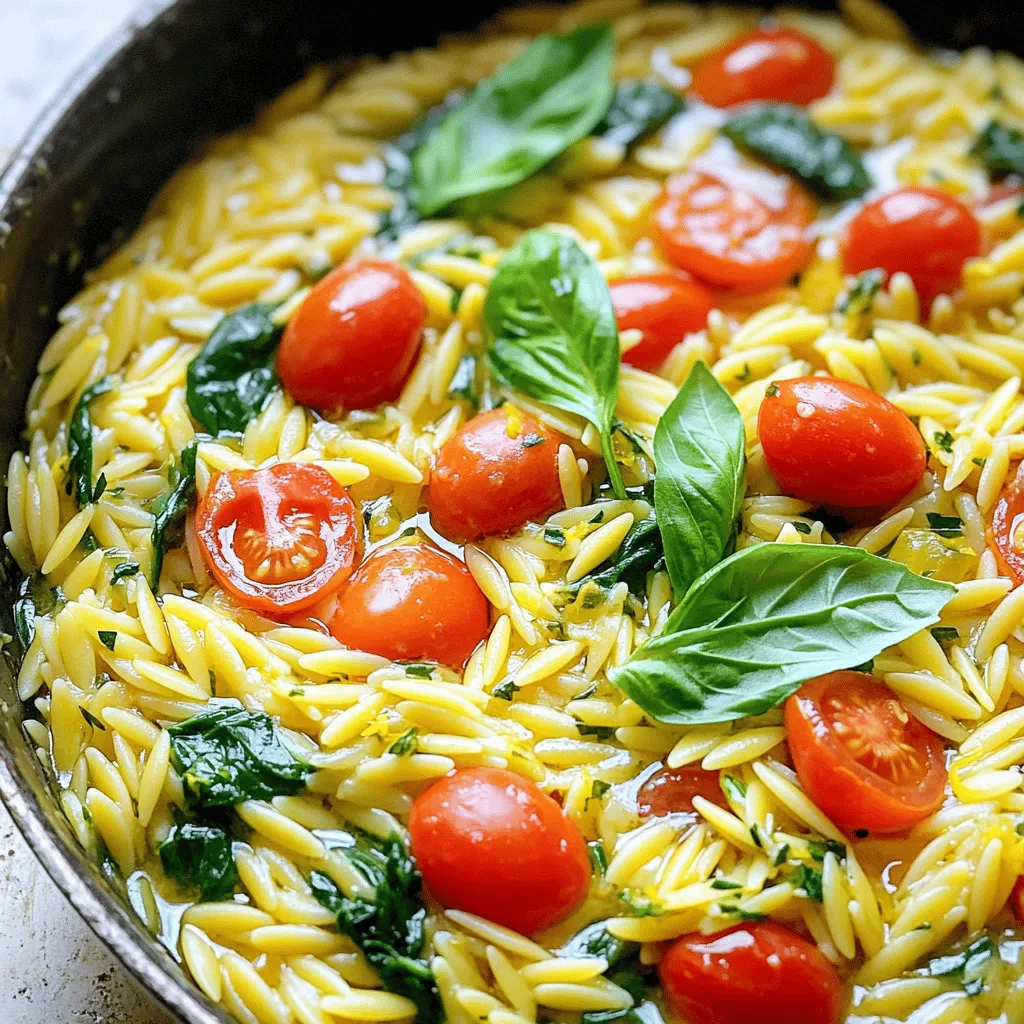
Looking for a quick and easy meal that bursts with flavor? Try this One-Pot Lemon Garlic Orzo! This recipe is simple and perfect for busy days or a tasty weeknight …
Looking for a quick and easy meal that bursts with flavor? Try this One-Pot Lemon Garlic Orzo! This recipe is simple and perfect for busy days or a tasty weeknight …
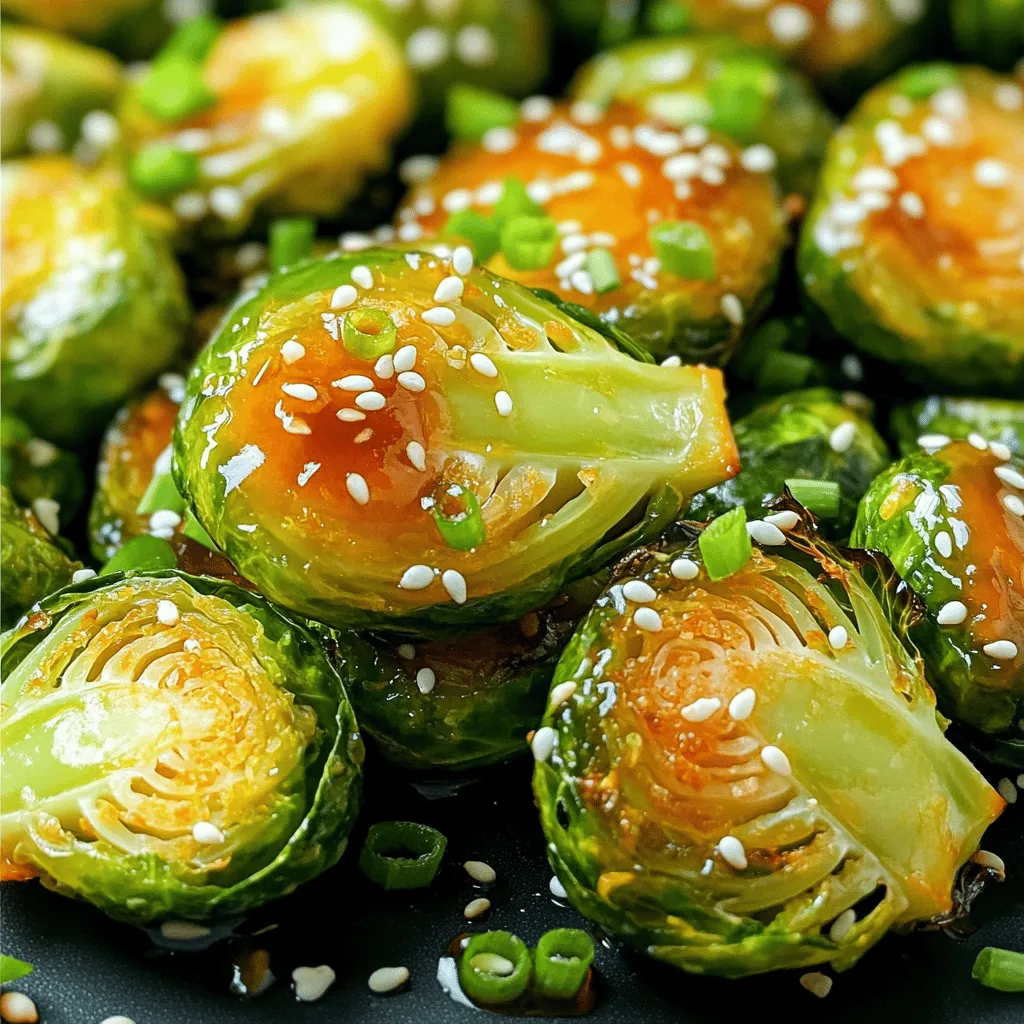
Are you ready to transform your Brussels sprouts into a crowd-pleasing dish? My Honey Sriracha Brussels Sprouts bring the perfect blend of sweet and spicy flavors. This simple recipe uses …

Looking for a fun and tasty dessert? Let me introduce you to my Strawberry Shortcake Trifle! This layered treat is easy to make and bursting with flavor. Fresh strawberries, rich …
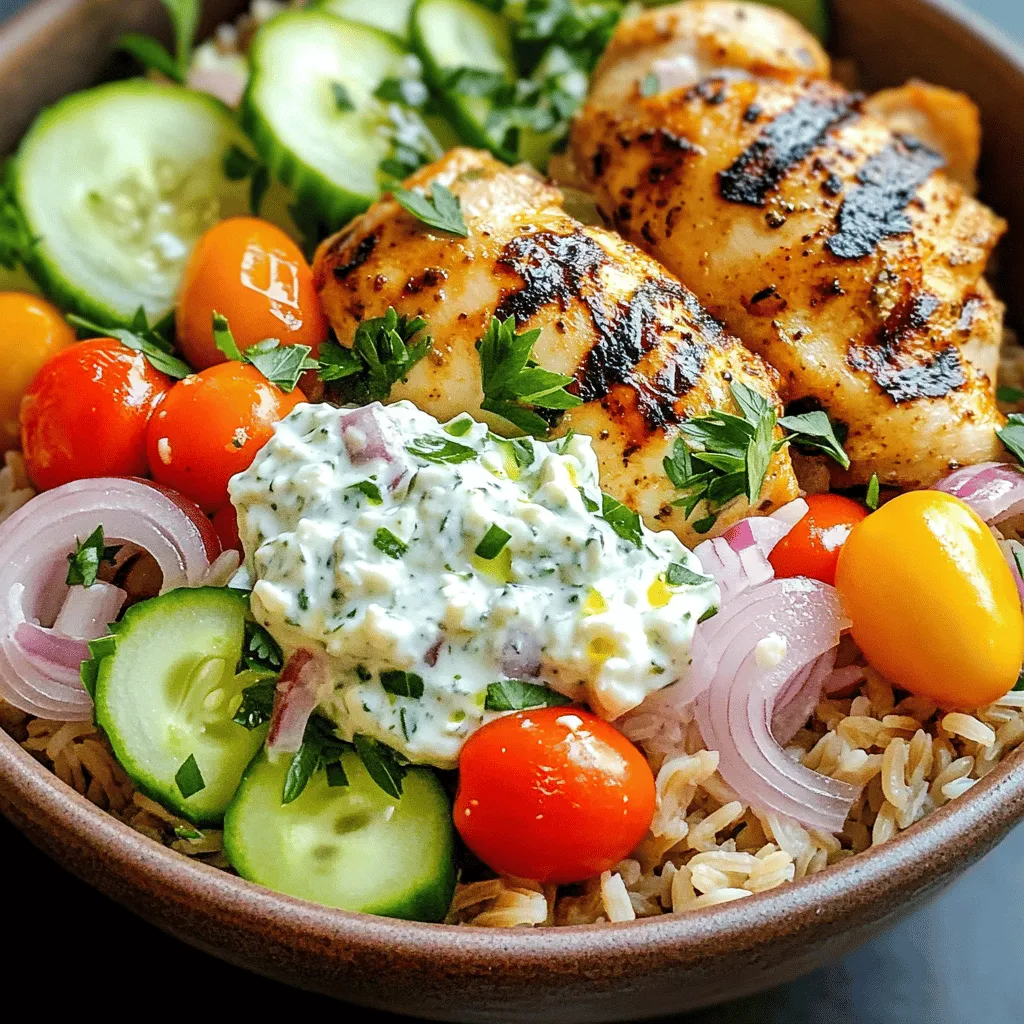
If you’re craving a fresh and tasty meal, Greek Chicken Gyro Bowls are perfect for you! Packed with marinated chicken, vibrant veggies, and delicious toppings, these bowls offer a burst …

Are you ready to enjoy a snack that’s both healthy and delicious? Pumpkin Spice Energy Bites are perfect for anyone craving fall flavors without the guilt. Packed with oats, almond …

Are you ready for a treat that combines rich chocolate and fresh strawberries? Chocolate Covered Strawberry Brownies are the perfect dessert to impress anyone. I’ll guide you through each step, …

Craving a side that steals the show? Let me introduce you to Smashed Garlic Butter Potatoes! These crispy delights blend the rich taste of garlic with buttery goodness, turning ordinary …

Are you ready for a snack that’s both tasty and simple? These Cauliflower Buffalo Bites pack a spicy punch while keeping things healthy. You can whip them up in no …

Do you want a side dish that shines at any meal? Maple glazed roasted carrots can steal the show! With just a few simple ingredients, you can elevate plain carrots …
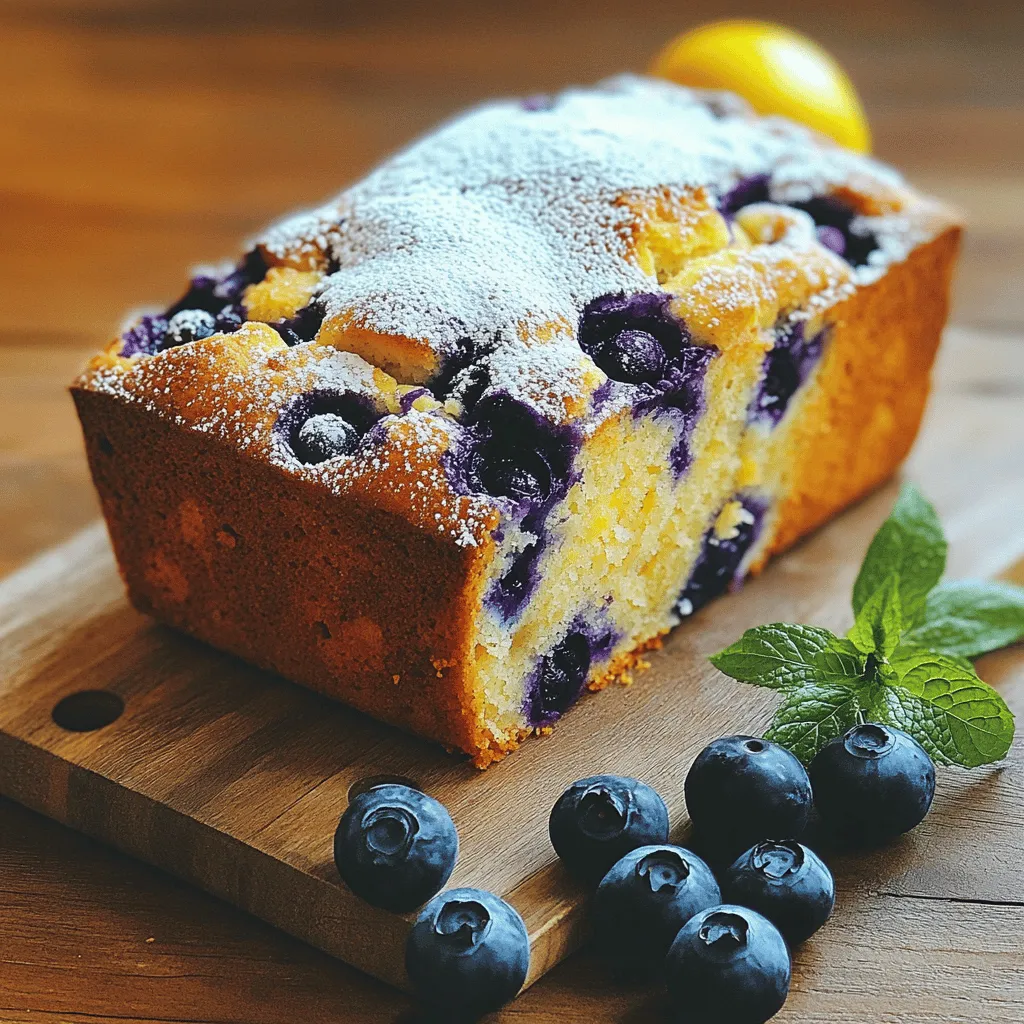
Craving a delicious treat that’s both tasty and simple to make? The Blueberry Lemon Yogurt Loaf is your answer! With a perfect balance of tangy lemon and sweet blueberries, this …