Coconut Lime Energy Balls Simple and Energizing Snack
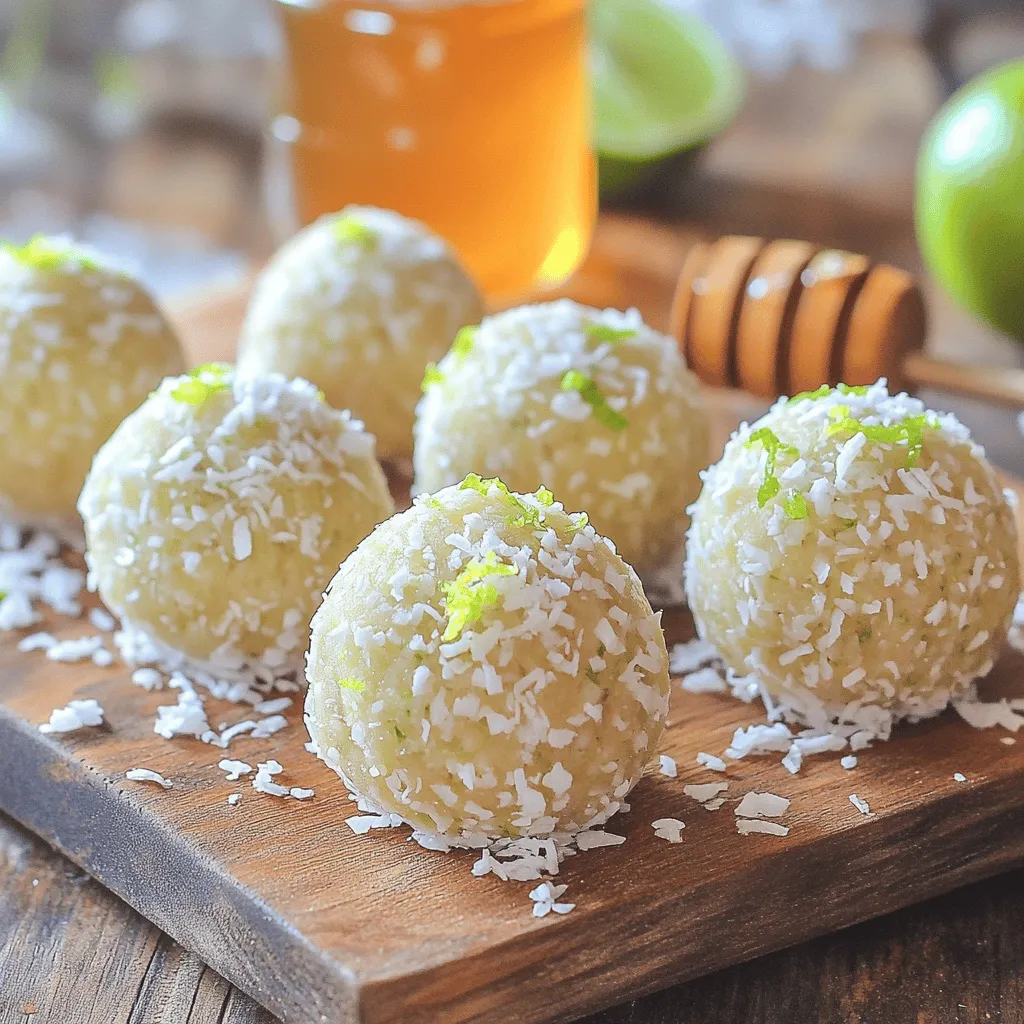
Looking for a tasty, quick snack that fuels your day? Coconut Lime Energy Balls are just what you need! Packed with nutritious ingredients, these little bites are easy to make …
Looking for a tasty, quick snack that fuels your day? Coconut Lime Energy Balls are just what you need! Packed with nutritious ingredients, these little bites are easy to make …
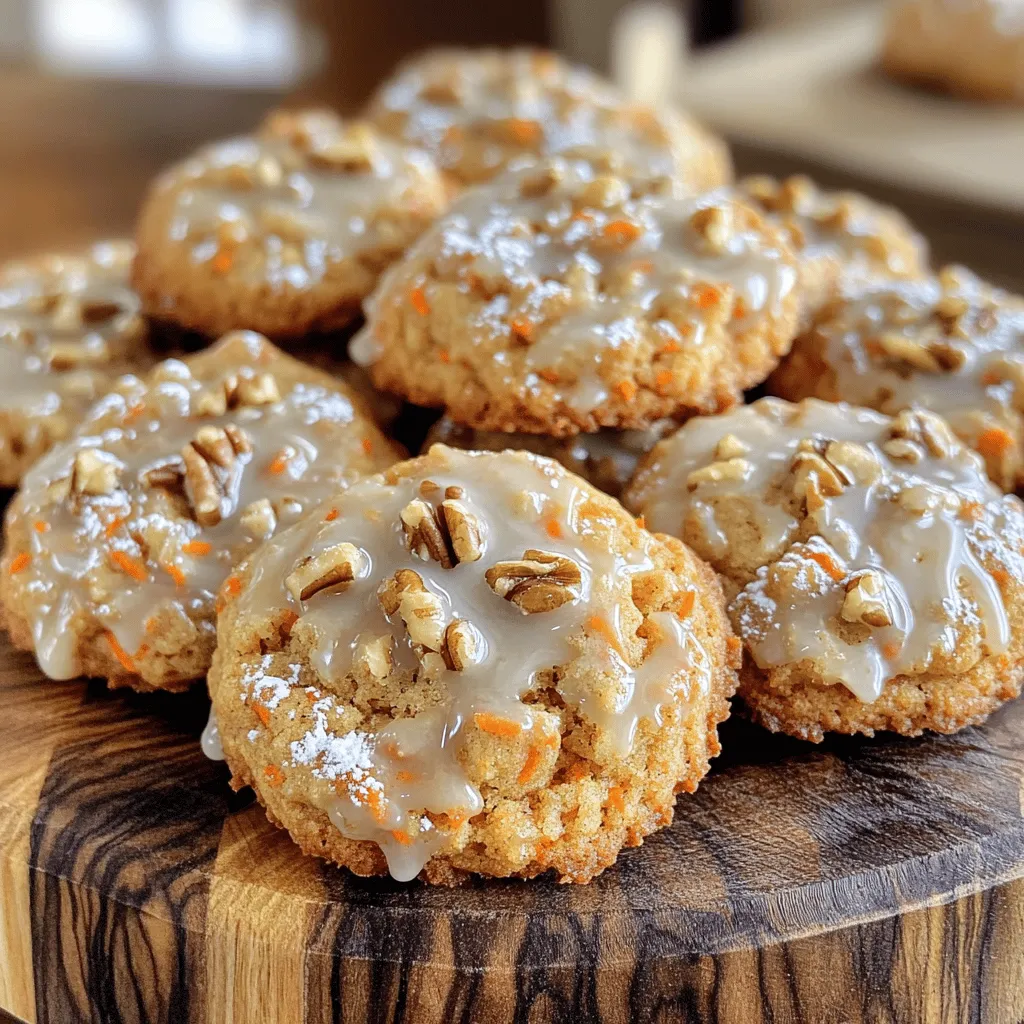
Get ready to treat your taste buds! In this article, I’ll show you how to make delightful maple glazed carrot cake cookies. These soft, spiced cookies are topped with a …
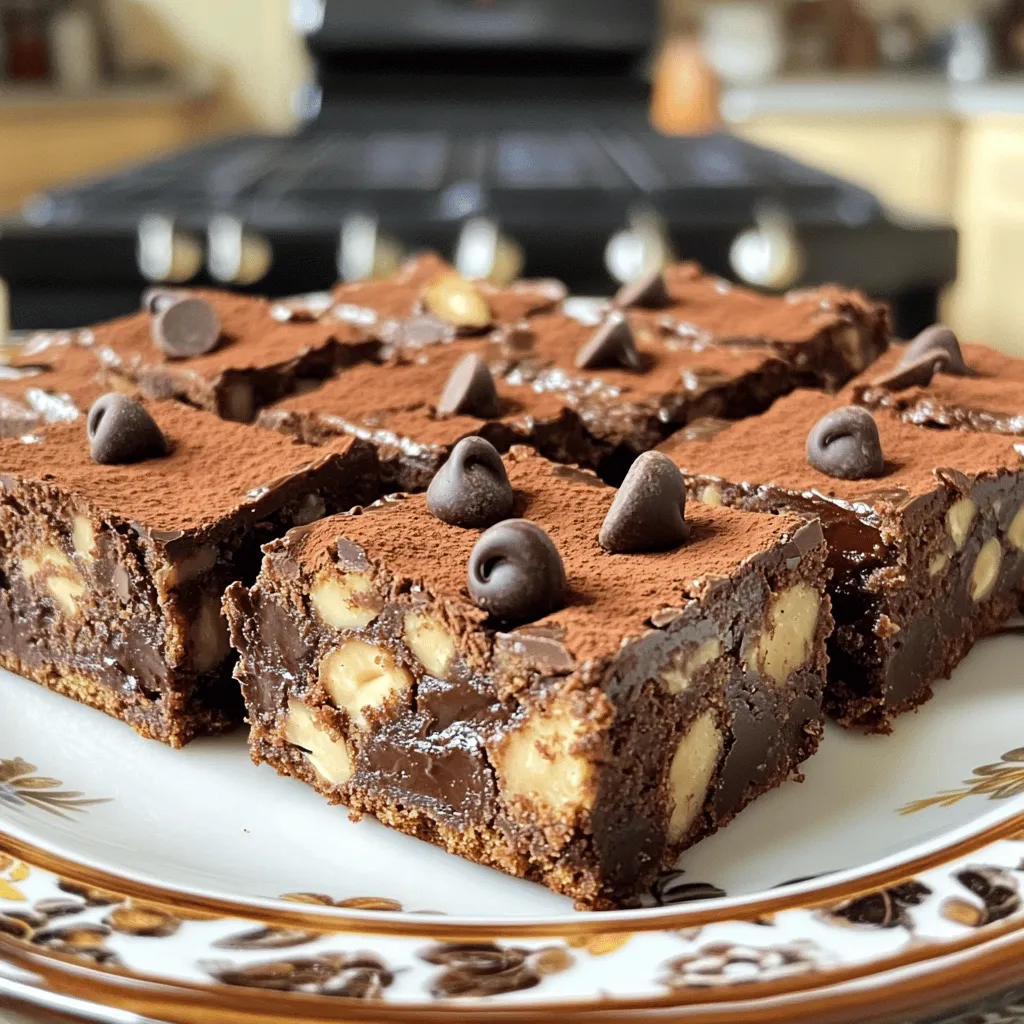
If you love rich, gooey treats, you need to try my Flourless Peanut Butter Chocolate Chip Bars. They are quick to make, packed with flavor, and perfect for any occasion. …
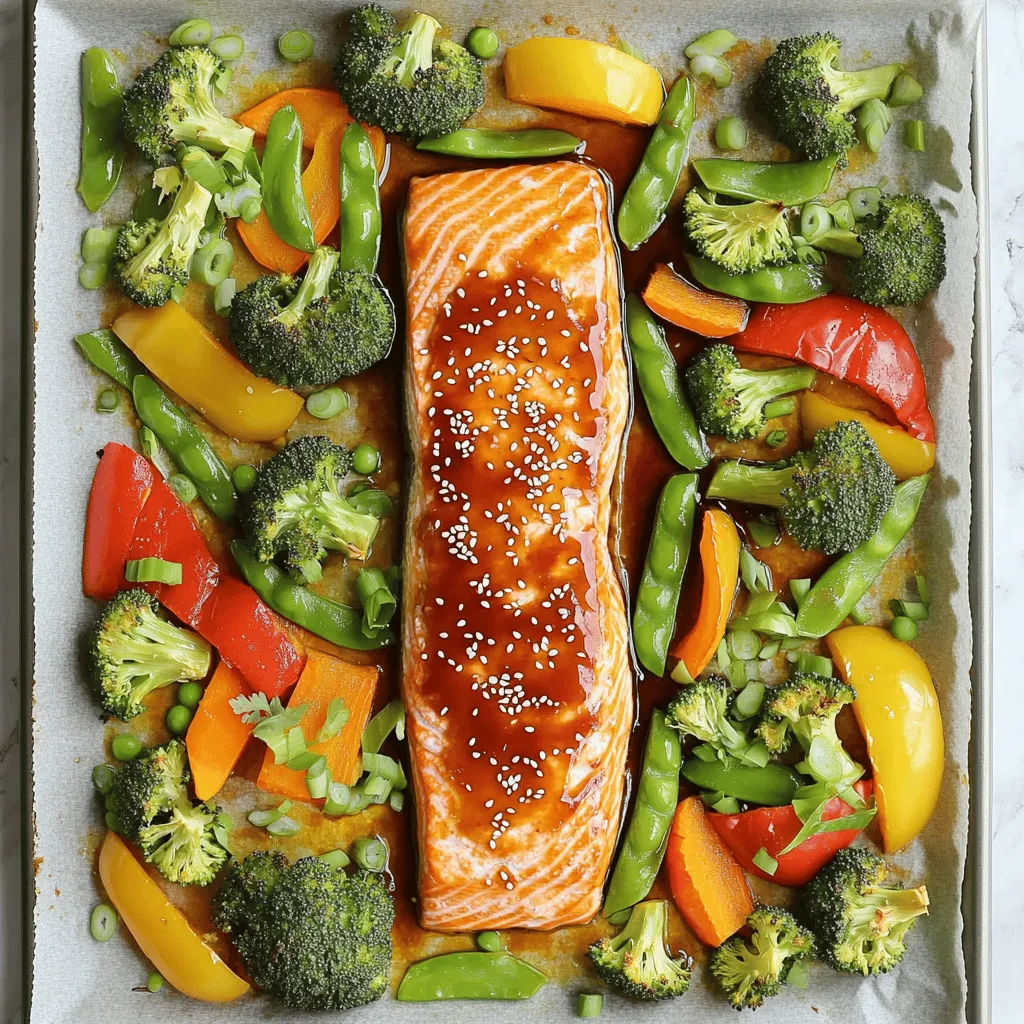
Get ready to enjoy a quick and tasty meal with my Sheet-Pan Teriyaki Salmon and Veggies Delight! This dish combines fresh salmon and colorful veggies, all cooked together with a …
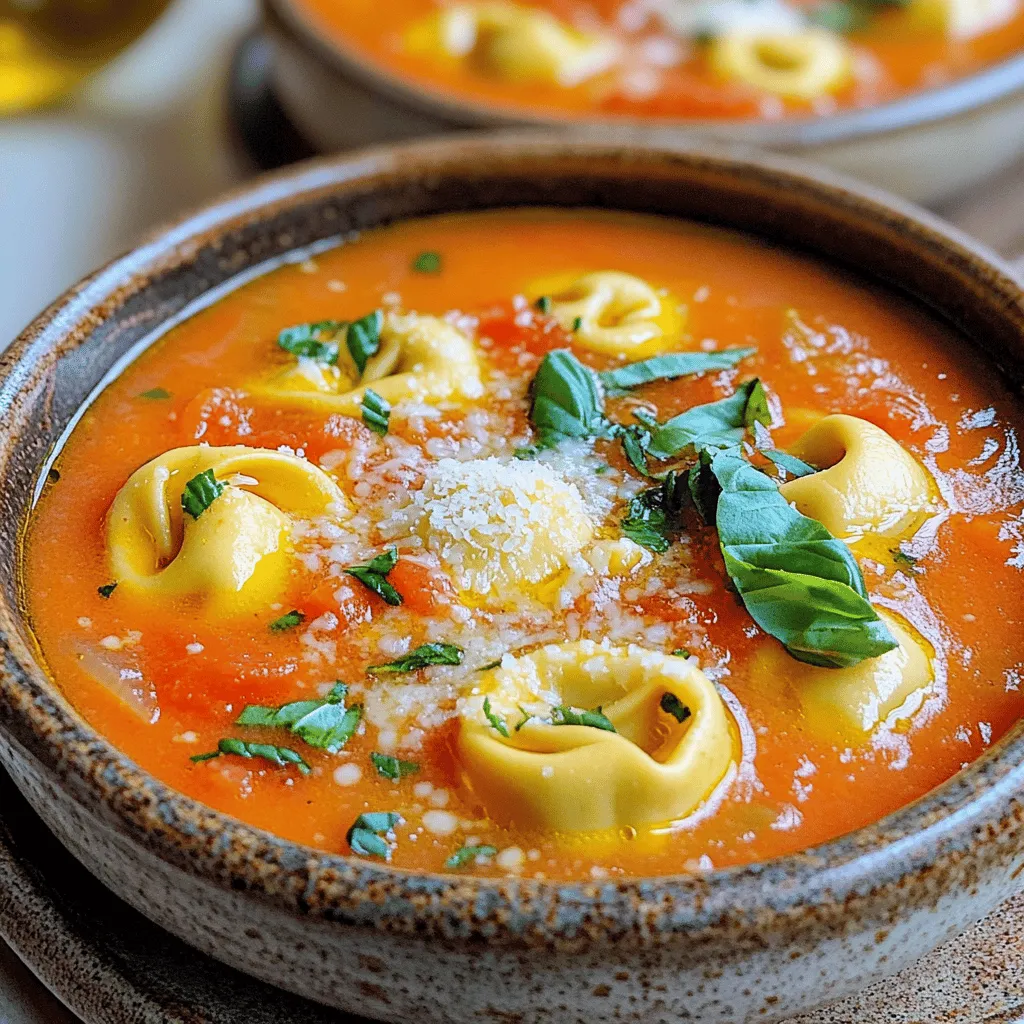
Are you ready for a cozy bowl of comfort? My Creamy Tomato Basil Tortellini Soup is simple and hearty. It’s perfect for a chilly day or a quick weeknight dinner. …

Are you ready for a meal that’s both easy and delicious? Slow Cooker Honey Garlic Meatballs are perfect for busy weeknights. With simple ingredients and minimal prep, you can enjoy …
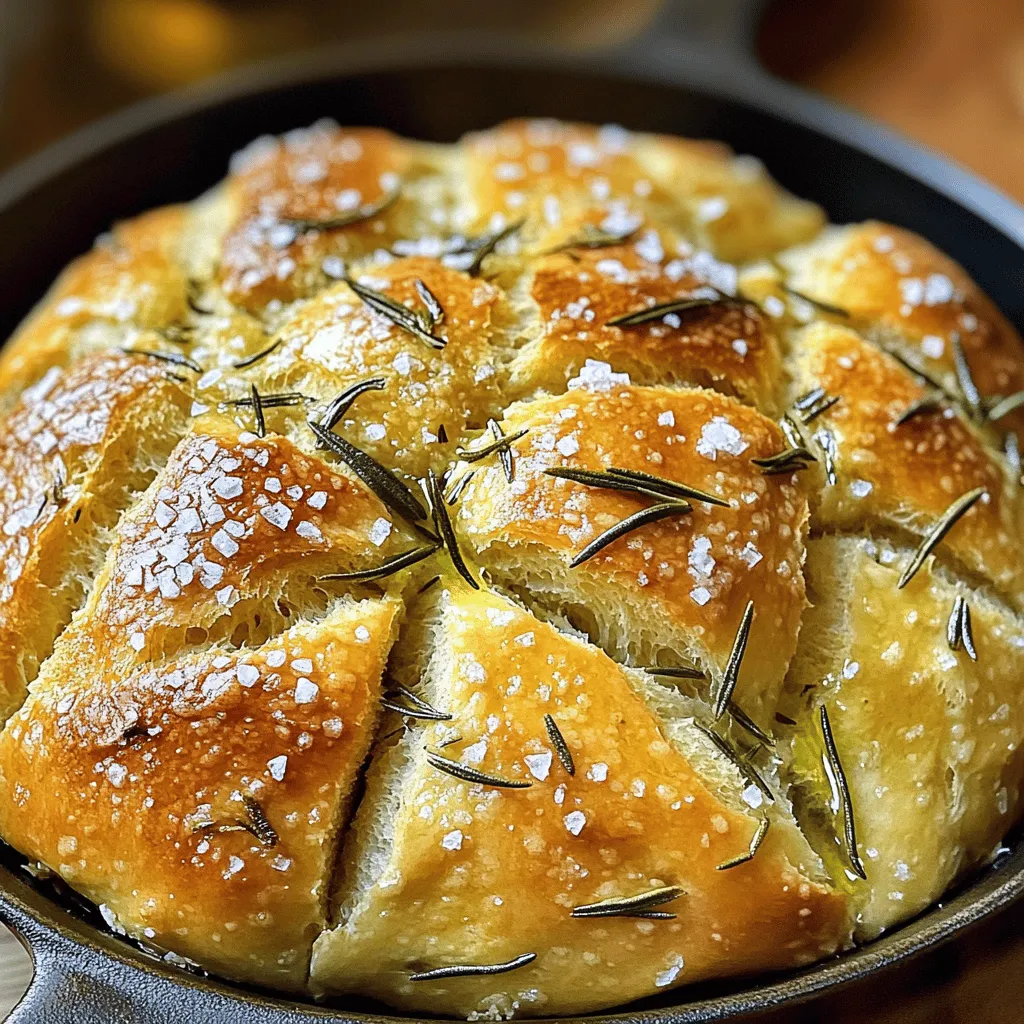
If you crave warm, fresh bread but dread the kneading, you’re in luck! This no-knead rosemary skillet bread is easy to make and full of flavor. With just a few …
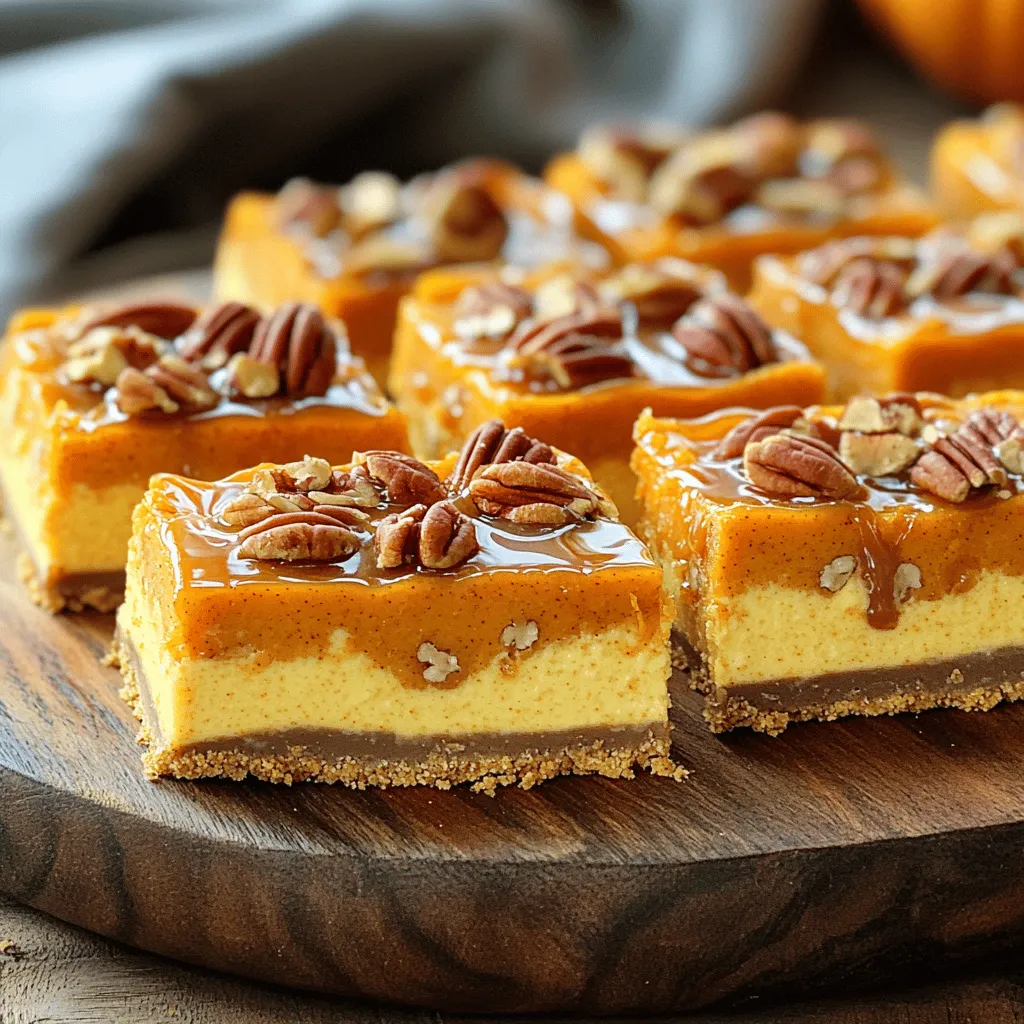
Get ready to delight your taste buds with my Caramel Pecan Pumpkin Cheesecake Bars! These sweet treats blend creamy pumpkin cheesecake with crunchy pecans, topped with rich caramel. They’re perfect …
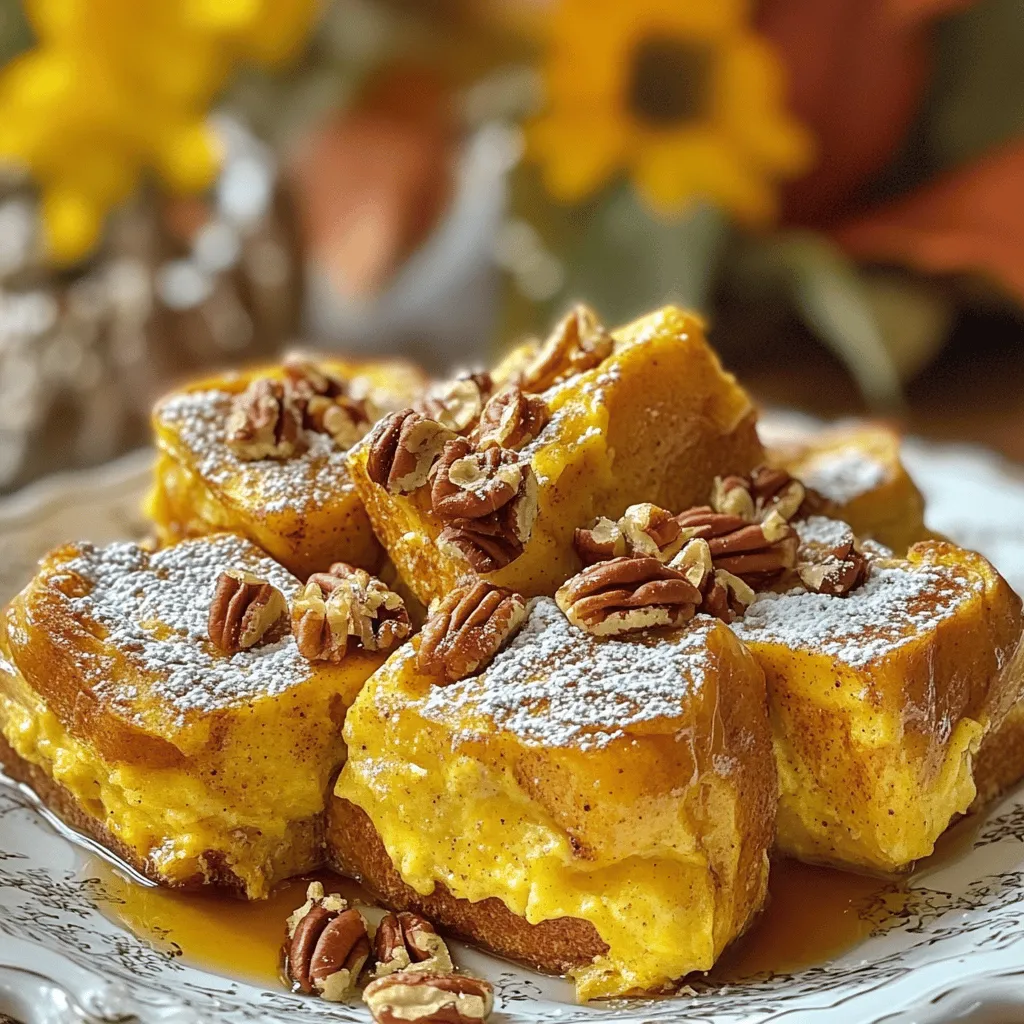
Cozy up to fall with my Pumpkin Spice French Toast Casserole! This dish combines rich pumpkin puree, warm spices, and soft challah bread to create a breakfast treat that feels …
As the leaves turn and the air cools, there’s nothing better than a warm slice of Apple Cider Donut Cake. This delightful dessert captures the essence of fall and is …