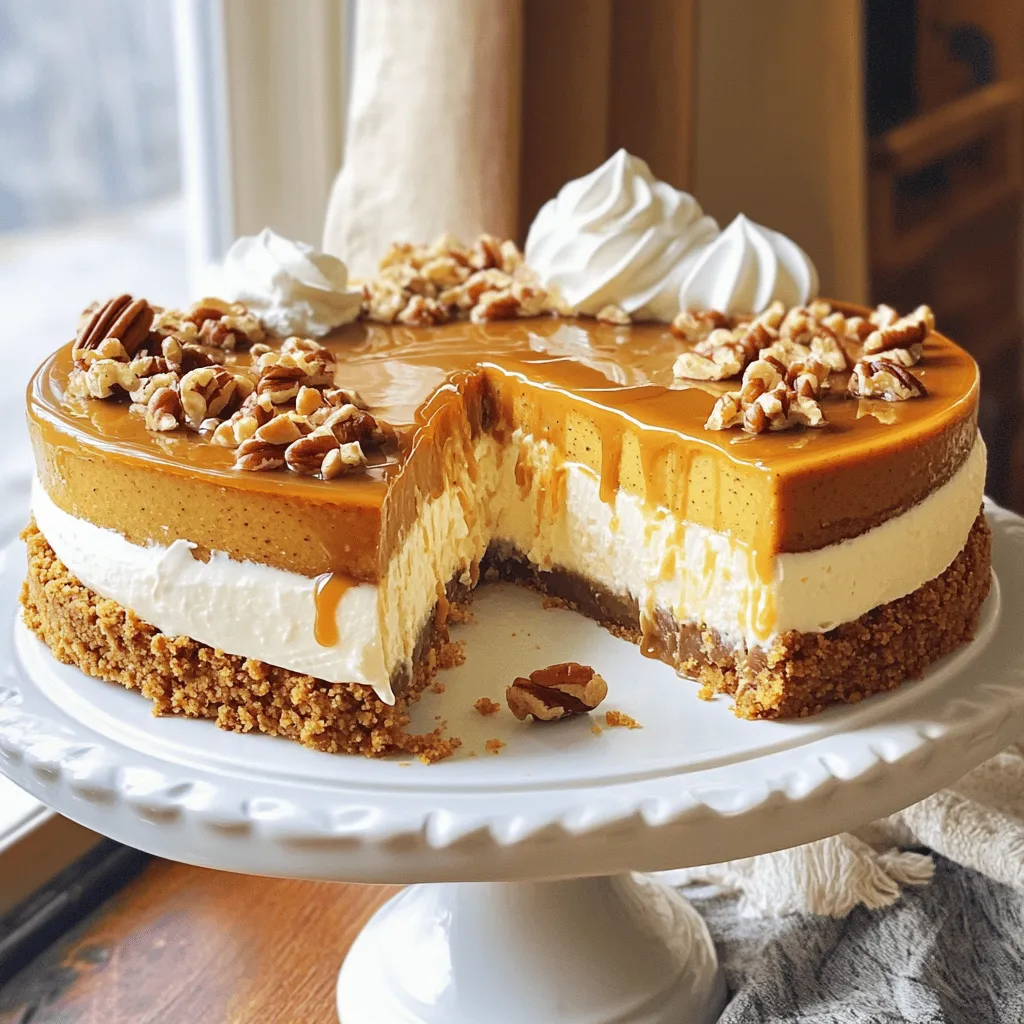
No-Bake Pumpkin Spice Latte Cheesecake Delight
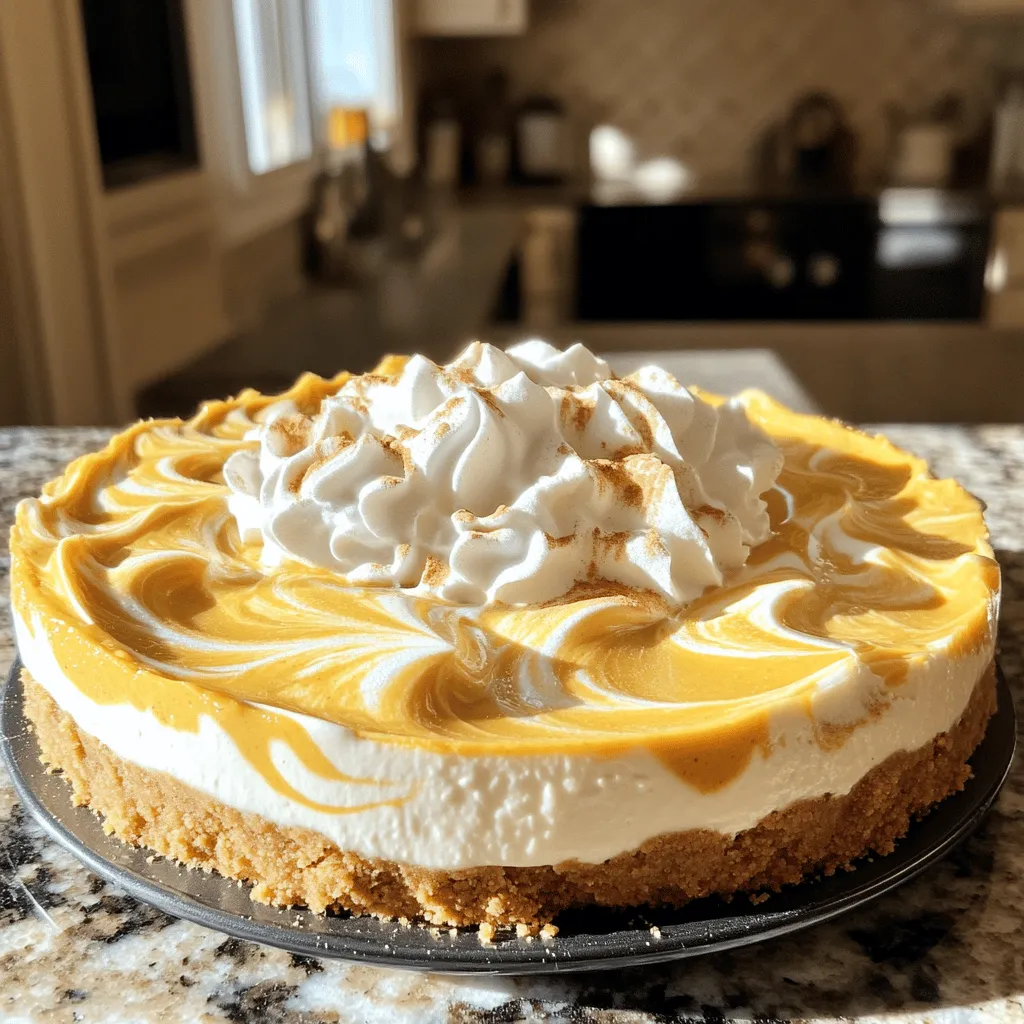
Fall is here, and it’s time for a treat that celebrates the season: No-Bake Pumpkin Spice Latte Cheesecake! This creamy dessert blends rich pumpkin flavors with a delightful coffee twist. …