Minute Lemon Garlic Shrimp Zoodles Flavorful Meal

Are you craving a quick and tasty meal? Look no further! Minute Lemon Garlic Shrimp Zoodles is packed with flavor and takes just minutes to prepare. This dish brings together …
Are you craving a quick and tasty meal? Look no further! Minute Lemon Garlic Shrimp Zoodles is packed with flavor and takes just minutes to prepare. This dish brings together …
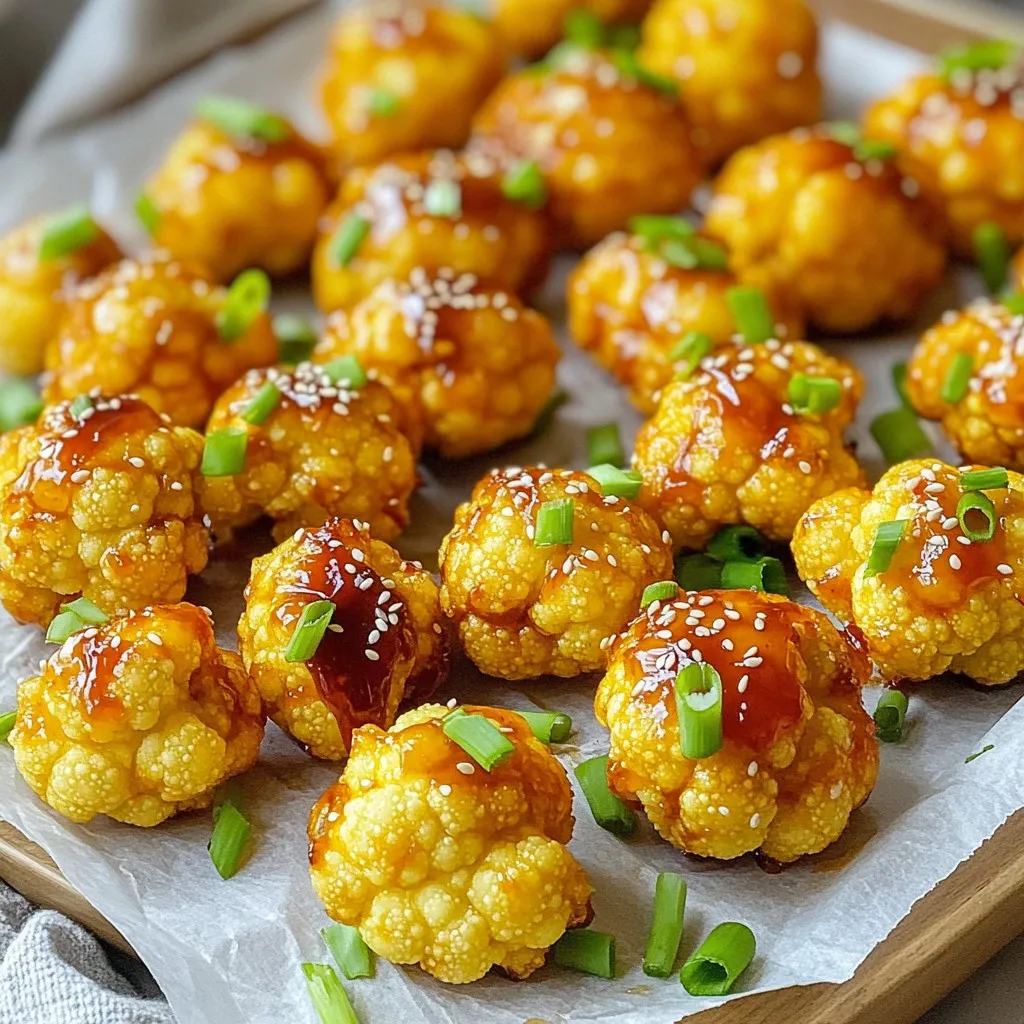
Get ready to spice up your snack game with Air Fryer Honey Sriracha Cauliflower Bites! These tasty bites combine crispy cauliflower, sweet honey, and a kick of sriracha, making them …
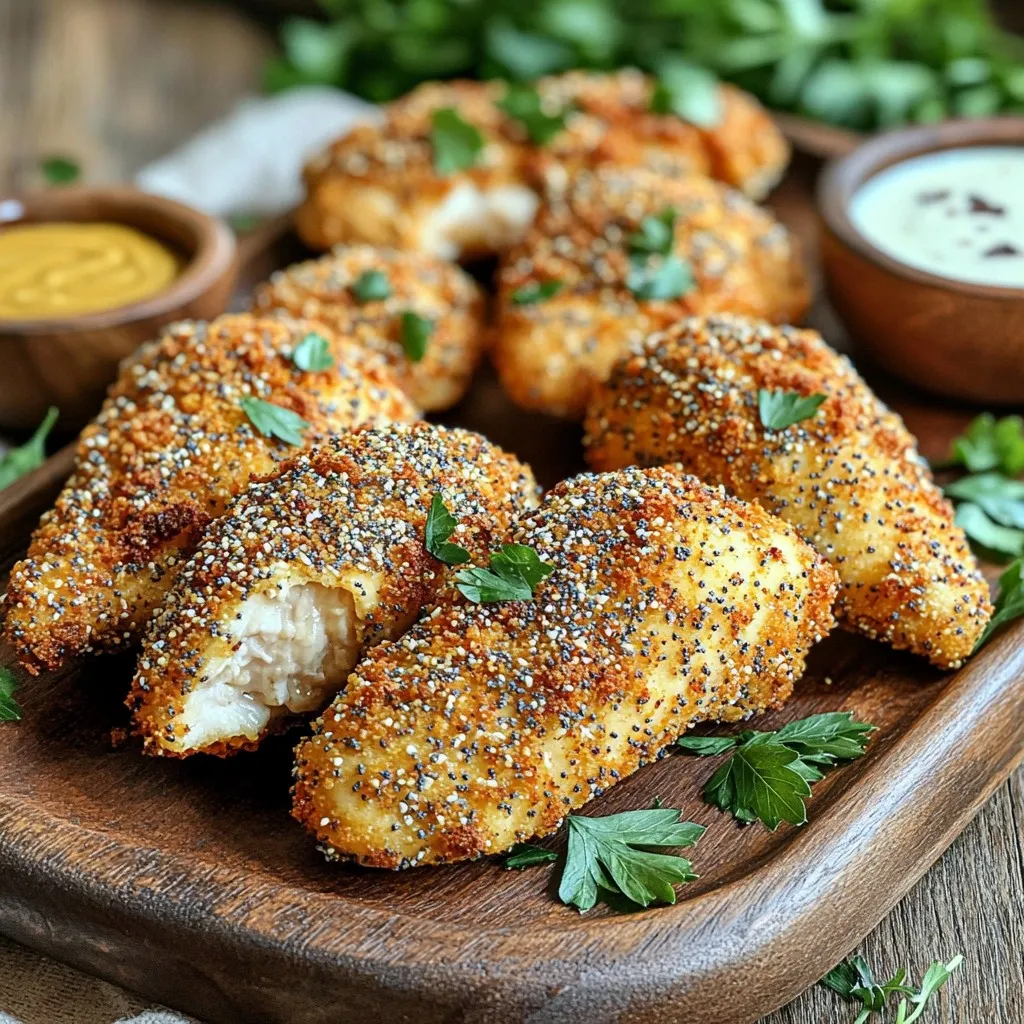
If you love quick, tasty meals, you’re in for a treat! My Air Fryer Everything Bagel Chicken Tenders are crunchy, flavorful, and easy to make. With just a handful of …
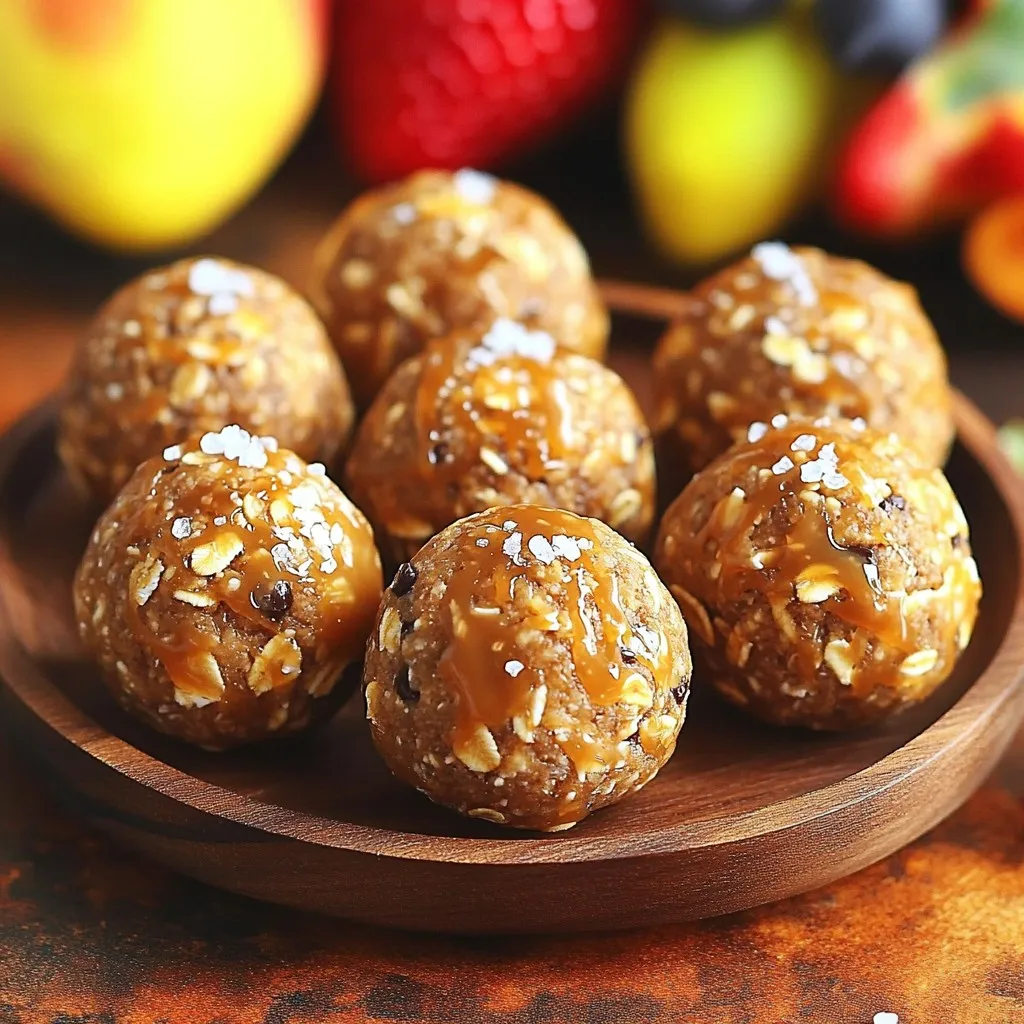
Looking for a tasty and healthy snack? You’re in the right place! These No-Bake Salted Caramel Protein Balls are easy to make and packed with protein. They’re perfect when you …
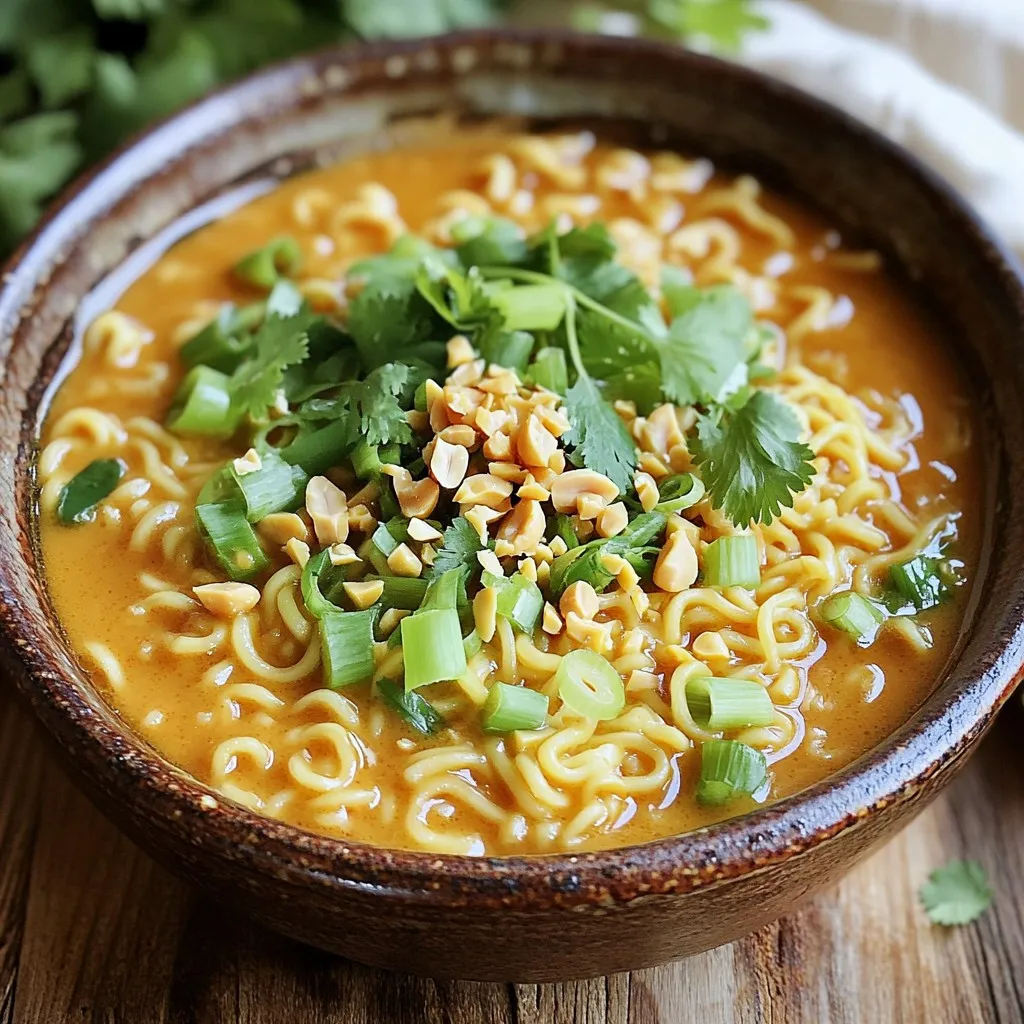
Are you ready for a quick, tasty meal? This Minute Spicy Peanut Ramen is easy to make and packed with flavor. With just a few simple ingredients, you’ll whip up …
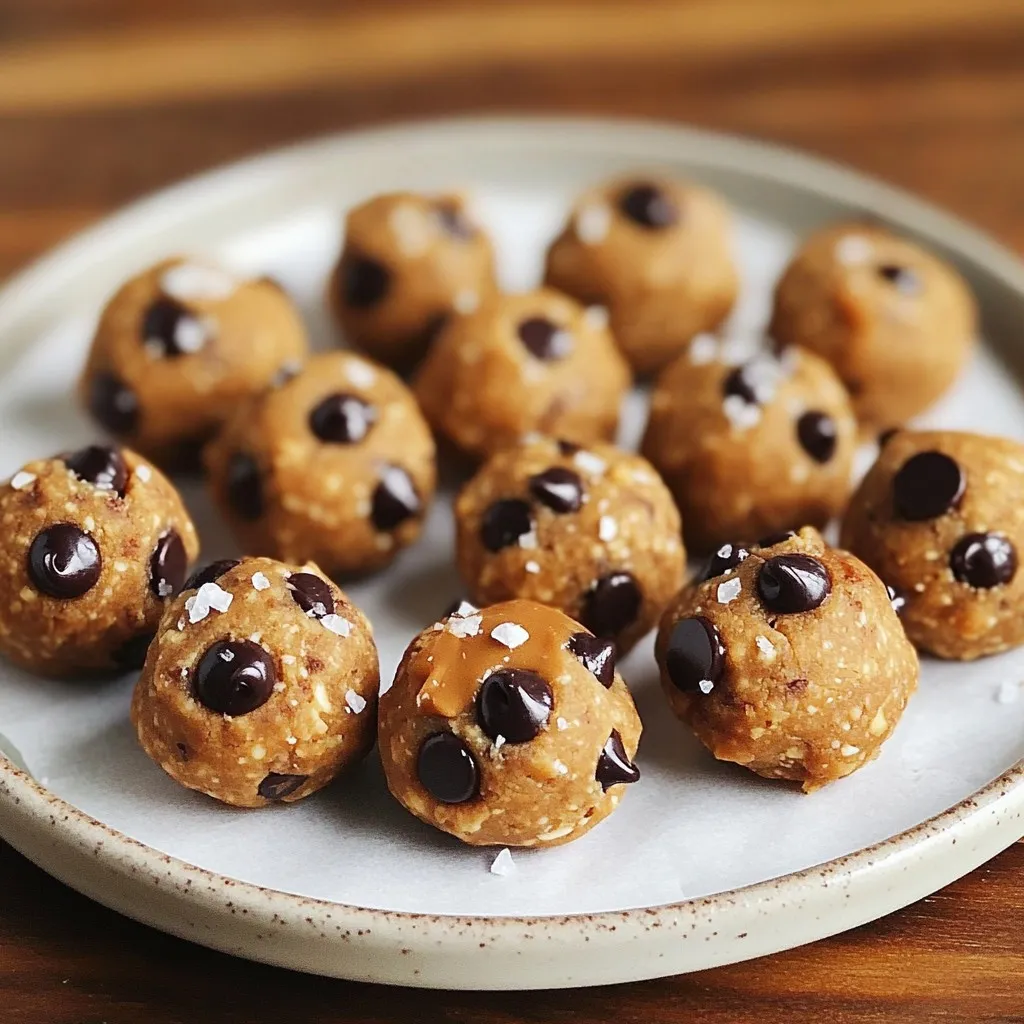
Craving a sweet snack that fuels your workout? Let me introduce you to high-protein cookie dough bites! These tasty treats pack a punch of protein and flavor, making them the …
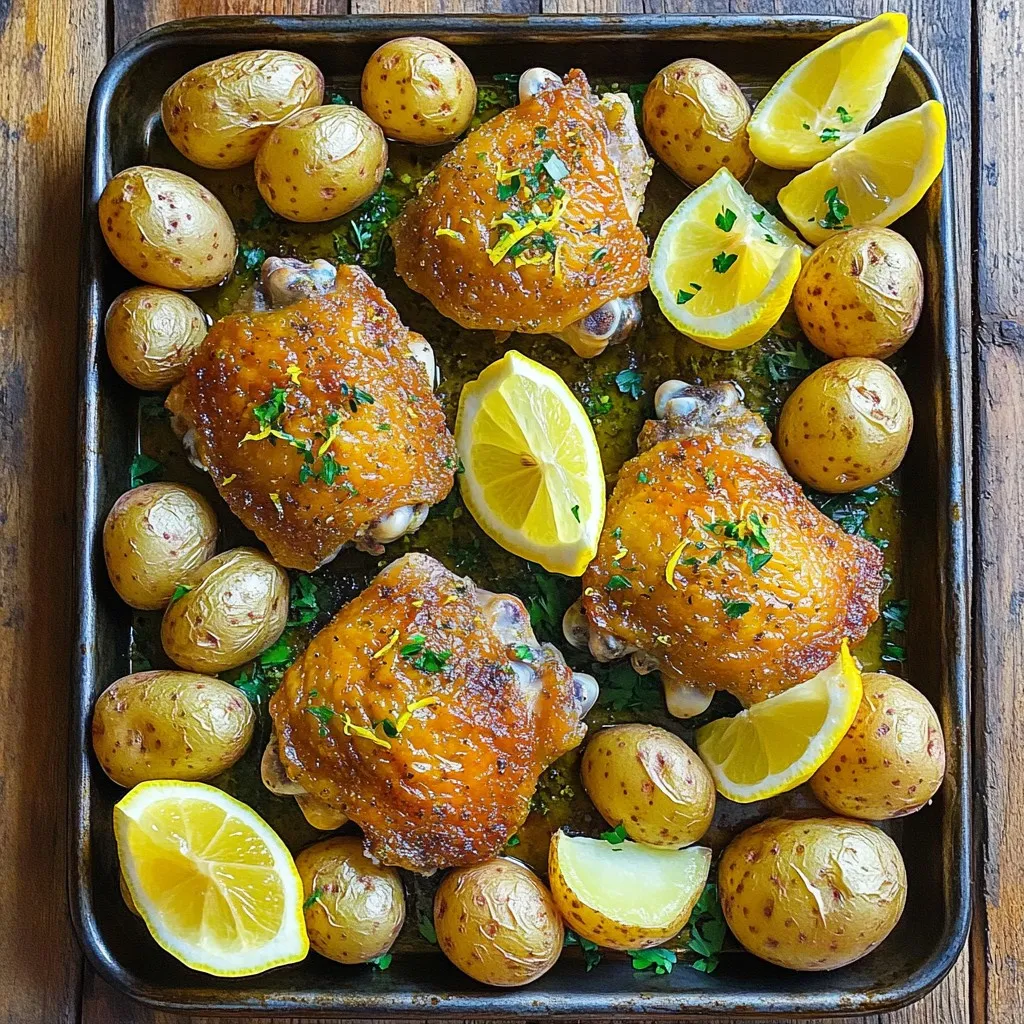
Get ready to delight your taste buds with my Sheet-Pan Greek Lemon Chicken & Potatoes! This dish is simple, full of flavor, and perfect for weeknight dinners. You’ll savor juicy …
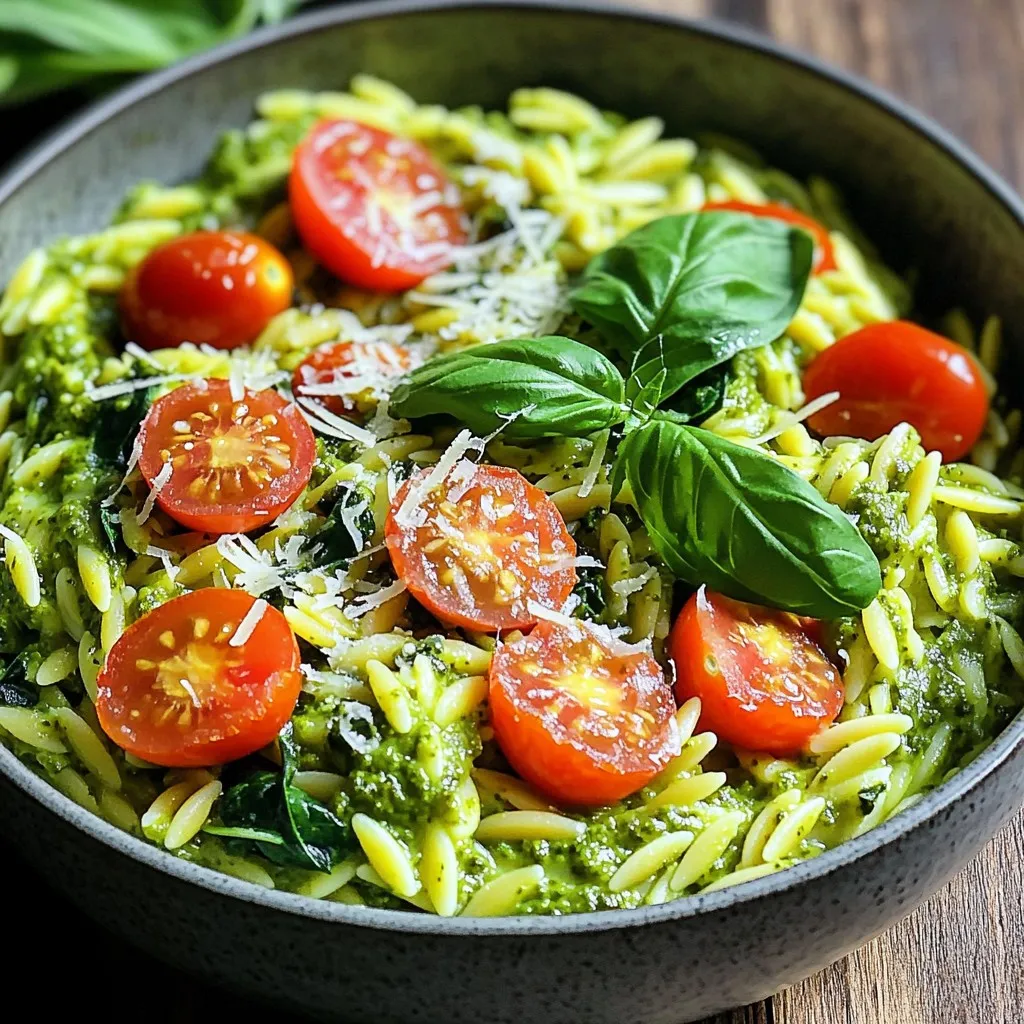
Craving a quick meal that’s packed with flavor? Look no further than this One-Pot Creamy Pesto Orzo! This dish combines the rich taste of basil pesto, tender orzo pasta, and …
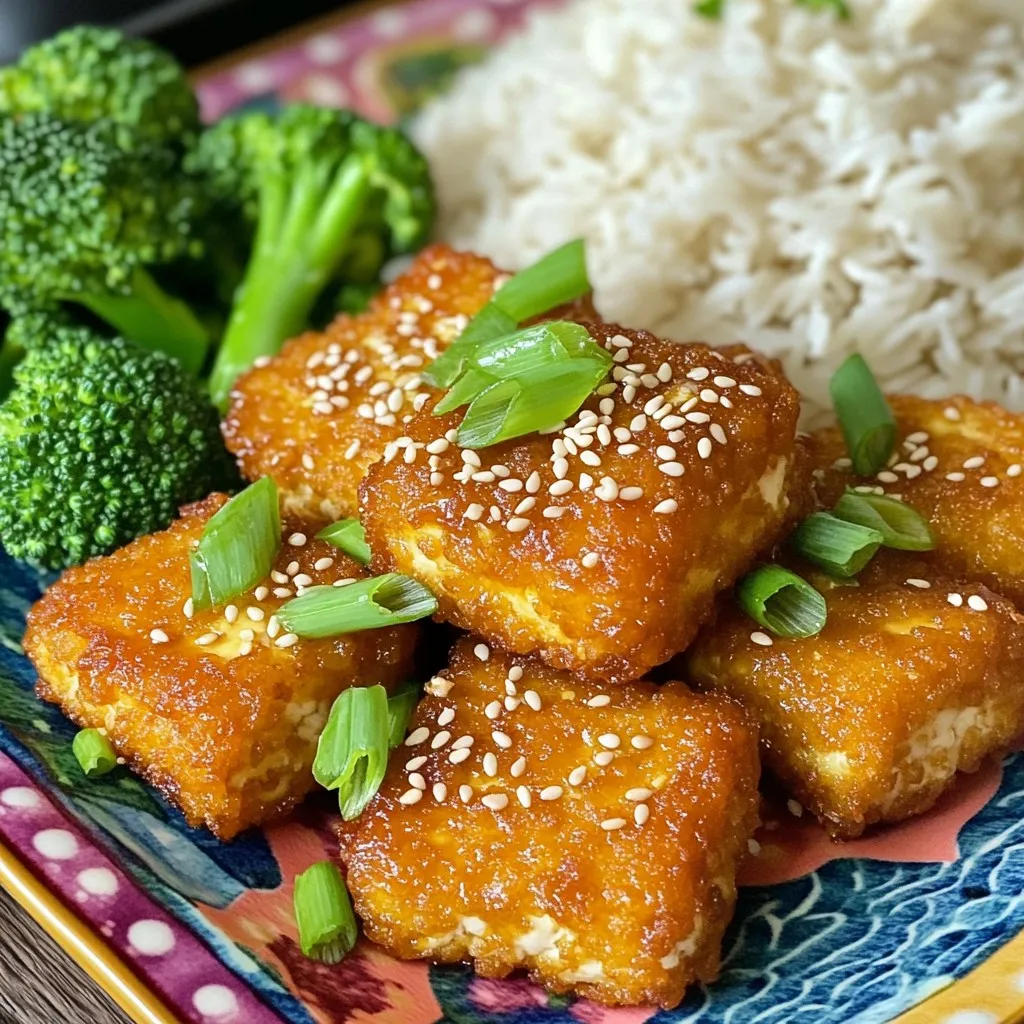
Are you ready to enjoy a crunchy, tasty snack with a twist? These Air Fryer Teriyaki Tofu Nuggets are the answer! In this guide, I’ll show you how to make …

If you love warm, buttery garlic knots, you’re in the right place! In this easy recipe guide, I’ll show you how to make these tasty treats at home. With simple …