Flavorful No-Bake Pumpkin Cheesecake Bars Recipe
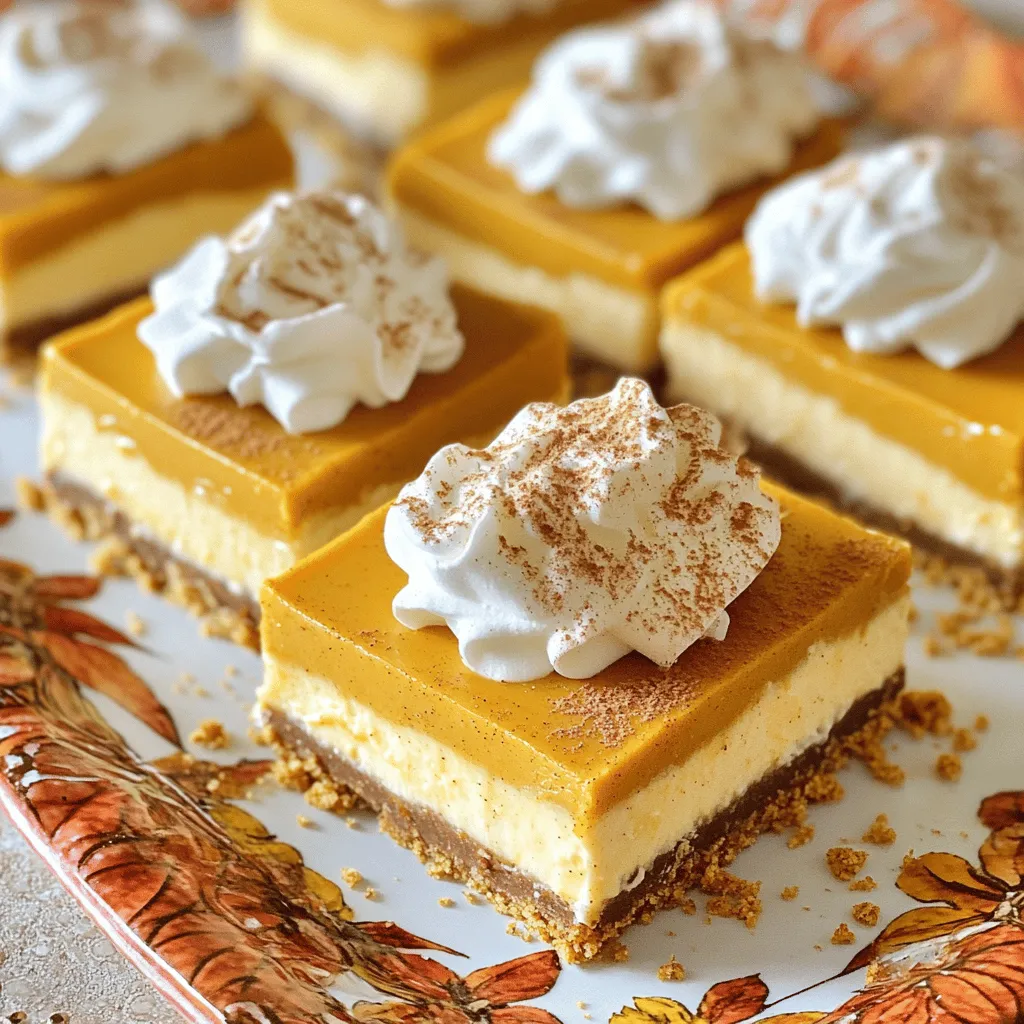
Fall is here, and that means it’s time for pumpkin treats! If you love pumpkin and cheesecake, you’ll adore my no-bake pumpkin cheesecake bars. They are easy to make and …
Fall is here, and that means it’s time for pumpkin treats! If you love pumpkin and cheesecake, you’ll adore my no-bake pumpkin cheesecake bars. They are easy to make and …
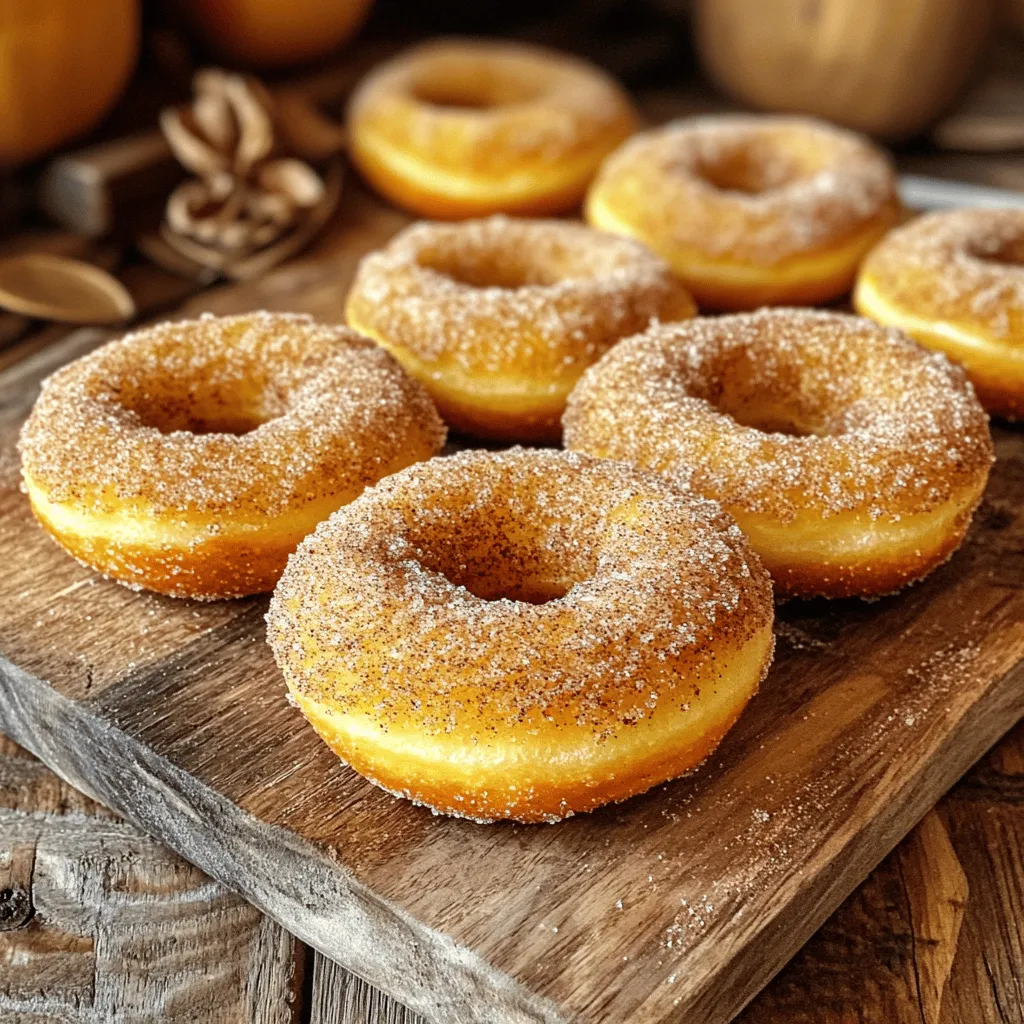
Autumn cravings are here, and nothing says fall like warm, spiced apple cider doughnuts! In this post, I’ll guide you through making these fresh and flavorful treats from scratch. With …
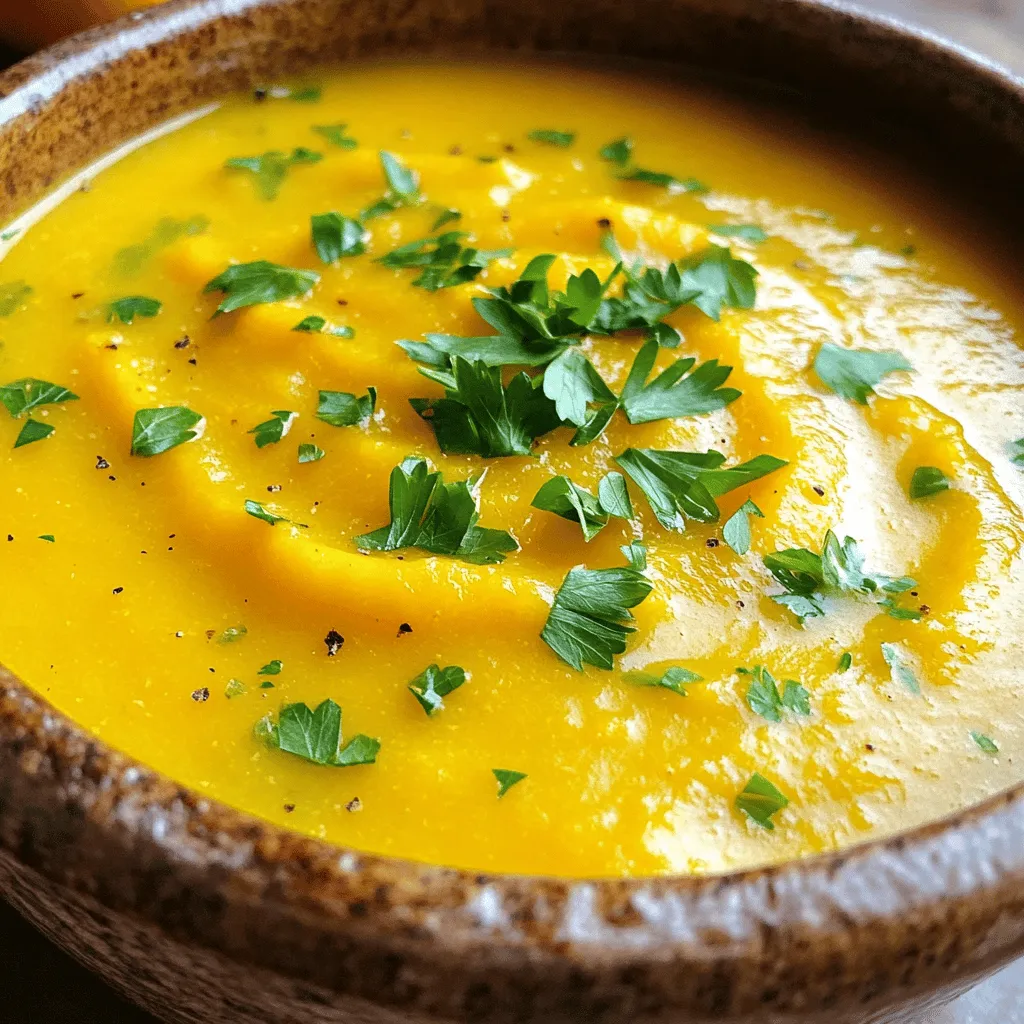
If you crave a bowl of warm, creamy comfort, you’ve found it! My Slow Cooker Butternut Squash Soup is rich and full of flavor. This tasty dish blends sweet butternut …
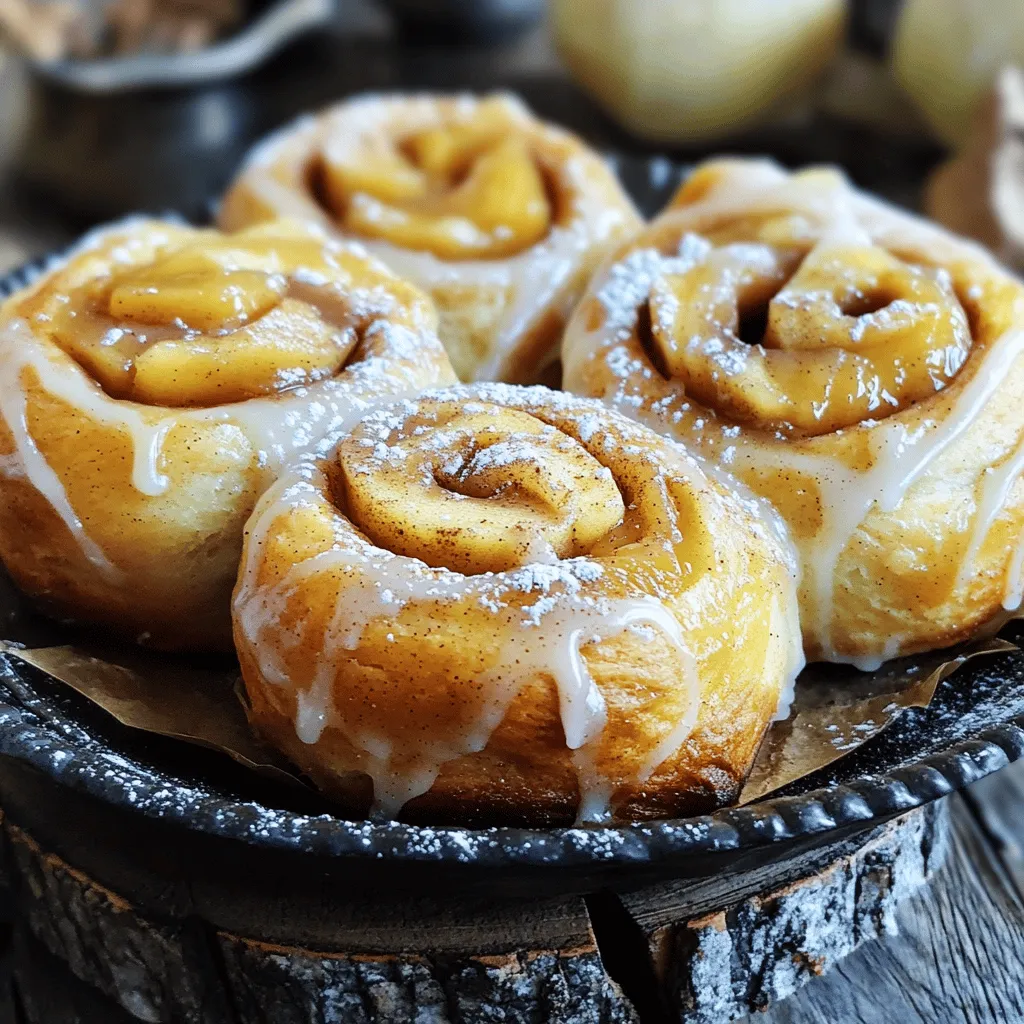
Craving a treat that’s warm, soft, and full of flavor? Look no further! These Apple Butter Cinnamon Rolls are the perfect blend of sweet and spice. With easy steps and …
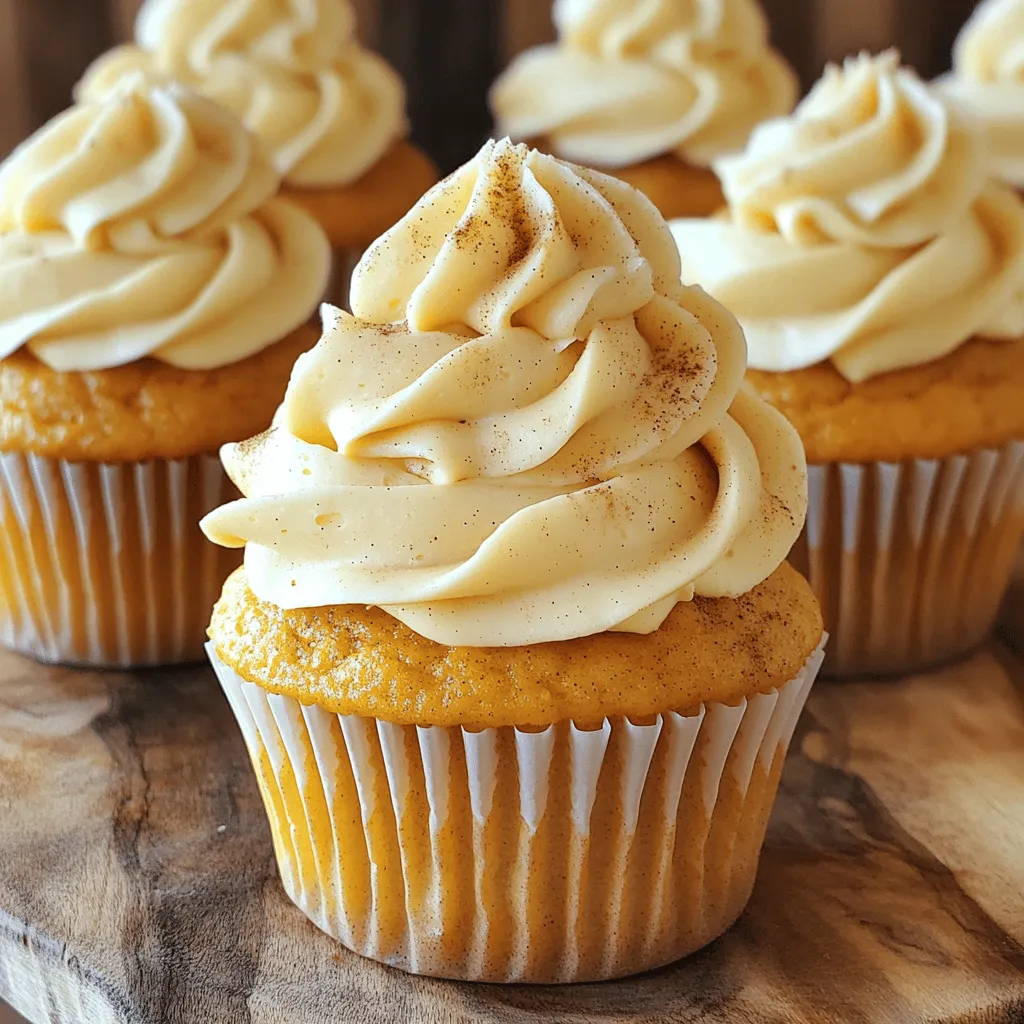
Fall is here, and what better way to celebrate than with Pumpkin Spice Latte Cupcakes? These treats combine the cozy flavors of pumpkin and coffee into a delightful dessert. You’ll …
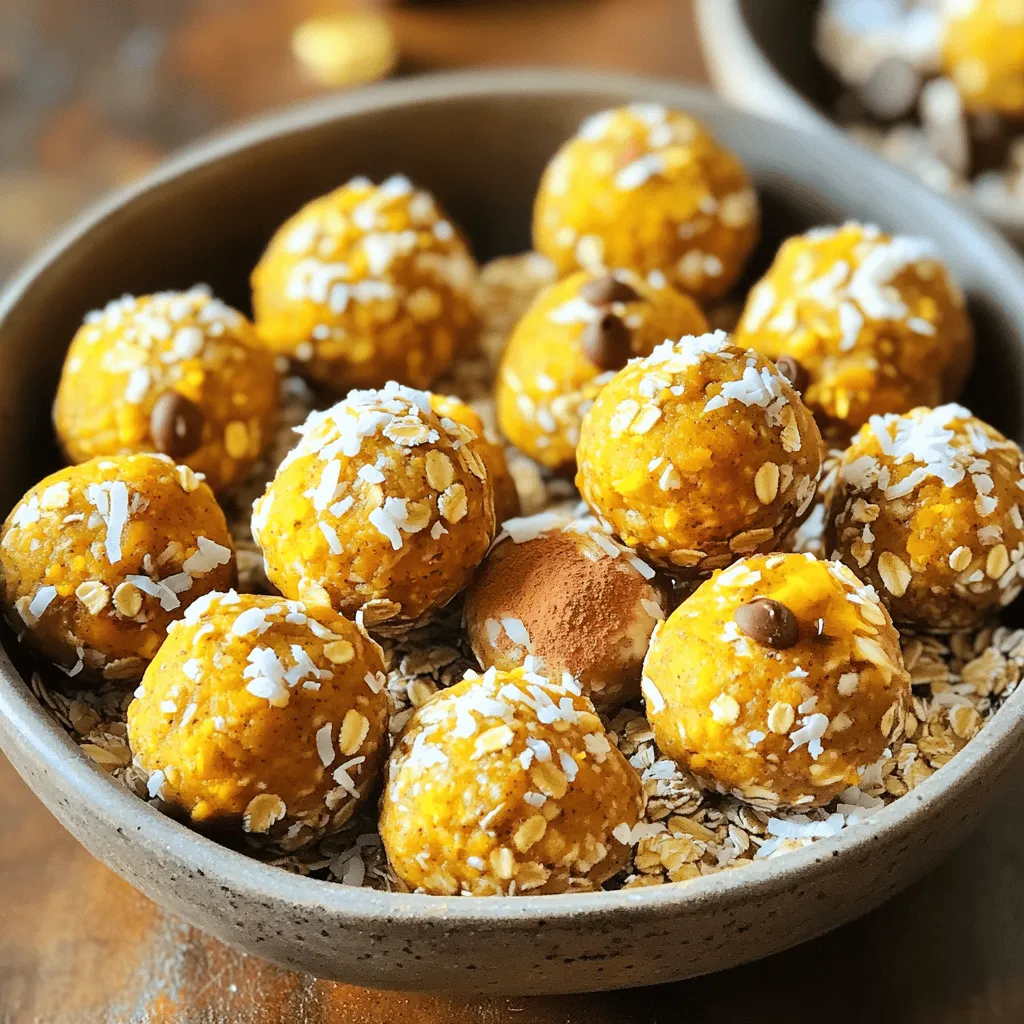
Looking for a tasty and healthy snack to keep you fueled? You’re in the right place! These Pumpkin Spice Energy Bites are not just full of flavor; they’re also simple …
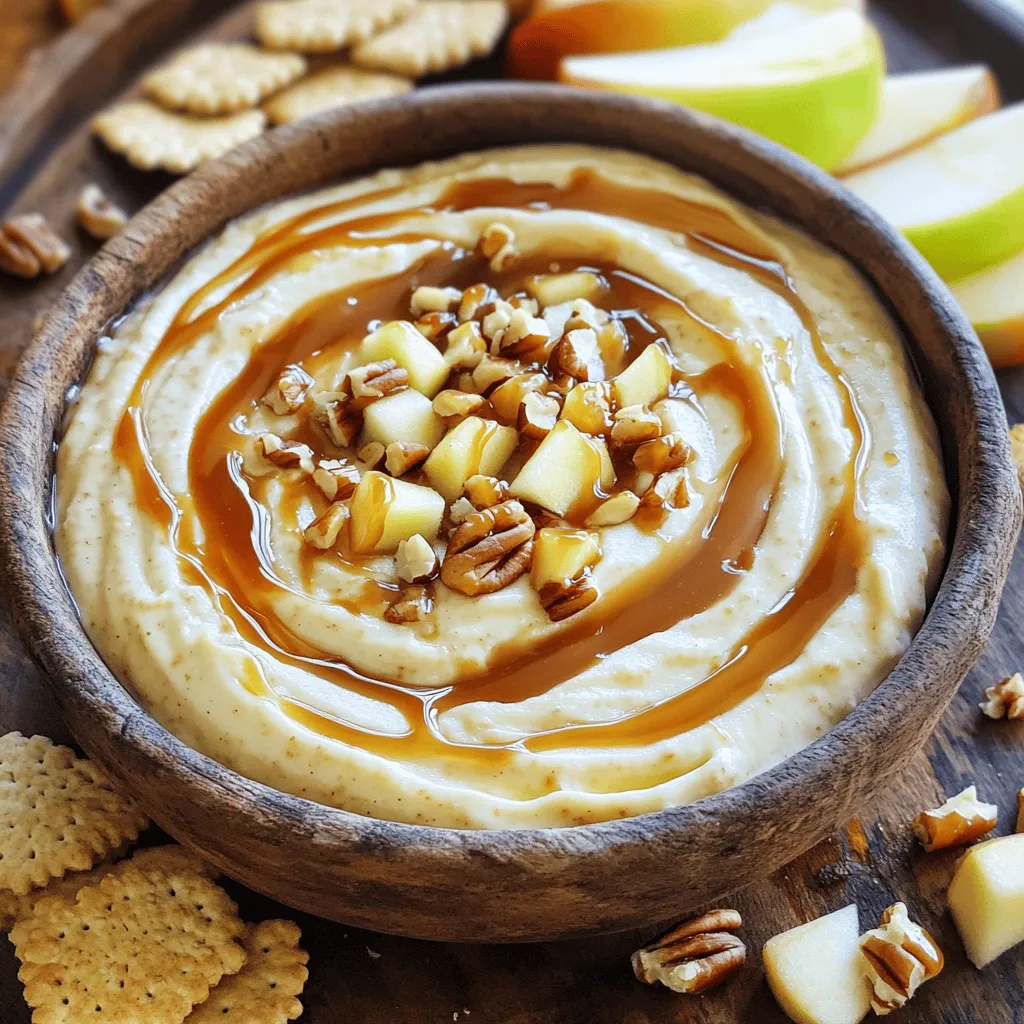
Looking for a fun and tasty treat to wow your guests? Look no further! This Caramel Apple Cheesecake Dip is the perfect sweet delight for any party. With creamy cheese, …
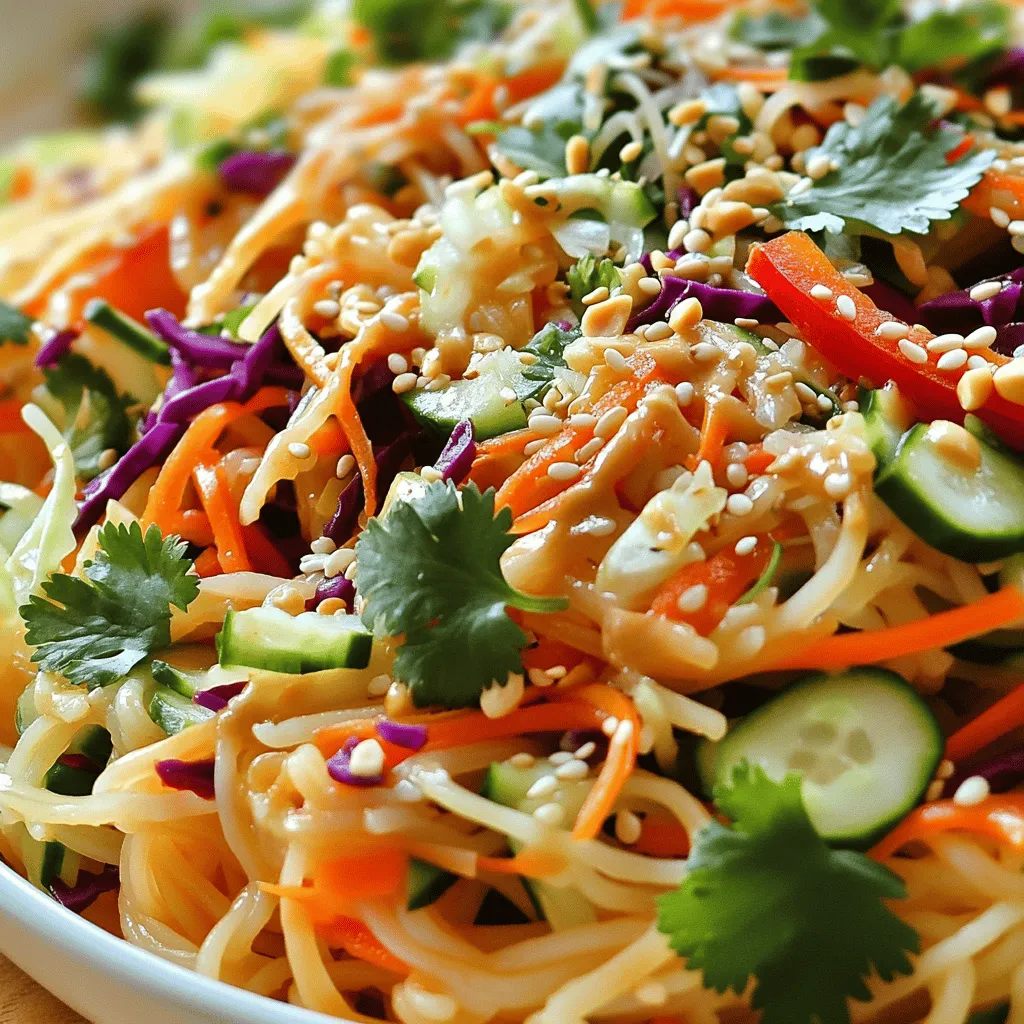
Dive into a world of flavor with my Spicy Thai Peanut Noodle Salad! This dish is fresh, vibrant, and easy to make. Packed with rice noodles, crisp veggies, and a …
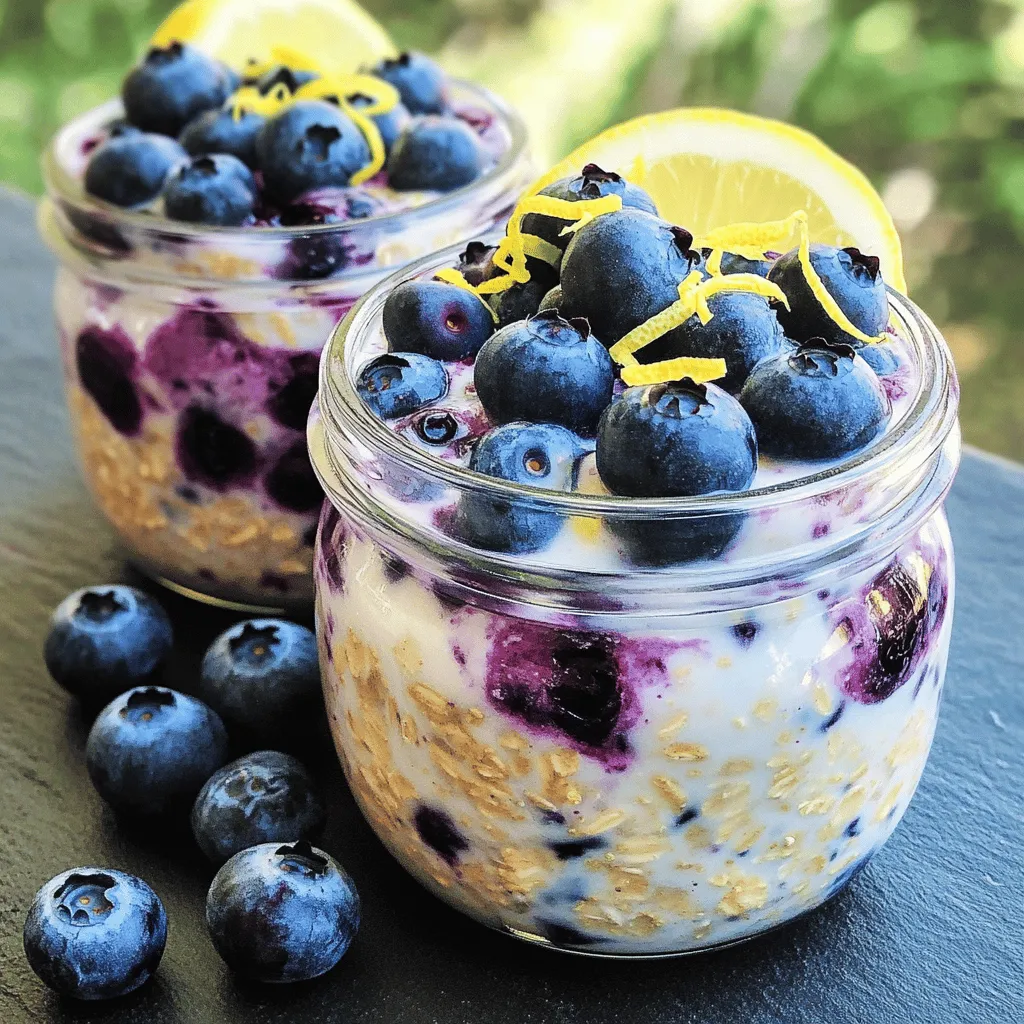
Start your day with a burst of flavor! Blueberry lemon overnight oats are delicious and easy to prepare. These oats blend sweet blueberries with zesty lemon for a refreshing twist. …
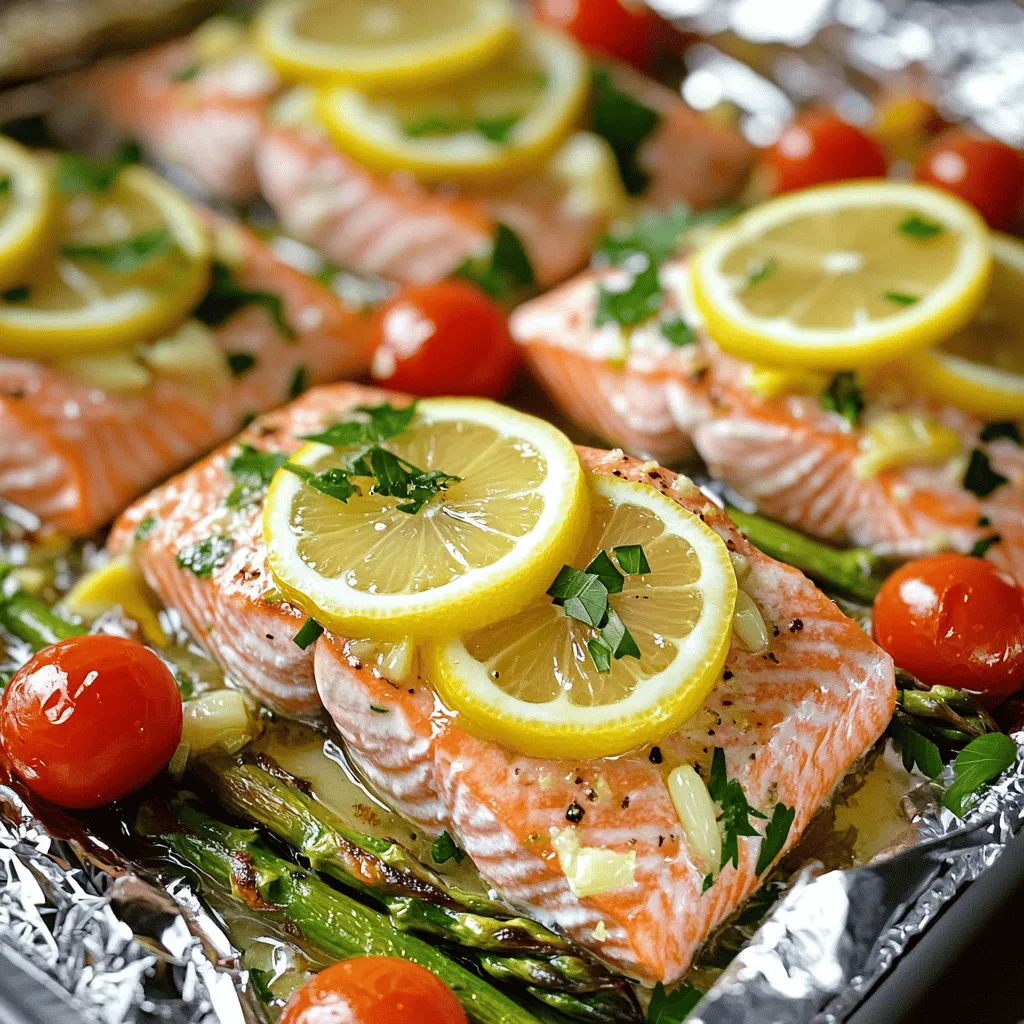
Looking for a quick and easy dinner idea? Try these Lemon Garlic Butter Salmon Foil Packs! They are simple to make, packed with flavor, and perfect for any night of …