Strawberry Shortcake Icebox Cake Easy and Delicious Treat
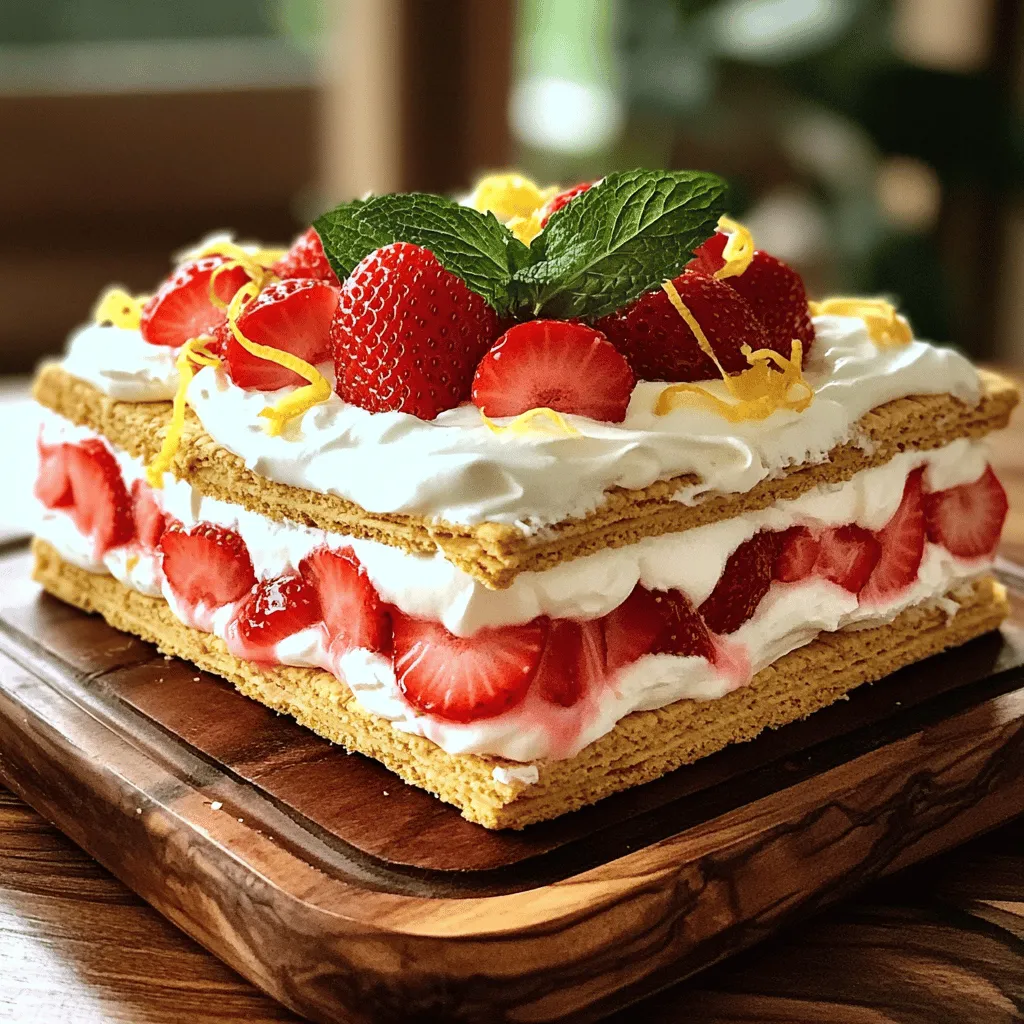
If you’re looking for a sweet and simple dessert, you’ve found it! This Strawberry Shortcake Icebox Cake is easy to make and packed with flavor. With fresh strawberries and fluffy …