Homemade Cold Foam Coffee Refreshing and Simple Recipe
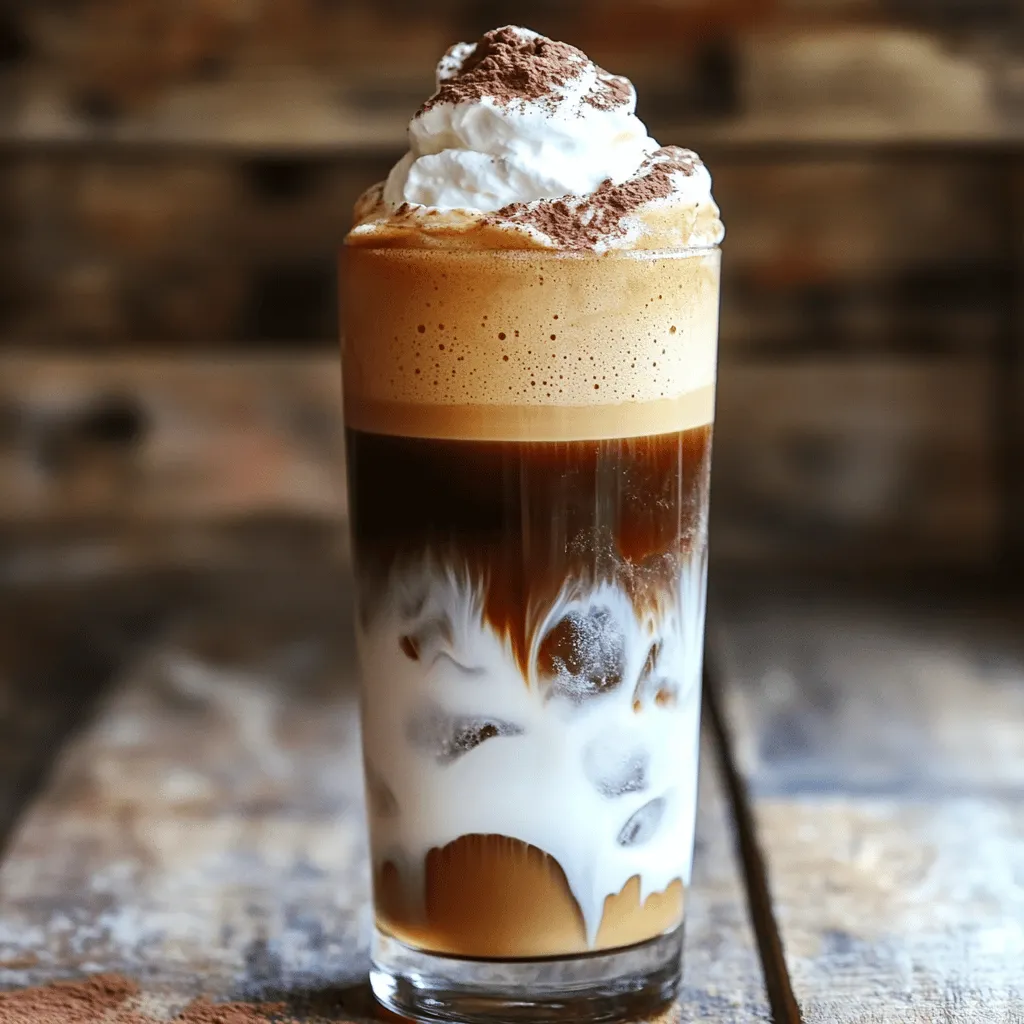
Craving a chill drink that wakes you up? Let’s make Homemade Cold Foam Coffee! This refreshing treat combines strong brewed coffee with creamy, frothy goodness. Best of all, it’s quick …