Pumpkin Spice Energy Bites Perfect for Fall Snacks

Fall is here, and it’s time to treat yourself with something delightful and healthy! Pumpkin spice energy bites are the perfect snack. They capture the warm taste of autumn while …
Fall is here, and it’s time to treat yourself with something delightful and healthy! Pumpkin spice energy bites are the perfect snack. They capture the warm taste of autumn while …
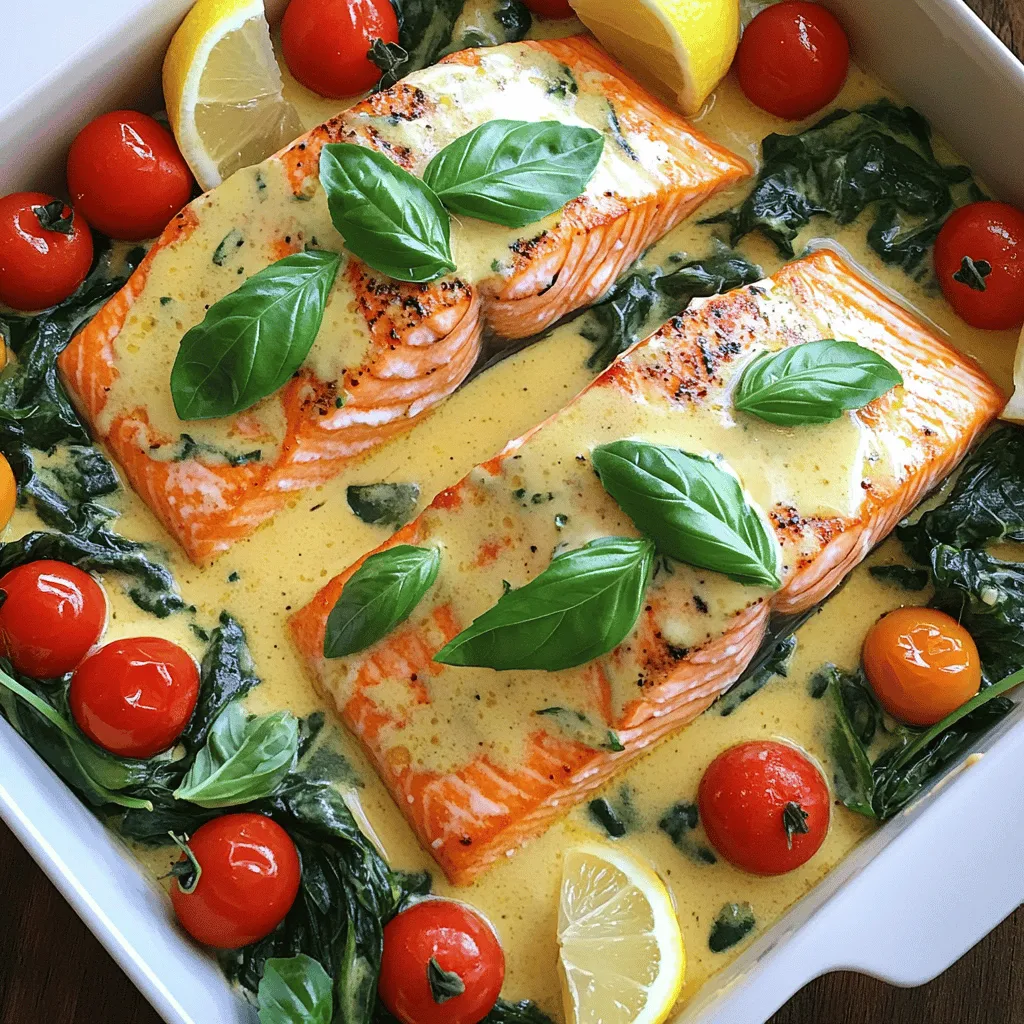
Looking to impress your family or friends with a meal that bursts with flavor? Creamy Tuscan Salmon is the answer! This dish combines rich, creamy sauce with tender salmon, making …
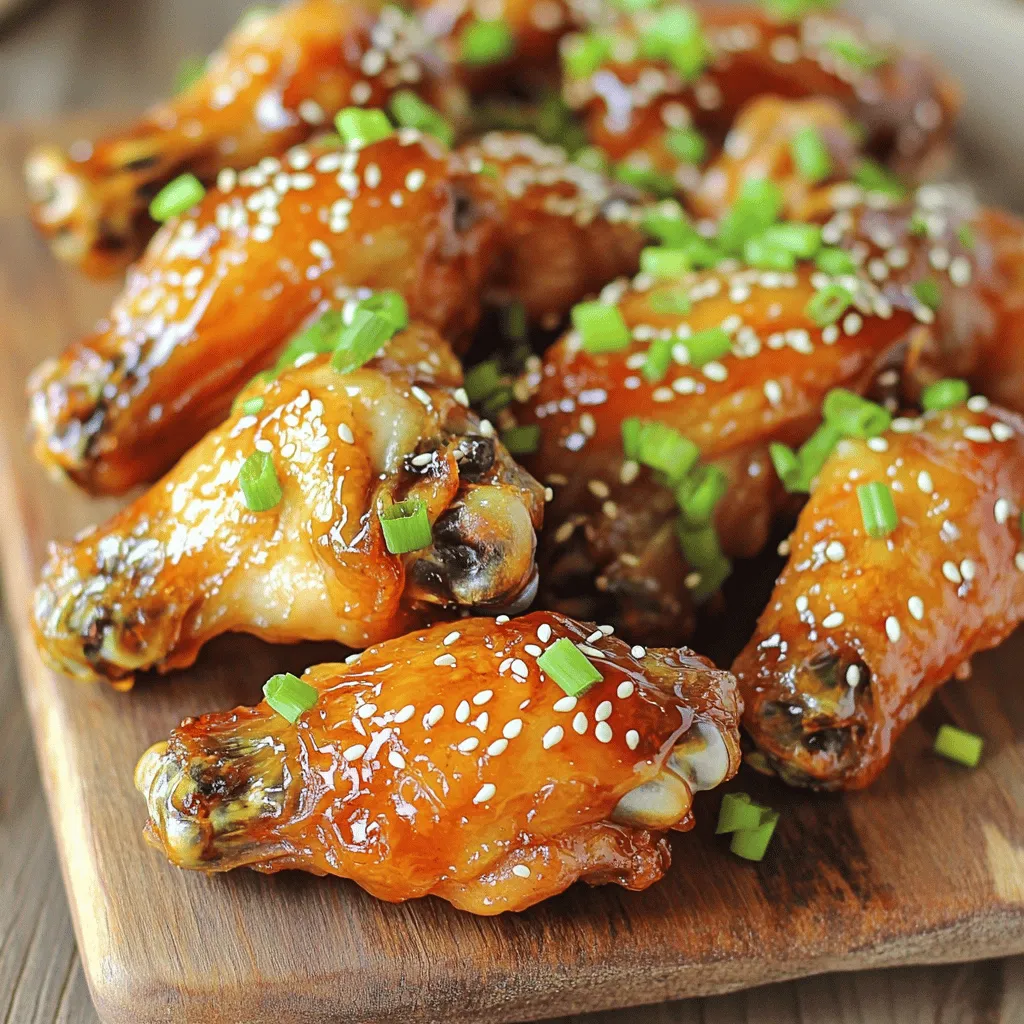
Are you ready to take your dinner game to the next level? Air Fryer Honey Garlic Chicken Wings are a simple dish packed with flavor. With a sweet and savory …

Are you craving a quick and tasty meal? Look no further than my Instant Pot Chicken Tikka Masala! This dish brings rich flavors and tender chicken together in just a …
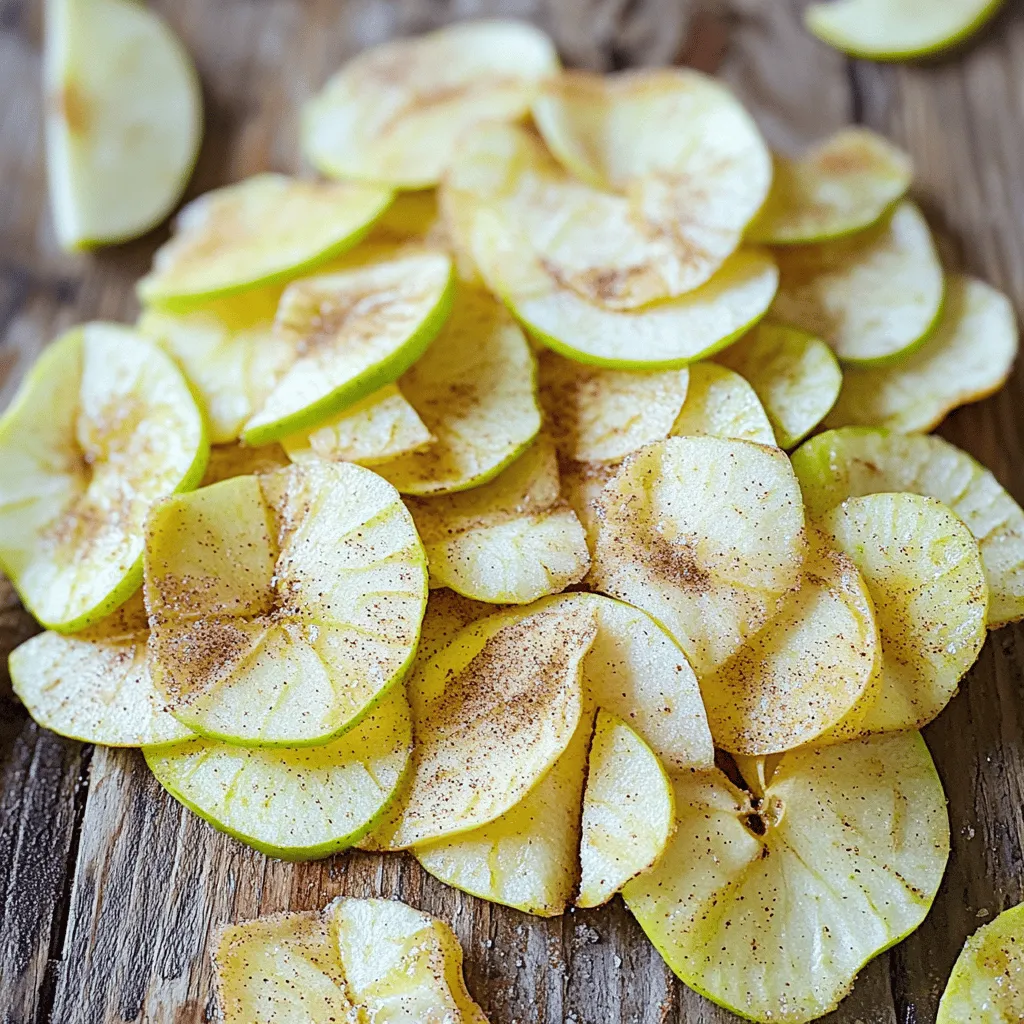
Looking for a crunchy snack that’s both tasty and healthy? You’re in the right place! My Air Fryer Apple Chips recipe is simple and fun, making a perfect treat for …
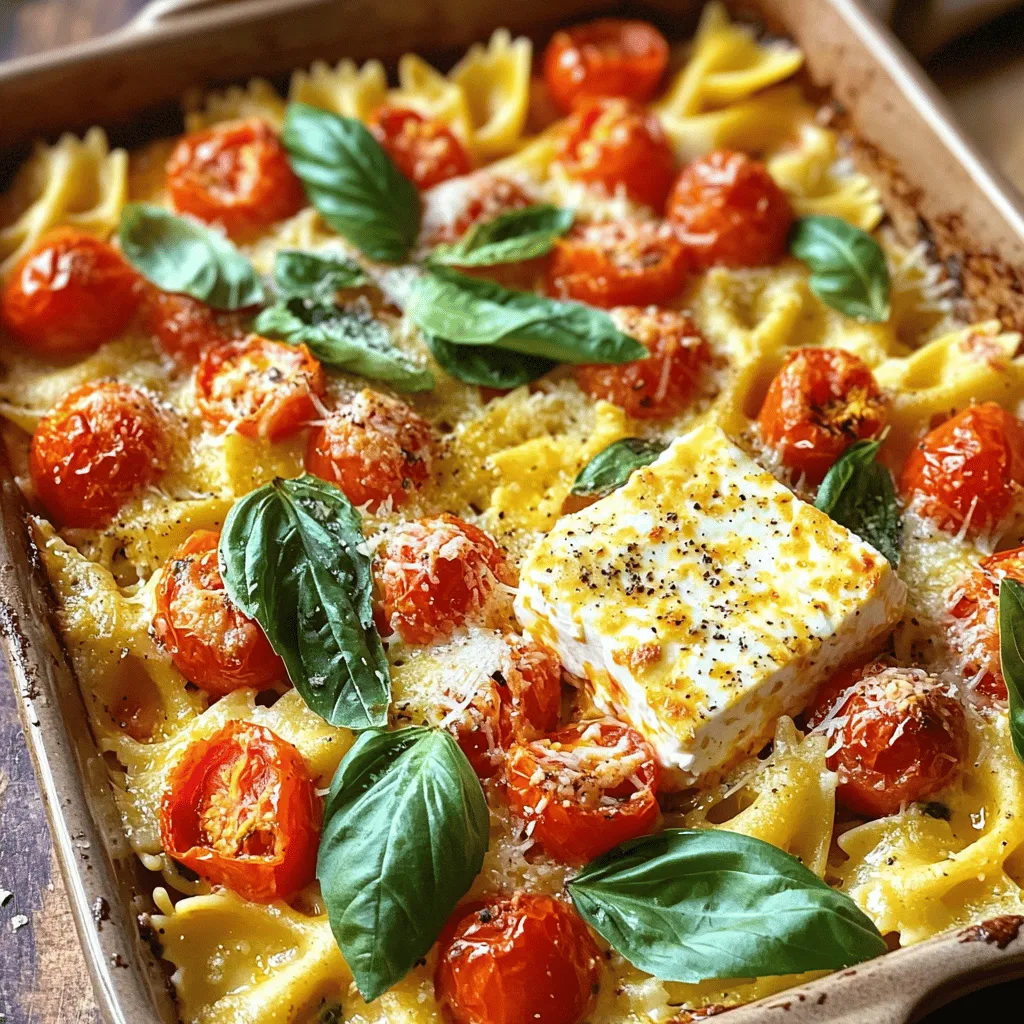
Looking for a quick and tasty meal? You’re in the right place! TikTok Baked Feta Pasta is simple to make and packed with flavor. With just a few fresh ingredients …
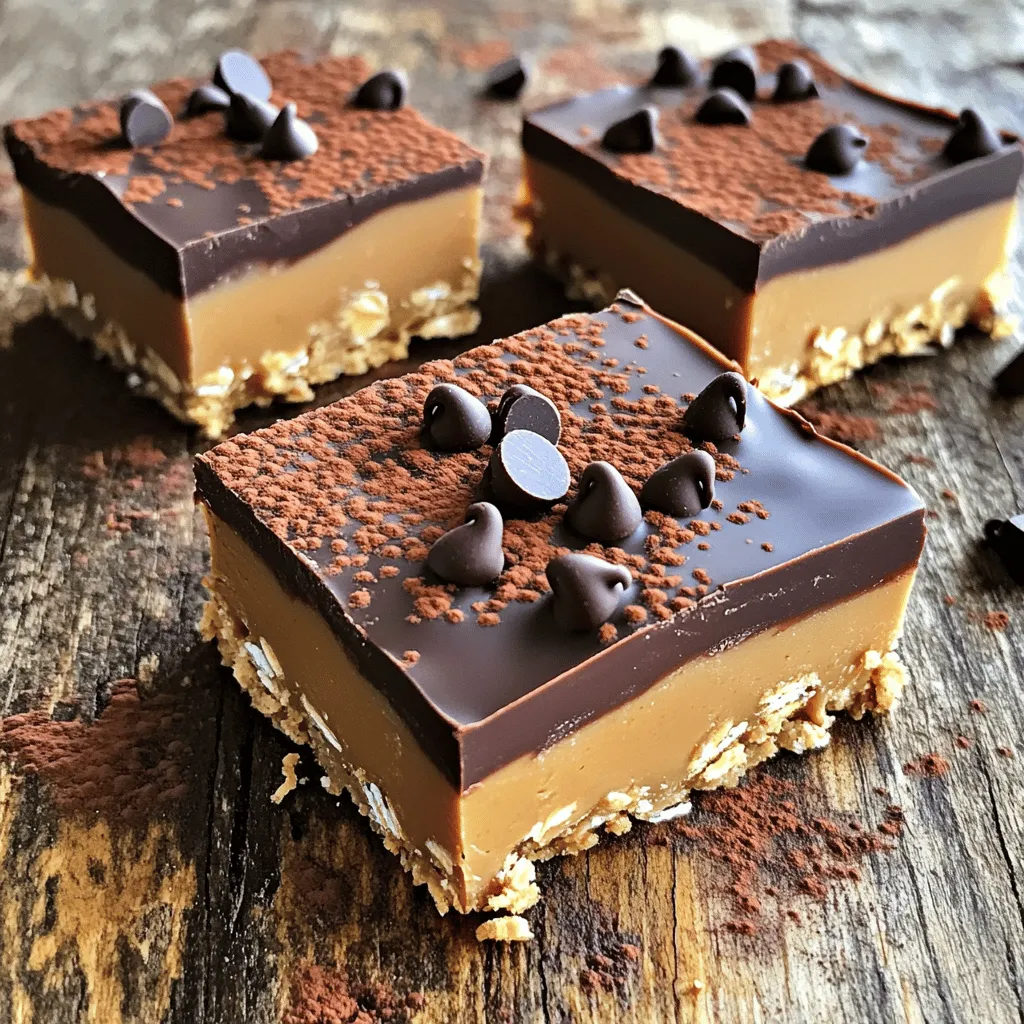
Looking for a quick and easy sweet treat? These No-Bake Peanut Butter Bars are just what you need! With just a few simple ingredients like creamy peanut butter and rolled …
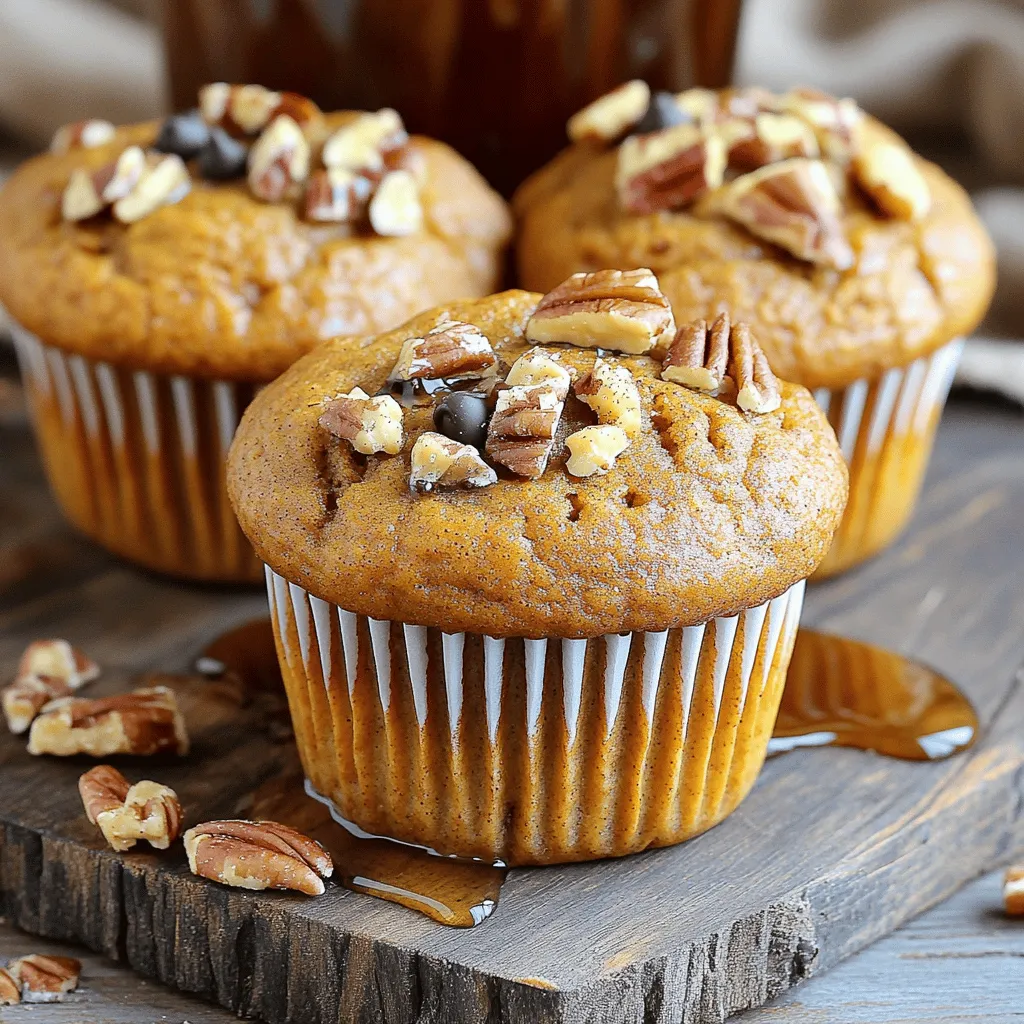
Ready to fill your kitchen with the warm scents of fall? My Vegan Pumpkin Muffins are both flavorful and easy to make. With simple ingredients like pumpkin puree and coconut …
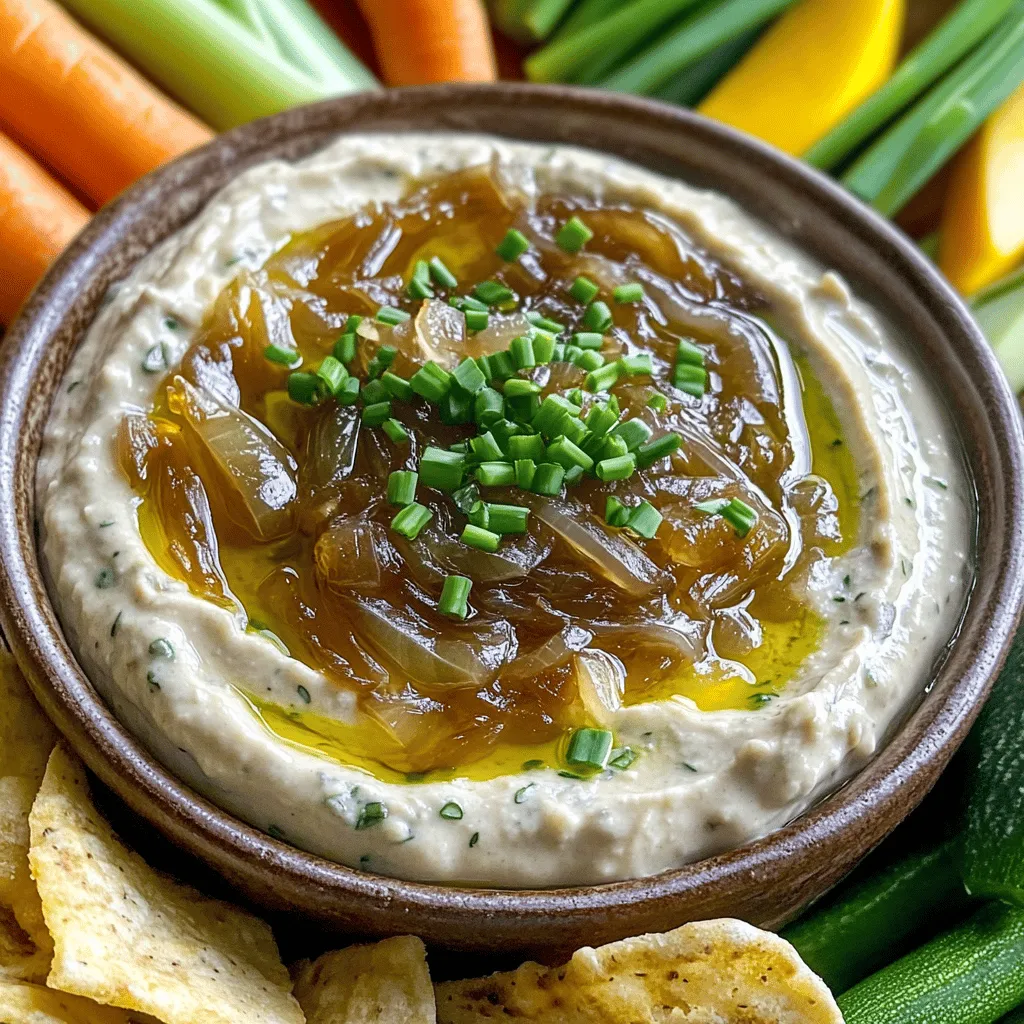
Are you ready to elevate your snack game? My Caramelized Onion Dip is rich, creamy, and bursting with flavor. This dip transforms humble onions into a luscious treat you can’t …
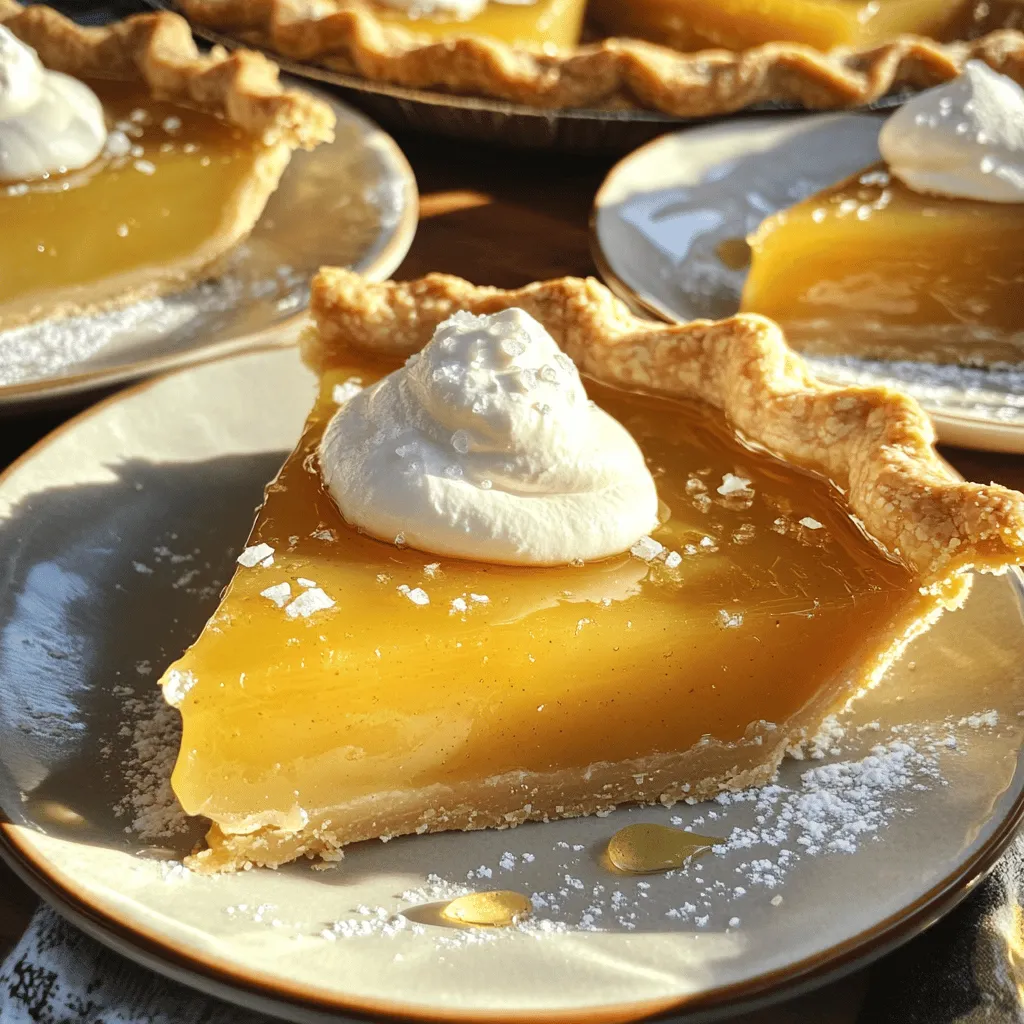
Are you ready to impress your friends and family with a tasty treat? Salted Honey Pie is a simple yet delightful dessert that combines sweet and salty flavors beautifully. This …