Instant Pot Creamy Chicken Tortellini Delight

Are you ready to whip up a delicious meal in no time? My Instant Pot Creamy Chicken Tortellini Delight is perfect for busy days. This one-pot wonder packs creamy flavors, …
Are you ready to whip up a delicious meal in no time? My Instant Pot Creamy Chicken Tortellini Delight is perfect for busy days. This one-pot wonder packs creamy flavors, …

Indulging in homemade ice cream just got easier! With my No-Churn Salted Caramel Pretzel Ice Cream Delight, you can create a creamy treat without any fancy tools. This recipe combines …
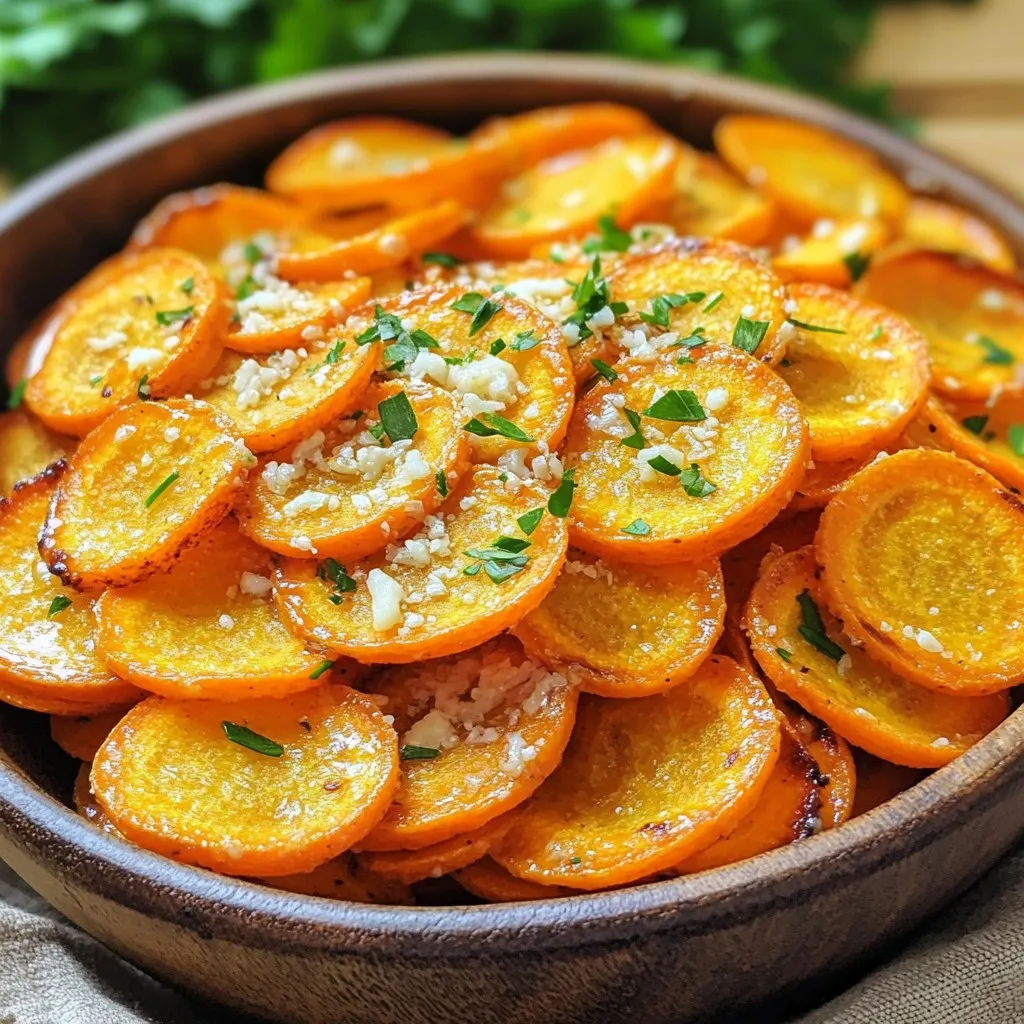
Looking for a crunchy snack that’s easy to make? You’ve found it! Air Fryer Garlic Parmesan Carrot Chips offer a tasty twist on traditional chips. They are crispy, savory, and …
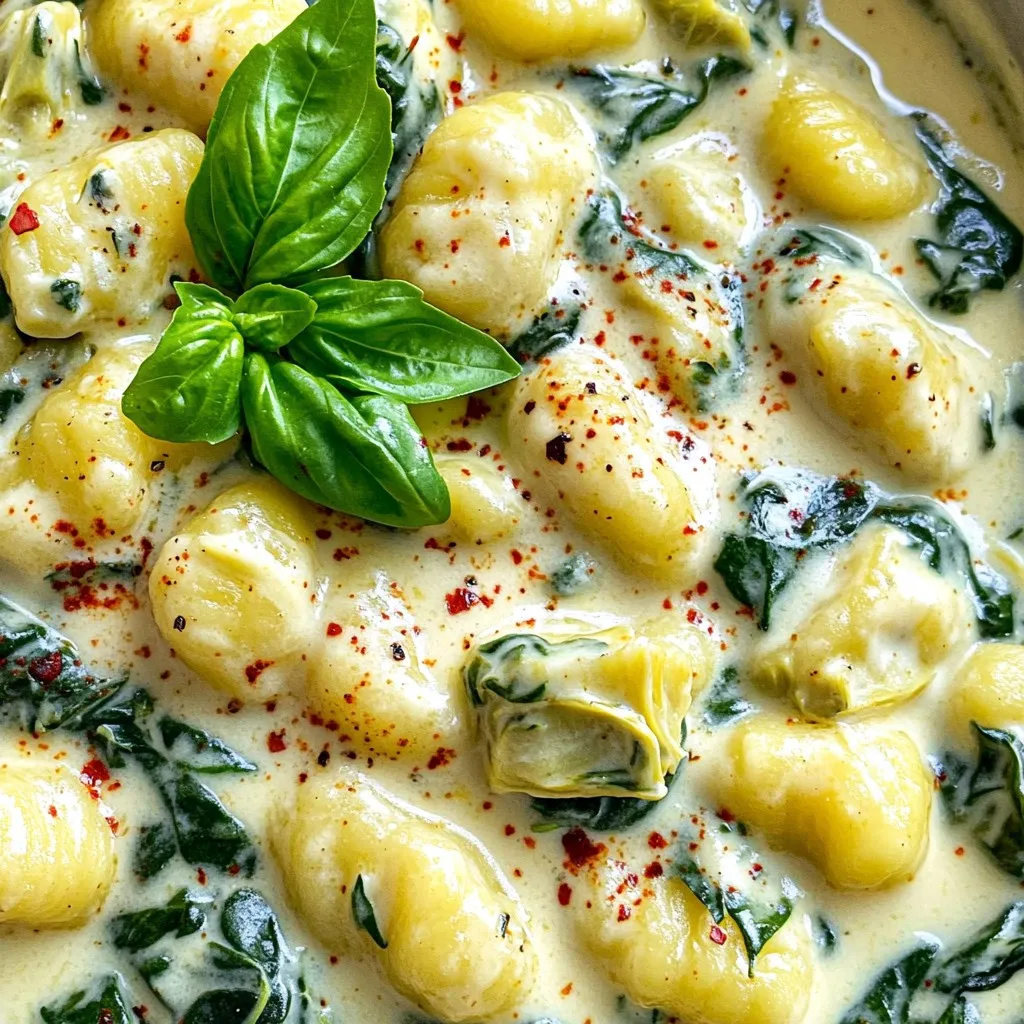
Craving a cozy dinner that’s quick and satisfying? Try my Creamy Spinach Artichoke Gnocchi! This dish combines soft potato gnocchi with creamy cheese, spinach, and artichokes. It’s a simple one-pan …
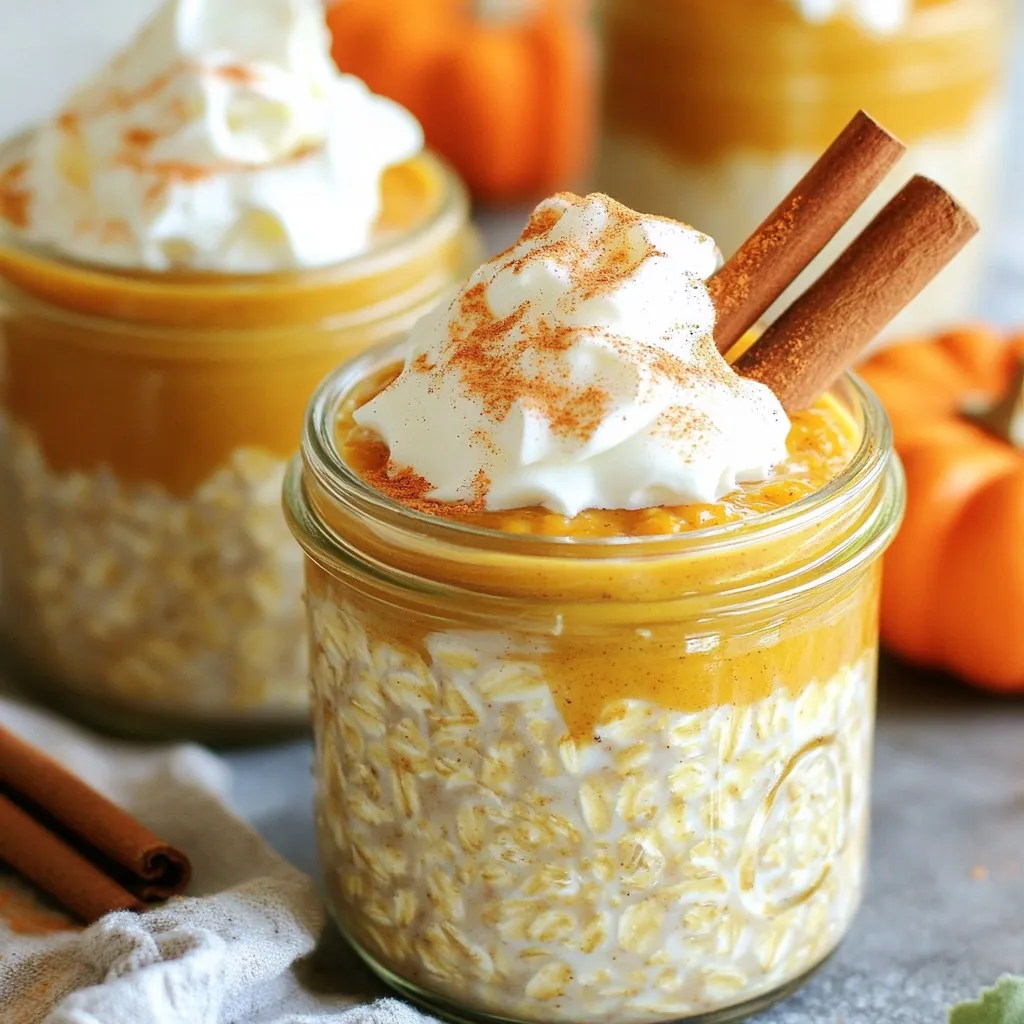
Are you ready to kickstart your mornings with a burst of fall flavors? My Pumpkin Spice Latte Overnight Oats recipe hits all the right notes. It’s simple, quick, and perfect …

Are you ready to elevate your weeknight dinners with a delicious, easy recipe? This Sheet-Pan Teriyaki Tofu Stir Fry packs big flavor with simple steps. You’ll find fresh veggies and …
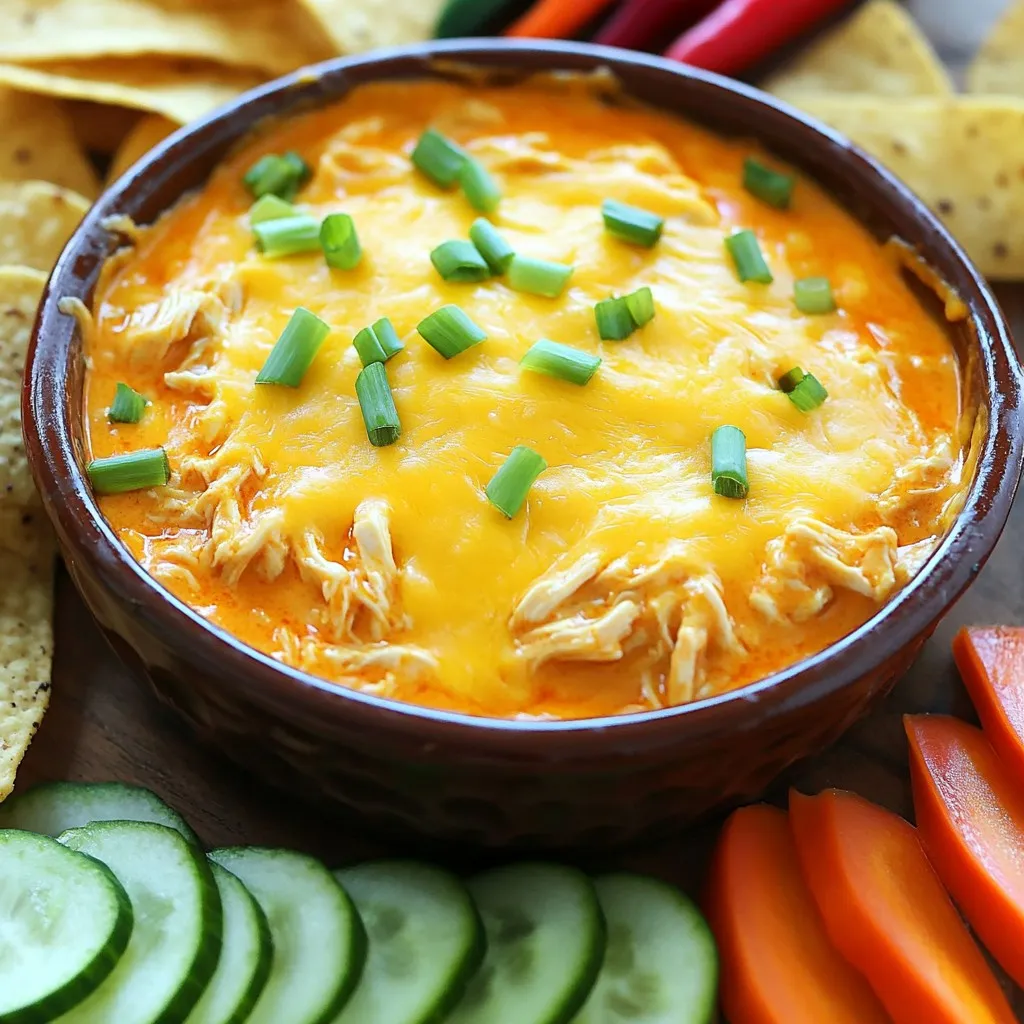
Get ready for game day with my Slow Cooker Buffalo Chicken Dip! This creamy, spicy dip is easy to make and perfect for sharing. You’ll find it full of flavor …
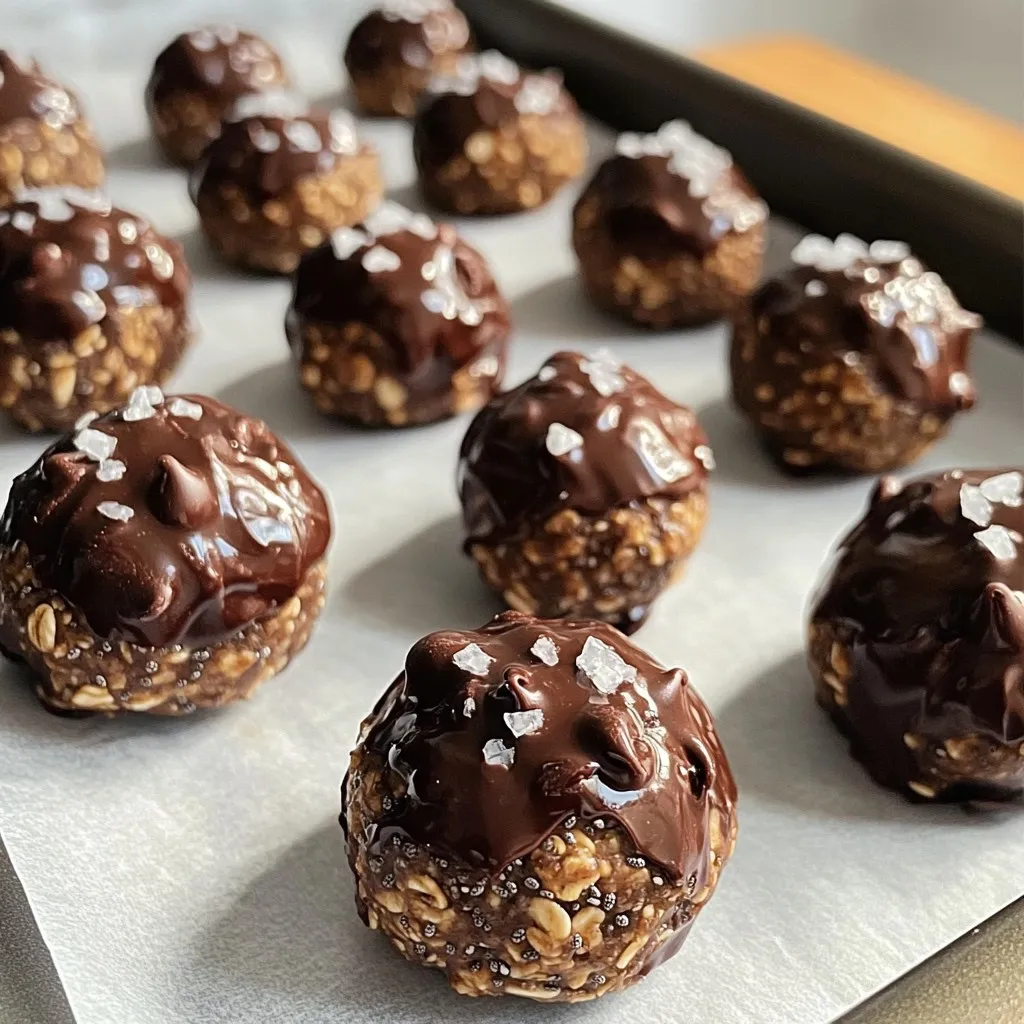
Are you craving a healthy snack that packs a punch? Look no further! Today, I’ll show you how to whip up Dark Chocolate Sea Salt Energy Bites. These tasty bites …
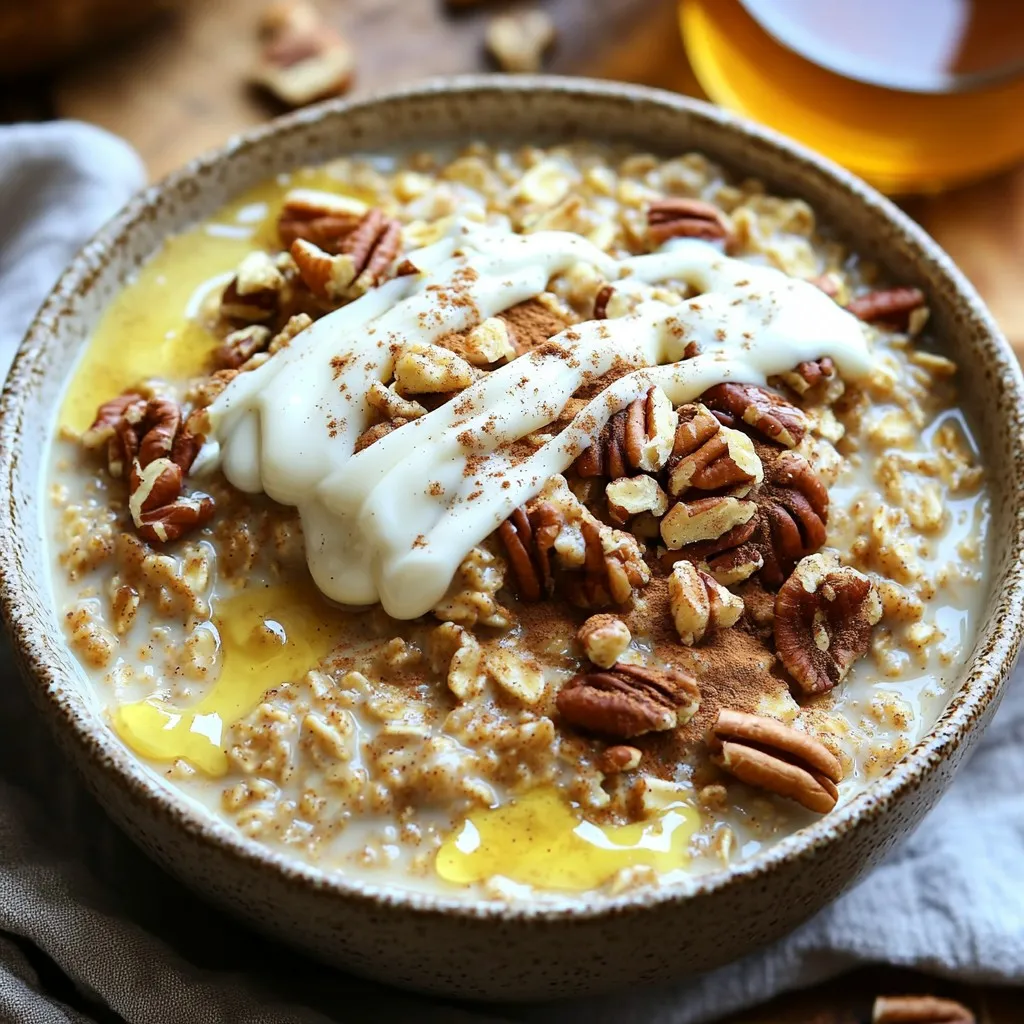
Wake up to a warm bowl of Slow Cooker Cinnamon Roll Oatmeal Delight! This easy recipe combines rolled oats and almond milk with sweet spices for a creamy, comforting breakfast. …
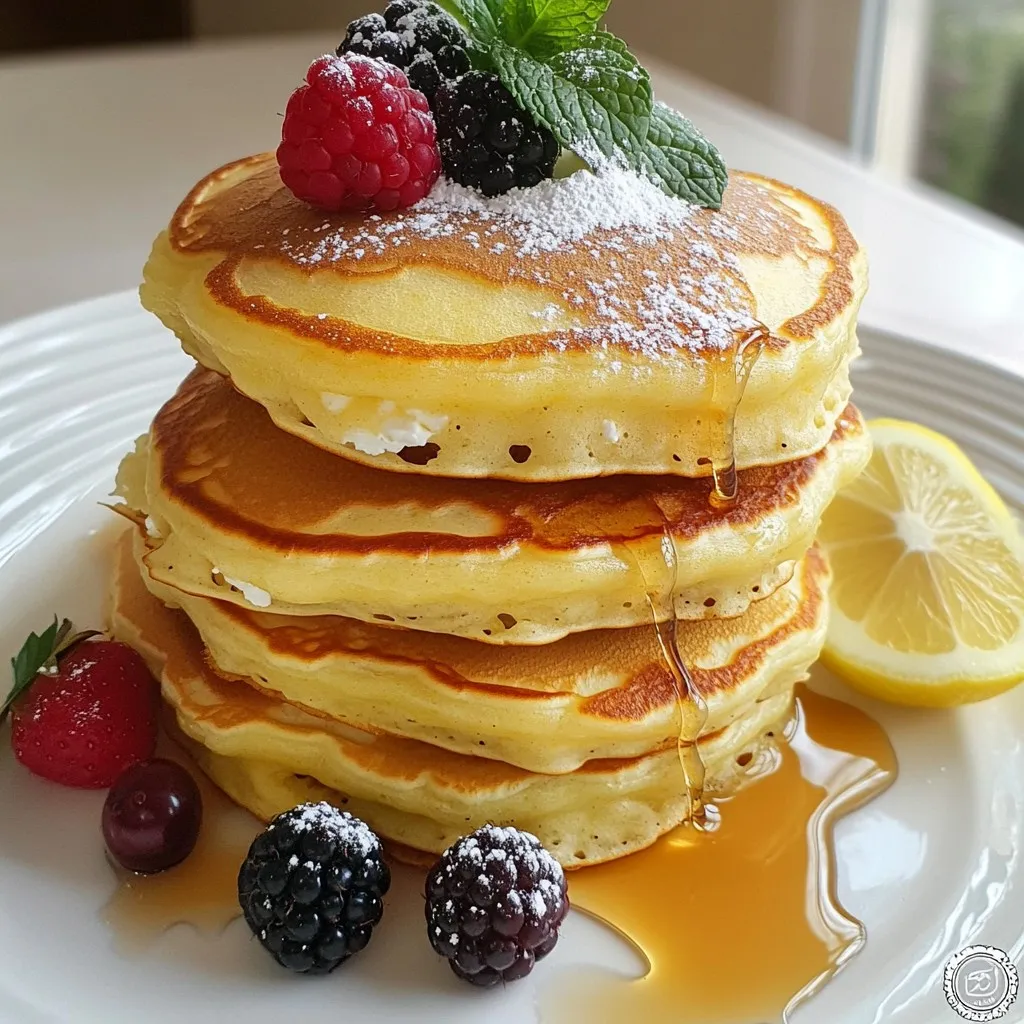
Get ready to delight your taste buds with these Fluffy Lemon Ricotta Pancakes! This simple and tasty recipe combines creamy ricotta and bright lemon zest for a breakfast treat that’s …