Dunkin Copycat Pumpkin Muffins Easy Fall Treat
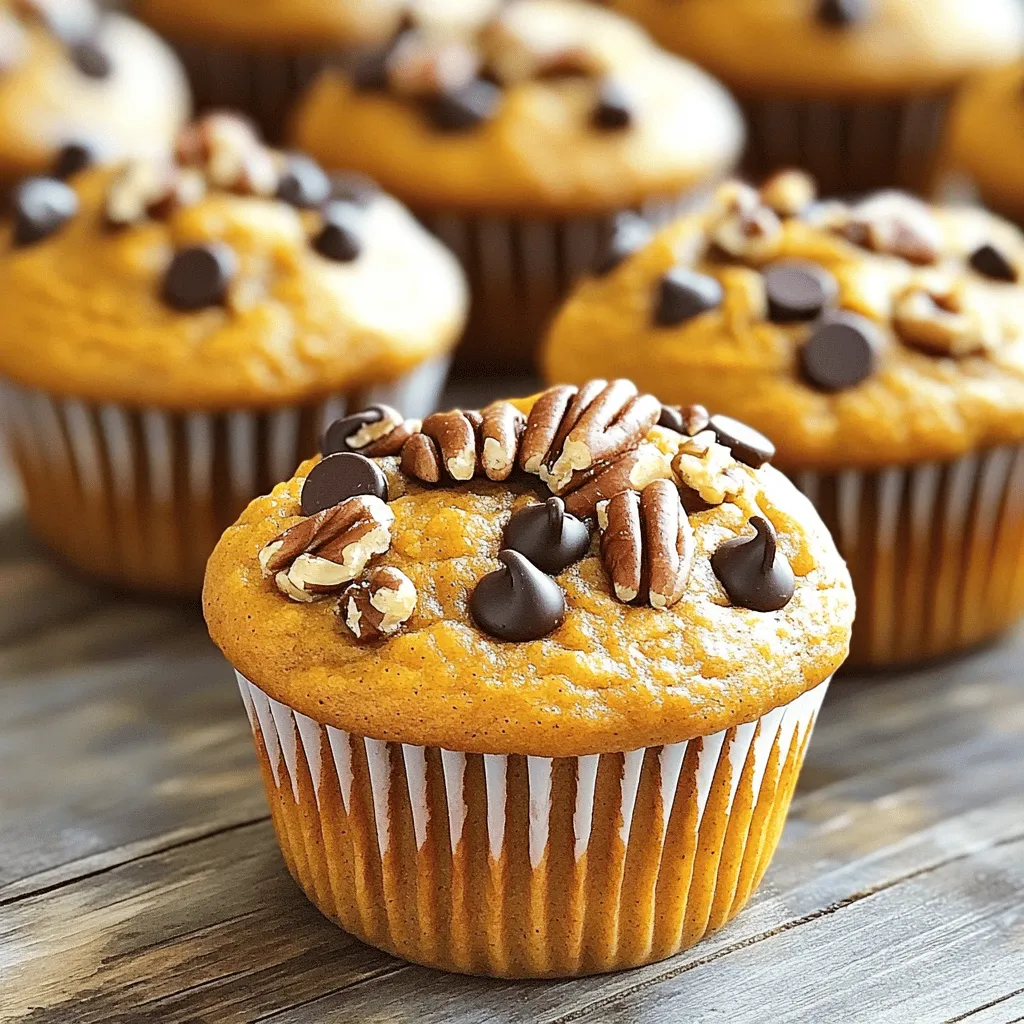
Craving that warm, spicy flavor of Dunkin’s pumpkin muffins? You’re in luck! In this post, I’ll show you how to recreate those delightful treats right in your own kitchen. With …
Craving that warm, spicy flavor of Dunkin’s pumpkin muffins? You’re in luck! In this post, I’ll show you how to recreate those delightful treats right in your own kitchen. With …
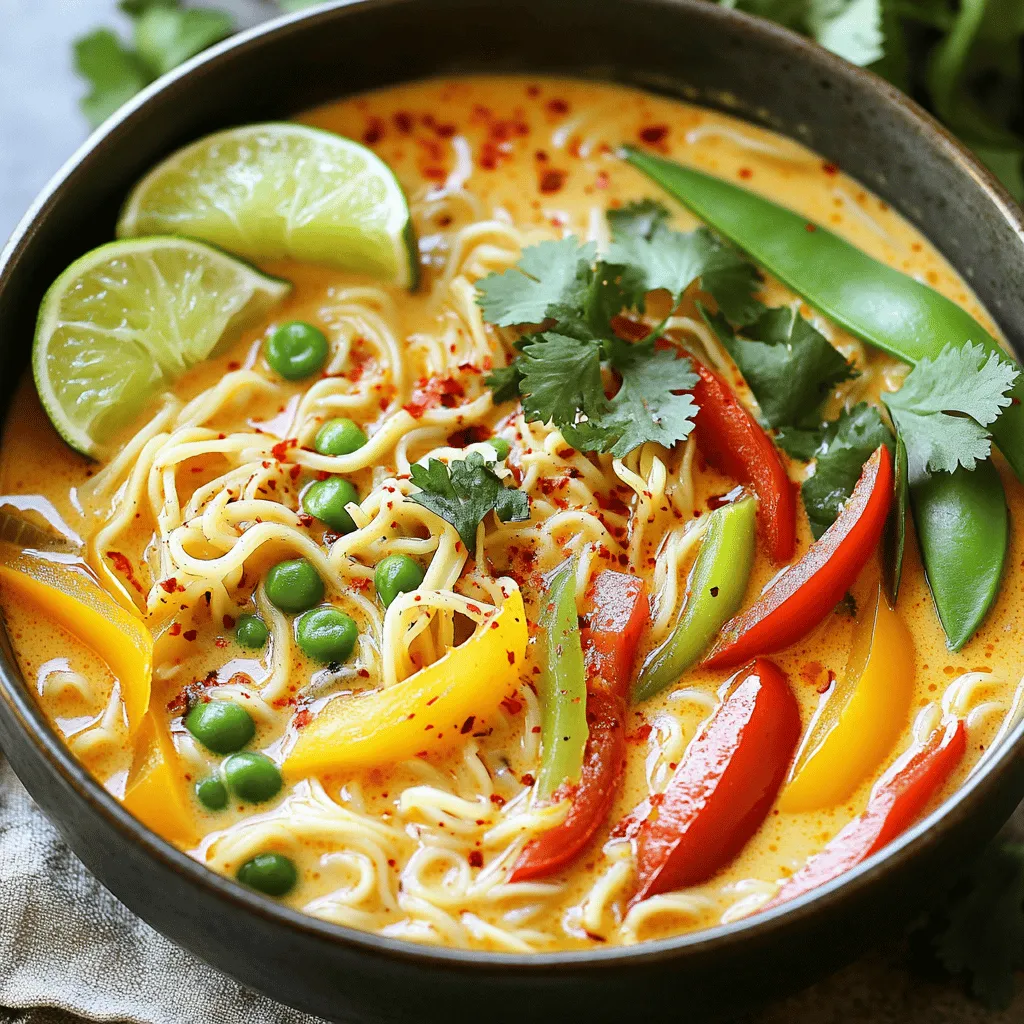
Are you craving a dish that’s both rich and comforting? Then you’ll love my Thai Coconut Curry Ramen! This easy recipe fills your bowl with vibrant flavors that warm you …
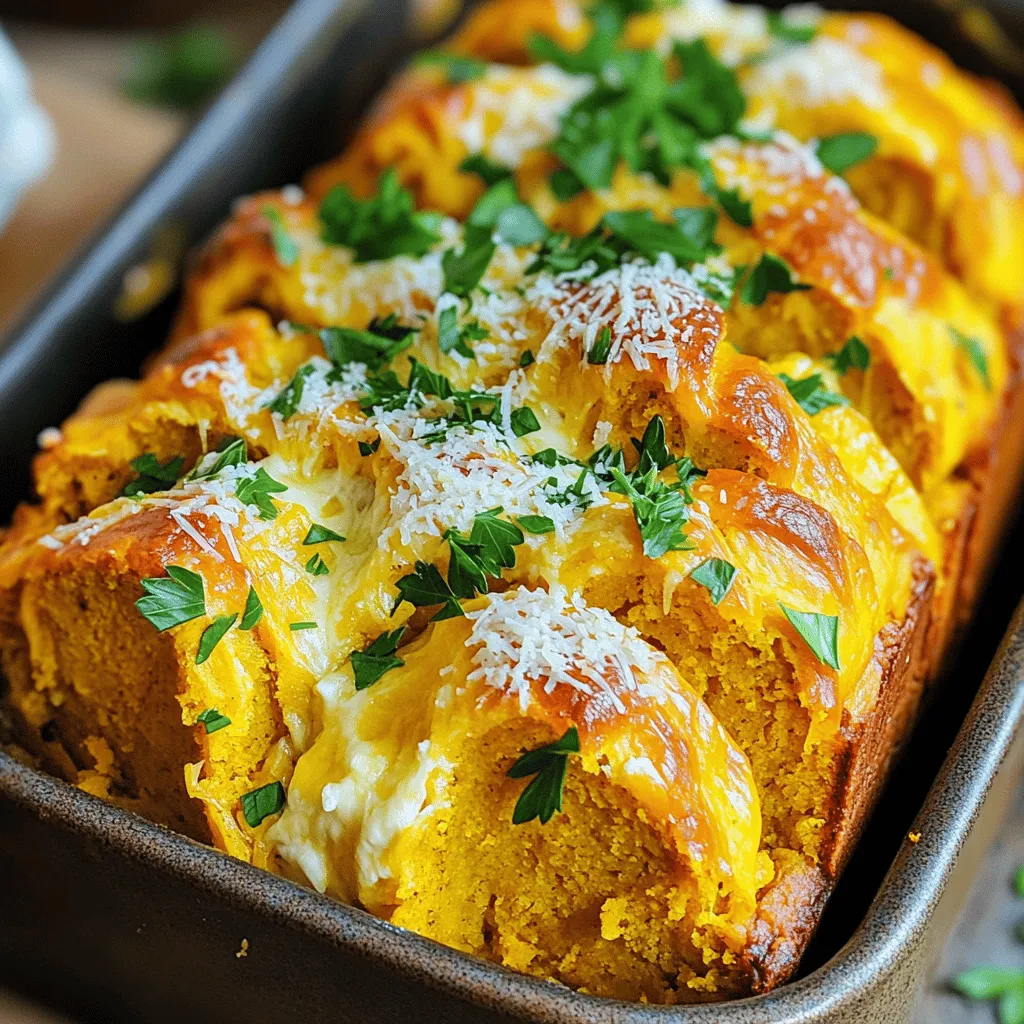
Are you ready to impress your friends with an irresistible treat? This Cheesy Pull-Apart Pumpkin Bread combines warm pumpkin flavor with gooey cheese for a snack that disappears fast. You’ll …
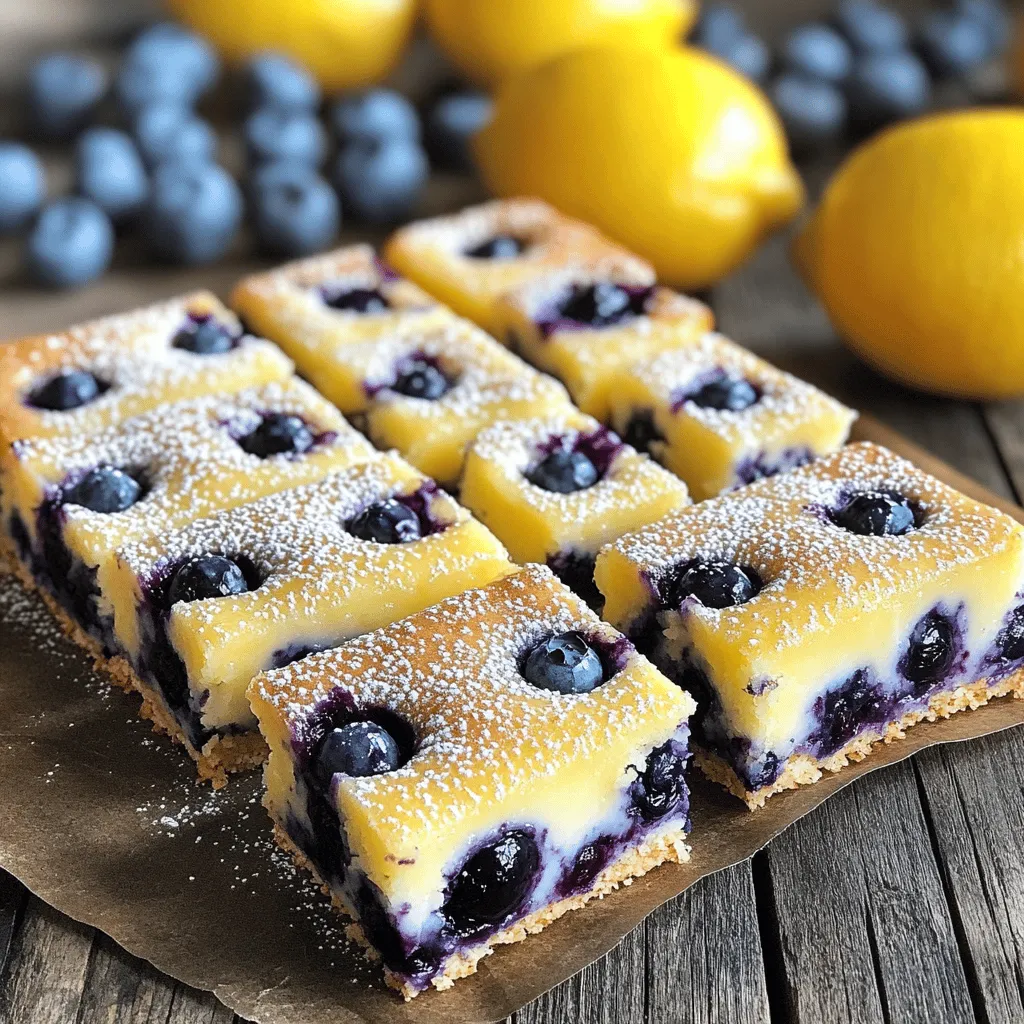
If you love a sweet treat that’s packed with flavor, you’ll adore these Lemon Blueberry Yogurt Bars. Not only are they simple to make, but they also combine tangy lemon …
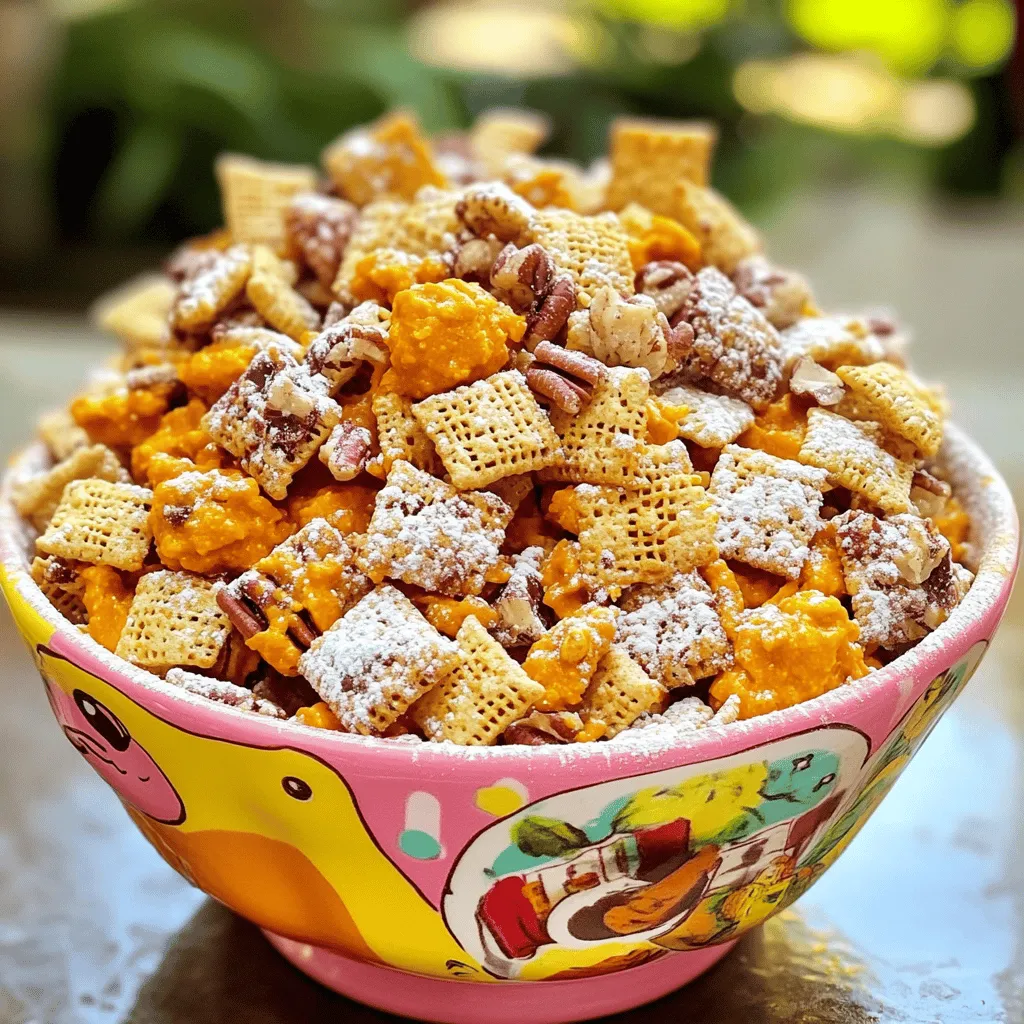
Looking to treat your furry friend to something special? My Peanut Butter Pumpkin Puppy Chow is the perfect snack! Simple to make and packed with flavor, this tasty dog treat …
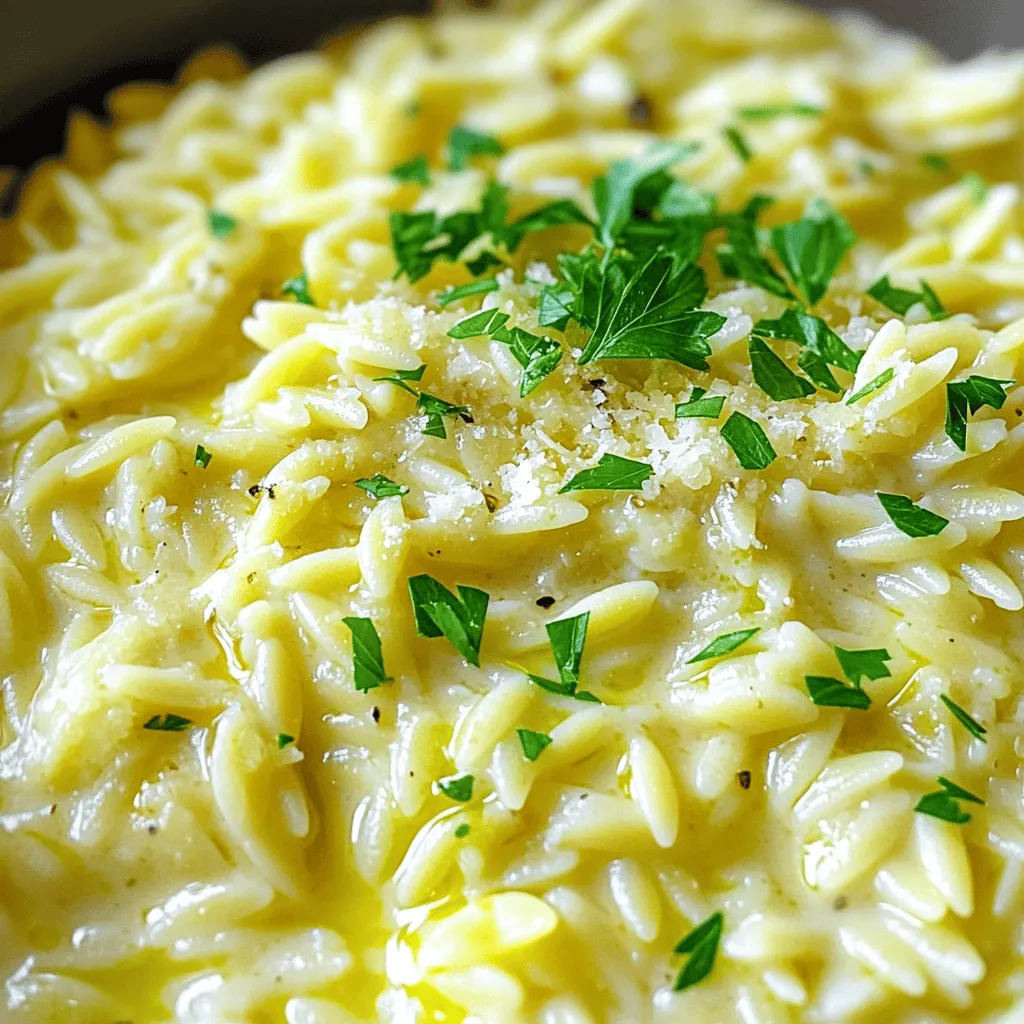
Looking for a dish that bursts with flavor and comfort? Try my Creamy Garlic Parmesan Orzo! This rich, creamy meal is simple to make and perfect for any occasion. With …
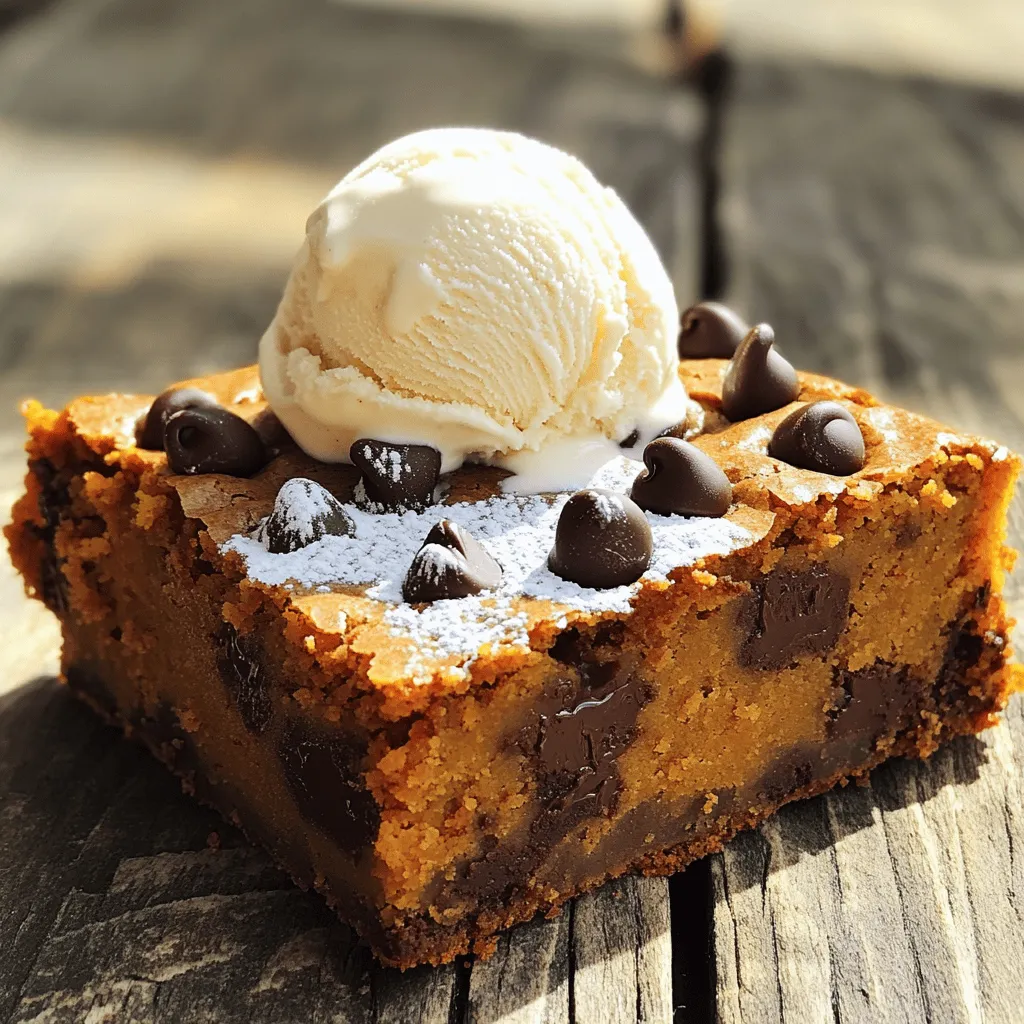
Are you ready to explore a delicious spin on fall desserts? These Chocolate Chip Pumpkin Blondies are the perfect blend of sweet and savory. With soft, chewy textures and rich …
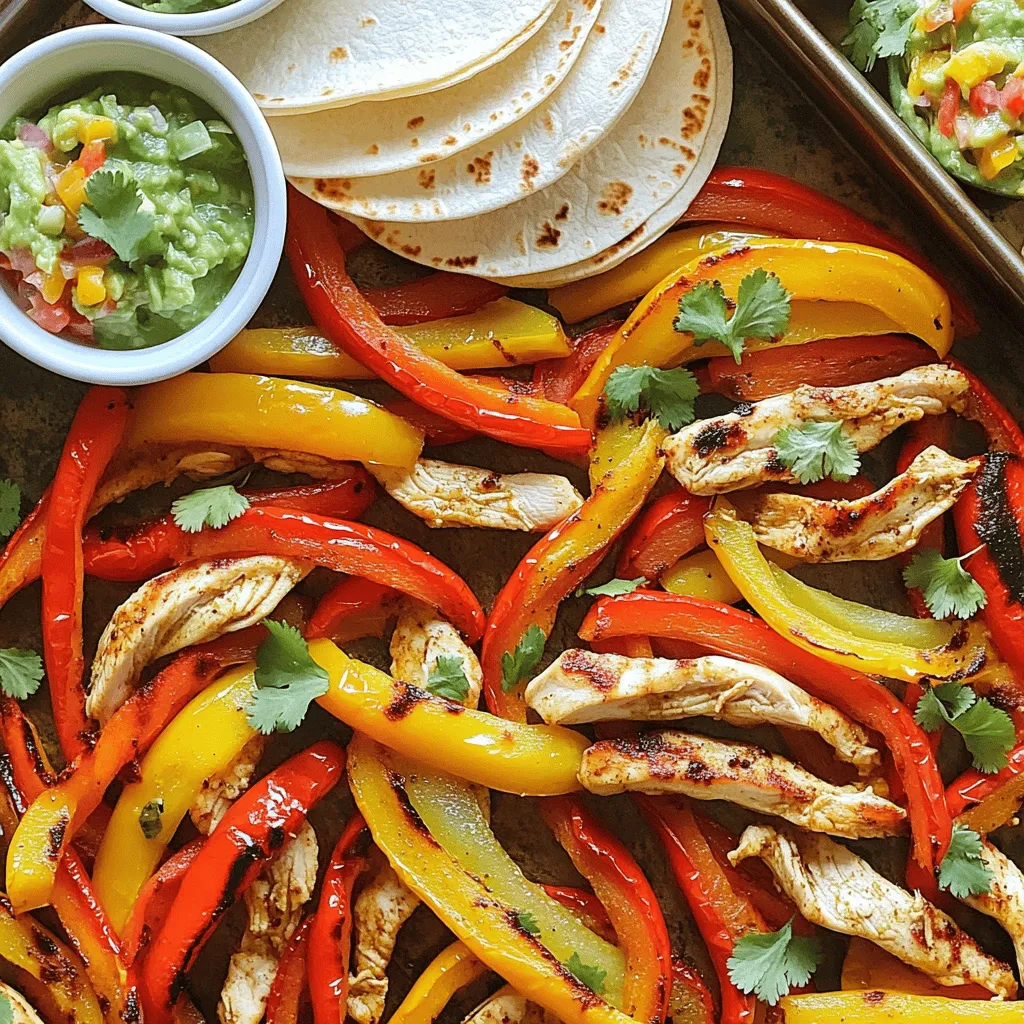
Looking for a quick and tasty dinner? You’ve found it! My Sheet Pan Chicken Fajitas are packed with flavor and super easy to make. You’ll cook juicy chicken and colorful …
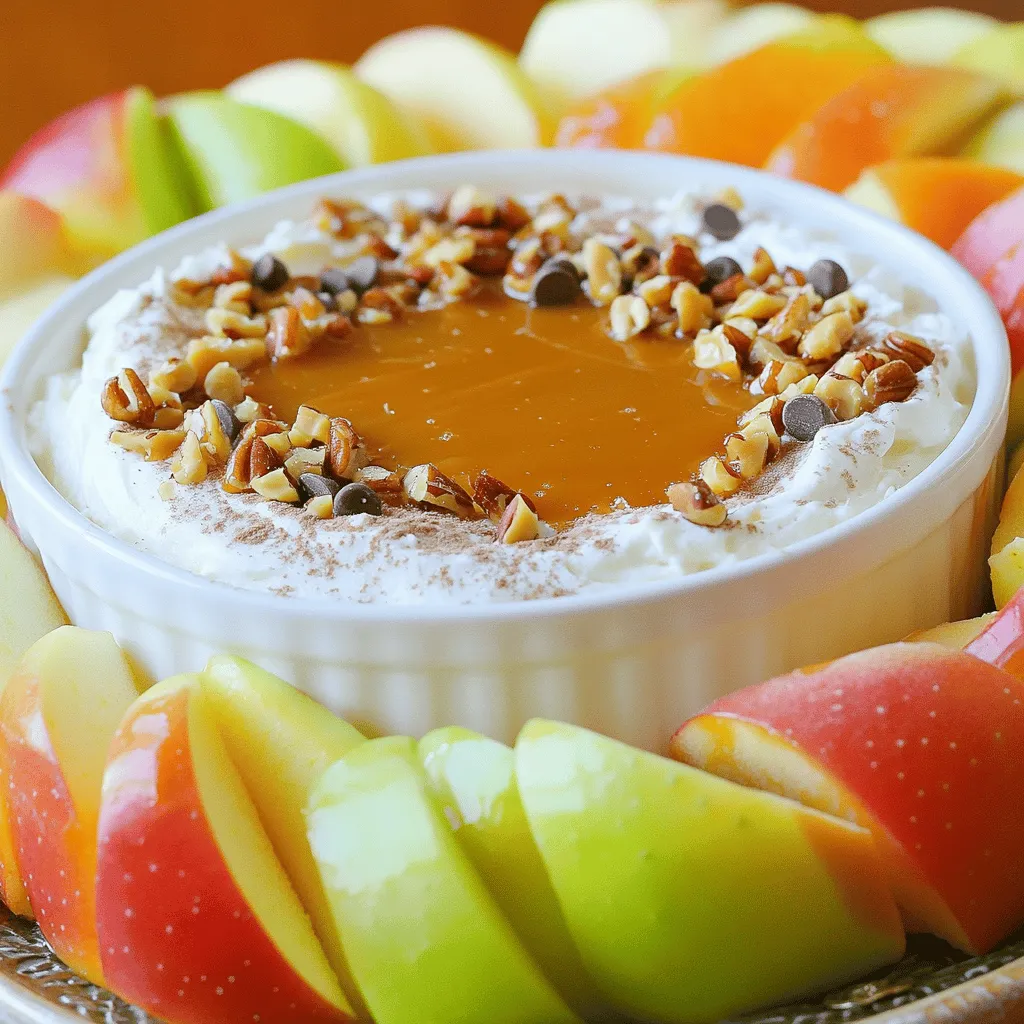
Get ready to indulge in a crowd-pleaser! This easy caramel apple dip is perfect for any gathering. With just a few simple ingredients, you can create a creamy, sweet treat …
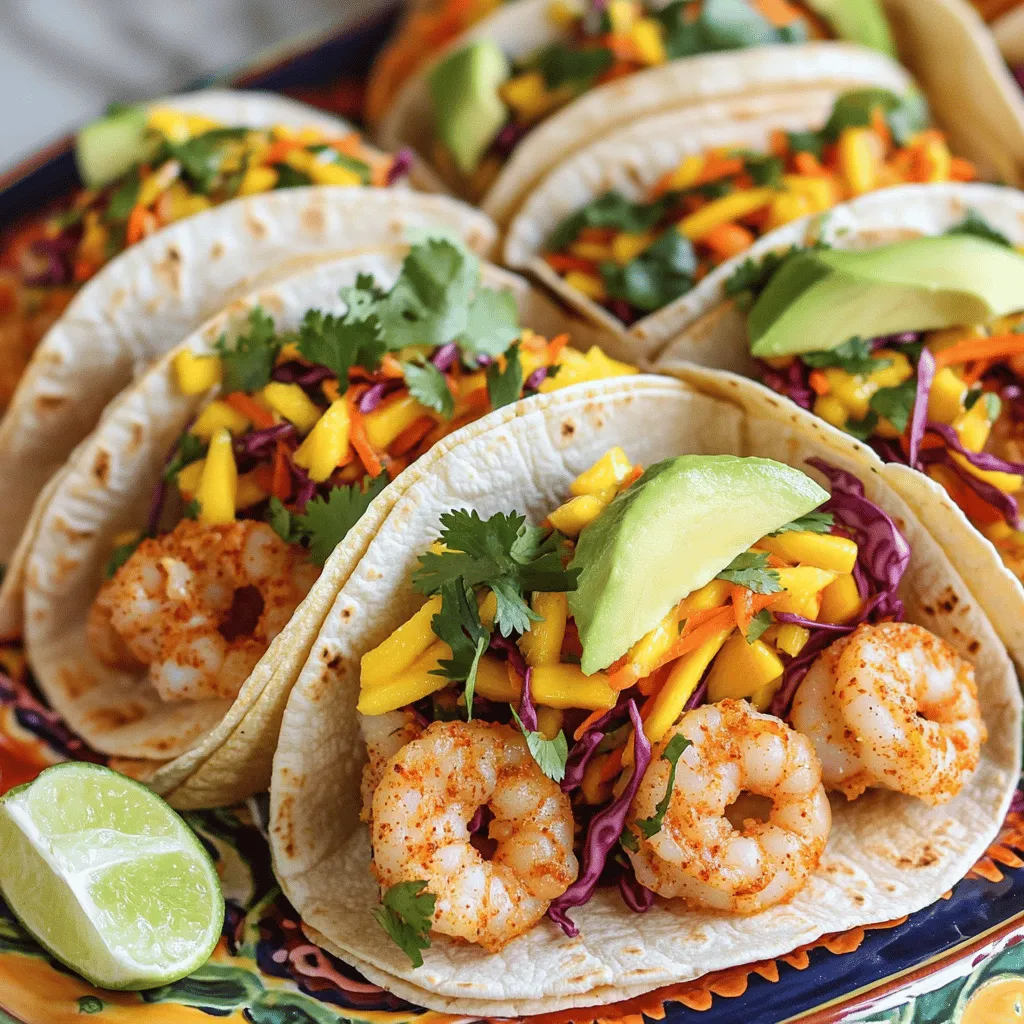
Dive into a burst of flavor with my Spicy Shrimp Tacos with Mango Slaw! These tacos combine juicy shrimp, zesty spices, and crunchy mango slaw for a perfect meal. You’ll …