Carrot Cake Overnight Oats Tasty and Easy Recipe
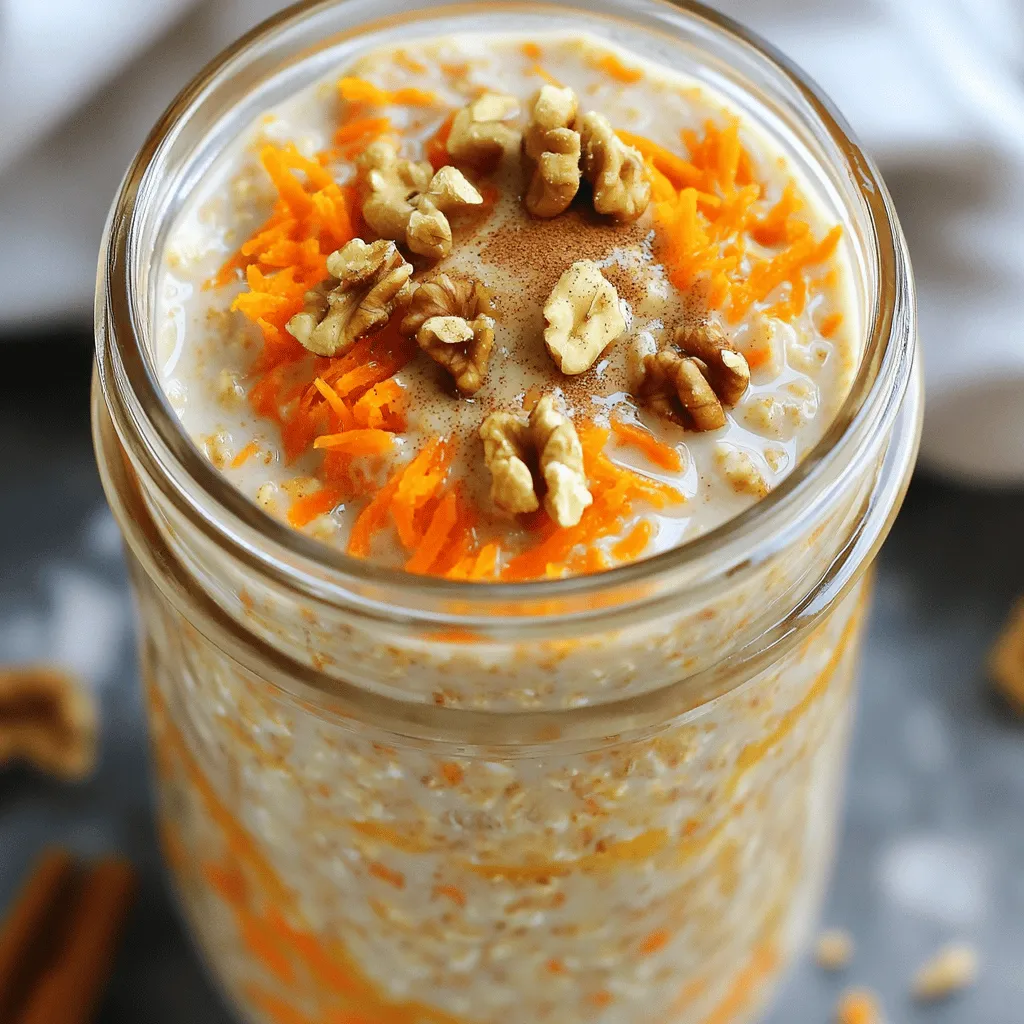
Start your morning right with Carrot Cake Overnight Oats! This tasty and simple recipe combines all the flavors of your favorite dessert into a healthy breakfast. You’ll love how easy …
Start your morning right with Carrot Cake Overnight Oats! This tasty and simple recipe combines all the flavors of your favorite dessert into a healthy breakfast. You’ll love how easy …
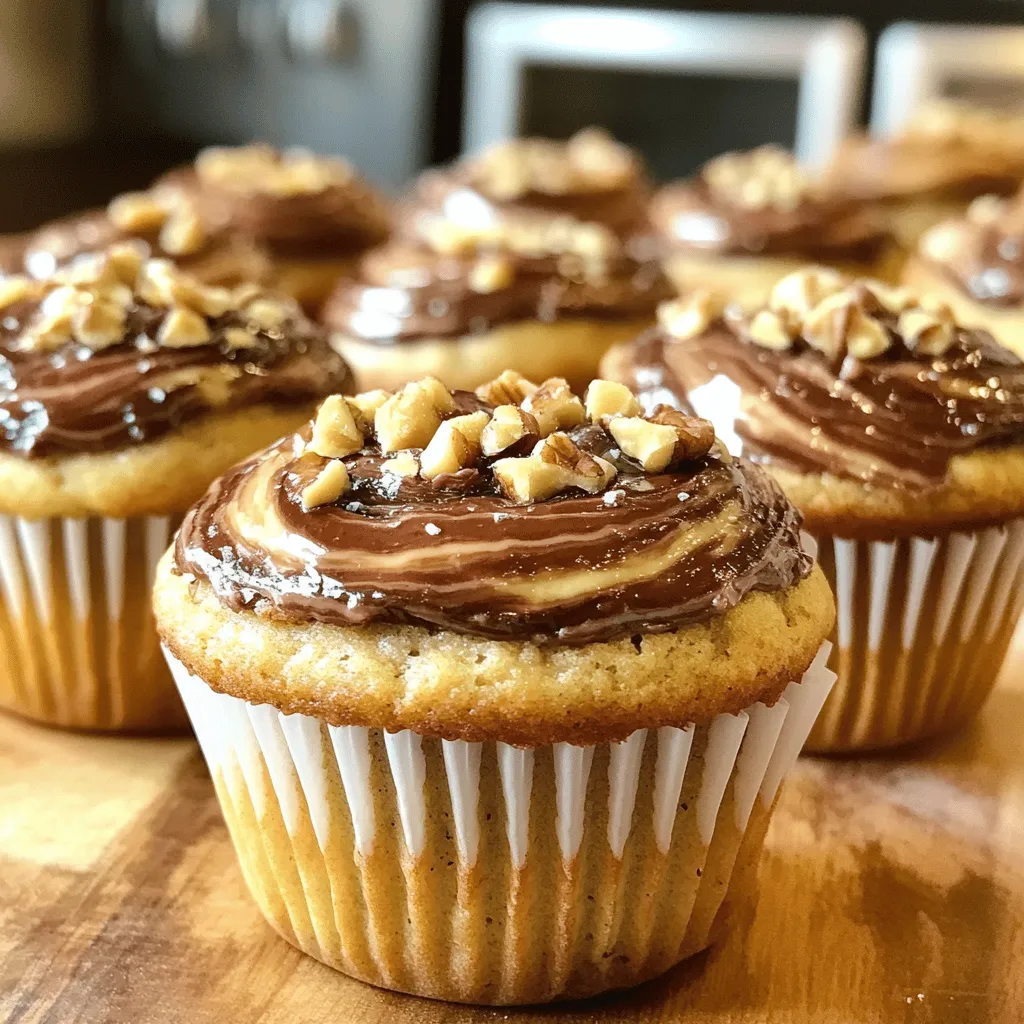
You’re in for a treat! Today, I’m sharing my easy recipe for Banana Nutella Swirl Muffins. These muffins are sweet, moist, and packed with flavor. Picture soft banana bread swirled …
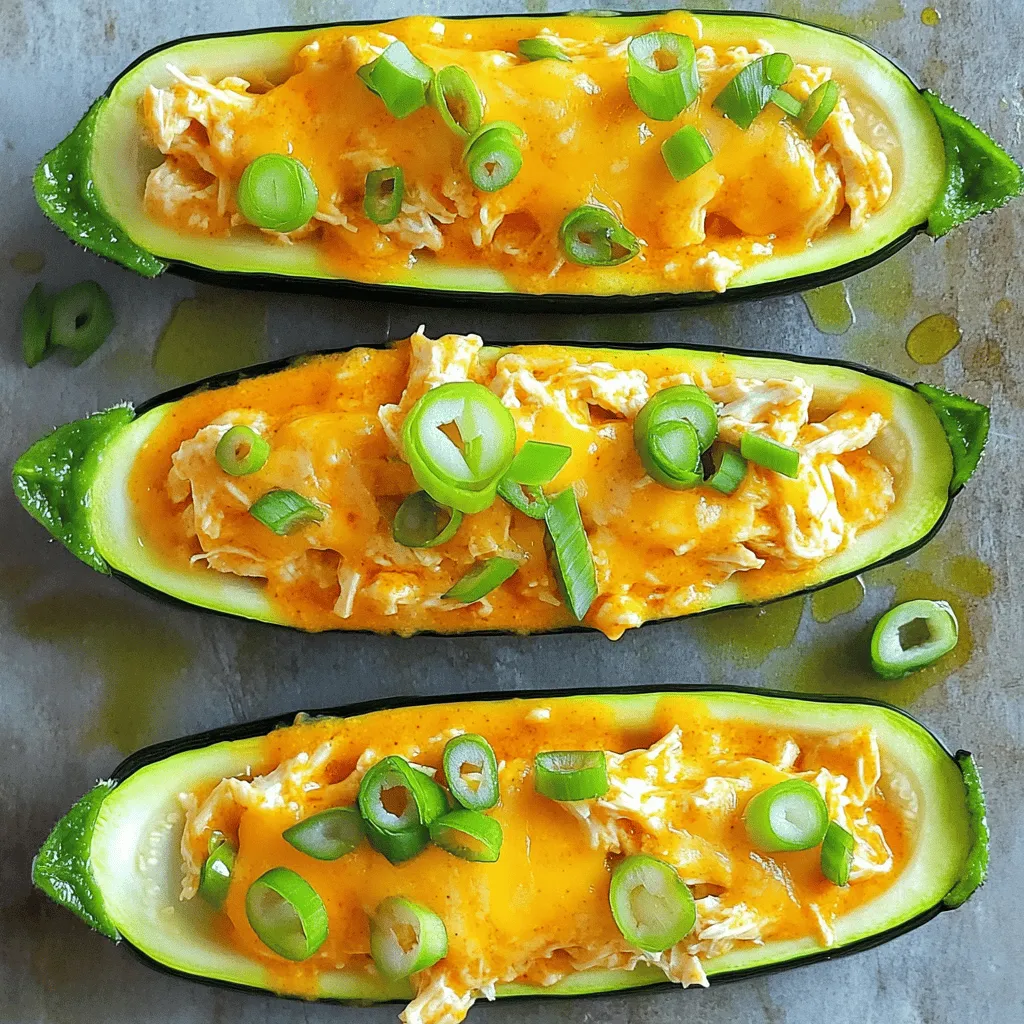
If you love bold flavors, get ready for a treat! Buffalo Chicken Stuffed Zucchini Boats combine spicy, tender chicken with fresh zucchini for a perfect bite. They are easy to …
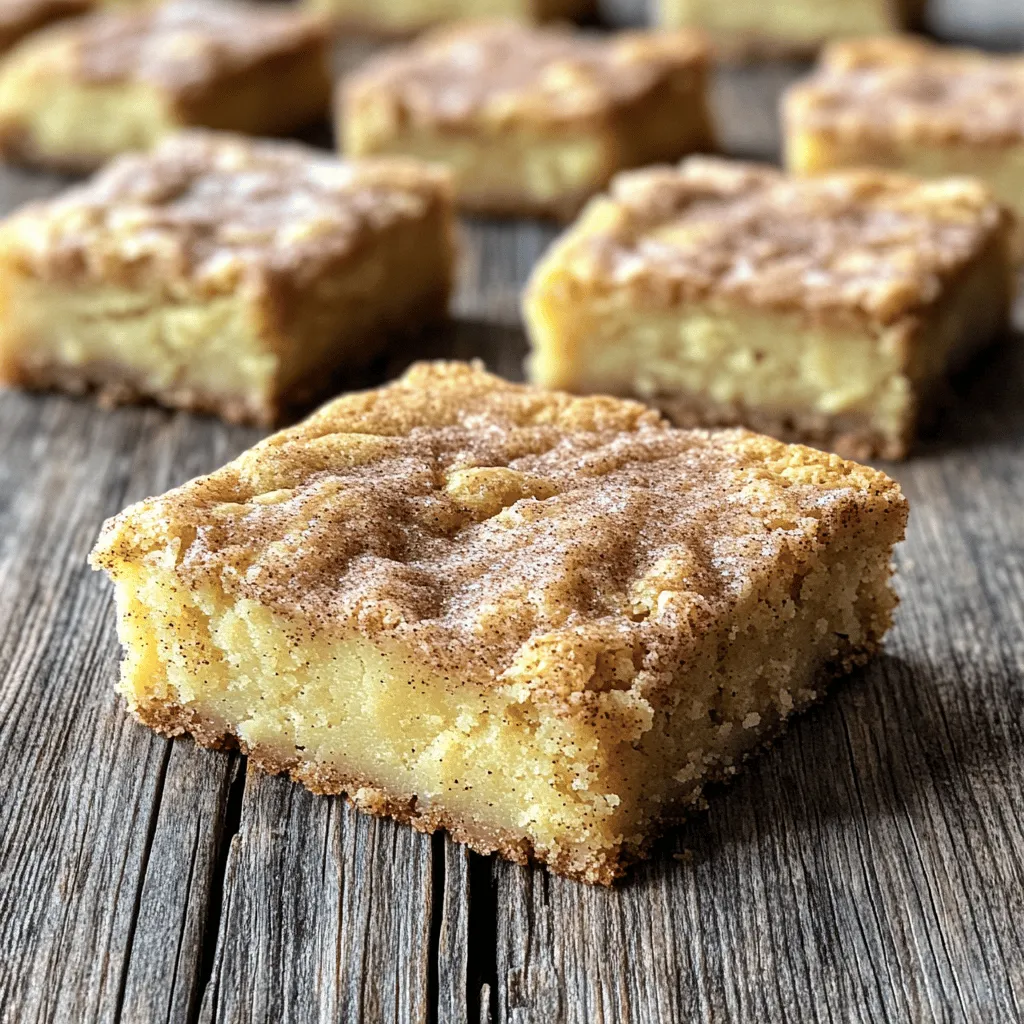
If you’re craving a treat that is both chewy and sweet, look no further than these Chewy Snickerdoodle Blondies. They blend a classic snickerdoodle flavor with a blondie’s rich texture. …
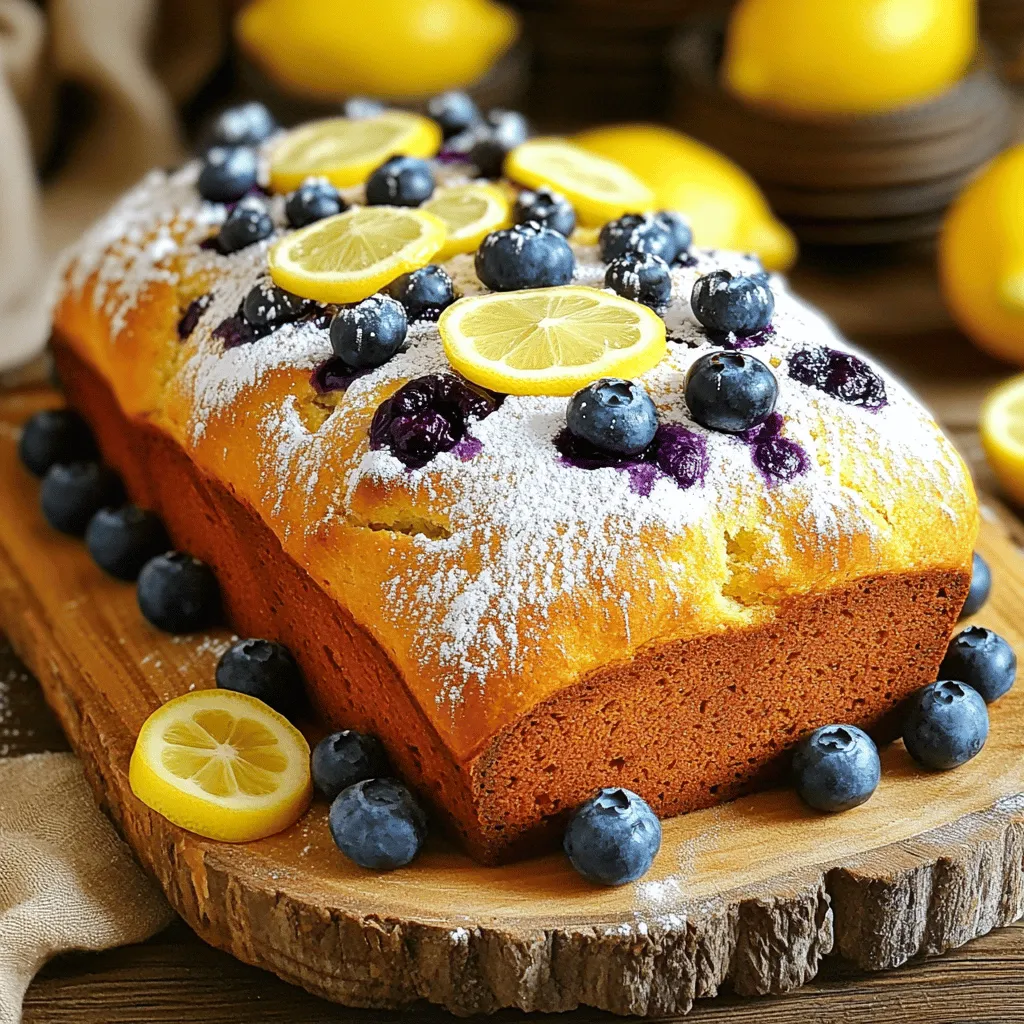
Baking Lemon Blueberry Bread is simple and satisfying. This recipe blends the zesty taste of lemon with sweet blueberries, creating a treat that’s perfect for any time of day. In …

Get ready to spice up your taco night with my Spicy Honey Sriracha Shrimp Tacos! This delightful recipe combines juicy shrimp, sweet honey, and a kick of Sriracha for a …
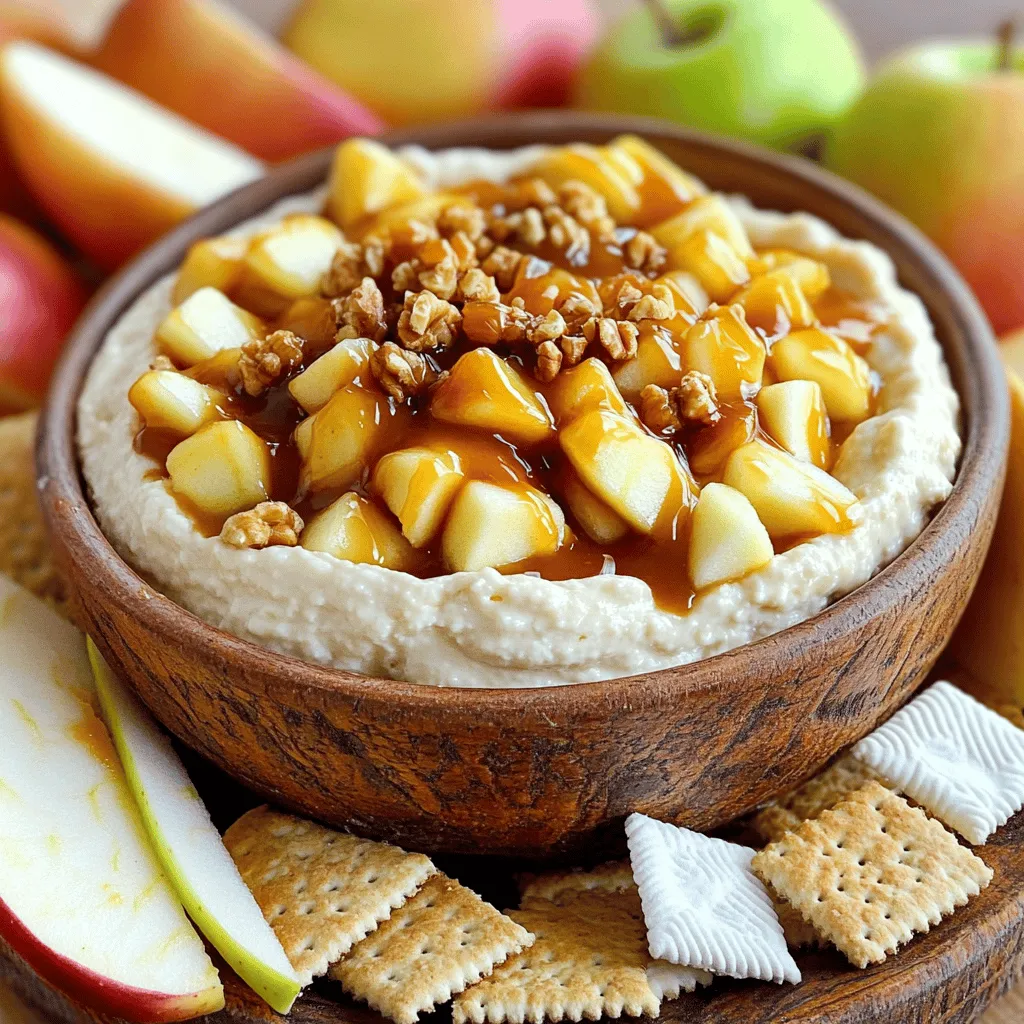
Do you crave a sweet treat that’s quick and fun to make? Caramel Apple Cheesecake Dip is just the answer! This easy recipe combines smooth cream cheese, sweet caramel, and …
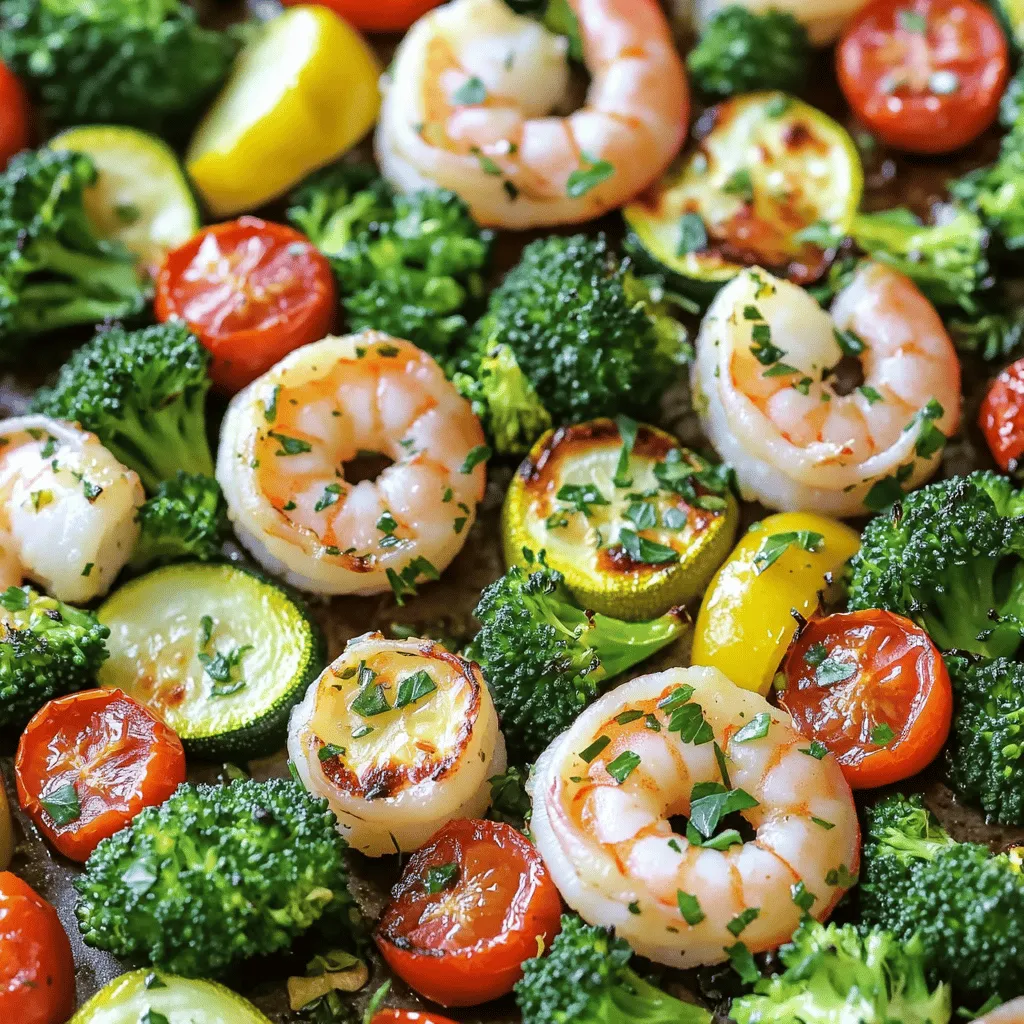
Welcome to my kitchen! Today, I’m excited to share a quick and tasty recipe for Sheet Pan Lemon Herb Shrimp & Veggies. This one-pan meal packs juicy shrimp and fresh …
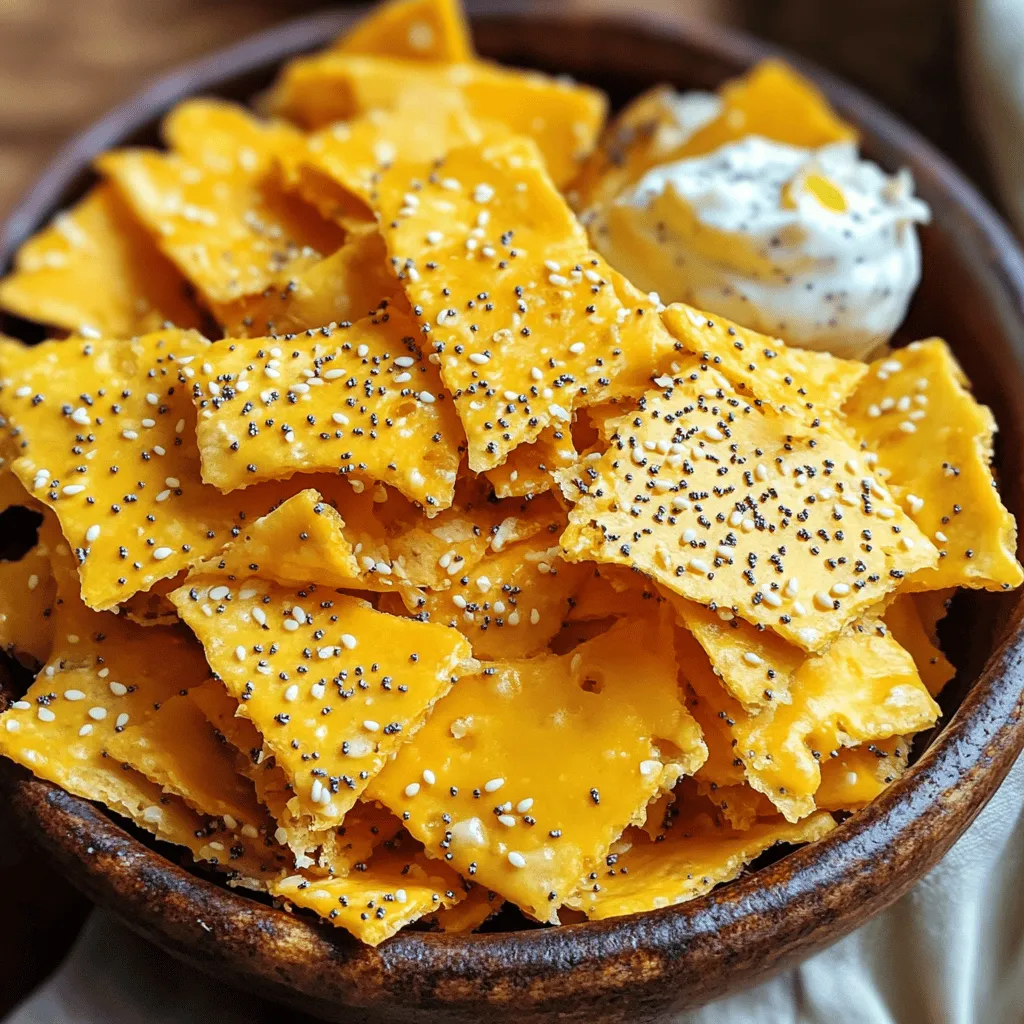
Craving a crunchy snack that fits perfectly into your keto diet? Look no further than my Keto Everything Bagel Cheese Chips! They are easy to make and packed with flavor. …
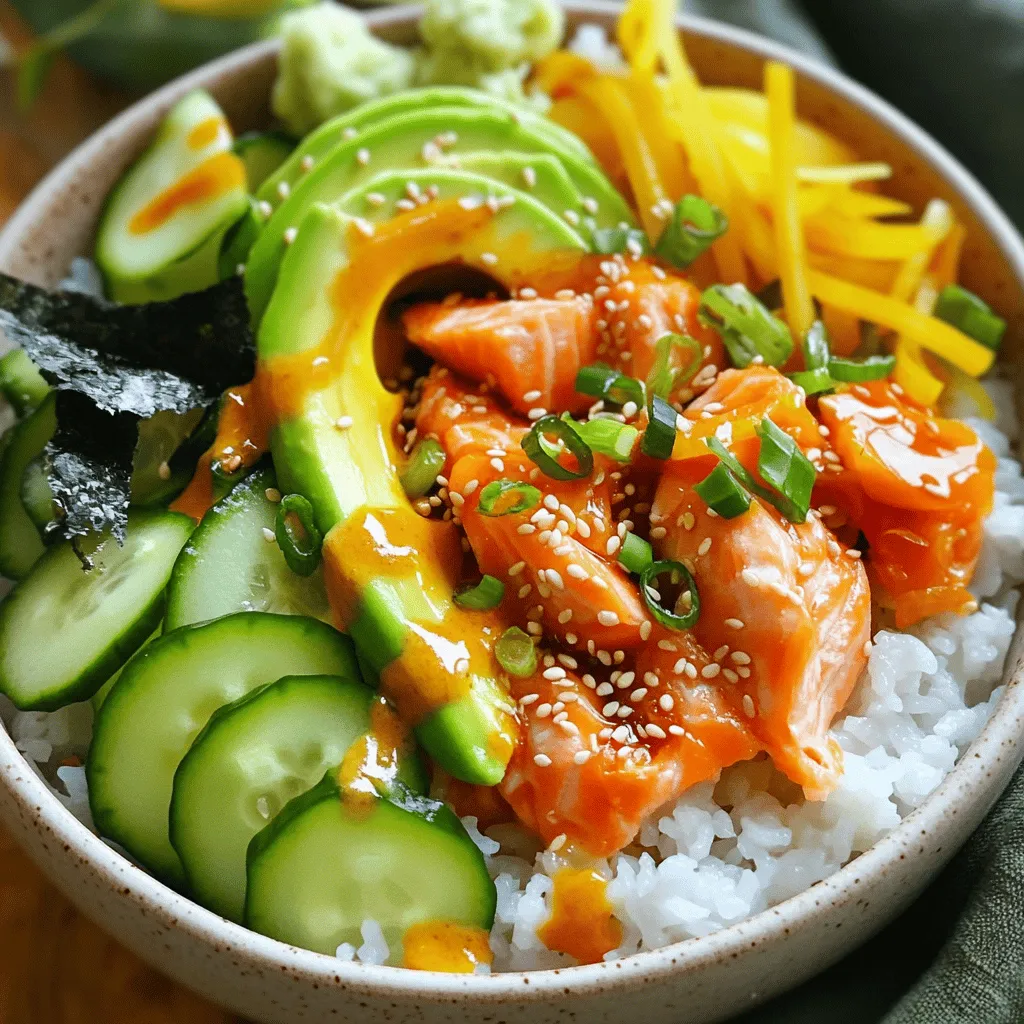
Looking for a quick, tasty meal? The Minute TikTok Salmon Rice Bowl is perfect! It combines fresh salmon, fluffy sushi rice, and vibrant veggies into a delightful dish. You’ll enjoy …