No-Bake Biscoff Cheesecake Bars A Simple Delight
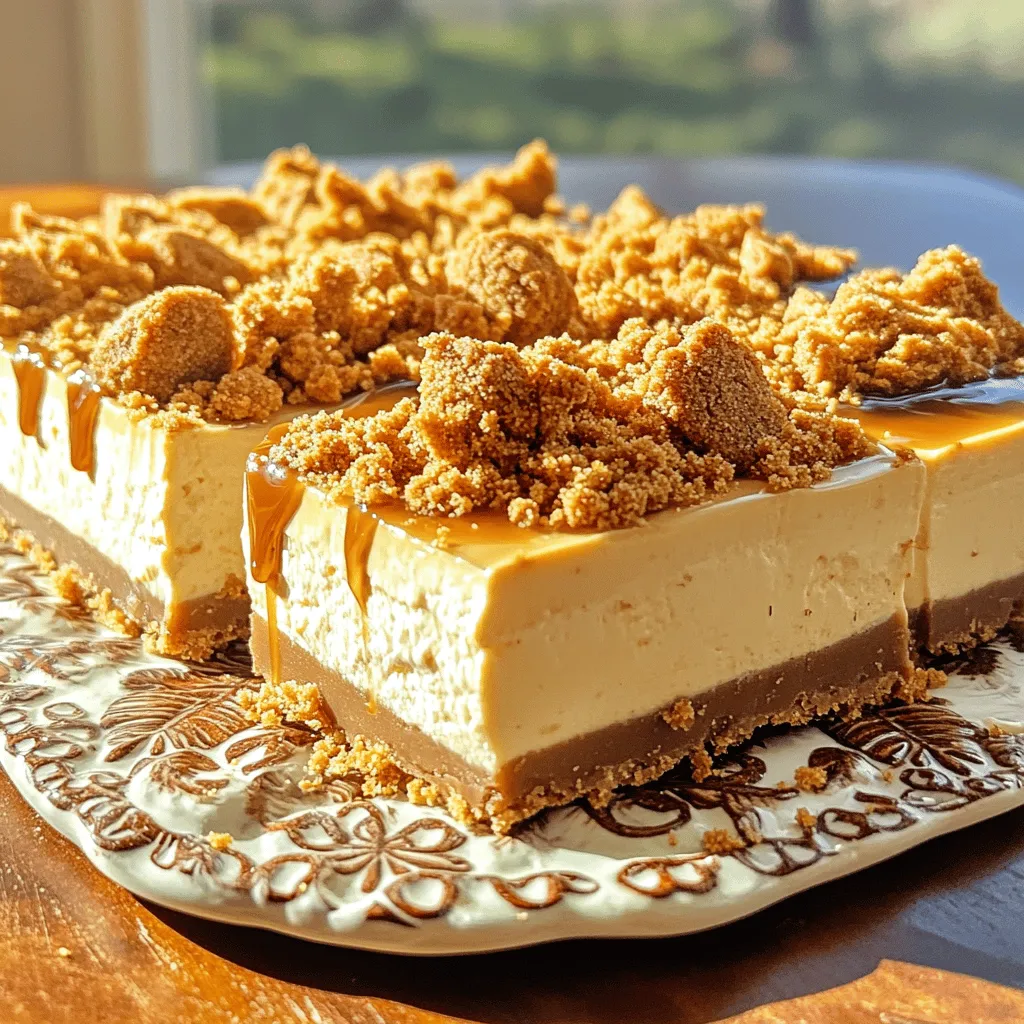
Ready to indulge in a sweet treat that requires no baking? These No-Bake Biscoff Cheesecake Bars are easy to make and delicious, perfect for any occasion. Whether you’re a seasoned …
Ready to indulge in a sweet treat that requires no baking? These No-Bake Biscoff Cheesecake Bars are easy to make and delicious, perfect for any occasion. Whether you’re a seasoned …
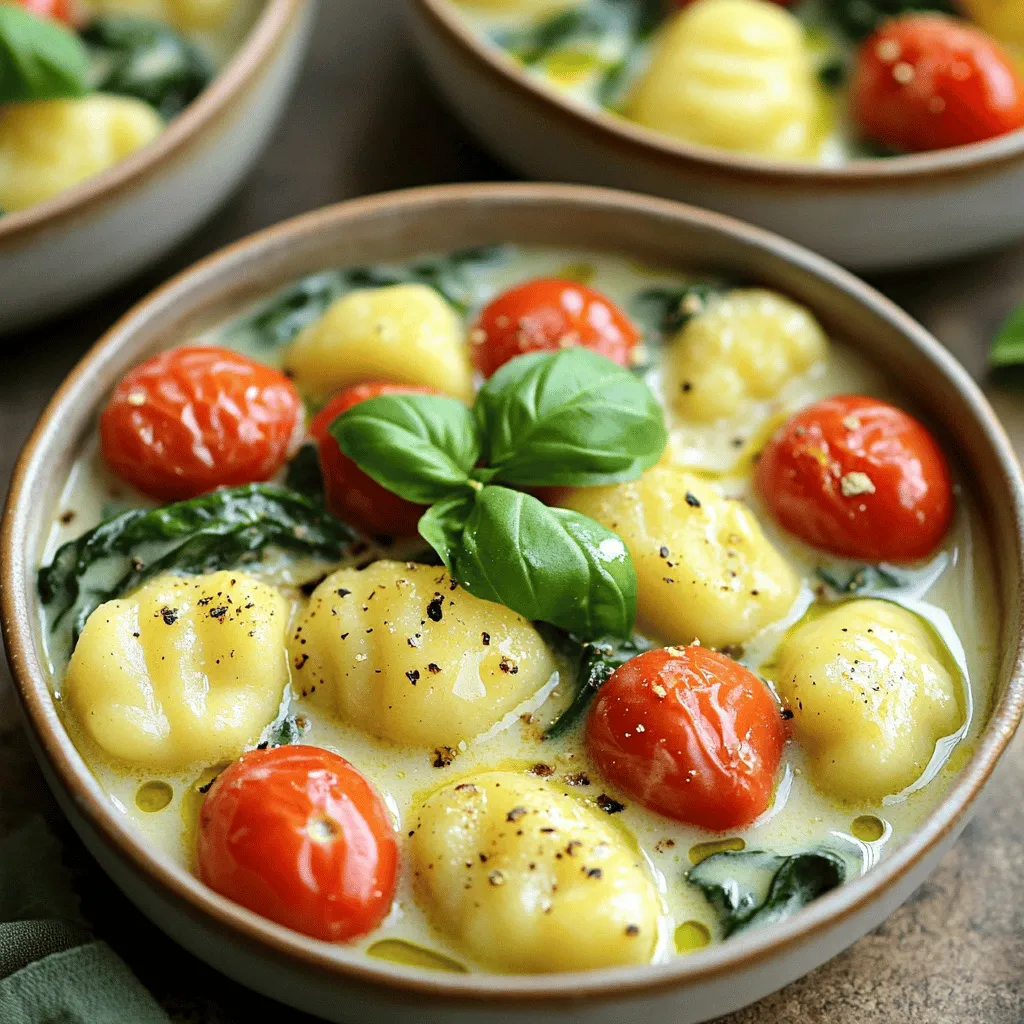
If you’re craving a comforting dinner that’s simple to make and bursting with flavor, look no further than One-Pot Creamy Tuscan Gnocchi! With just a few fresh ingredients and one …
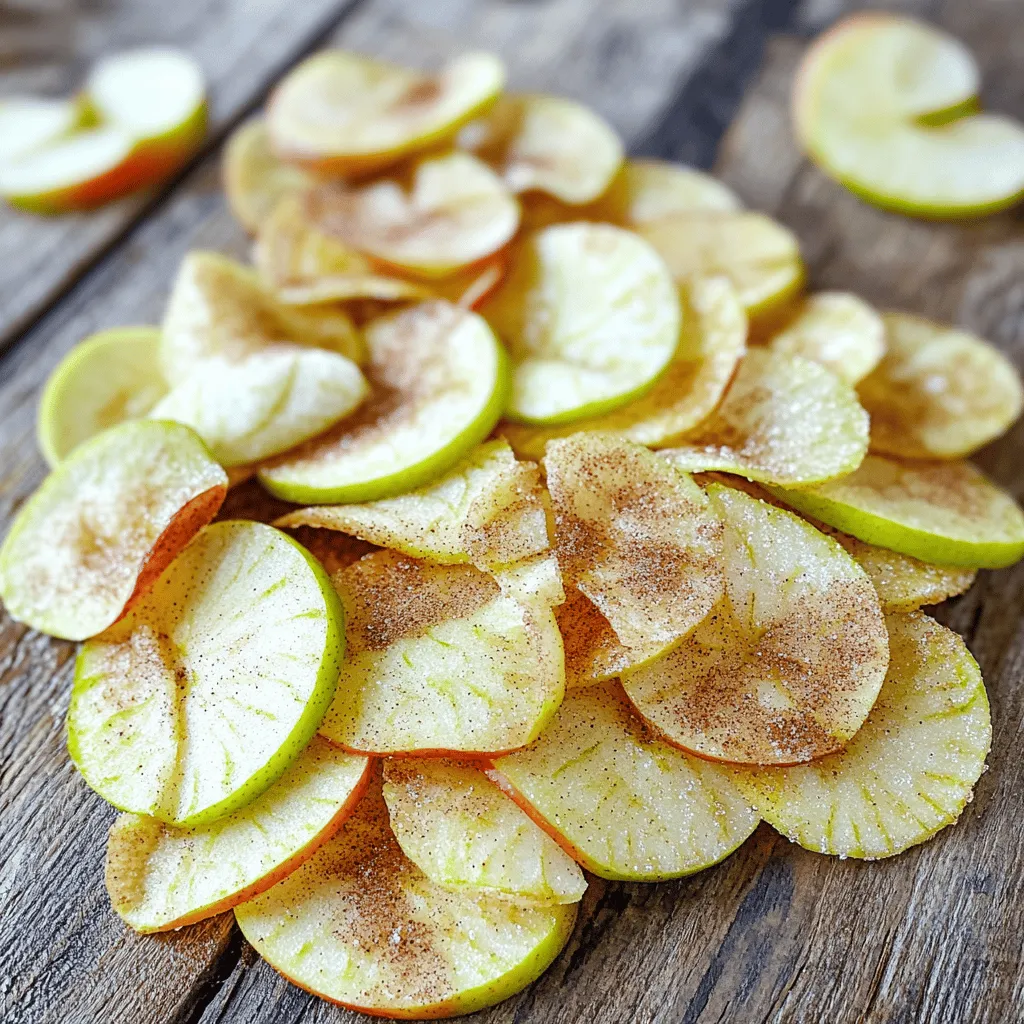
Looking for a tasty, healthy snack? You’re in the right place! I’ll show you how to make crunchy air fryer apple chips that are simple and fun. Forget about boring …
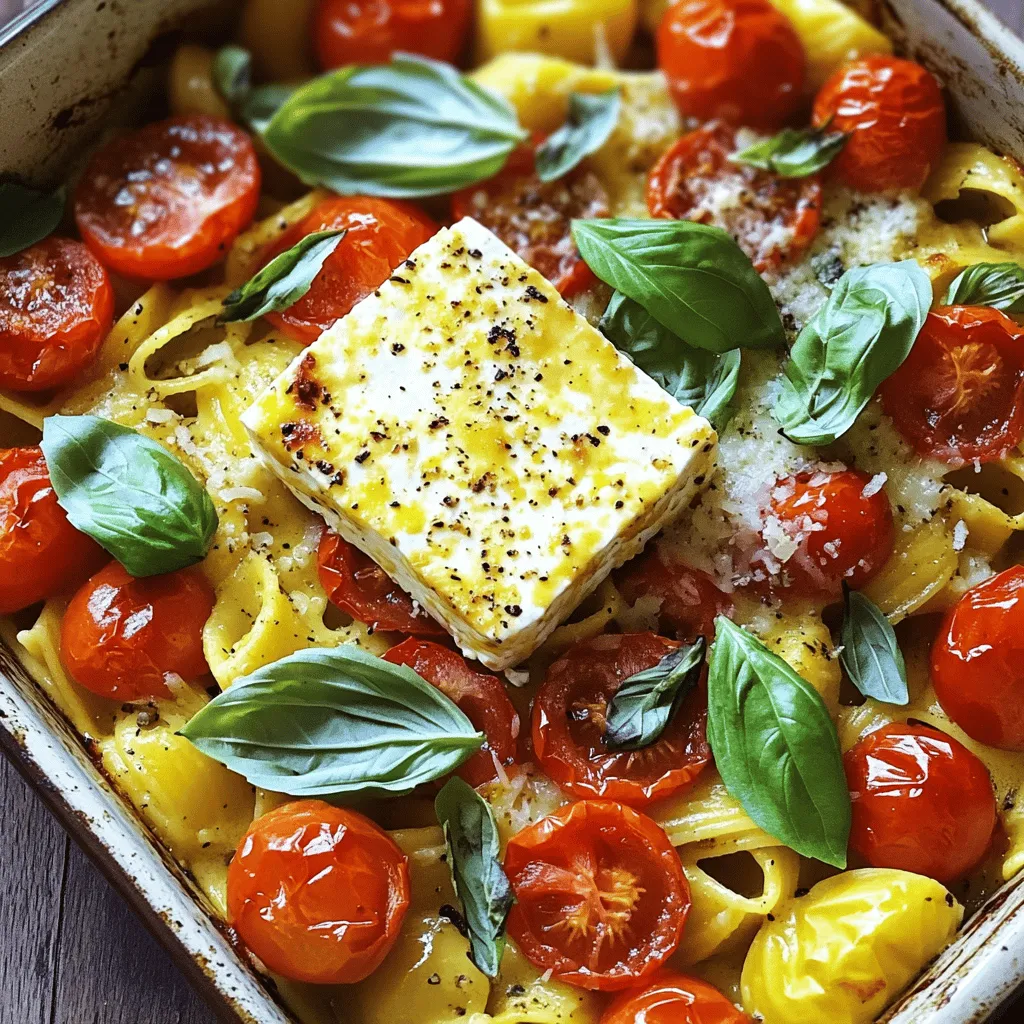
If you’re looking for a quick and tasty meal, try TikTok’s Baked Feta Pasta! This simple recipe blends creamy feta, juicy tomatoes, and fresh herbs to create a dish that …
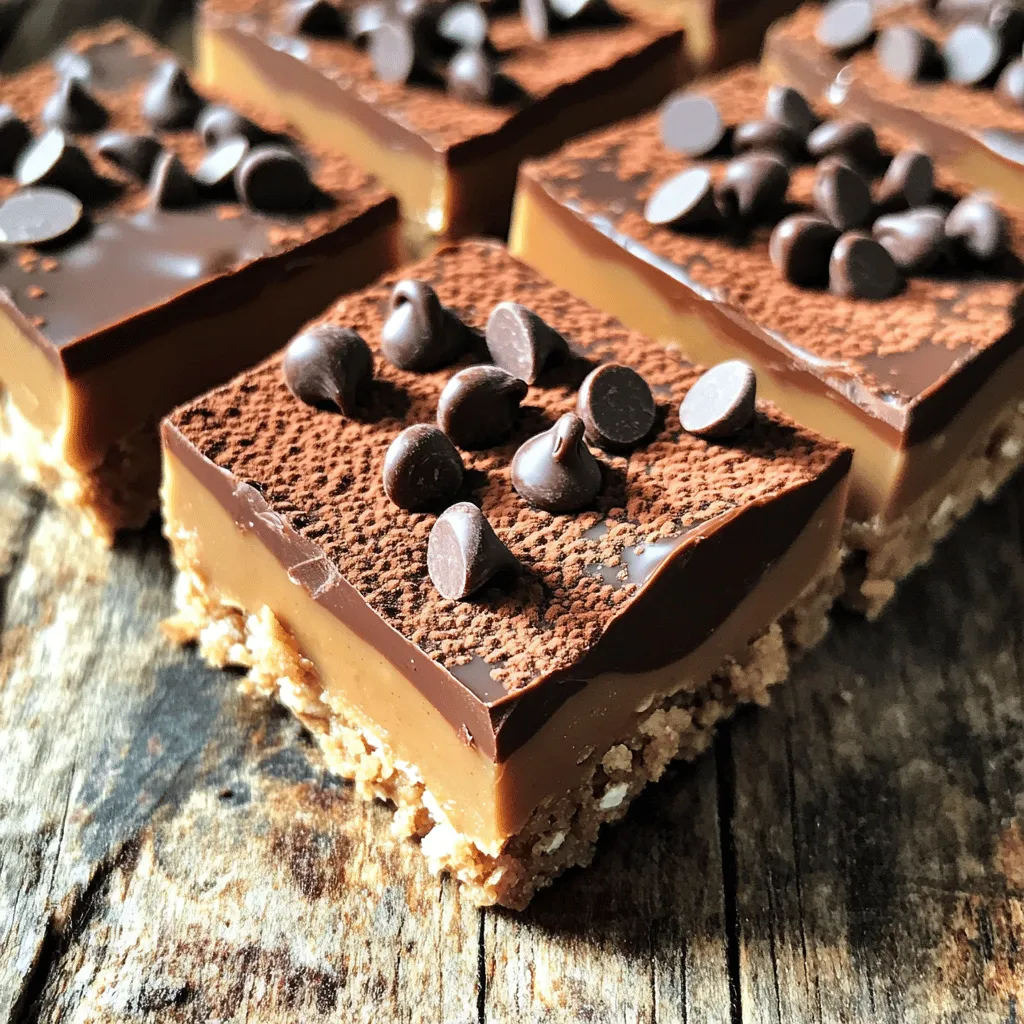
Are you ready to whip up a sweet and easy treat? These No-Bake Peanut Butter Bars are simple to make and packed with flavor. With just a few ingredients, you’ll …
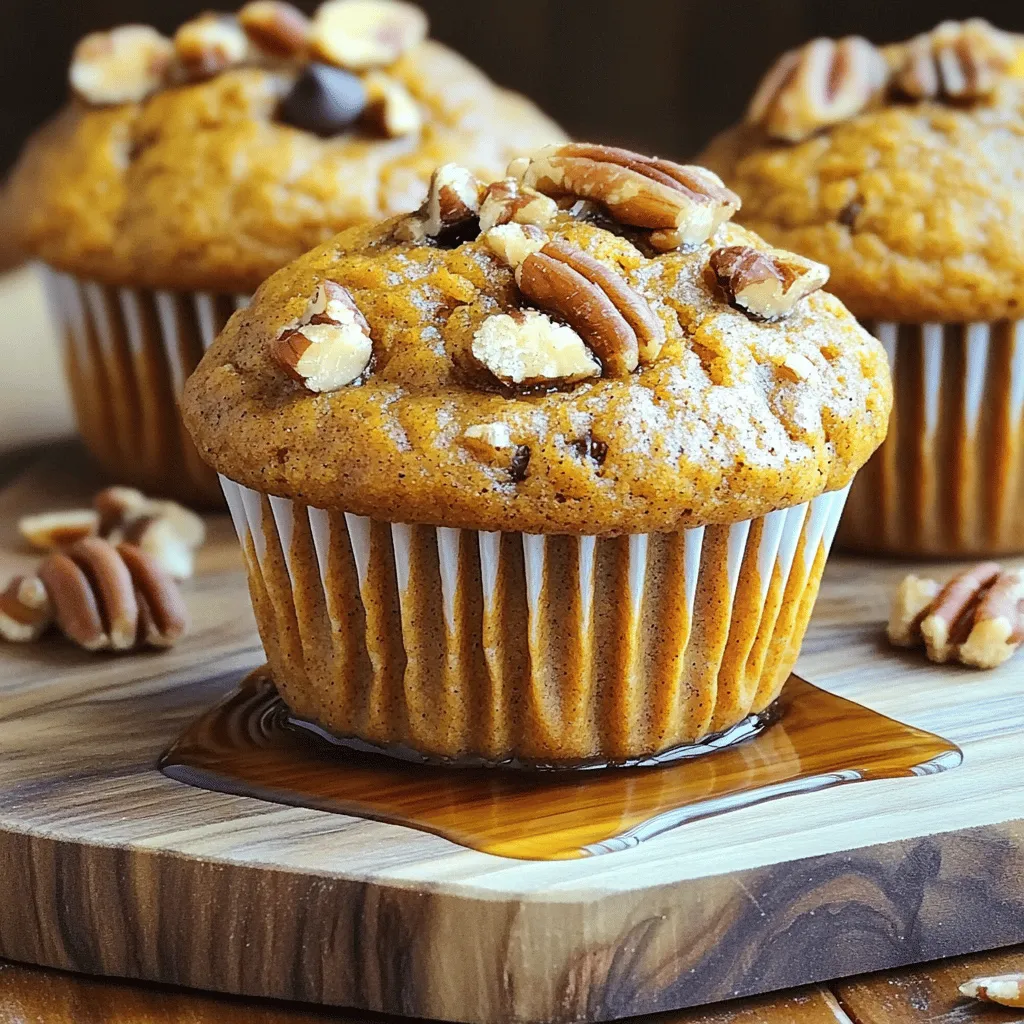
Looking for a cozy and tasty treat? My Vegan Pumpkin Muffins are simple to make and super delightful. With a few common ingredients, you can whip up a batch that’s …
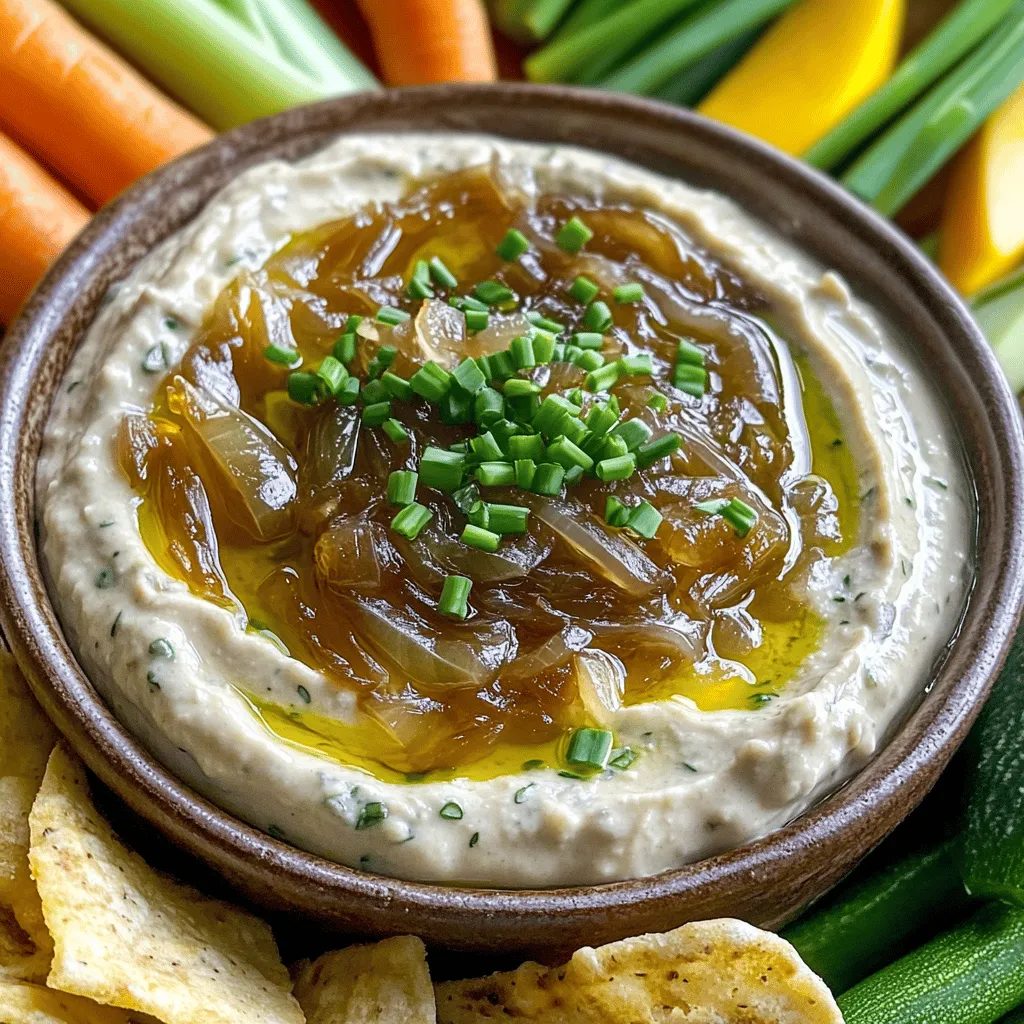
Caramelized onion dip is a game-changer for your snack table! With its savory and rich flavor, it’s sure to impress family and friends. You can whip it up in no …
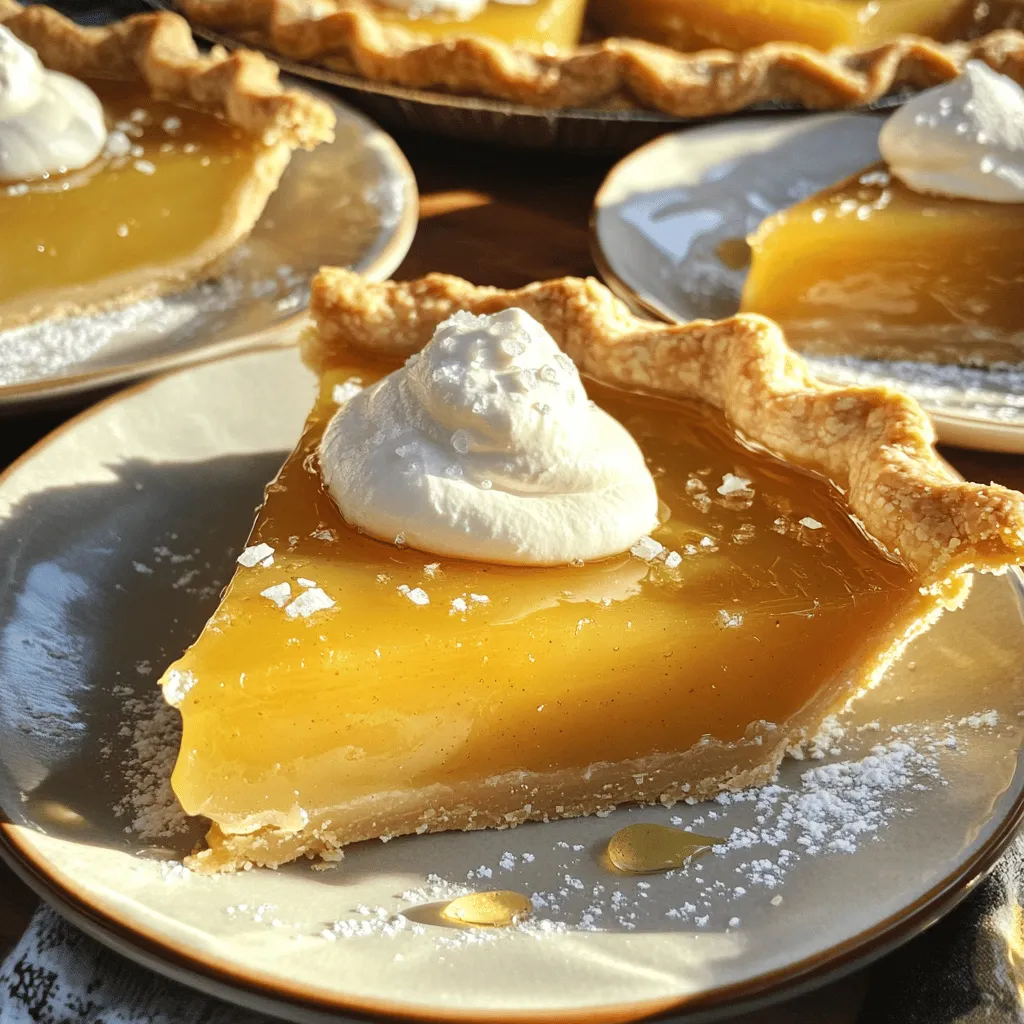
Looking for a dessert that’s both sweet and savory? You’ll love Salted Honey Pie! This unique treat combines rich honey with a hint of salt for a flavor you won’t …

Craving that warm, spicy taste of autumn? You’re in the right place! With my Dunkin Copycat Pumpkin Muffins recipe, you can whip up these delightful treats in your own kitchen. …
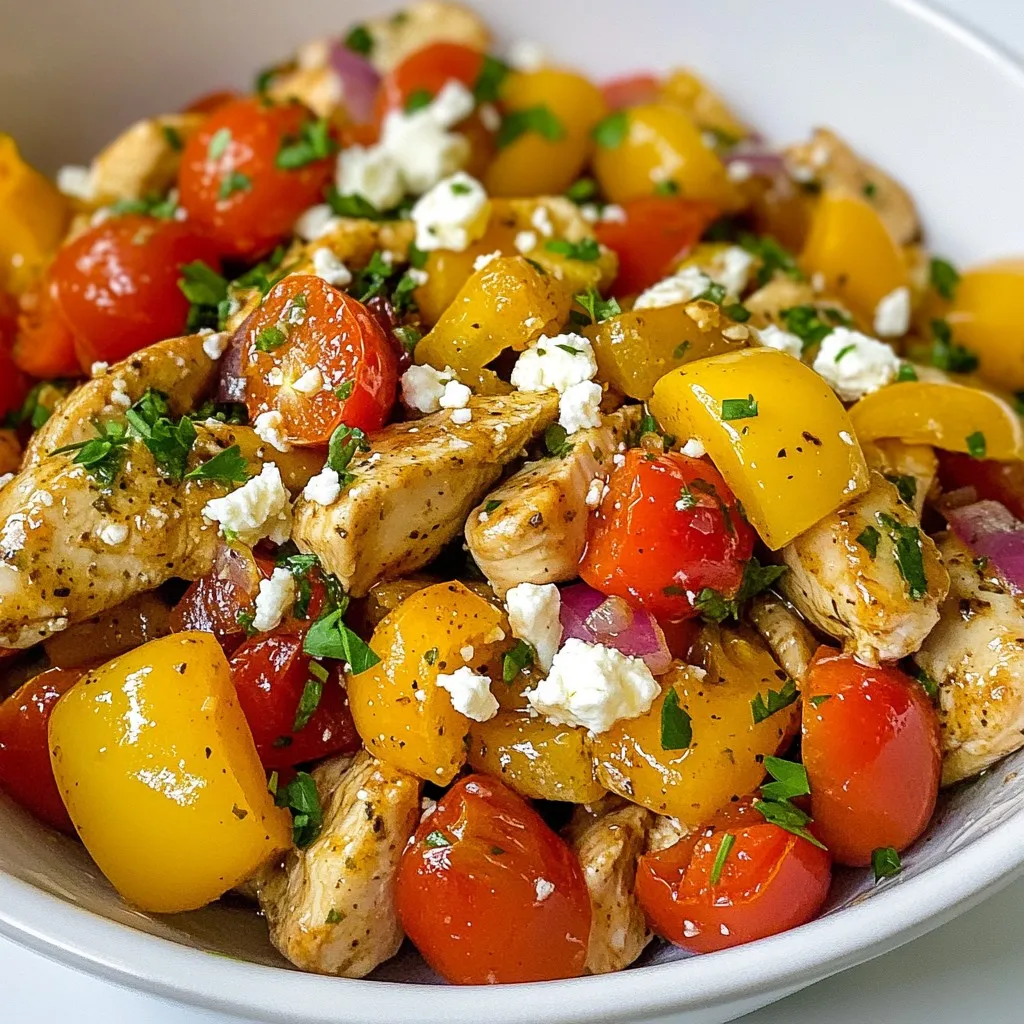
Looking for a quick, healthy meal that bursts with flavor? You’ve come to the right place! In this Mediterranean Chicken Stir Fry, fresh veggies and seasonings bring your chicken to …