Easy Roasted Tomatillo Salsa Flavorful and Simple Dip
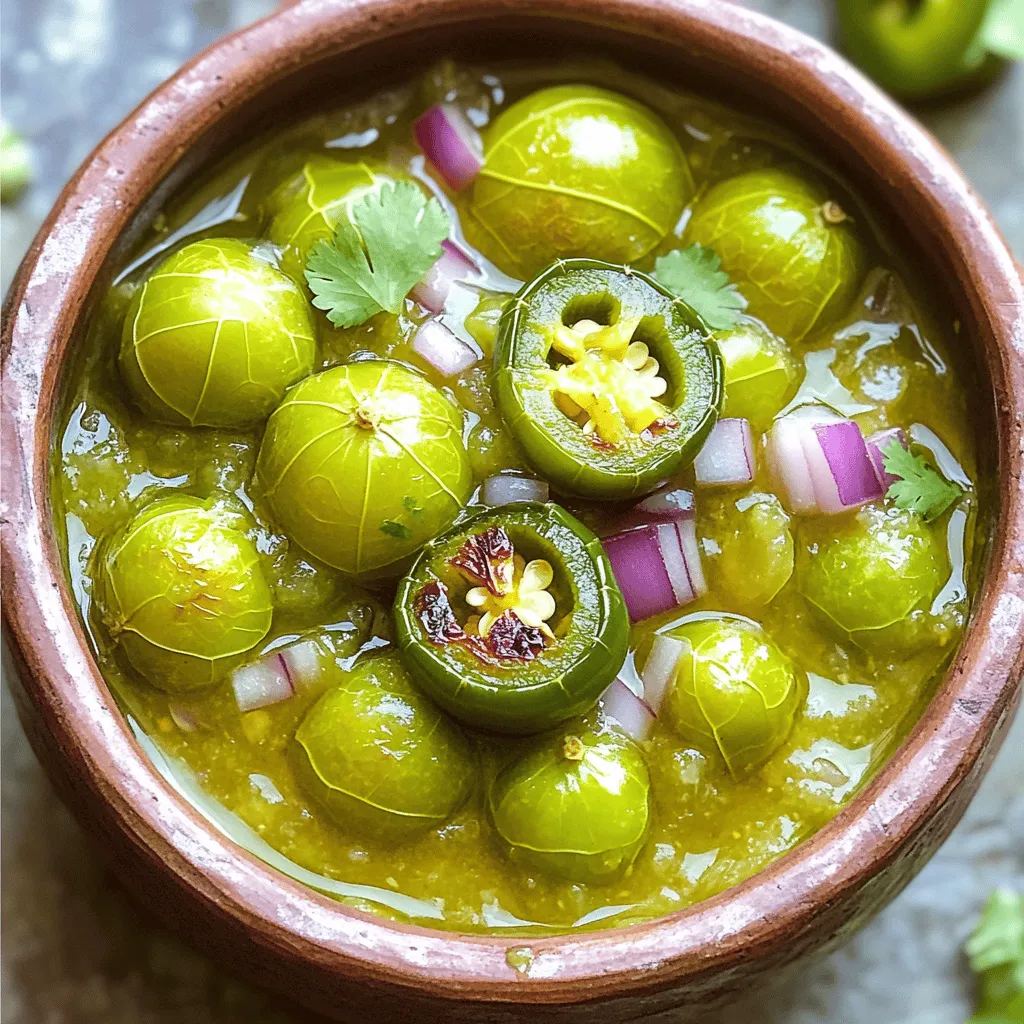
Looking for a tasty dip that’s easy to make? This Easy Roasted Tomatillo Salsa will wow your taste buds! Packed with flavor and simple to prepare, it’s the perfect addition …
Looking for a tasty dip that’s easy to make? This Easy Roasted Tomatillo Salsa will wow your taste buds! Packed with flavor and simple to prepare, it’s the perfect addition …
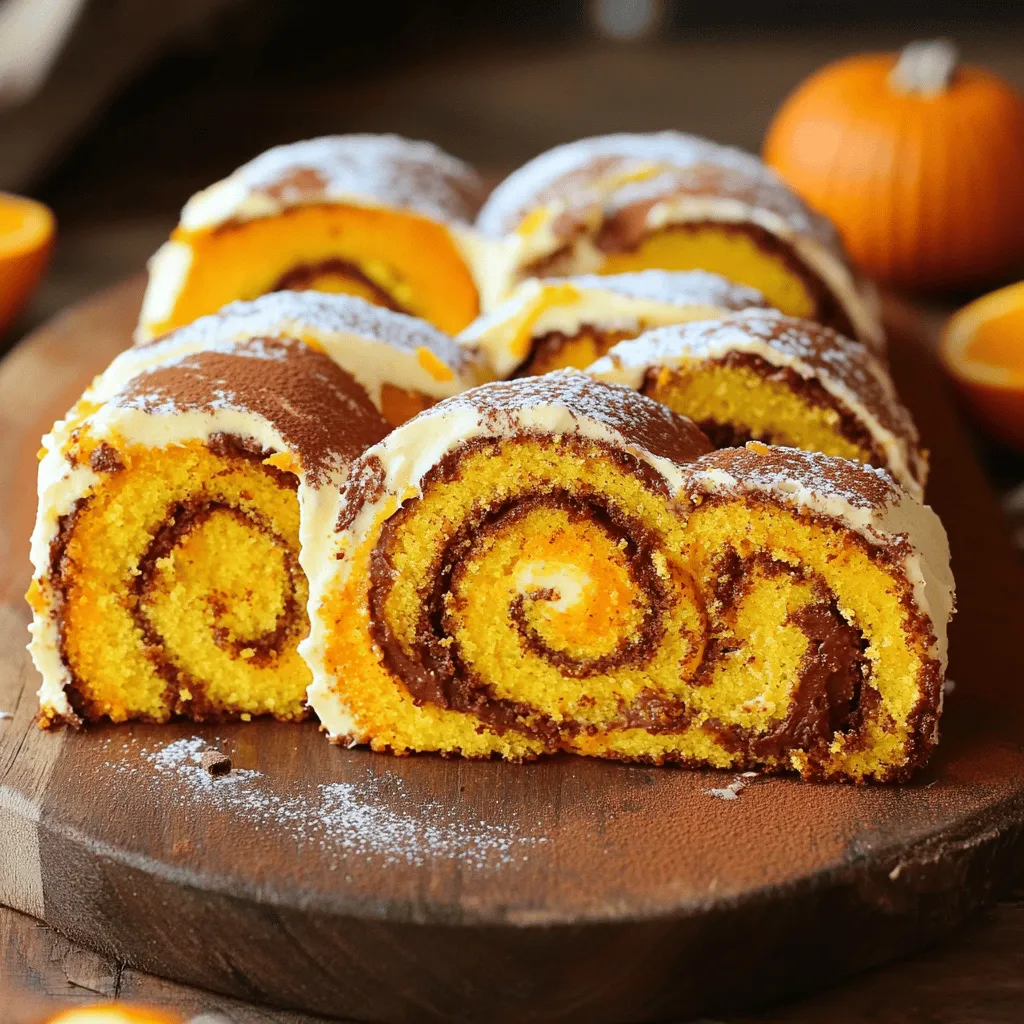
Are you craving a sweet treat that’s both easy to make and delicious? Look no further! This Pumpkin Roll Recipe combines soft, spiced cake with rich cream cheese filling. It’s …
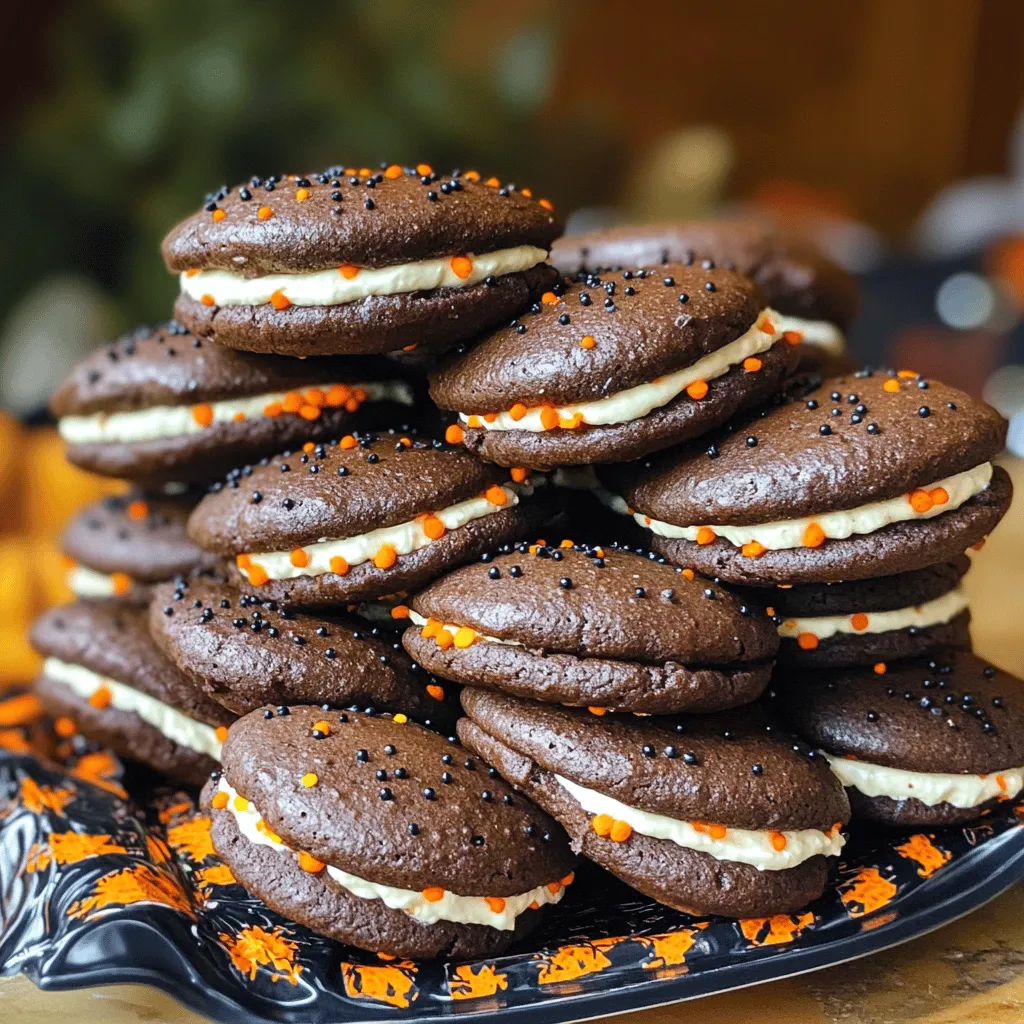
Get ready for a spooky treat that everyone will love—Halloween Whoopie Pies! These soft, cake-like cookies filled with cream cheese make a perfect festive dessert. Whether you’re hosting a party …
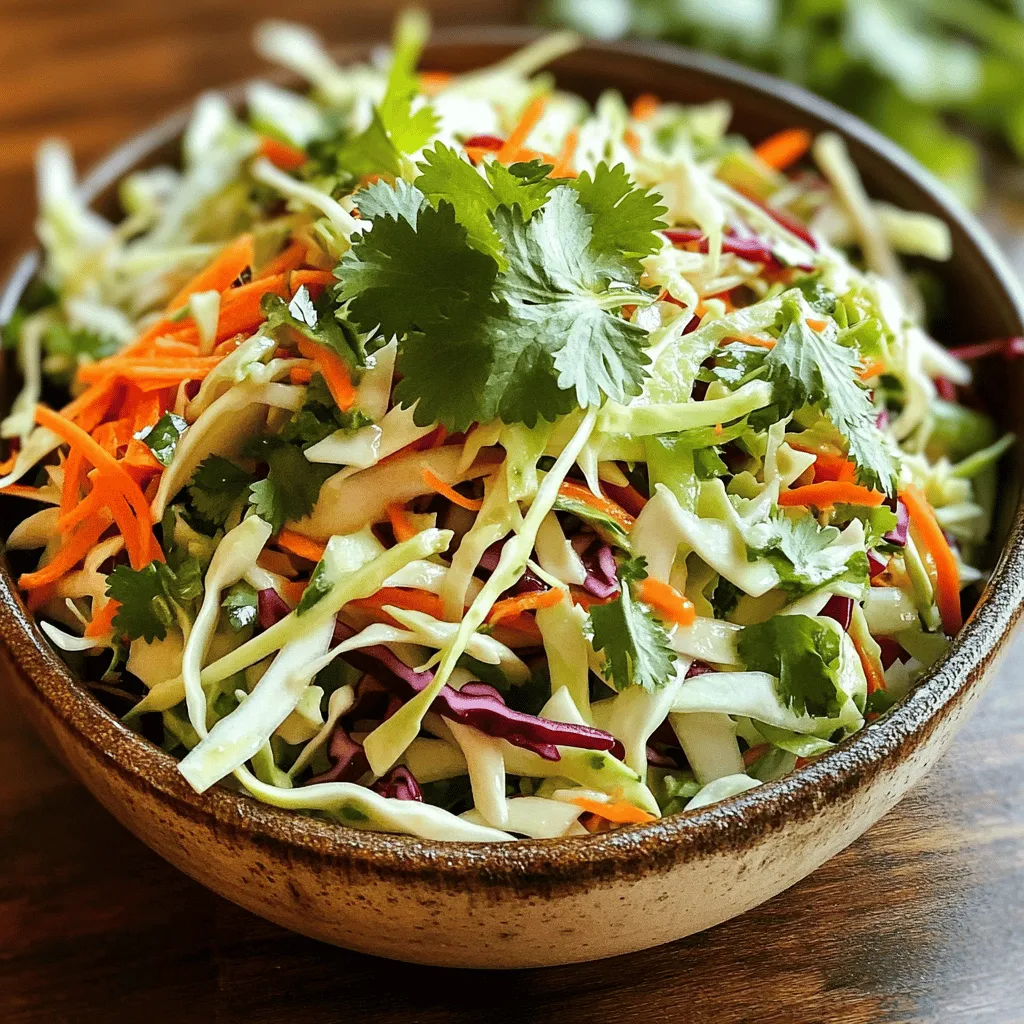
If you’re looking for a crisp and flavorful side dish, you’ve hit the jackpot! My Cilantro Lime Slaw packs a punch with vibrant veggies and a zesty dressing. It’s perfect …
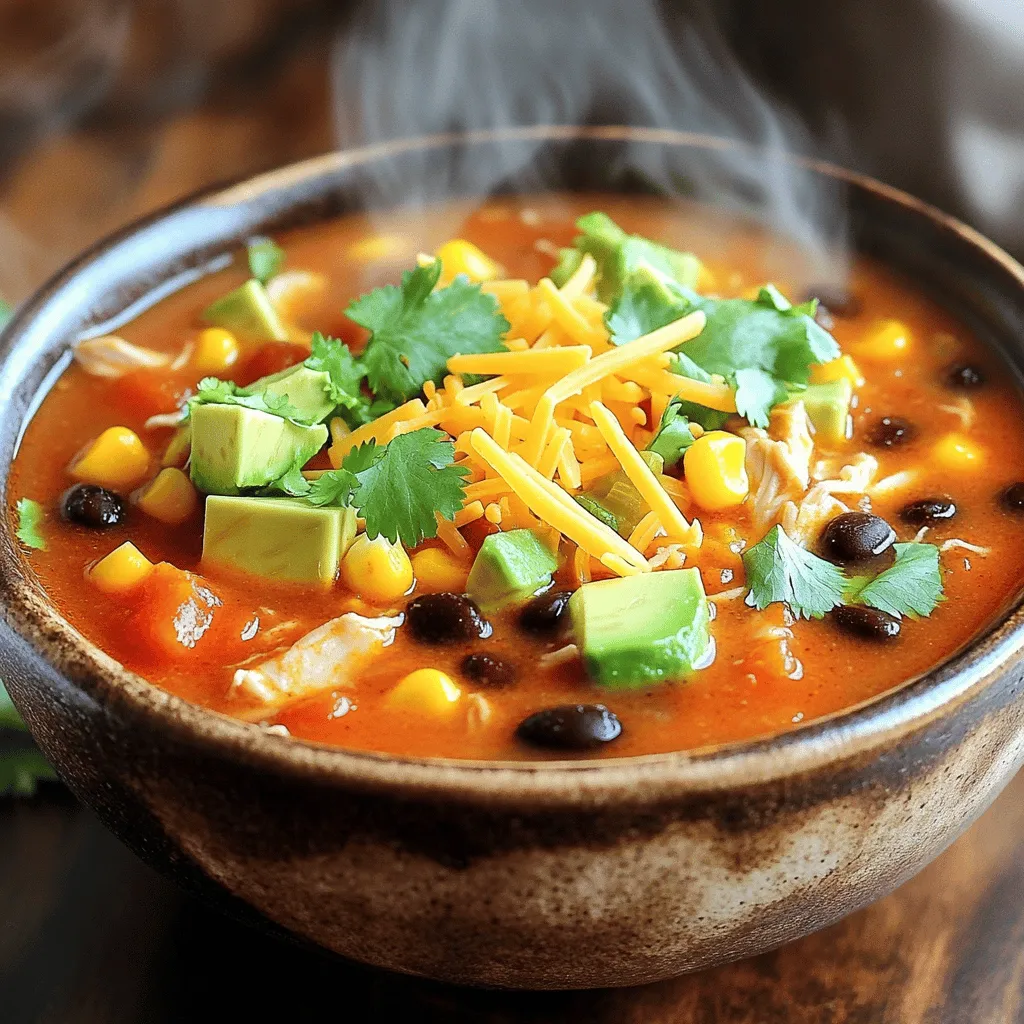
Looking for a cozy meal that’s both easy to make and full of flavor? You’ve come to the right place! This Chicken Enchilada Soup recipe will warm your heart and …
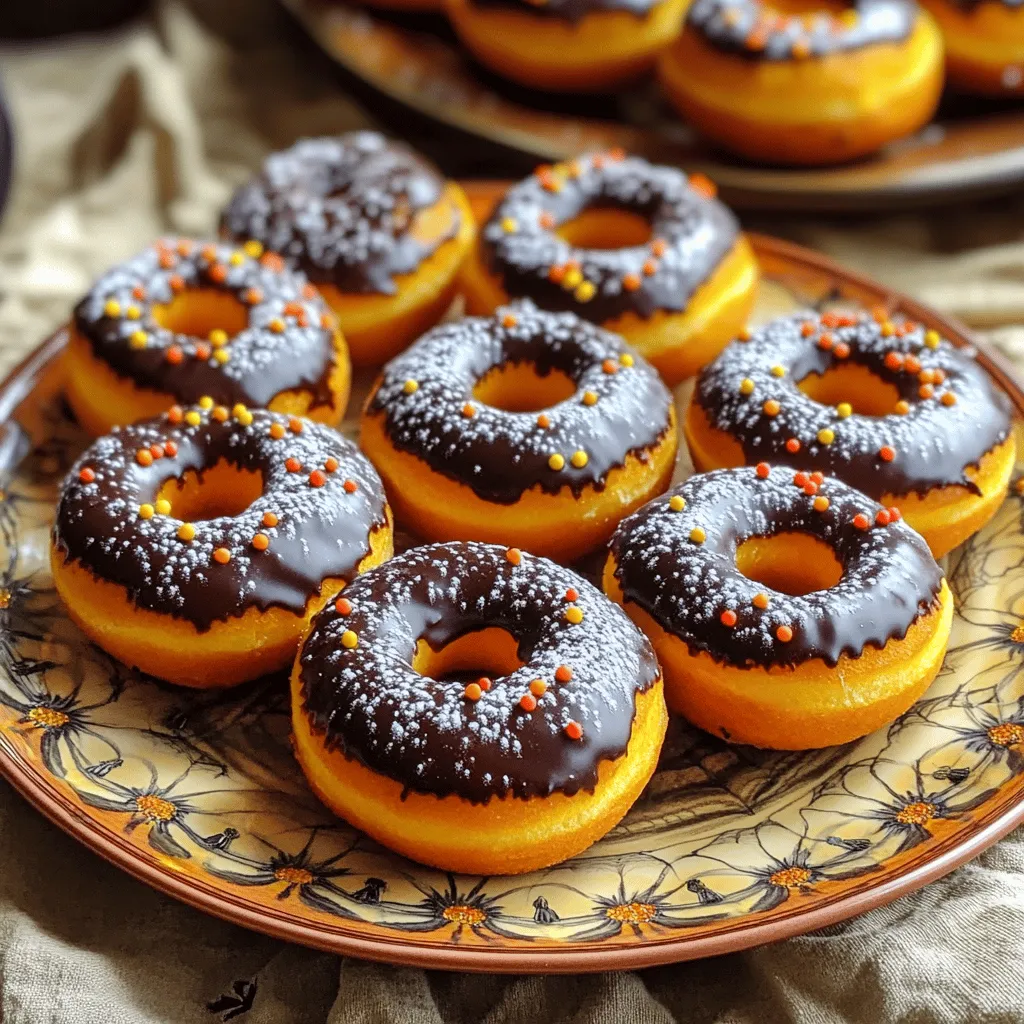
If you’re craving a sweet treat that fits your gluten-free lifestyle, these Gluten-Free Pumpkin Donuts are for you! With cozy spices and pumpkin flavor, they are both simple and delicious. …
![- 1 cup canned pumpkin puree - 1 cup chocolate chip cookie mix - 1 cup mini chocolate chips These three ingredients create a moist and delightful muffin. First, the canned pumpkin puree adds rich flavor and moisture. It also gives the muffins a lovely orange hue. Next, the chocolate chip cookie mix adds sweetness and texture. Lastly, the mini chocolate chips bring bursts of chocolate in every bite. - Nuts or seeds (e.g., walnuts, pecans) - Spices (e.g., cinnamon, nutmeg) Feel free to customize your muffins. Nuts or seeds add crunch and healthy fats. Spices like cinnamon or nutmeg enhance the warm flavors of pumpkin. You can mix in a teaspoon or two of your favorite spice for added depth. - Muffin tin - Mixing bowl - Measuring cups Having the right tools makes baking easier. A muffin tin helps shape the muffins perfectly. A mixing bowl is essential for combining the ingredients. Measuring cups ensure you use the right amount of each ingredient for tasty results. For the full recipe, check out the detailed instructions on how to make these tasty muffins. - Preheat oven to 350°F (175°C). - Prepare the muffin tin by lining it with paper liners or greasing it with cooking spray. - In a large bowl, mix the canned pumpkin puree and chocolate chip cookie mix until smooth. - The mixture will be thick and slightly sticky. - Now, gently fold in the mini chocolate chips. Make sure they are well mixed in. - Fill each muffin cup about 2/3 full with the batter. - This leaves room for the muffins to rise. - Bake in the preheated oven for 18-20 minutes. - To check doneness, insert a toothpick into the center of a muffin. If it comes out clean, they are done. - Let the muffins cool in the tin for about 5 minutes. - After that, transfer them to a wire rack to cool completely. For the full recipe, check the section above. Enjoy your baking! To get the right texture for your muffins, you may need to adjust the mix. If the batter seems too thick, add a bit more pumpkin puree. If it feels too runny, mix in a little extra cookie mix. This balance helps achieve that perfect muffin consistency. When adding chocolate chips, fold them in gently. This ensures they spread evenly throughout the batter, giving every bite a sweet surprise. Start checking your muffins for doneness around 18 minutes. Insert a toothpick into the center of a muffin. If it comes out clean, your muffins are done. Keep an eye on them to avoid overbaking. Overbaked muffins can turn dry, and that’s not what we want! If they bake too long, they lose their soft, moist texture. Presentation adds to the fun of enjoying your muffins. Arrange them on a colorful platter to make them pop. For a lovely touch, sprinkle a few mini chocolate chips on top before serving. A small mint sprig adds a nice splash of green, making your muffins look even more inviting. This small detail can impress your guests and make your table look great! {{image_2}} For those with special diets, I have great news. You can make these muffins gluten-free quite easily. Simply use a gluten-free chocolate chip cookie mix instead of the regular one. This small swap keeps the taste and texture just as good. If you want vegan muffins, you can also adjust the recipe. Choose a plant-based cookie mix. This way, you skip eggs and dairy while still enjoying that rich flavor. You won't miss any taste, I promise! Want to switch things up? Try adding different flavored chips. White chocolate or peanut butter chips can add a tasty twist. Each option gives a new flavor that pairs well with pumpkin. You can also infuse the batter with extracts. A splash of vanilla or almond extract can brighten the taste. Just a little goes a long way. Don't hesitate to experiment! I love adding festive spices for the holidays. A pinch of cinnamon or nutmeg can make your muffins feel like a warm hug. These spices add warmth and cheer, perfect for any celebration. If you're hosting a party, mini muffins are a fun choice. They are cute and easy to share. Just adjust the baking time to 10-12 minutes. Everyone loves these small bites! For the full recipe, check out [Full Recipe]. These muffins taste best fresh. At room temperature, they last about 2 to 3 days. To keep them fresh, store them in an airtight container. You can also wrap them in plastic wrap. This keeps moisture in and prevents them from drying out. If you want to save some for later, freezing works great. Place the muffins in a freezer-safe bag. Make sure to remove as much air as possible. They can last up to 3 months in the freezer. When you're ready to eat, simply take out a muffin. Let it thaw in the fridge overnight. You can also warm it in the microwave for about 15 seconds. To check if your muffins are still good, look for mold or an off smell. If they feel very dry or hard, it’s best to toss them. Always use a clean, dry container for storage. A glass or plastic container with a tight lid works well. This keeps air out and helps your muffins stay fresh longer. Yes, you can make these muffins dairy-free. Look for a dairy-free chocolate chip cookie mix. Brands like Bob’s Red Mill offer great options. You can also use dairy-free chocolate chips. This way, you enjoy the same tasty muffins without dairy. These muffins pair well with many drinks. A warm cup of coffee complements their sweet taste. You can also serve them with tea for a cozy treat. Spread some cream cheese on top for a creamy twist. Each of these options will enhance your muffin experience. The recipe yields 12 muffins. Each muffin is a perfect portion. They are great for breakfast or a snack. You can even share them with friends! Enjoy these tasty treats anytime. Find the full recipe to get started. In this article, we explored a simple recipe for chocolate chip pumpkin muffins. We covered the main ingredients, optional add-ins, and how to prep and bake the muffins. I shared tips for perfecting texture and presentation, plus variations and storage ideas. These muffins are perfect for all seasons and easy to adapt. Enjoy your baking adventure! You're sure to impress with these tasty treats.](https://tossedrecipes.com/wp-content/uploads/2025/08/13ca0700-4eea-45ba-9899-24bd006c2216.webp)
Are you craving a sweet, fall-inspired treat that’s easy to make? Look no further! My 3-Ingredient Chocolate Chip Pumpkin Muffins are here to please your taste buds. With just canned …
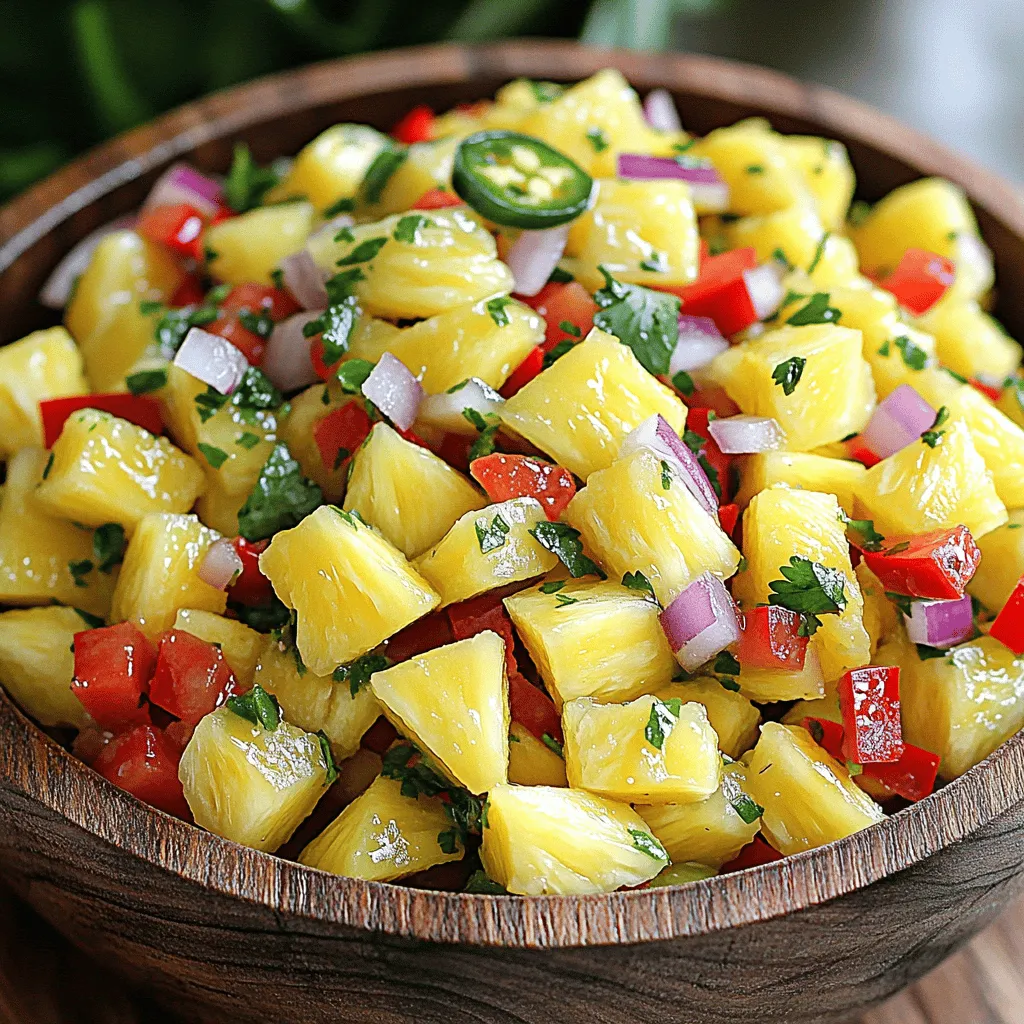
Are you ready to brighten up your meals? My Easy Pineapple Salsa is fresh and packed with flavor! This salsa is simple to make and will impress your guests at …
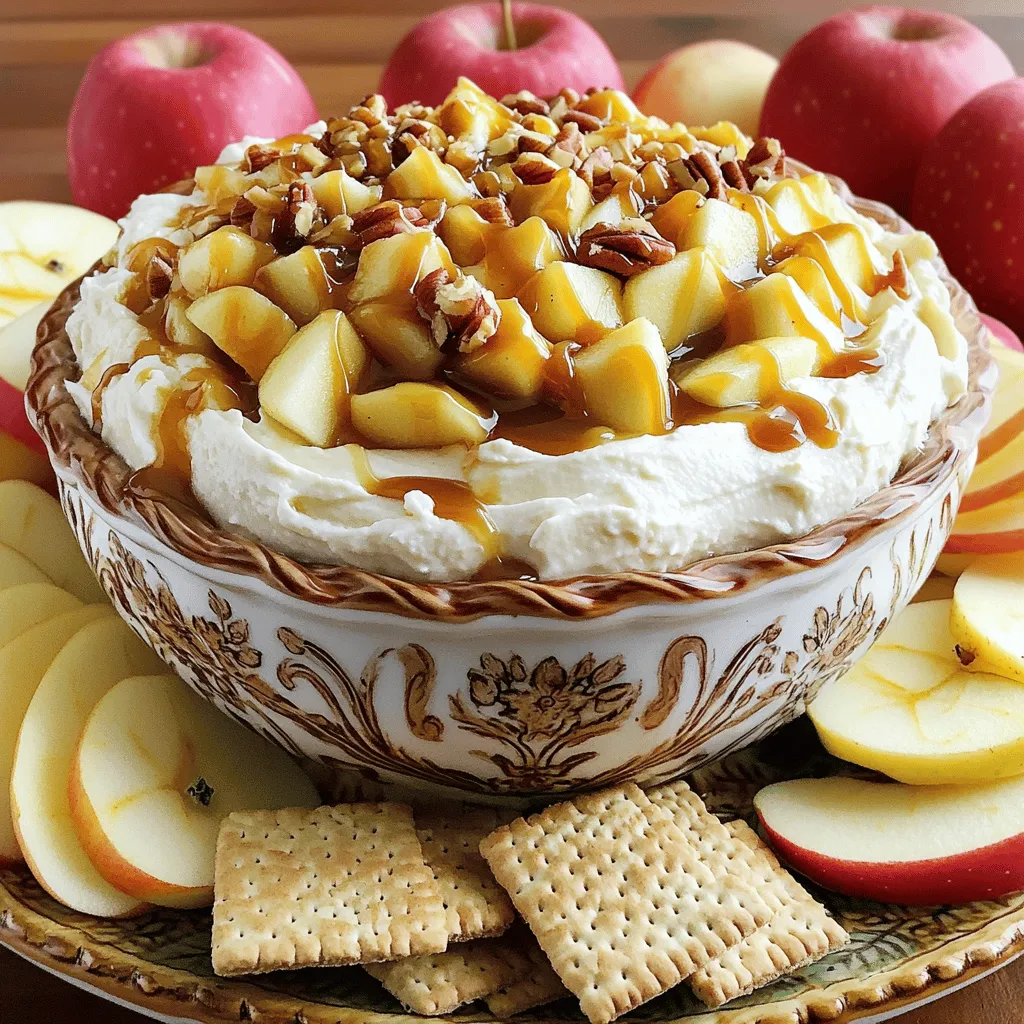
Looking for a quick and tasty treat? Try my Easy Caramel Apple Cheesecake Dip! This delightful snack mixes smooth cream cheese, sweet caramel, and crunchy apples. It’s perfect for parties …
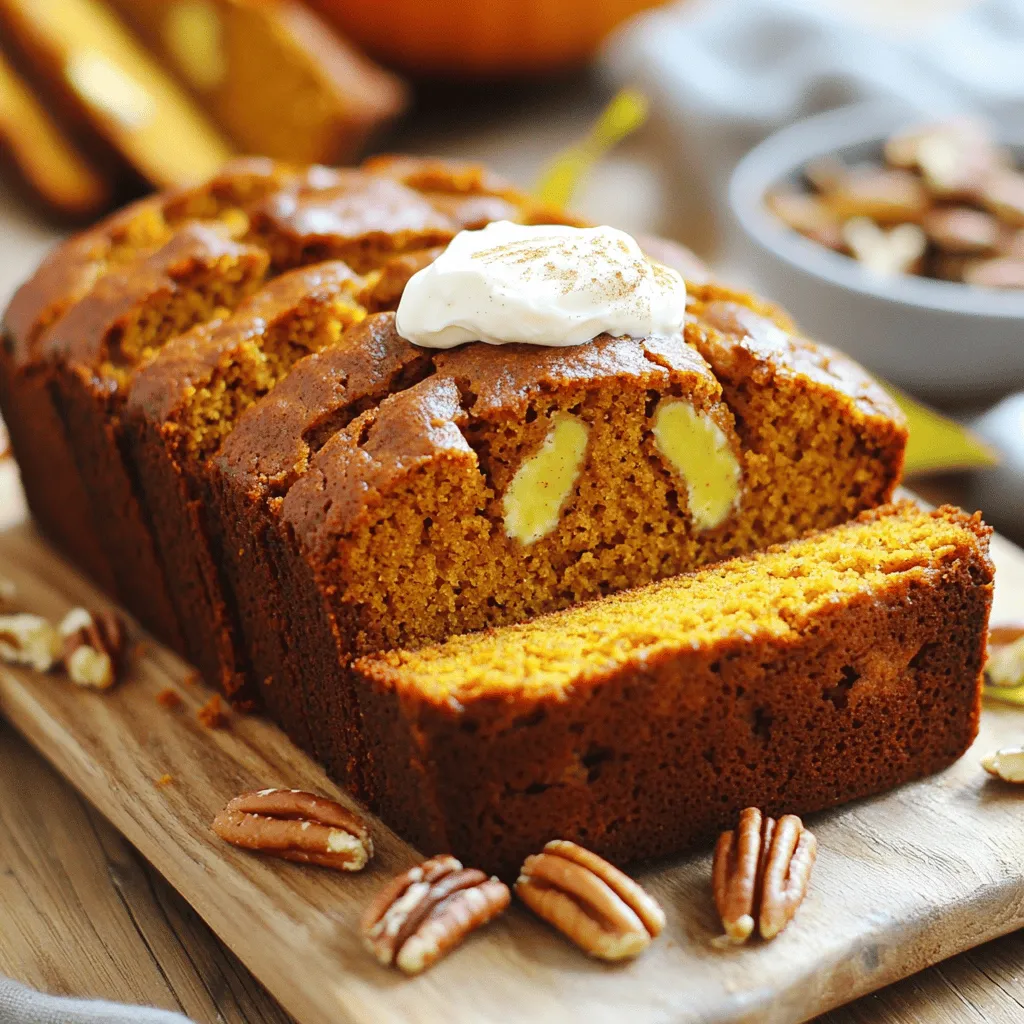
Are you ready to bake the perfect pumpkin bread? This simple and tasty recipe ensures that your pumpkin bread comes out perfectly moist every time. With easy steps, basic ingredients, …