Coconut Curry Chickpea Soup Flavorful One-Pot Meal
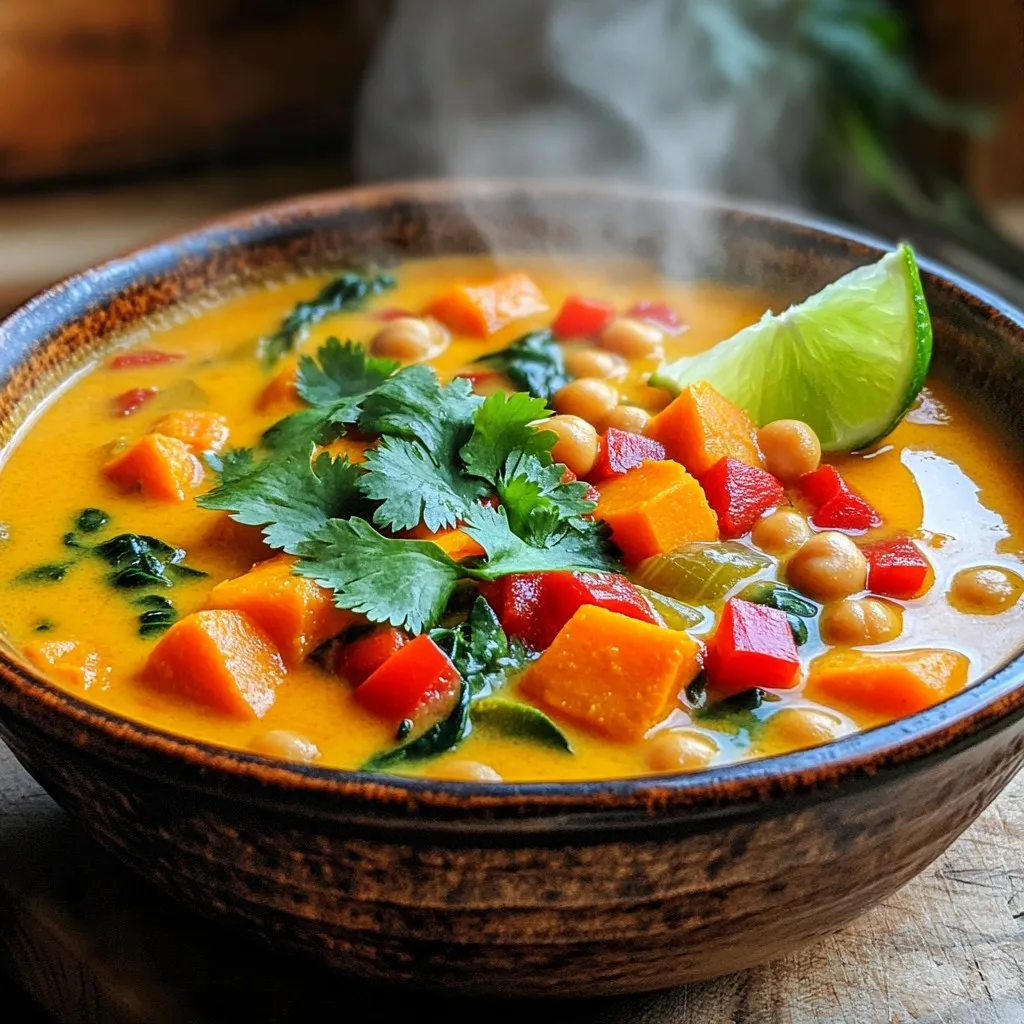
If you’re craving a warm, tasty meal that’s easy to make, you’ll love this Coconut Curry Chickpea Soup. It’s a one-pot wonder that bursts with flavor, and it’s packed with …
If you’re craving a warm, tasty meal that’s easy to make, you’ll love this Coconut Curry Chickpea Soup. It’s a one-pot wonder that bursts with flavor, and it’s packed with …

Are you craving something warm and sweet? Let’s make a Moist Banana Chocolate Chip Mug Cake! This easy recipe uses ripe bananas and gooey chocolate chips for a quick treat. …
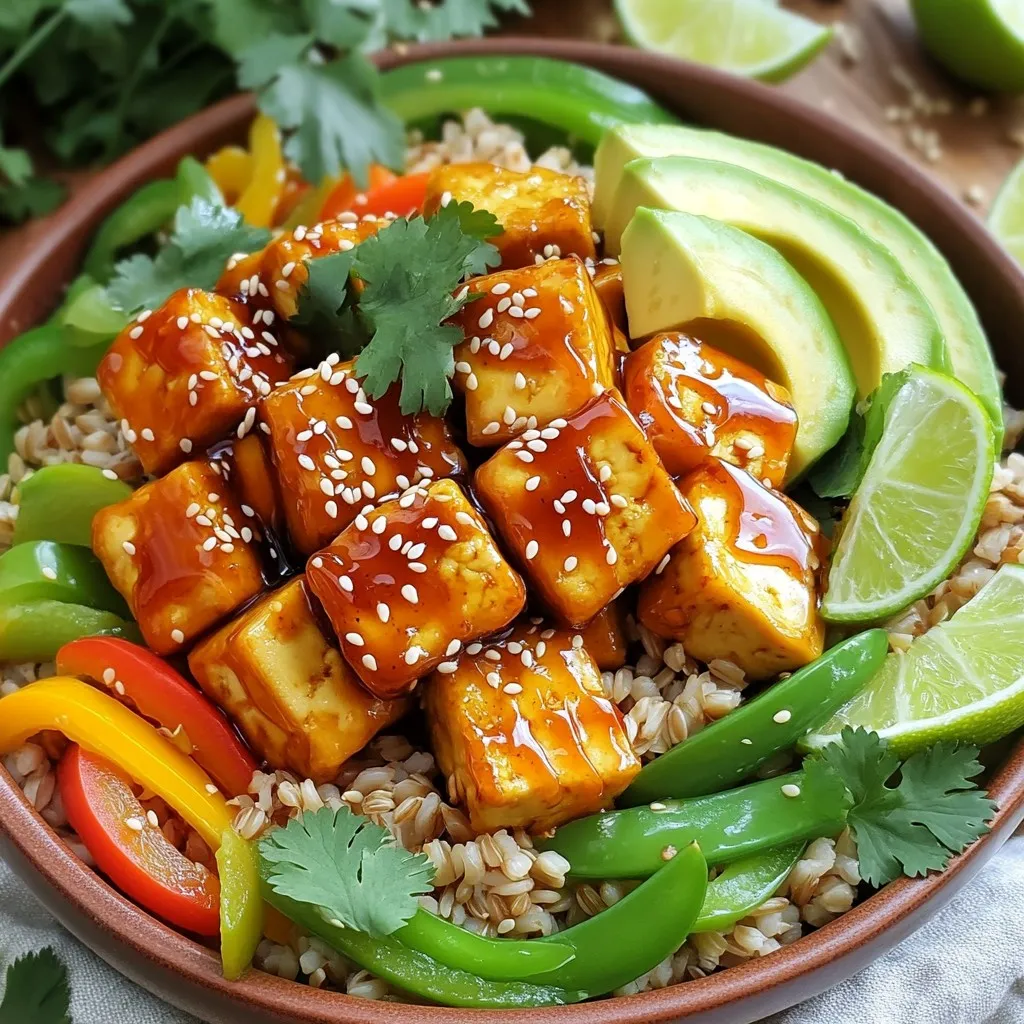
If you’re craving a meal that’s both quick and packed with flavor, you’re in the right place! My Minute Honey Sriracha Tofu Bowls are easy to make and sure to …
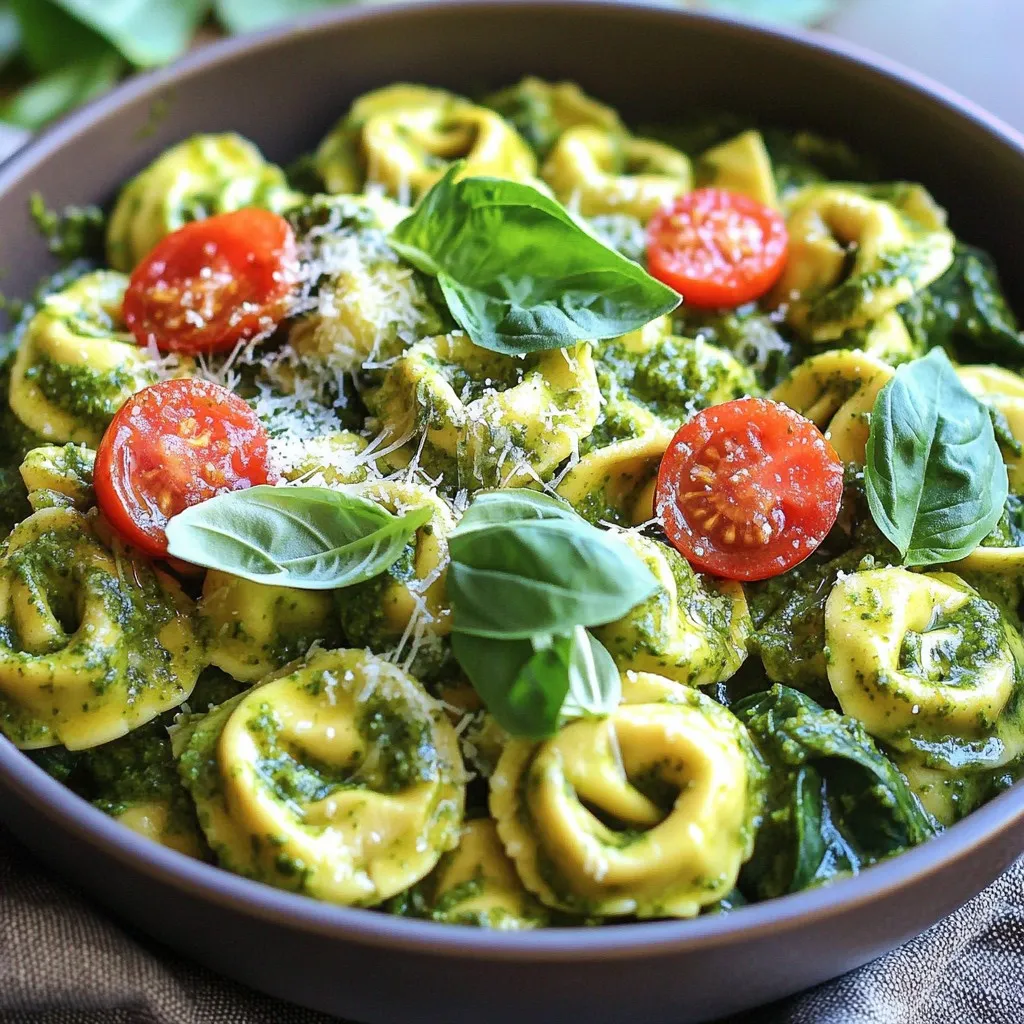
Looking for a quick, tasty meal that requires minimal clean-up? You’re in the right place! This One-Pot Creamy Pesto Tortellini is your new go-to dish. With simple ingredients and easy …
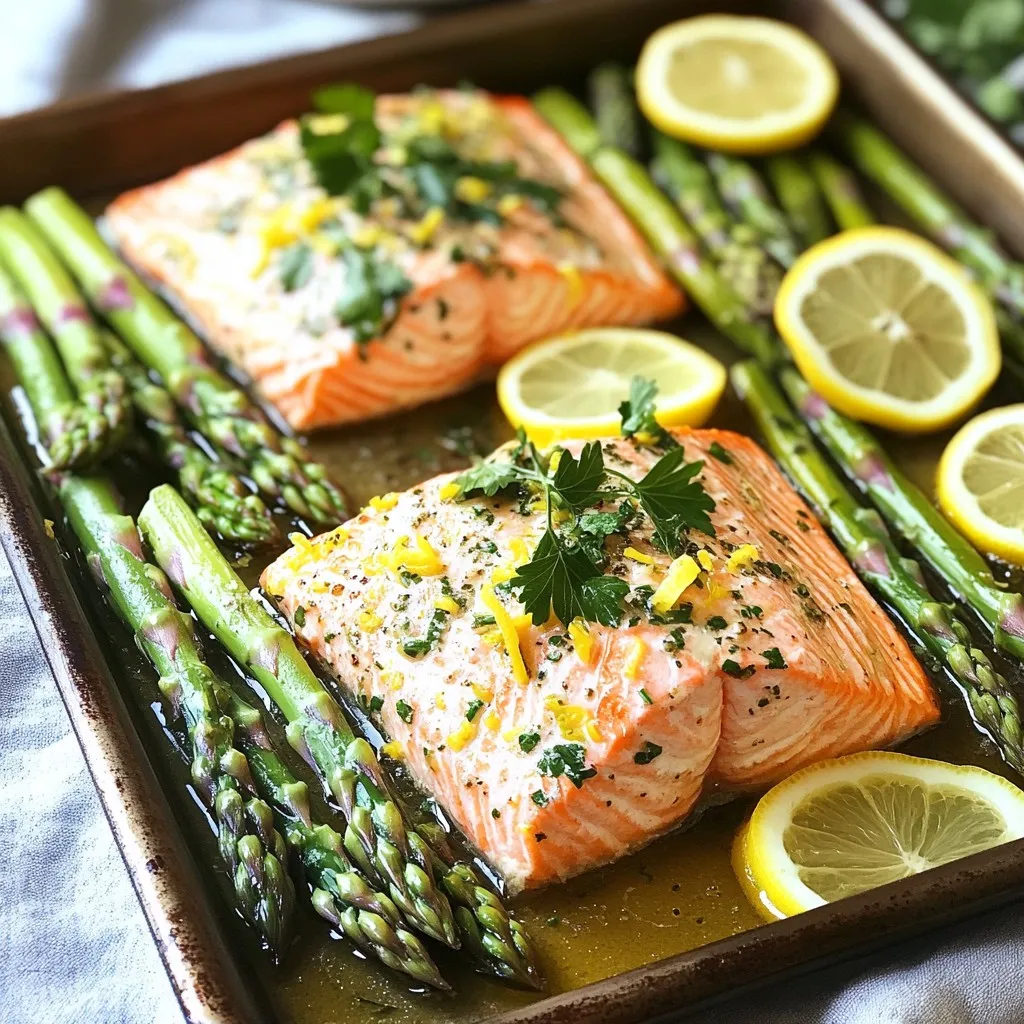
Looking for a quick and tasty dinner? Try my Sheet-Pan Lemon Herb Salmon & Asparagus Delight! This easy recipe packs fresh flavors, using just a few ingredients. In under 30 …

Looking for a tasty snack that’s quick to make? You’ll love these Air Fryer Orange Chicken Bites! They are crispy, sweet, and packed with flavor. This easy recipe uses simple …

Imagine sinking your spoon into a warm, sweet Classic Baked Apple Crumble. This dessert is the perfect mix of soft apples and crunchy topping. In this post, I’ll share my …

Looking for a quick yet delicious dinner idea? This Creamy Tuscan Shrimp Skillet is your answer! With juicy shrimp, fresh spinach, and a rich, creamy sauce, you’ll crave every bite. …

If you crave a delicious pasta dish that’s simple to make, you’ve come to the right place! Bruschetta Chicken Pasta bursts with fresh flavors and is perfect for any night …

Looking for a quick and tasty dinner? Let’s explore Chicken and Broccoli Orzo! This dish packs flavor and is easy to make. I’ll show you the key ingredients, clever tips, …