Delicious One Pan Balsamic Chicken and Veggies Meal
. To get the best flavor in this dish, use fresh herbs. Fresh basil adds a bright taste. Also, let the chicken marinate for at least 15 minutes. This time allows the flavors to seep in. Use a good quality balsamic vinegar. It enhances the sweet and tangy notes in the dish. You can even try different vinegars for a unique twist. To ensure your chicken is juicy, do not overcook it. Bake it until it reaches 165°F (75°C). Use a meat thermometer for accuracy. If you can, let the chicken rest for a few minutes after baking. This helps keep the juices locked inside. Always cut against the grain for the best texture when serving. Presentation matters! Arrange the veggies and chicken nicely on a plate. Use fresh basil leaves to add a pop of color. You can drizzle extra balsamic glaze on top for flair. Serve with a side of rice or crusty bread. This adds charm and makes the meal look inviting. When you plate it well, it makes the meal even more enjoyable. For the full recipe, be sure to check the details provided earlier. {{image_2}} You can use many veggies in this dish. Try carrots for a sweet crunch. Broccoli adds great color and flavor. Cauliflower works well too, soaking up the balsamic taste. Don't forget about asparagus; it brings a nice snap. Feel free to mix and match your favorites! If you want to switch the chicken, use turkey thighs instead. They cook similarly and taste great. You can also try shrimp for a lighter meal. Just adjust the cooking time to avoid overcooking. For a vegetarian option, use firm tofu. It absorbs the flavors well and gives a nice texture. Add fresh herbs for a flavor boost. Thyme or rosemary can make a big difference. You might also try a splash of lemon juice for brightness. If you like a kick, add red pepper flakes. For a sweet twist, drizzle honey or maple syrup over the veggies before baking. Each change can create a new dish! For the full recipe, check out the delicious one pan balsamic chicken and veggies. After enjoying your one pan balsamic chicken and veggies, store any leftovers in an airtight container. Make sure the chicken and veggies are cool before sealing. This helps keep them fresh. You can keep the leftovers in the fridge for up to three days. Label the container with the date for easy tracking. When you’re ready to eat the leftovers, there are a few ways to reheat them. The best way is to use the oven. Preheat it to 350°F (175°C) and place the chicken and veggies in an oven-safe dish. Heat for about 15-20 minutes or until warm. You can also use a microwave. Just place the food in a microwave-safe bowl and heat in 30-second intervals. Stir between each interval to ensure even heating. If you want to save the dish for later, freezing is a great option. Allow the chicken and veggies to cool completely. Then, place them in a freezer-safe container or bag. Remove as much air as possible to prevent freezer burn. You can freeze the dish for up to three months. When you're ready to enjoy it, thaw it in the fridge overnight before reheating. For the full recipe, check out the detailed steps to create this delicious meal! You can swap out the veggies in this recipe. Use what you have on hand. Broccoli, carrots, or asparagus work well. Just cut them into even pieces. This way, they cook at the same time as the chicken. Don't forget to adjust the cooking time if needed. The best way is to use a meat thermometer. Insert it into the thickest part of the chicken. It should read 165°F (75°C). If you don't have a thermometer, check if the juices run clear. If the juices are pink, the chicken is not done. Yes, you can prep this dish ahead. Marinate the chicken up to one day in advance. Keep it in the fridge until you are ready to cook. If you want to bake it later, store the veggies and chicken separately. This dish pairs well with rice or quinoa. You can also serve it with crusty bread. A fresh salad on the side adds a nice crunch. For a heartier meal, try mashed potatoes or couscous. The flavors of the chicken complement these sides perfectly. For the full recipe, refer to the earlier section. Balsamic chicken is simple and tasty, with many ways to make it your own. We covered key ingredients, step-by-step cooking, and helpful tips. Consider swapping veggies or proteins for variety. This dish is easy to store and reheat too. You can impress friends and family with your cooking skills. Enjoy your flavorful meal, and don’t hesitate to experiment. Your kitchen is a place for fun and creativity!](https://tossedrecipes.com/wp-content/uploads/2025/07/02d3411d-c055-492e-968c-37ab4a90b4e6.webp)
Are you ready to transform your dinner routine? This one pan balsamic chicken and veggies meal is quick, tasty, and hassle-free. With just a few simple ingredients, you can whip …
Are you ready to transform your dinner routine? This one pan balsamic chicken and veggies meal is quick, tasty, and hassle-free. With just a few simple ingredients, you can whip …
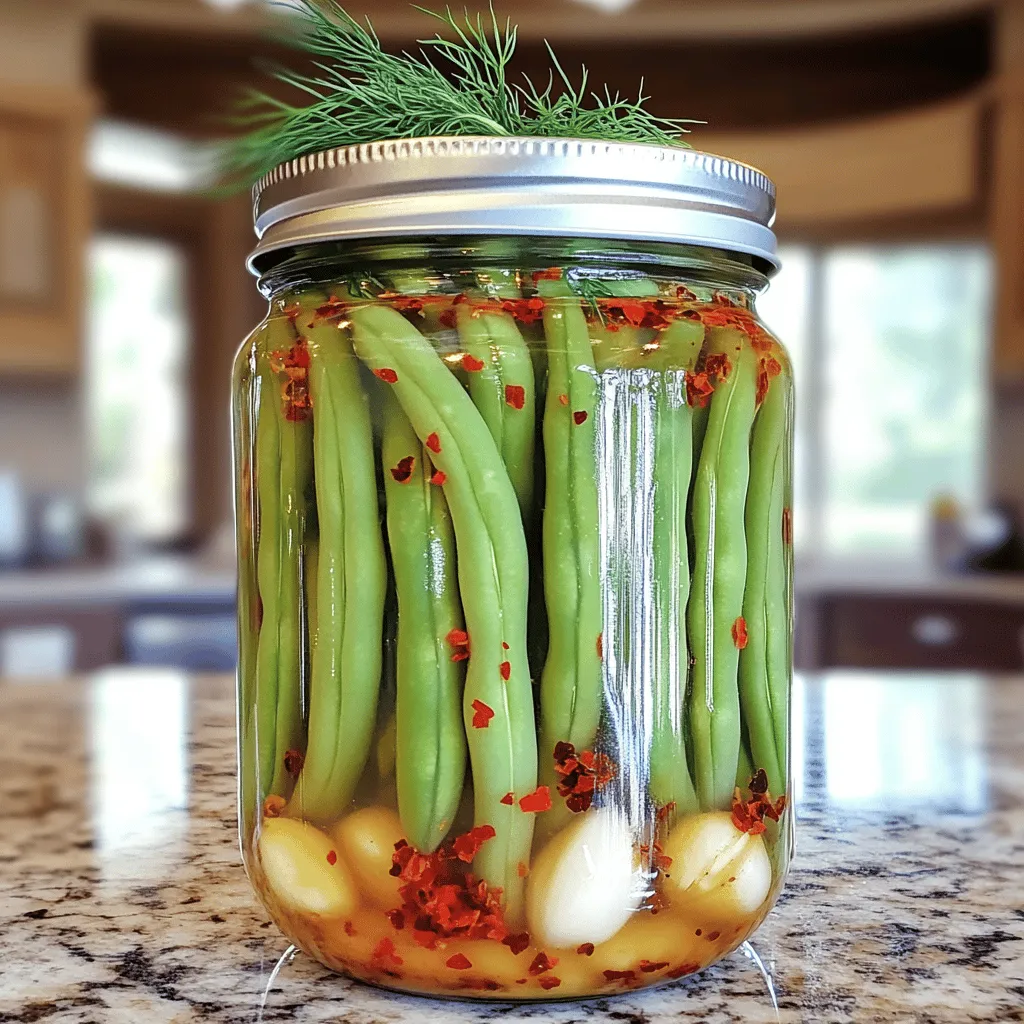
Are you ready to spice up your snack game? Spicy Dilly Beans are not just crunchy; they burst with flavor in every bite. In this post, I’ll share the simple …

If you think chocolate cake can’t be healthy, think again! My Tender Chocolate Zucchini Cake is rich, moist, and easy to make. With shredded zucchini tucked inside, it adds moisture …
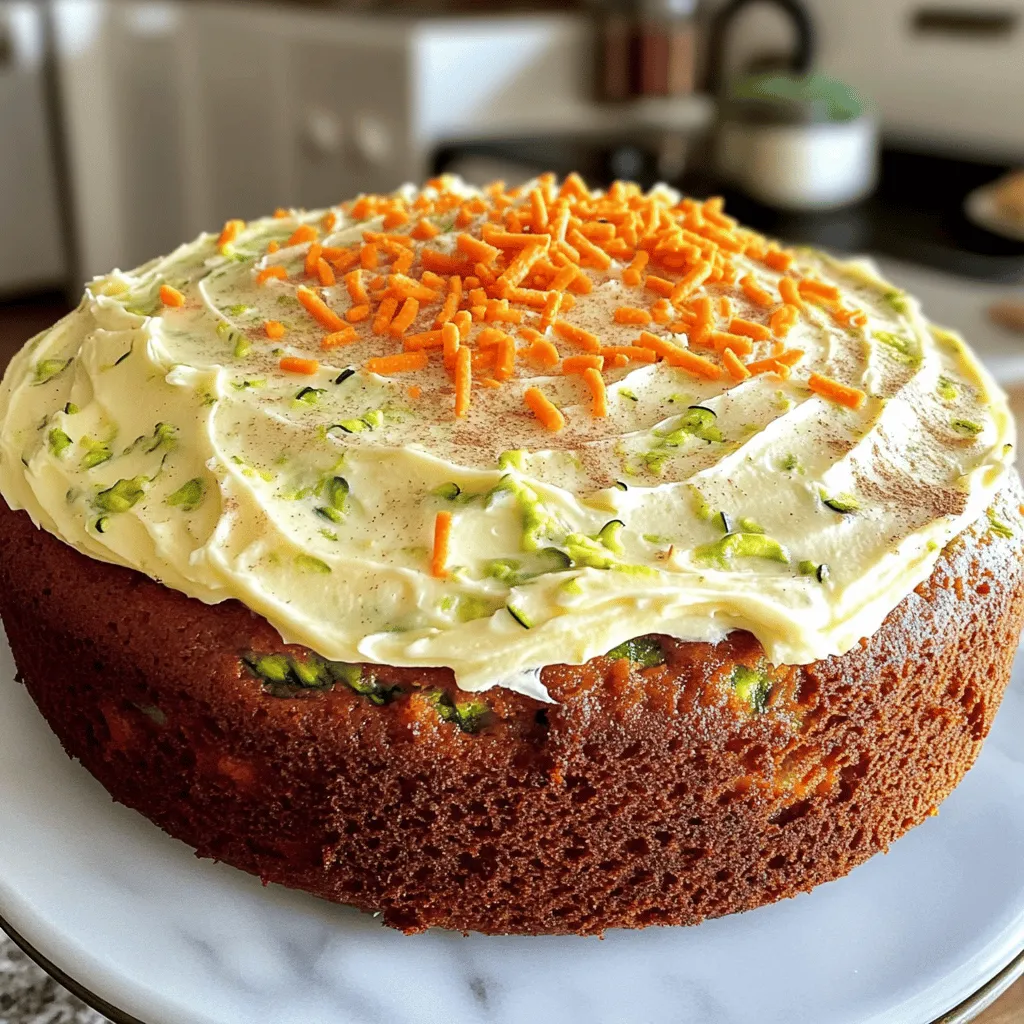
Are you ready to bake the perfect Zucchini Carrot Cake? This simple and delicious recipe combines fresh veggies with sweet flavors. You’ll love how easy it is to make, and …

If you love moist cakes packed with flavor, you’ll adore my Moist Brown Sugar Zucchini Cake. This simple recipe transforms zucchini into a sweet treat that’s perfect for any occasion. …

Get ready to indulge in the sweet goodness of Neapolitan Cupcakes! This delightful treat blends rich chocolate, fresh strawberry, and creamy vanilla flavors into each bite. I’ll guide you through …

Are you ready to indulge in a treat that’s both creamy and tangy? My Perfect Creamy Raspberry Cheesecake Delight recipe is here to satisfy your sweet cravings. This dessert is …
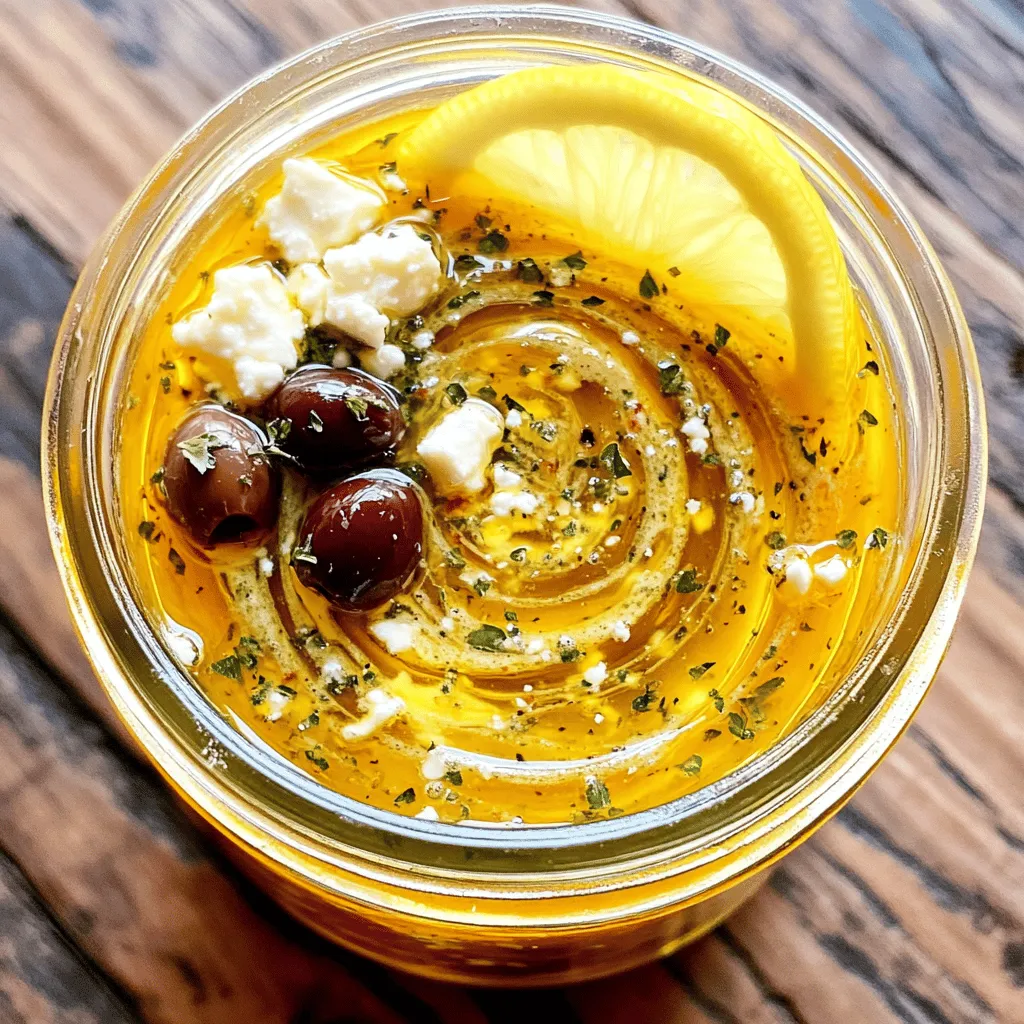
Are you ready to take your salads to the next level? This Homemade Greek Vinaigrette Salad Dressing recipe is quick, easy, and burst with flavor! With just a few simple …
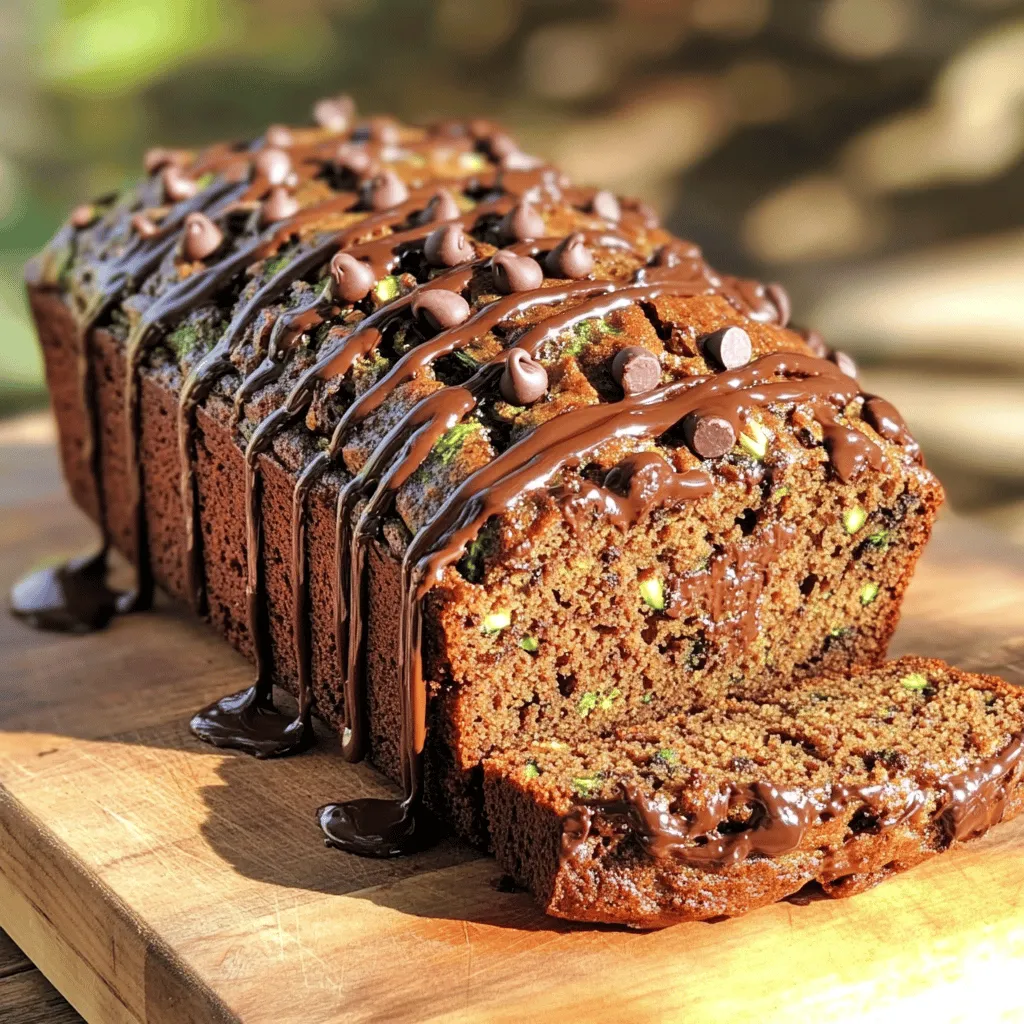
Are you ready to elevate your baking game with a treat everyone will love? My Rich Chocolate Chip Zucchini Bread is a perfect blend of sweet and savory, making it …

When the chill sets in, nothing warms you up like a bowl of Cheddar Garlic Herb Potato Soup. This creamy delight combines the rich flavors of cheddar cheese and herbs …