Chocolate Chip Banana Oat Blender Muffins Delight
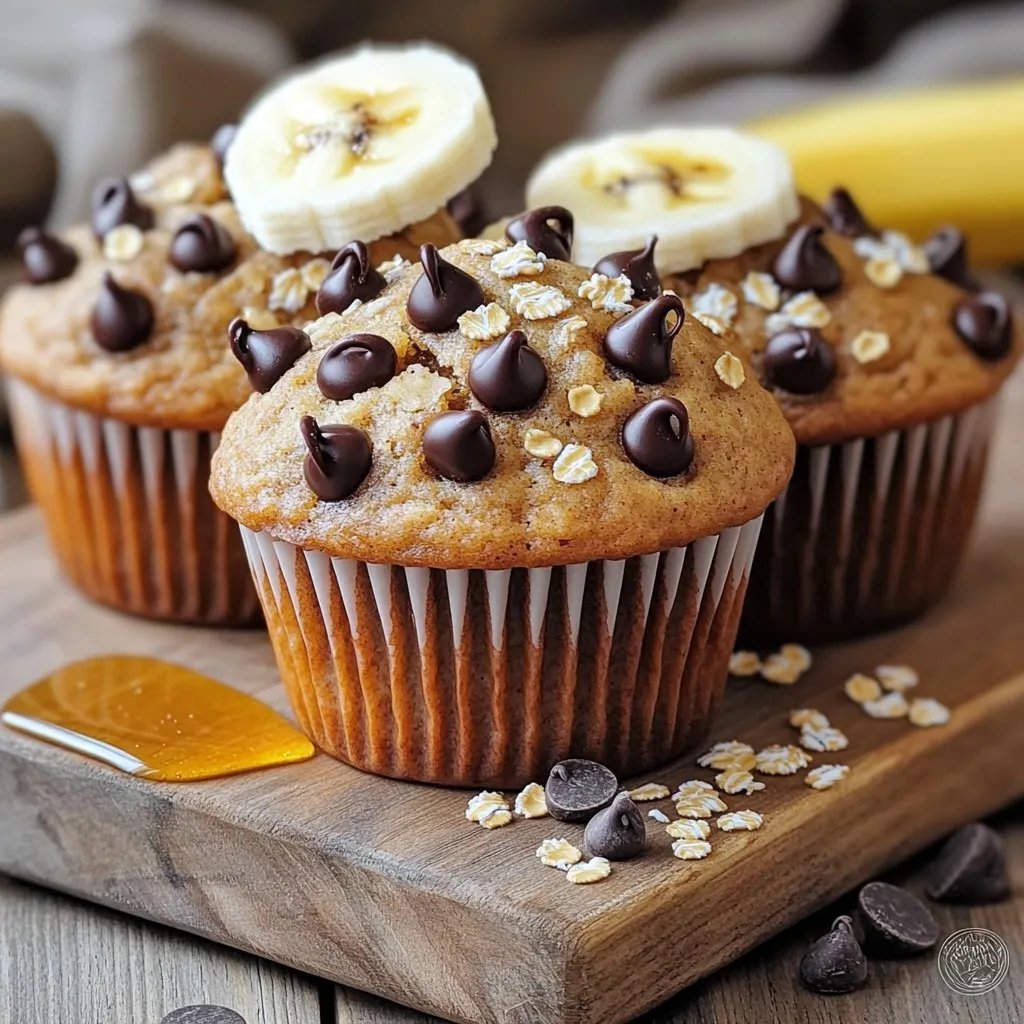
Are you ready to whip up a tasty treat? These Chocolate Chip Banana Oat Blender Muffins are simple, healthy, and oh-so-delicious! I’ll guide you through each step, from gathering ingredients …