Super Moist Chocolate Zucchini Bread Simple Recipe
. Yes, you can use frozen zucchini. Just make sure to thaw and drain it first. This helps remove extra moisture. I often freeze zucchini when I have too much. It works great in this recipe. Just remember to squeeze out the water. This keeps your bread from getting too soggy. The bread stays fresh for about 3 to 4 days at room temperature. Store it in an airtight container. If you want it to last longer, put it in the fridge. It can last up to a week there. For even longer storage, freeze it. Wrap it tightly in plastic wrap, then put it in a freezer bag. It can last up to 3 months in the freezer. You can serve it with a scoop of ice cream for a treat. A dollop of whipped cream on top makes it fancy. It also pairs well with coffee or tea. For breakfast, try serving it with yogurt or fresh fruit. You can even spread some nut butter for extra flavor. Enjoy your delicious slices with all these fun options! For the full recipe, check out the Super Moist Chocolate Zucchini Bread. This guide covered the key ingredients and steps to make delicious chocolate zucchini bread. You learned about ingredient quality, common substitutes, and tips for great moisture and flavor. We explored fun variations, from adding nuts to making vegan options. Plus, storage tips help keep your bread fresh. Remember, with these tricks, your baking will shine. Enjoy your journey and keep experimenting in the kitchen!](https://tossedrecipes.com/wp-content/uploads/2025/07/0af22aeb-af79-45ab-ab56-3261245c6a10.webp)
If you’re craving a delicious dessert that’s both rich and healthy, you’ve come to the right place! Today, I’ll share my simple recipe for Super Moist Chocolate Zucchini Bread. This …
If you’re craving a delicious dessert that’s both rich and healthy, you’ve come to the right place! Today, I’ll share my simple recipe for Super Moist Chocolate Zucchini Bread. This …
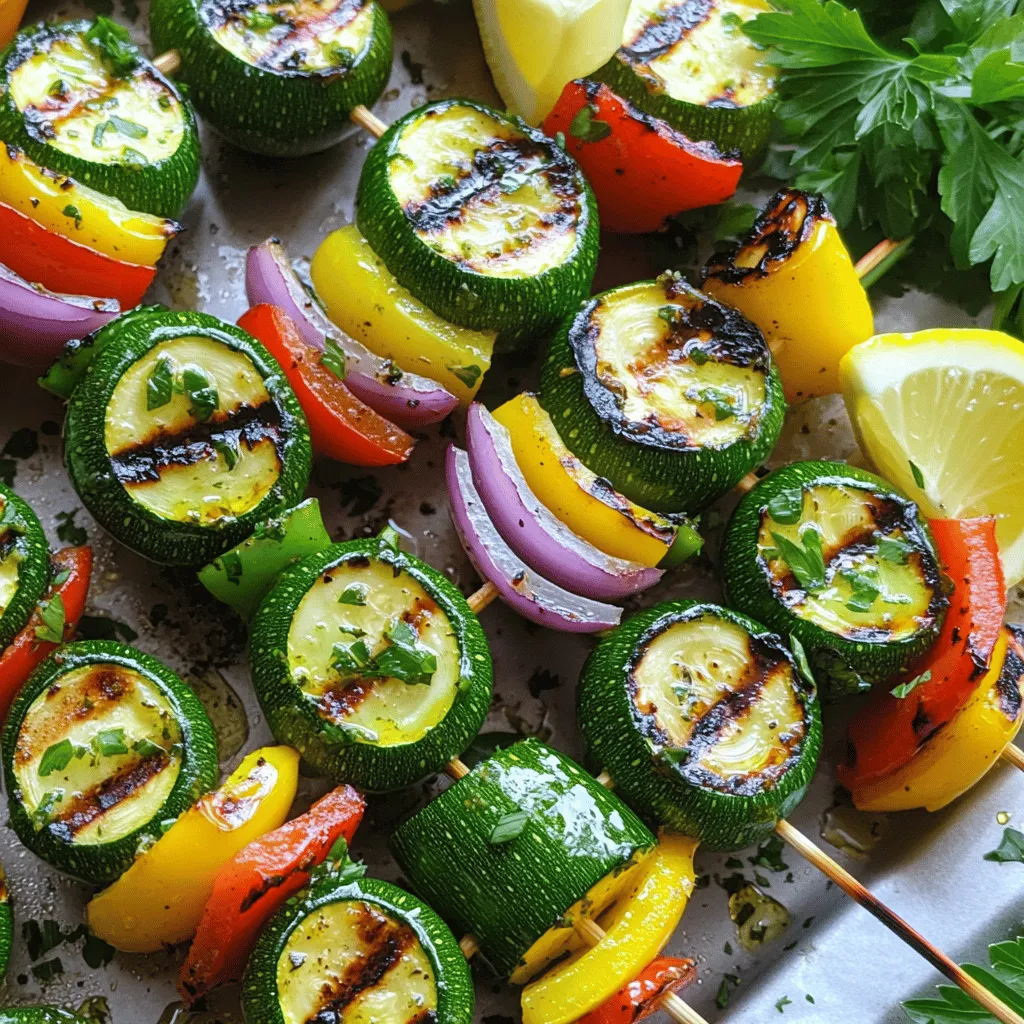
Looking for a burst of fresh flavor this summer? I’ve got the perfect easy zucchini dish for you! This zesty grilled zucchini skewers recipe is simple, tasty, and brightens any …

Are you looking for a simple and tasty dish that impresses? Look no further than this Cottage Cheese Zucchini Quiche! Packed with fresh flavors and creamy textures, it’s a breeze …
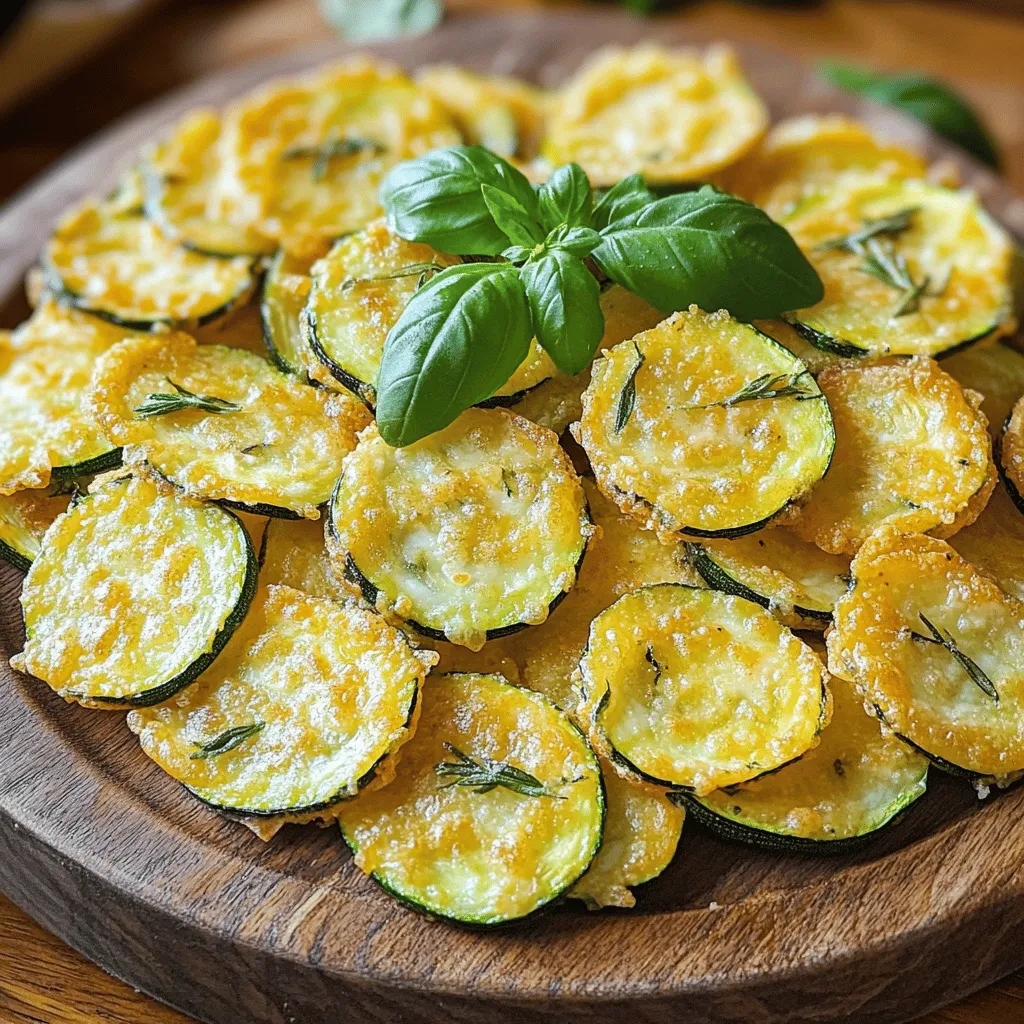
Looking for a delicious way to enjoy zucchini? You’ll love Crispy Zucchini Scarpaccia! This dish is easy to whip up and perfect as a snack or side. With a few …
. This article covered how to make Lemony Grilled Zucchini with Crispy Chickpeas. We started with key ingredients and explored their flavors. Next, we walked through preparation and cooking steps. I shared tips for achieving tasty textures and beautiful presentations. We also discussed variations and storage options. Remember, cooking is about fun and creativity. Experiment with these ideas to make this dish your own. Your kitchen can be a place for healthy, joyful meals!](https://tossedrecipes.com/wp-content/uploads/2025/07/4102fad9-d91a-4b6b-841e-b7f606e9d836.webp)
Are you ready to enjoy a fresh, tasty dish that packs a punch? My Lemony Grilled Zucchini & Crispy Chickpeas Delight is the perfect blend of vibrant flavors and satisfying …
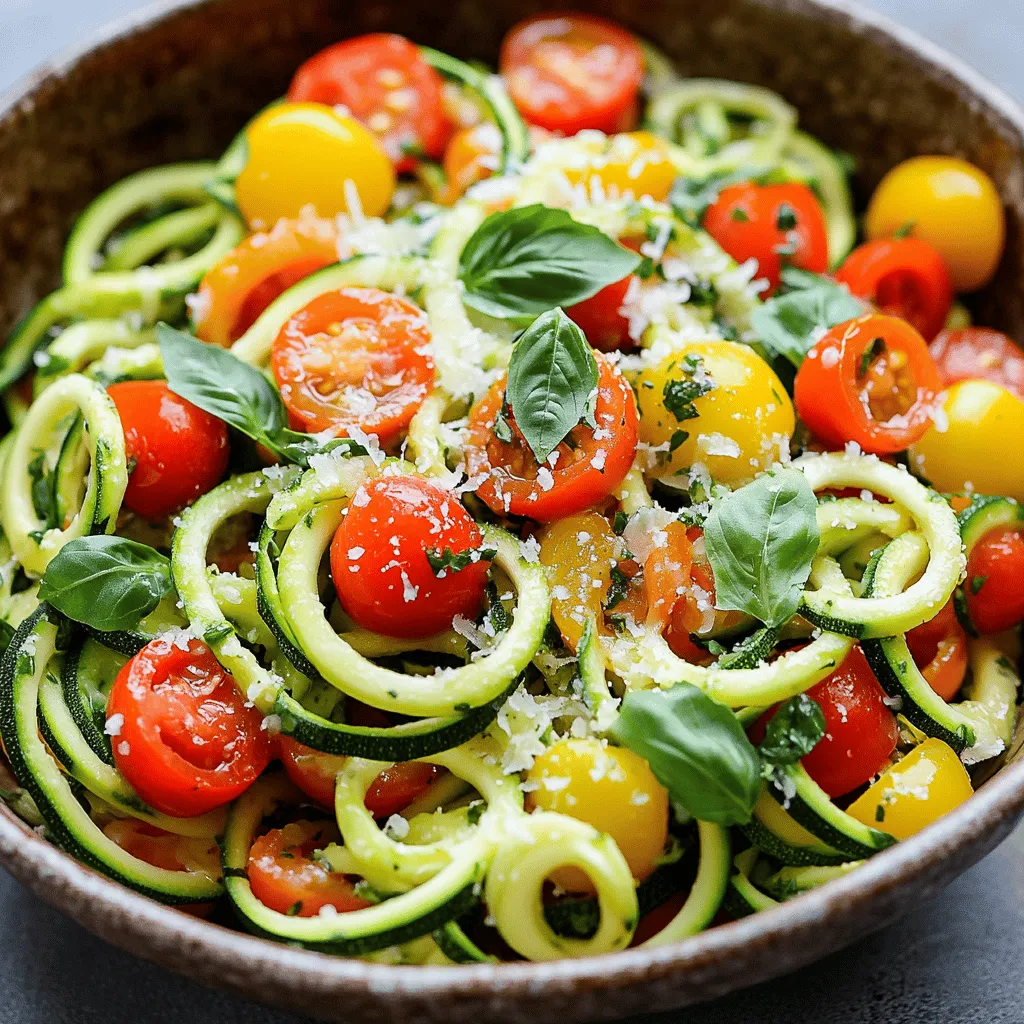
Looking for a simple yet delicious way to enjoy your veggies? This Zucchini Pasta Recipe is your answer! I’ll guide you through easy steps to create a flavorful dish packed …

Welcome to crispy chicken paradise! In this post, I will show you how to make a mouthwatering, perfectly fried Chicken Parmesan that will impress anyone. With a golden, crunchy coating …
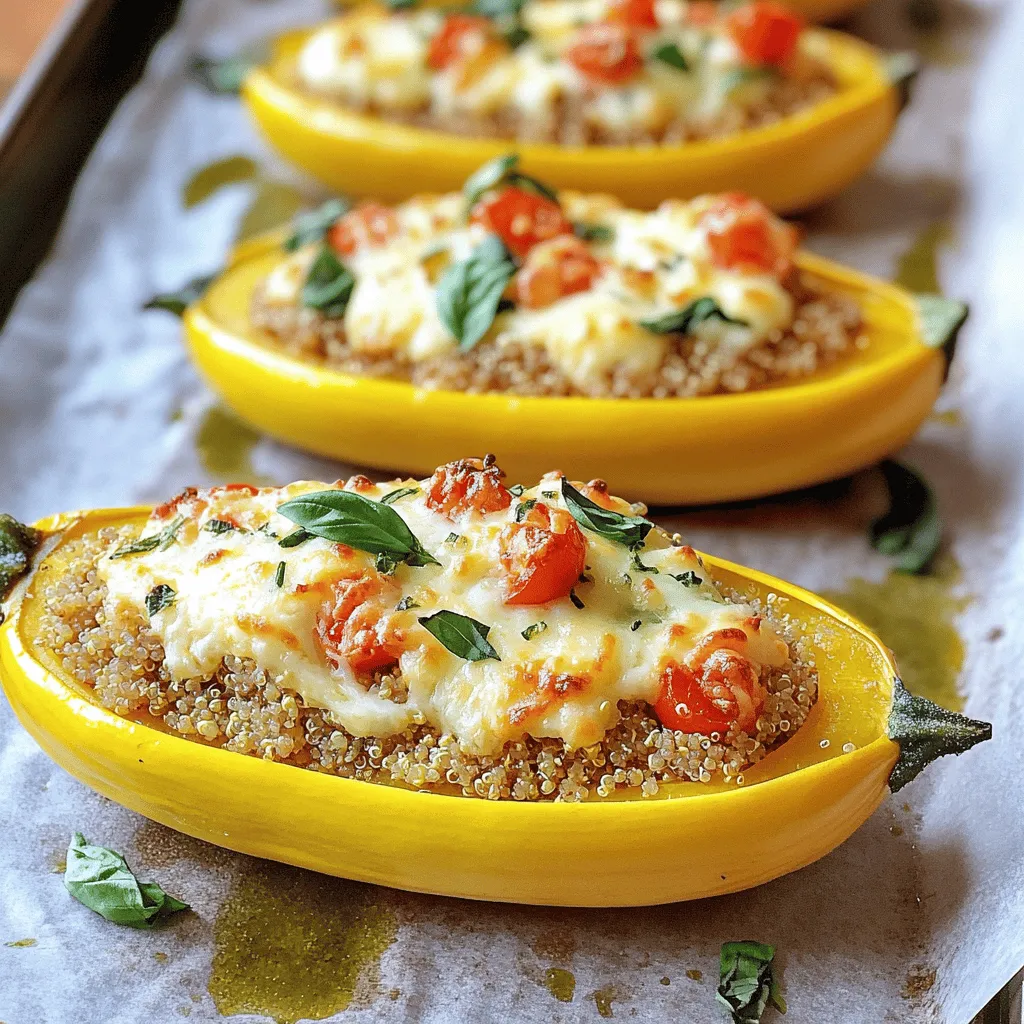
Are you looking for a simple yet tasty dish that impresses? Try my Easy Stuffed Yellow Squash recipe! This flavorful meal lets you customize fillings to your taste. In this …

Are you looking for a tasty and healthy breakfast idea? Try making a Zucchini Breakfast Skillet! This dish is packed with fresh veggies and protein, making it perfect for starting …

Looking for a delicious and unique muffin recipe? I’m excited to share my One Bowl Lemon Blueberry Yellow Squash Muffins Delight! These muffins pack a fruity punch with fresh blueberries …