Air Fryer Everything Bagel Chicken Bites Flavor Kick

Get ready to elevate your dinner game with these Air Fryer Everything Bagel Chicken Bites! Packed with flavor and a satisfying crunch, these bites are perfect for a quick weeknight …
Get ready to elevate your dinner game with these Air Fryer Everything Bagel Chicken Bites! Packed with flavor and a satisfying crunch, these bites are perfect for a quick weeknight …

Fall is here, and it’s the perfect time for Pumpkin Spice Latte Overnight Oats! This cozy breakfast is packed with warm flavors and is easy to make. With just a …

Welcome to a tasty adventure! In this post, I’ll share my secret recipe for Slow Cooker Honey Garlic Beef Sliders. This dish combines tender beef with sweet honey and bold …

Are you ready to elevate your dinner game? This Creamy Spinach Artichoke Tortellini Bake is a cozy, flavorful dish that combines cheesy goodness with nutritious greens. Packed with cheese tortellini, …

Craving a warm, cozy breakfast that’s both delicious and easy to make? I’ve got the perfect treat for you: Caramelized Banana Bread Oatmeal Cups! This recipe combines ripe bananas, wholesome …
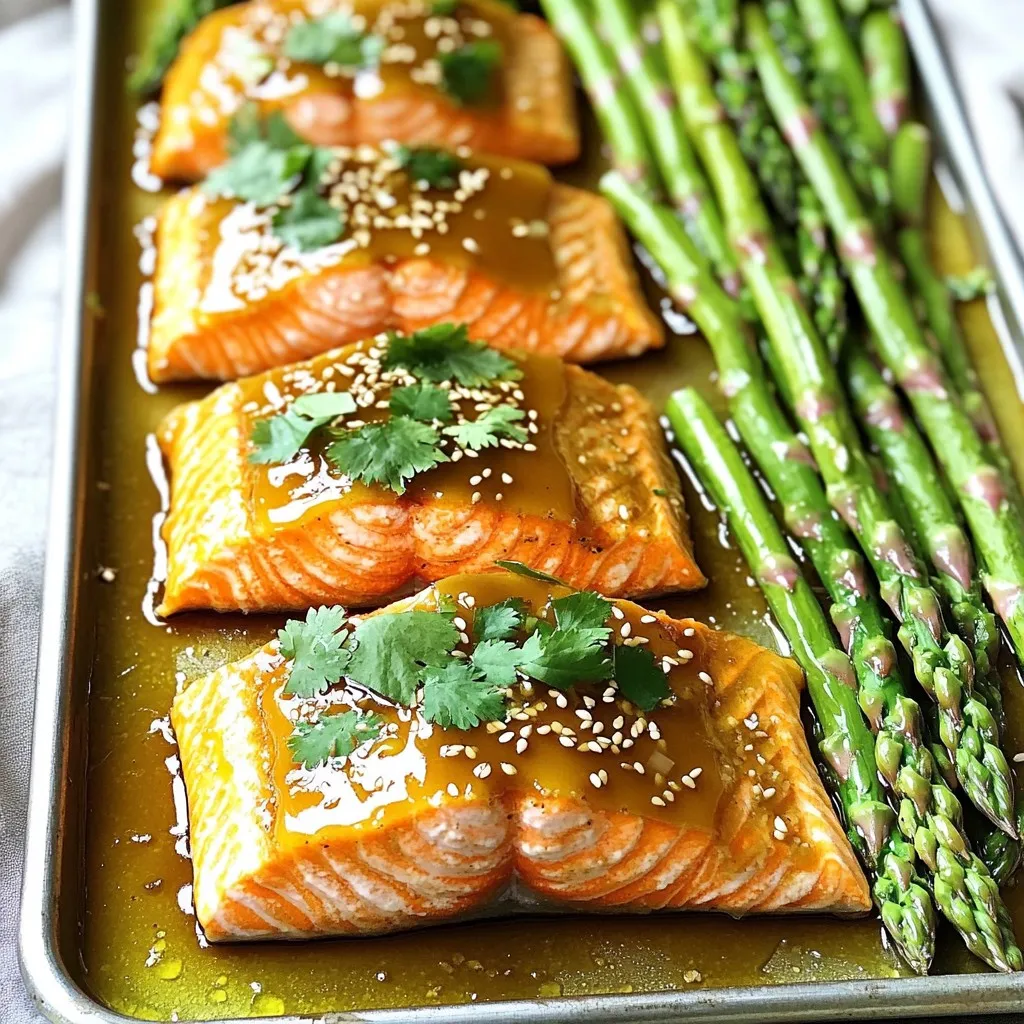
Are you ready for a quick and tasty dinner? In this post, I’ll show you how to make Sheet-Pan Honey Garlic Salmon with Asparagus. This dish is easy, healthy, and …

Looking for a quick and tasty dinner? Try my Sheet Pan Teriyaki Pineapple Chicken! This dish bursts with flavor from juicy chicken thighs, fresh pineapple, and colorful veggies. It cooks …

Are you craving that cozy, fall-inspired Pumpkin Cream Cold Brew? You’re in luck! In this post, I’ll share my easy recipe that captures all the flavors of your favorite coffee …
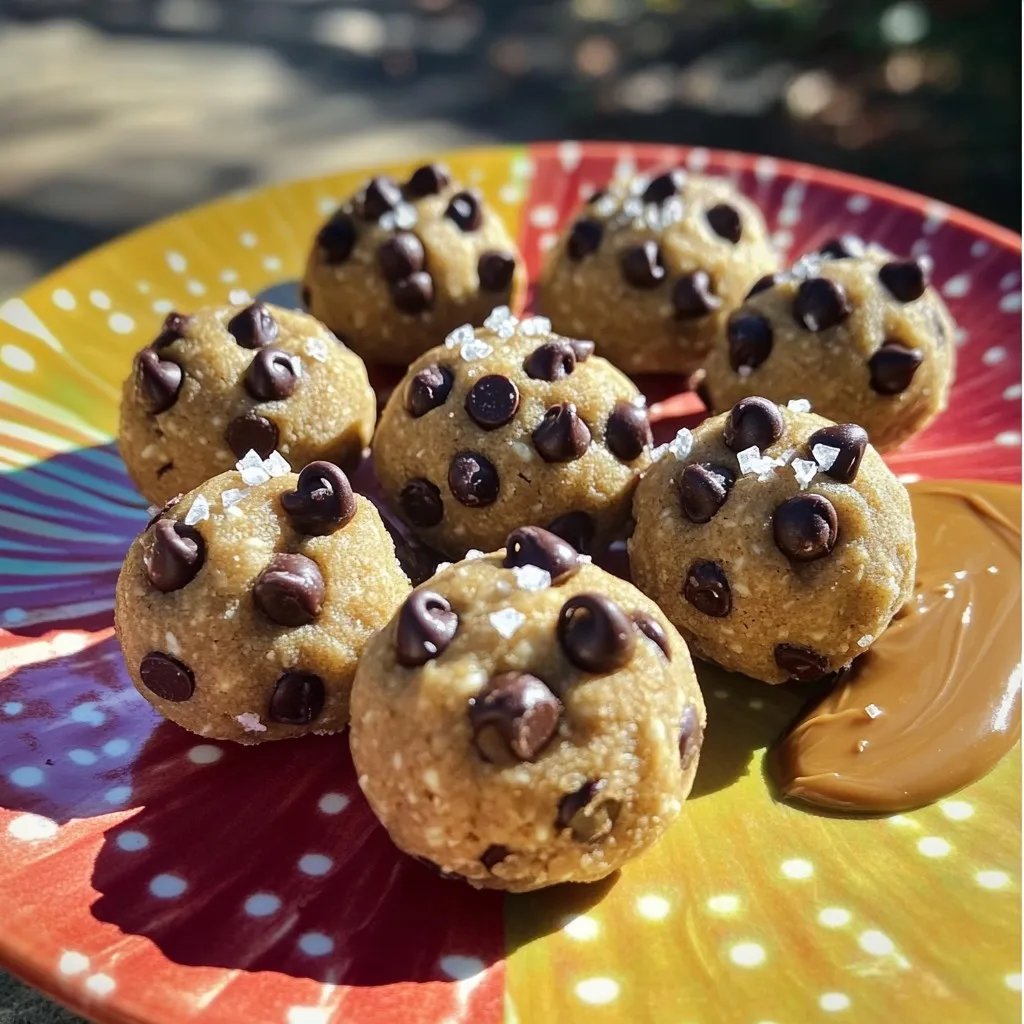
Craving a sweet treat that packs a protein punch? You’re in the right place! In this post, I’ll show you how to make delicious, high-protein chocolate chip cookie dough bites. …
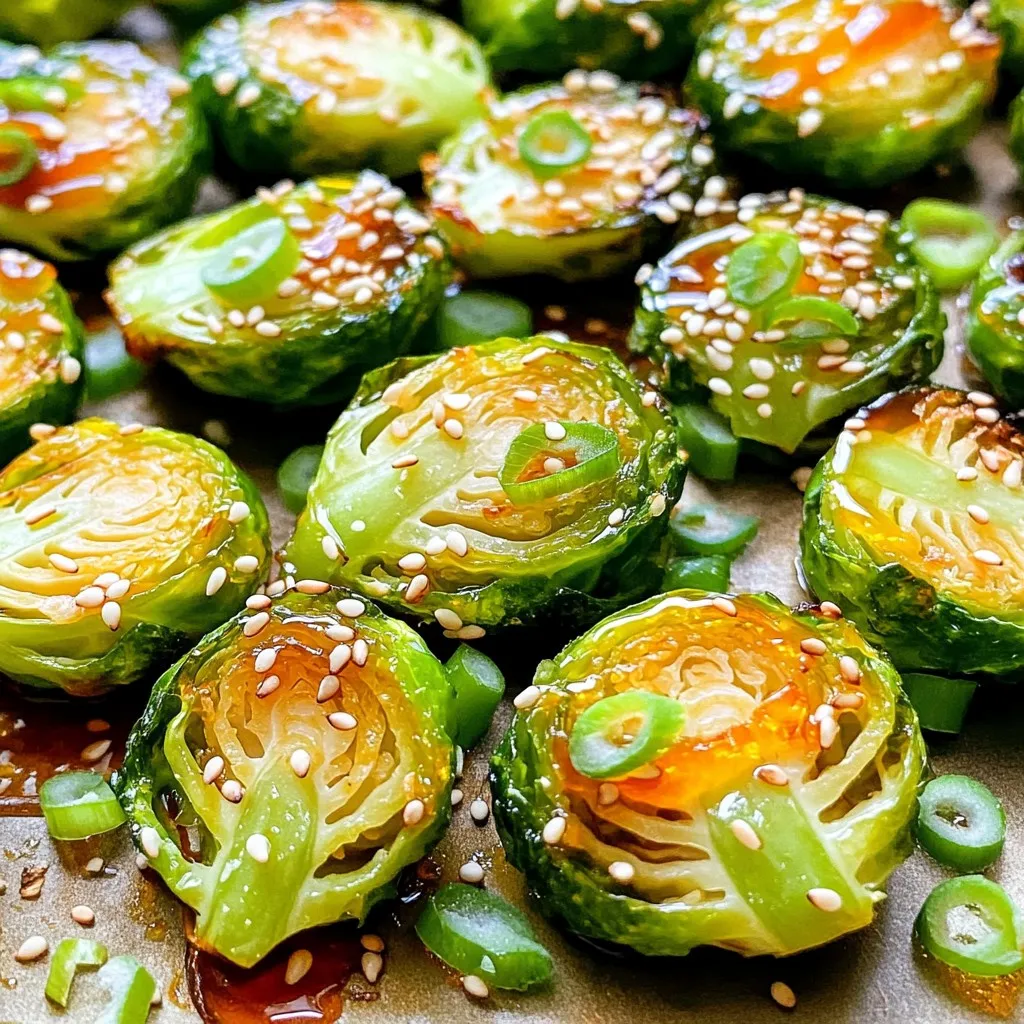
Craving a tasty side that’s both easy to make and packs a punch? Look no further! With just a few simple ingredients, you can whip up Honey Sriracha Brussels sprouts …