Easy Peach Crumbles Deliciously Simple Dessert Recipe
Are you ready to satisfy your sweet tooth with an Easy Peach Crumble? This simple dessert recipe makes use of ripe peaches for the best flavor. Whether you’re a baking …
Are you ready to satisfy your sweet tooth with an Easy Peach Crumble? This simple dessert recipe makes use of ripe peaches for the best flavor. Whether you’re a baking …
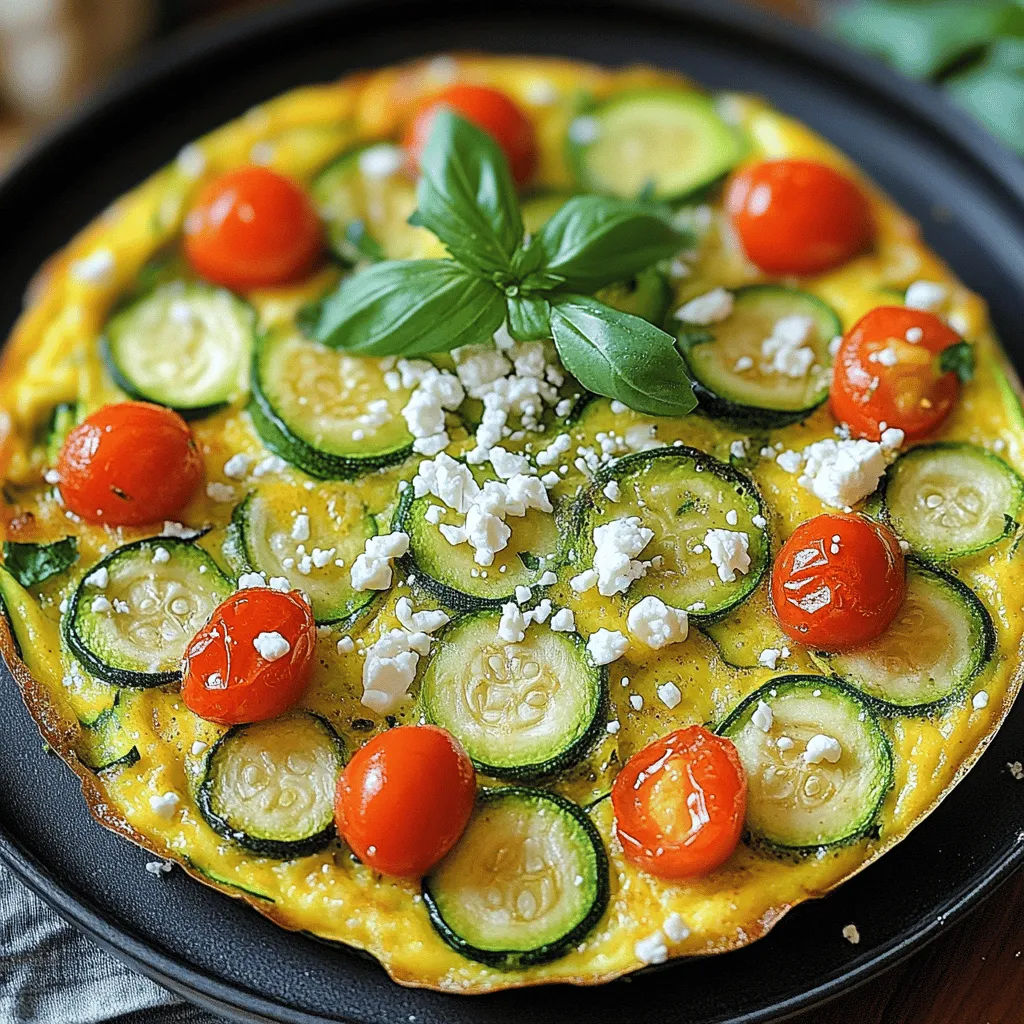
Looking for a simple yet delicious meal? Let me introduce you to my Fresh Zucchini Frittata! This dish is packed with vibrant veggies and is easy to make, even for …
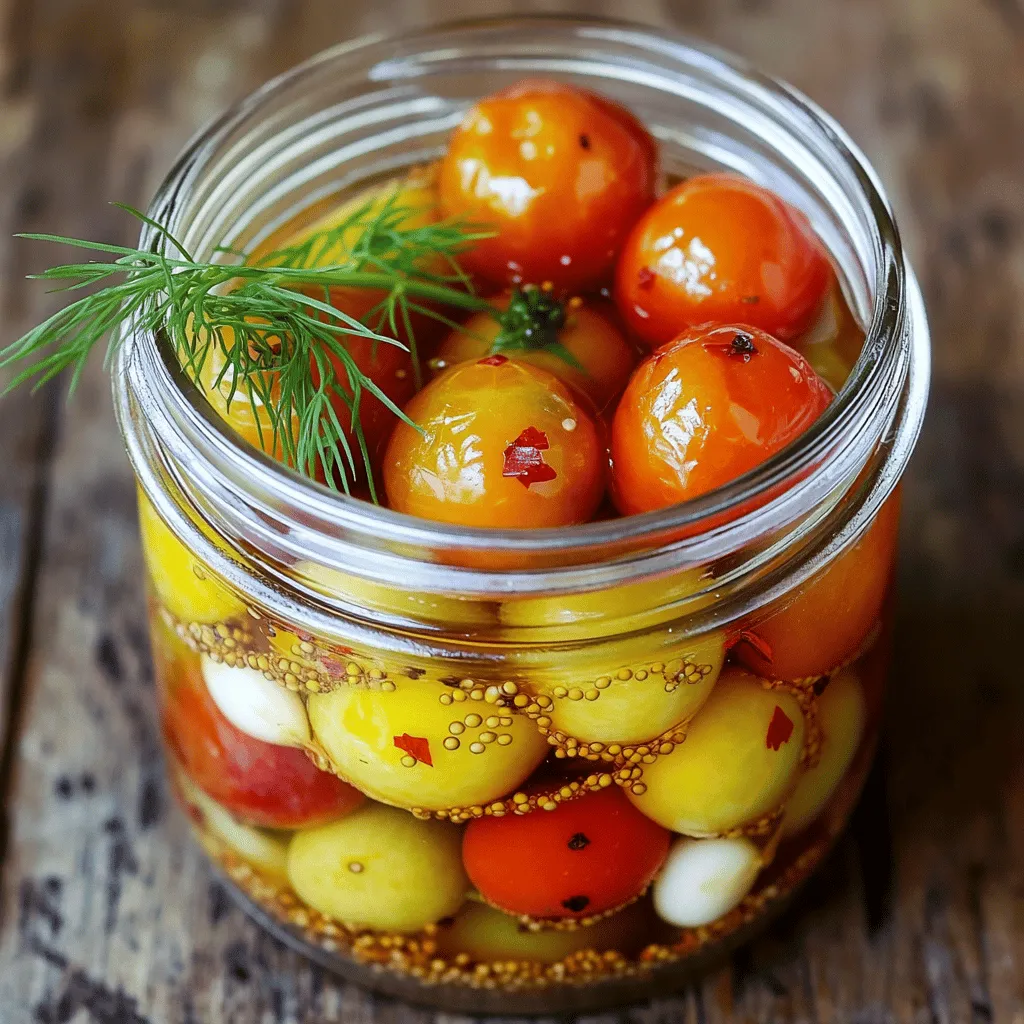
Are you ready to add a burst of flavor to your meals? In this blog post, I’ll show you how to make pickled cherry tomatoes that are simple and delicious. …
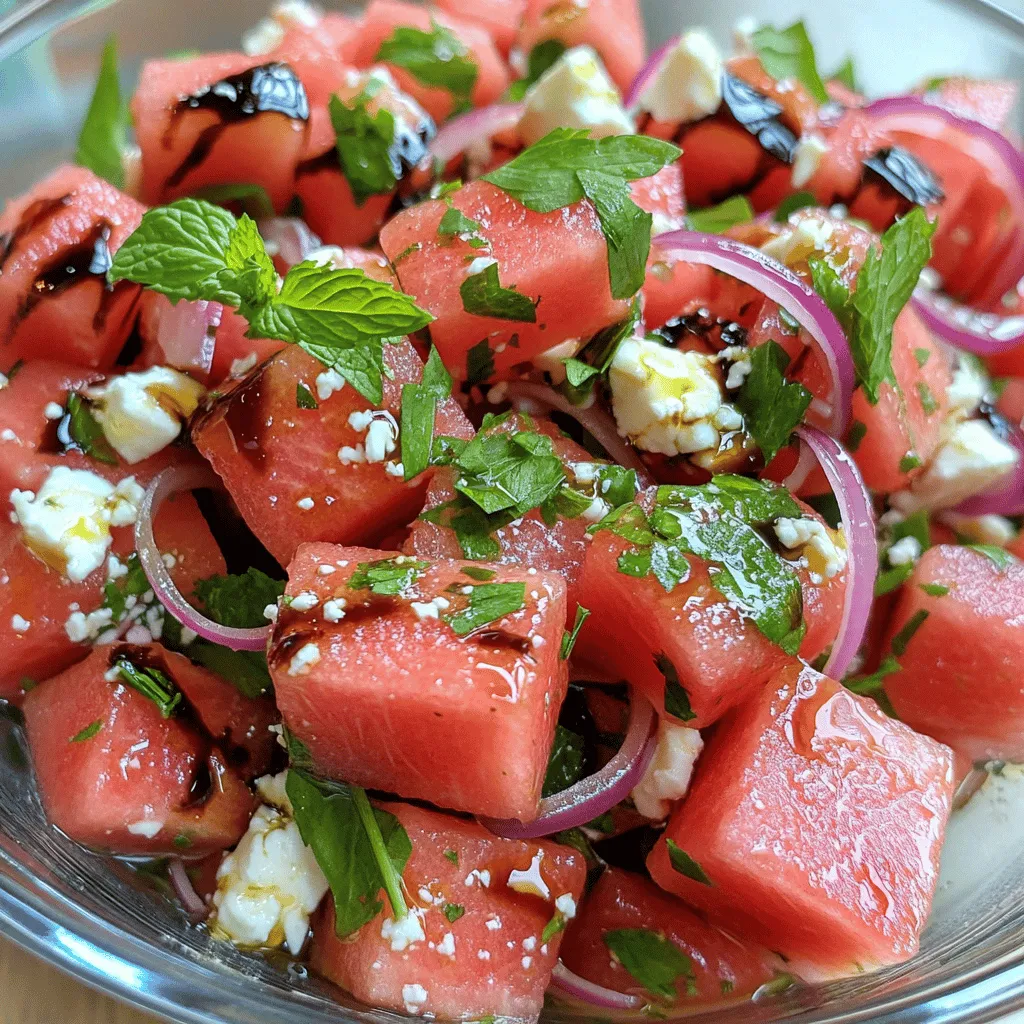
Looking for a simple, tasty salad that brightens up your summer meals? I’ve got the perfect treat for you: Easy Watermelon Feta Salad! This dish combines the sweet juiciness of …
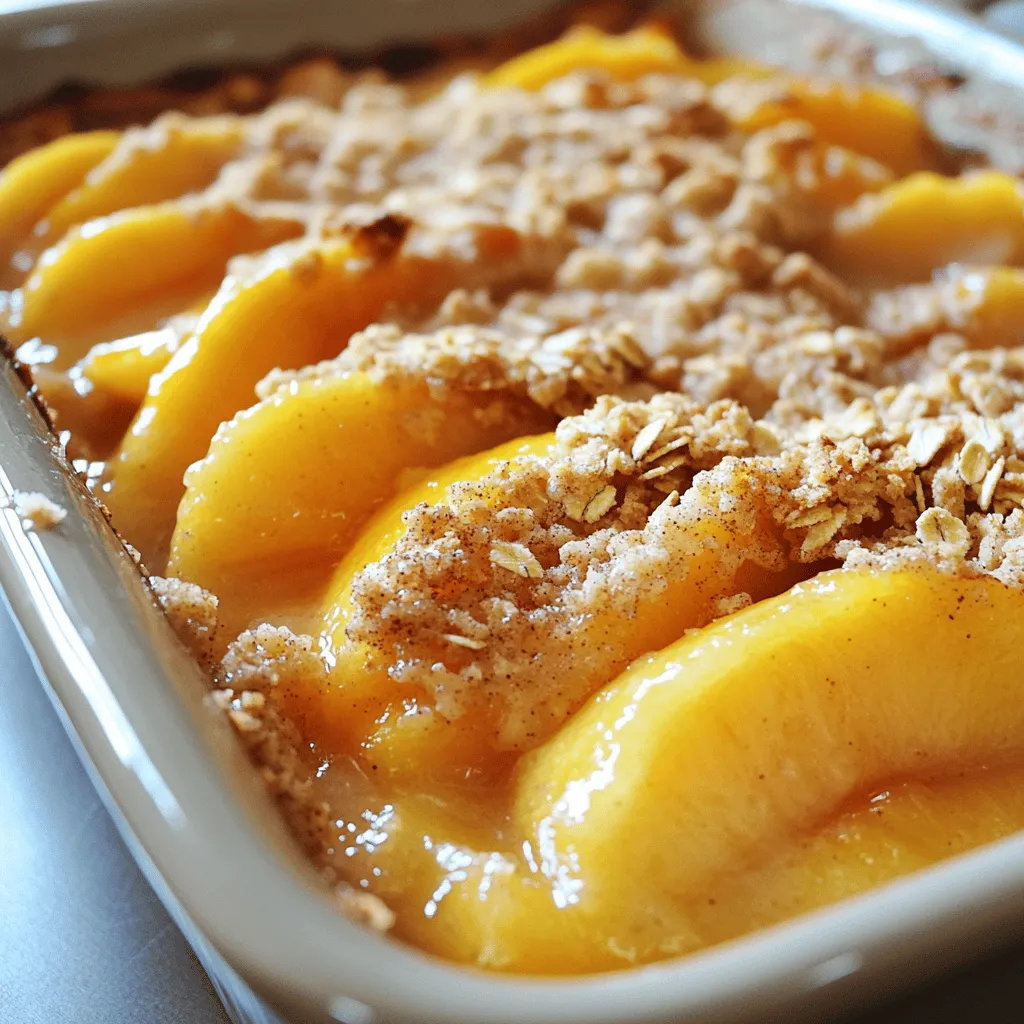
![- 4 cups fresh peaches, peeled and sliced - 1 cup granulated sugar, divided - 1 teaspoon cinnamon - 1 tablespoon lemon juice - 1 cup all-purpose flour - 1 tablespoon baking powder - 1/2 teaspoon salt - 1 cup milk - 1/2 cup unsalted butter, melted - 1 teaspoon vanilla extract - Optional: whipped cream or vanilla ice cream for serving To make the best peach cobbler, you need fresh peaches. I recommend using ripe, juicy ones for the best flavor. The sugar helps sweeten the peaches and adds a nice caramelized touch when baked. Cinnamon brings warmth, while lemon juice adds a bright note that enhances the peaches’ natural taste. The flour and baking powder create a light and fluffy batter. The milk makes the batter smooth, and melting the butter adds richness. Vanilla extract rounds out the flavors nicely. You can serve the cobbler warm with whipped cream or vanilla ice cream for a delightful treat. Follow the [Full Recipe] for detailed steps, and enjoy this simple yet delicious dessert! Start by preheating your oven to 350°F (175°C). This ensures that your cobbler bakes evenly. In a bowl, mix the sliced peaches with 1/2 cup of sugar, cinnamon, and lemon juice. Toss gently to coat the peaches well. Set this mixture aside. The lemon juice brightens the peach flavor. In another bowl, combine the flour, baking powder, salt, and the remaining 1/2 cup of sugar. Mix these dry ingredients well. Then, stir in the milk, melted butter, and vanilla extract. Stir until just combined, but don’t overmix. The batter should be a bit lumpy, which is perfect for a fluffy texture. Pour the batter into a greased 9x13 inch baking dish. Next, spoon the peach mixture evenly over the batter. Do not stir it together; the batter will rise as it bakes. Bake for about 45-50 minutes. The top should turn golden brown, and a toothpick should come out clean from the center. After baking, remove the cobbler from the oven. Let it cool for at least 10 minutes before serving. This cooling time helps it set up nicely. Enjoy your Peach Cobbler Delight! For the full recipe, check out the Delicious Peach Cobbler Recipe! To make great peach cobbler, choose ripe peaches. Look for peaches that feel soft but not mushy. The skin should have a nice golden hue. If your peaches are firm, let them ripen in a bowl at room temperature. This can take a day or two. Fresh peaches add flavor and sweetness to your dish. You can also mix in some ripe nectarines for variety. For a nice texture, don’t over-mix the batter. Mix just until combined; lumps are okay! Use a greased 9x13 inch baking dish. This helps the batter rise and form a golden crust. Bake at 350°F (175°C) until the top is golden brown. A toothpick should come out clean when done. Let it cool for about 10 minutes before serving. This helps set the filling and makes it easier to serve. Presentation is key! Serve your peach cobbler warm. Add a scoop of vanilla ice cream on top for a creamy touch. A drizzle of cinnamon adds extra flavor and looks great. If you like, you can also add whipped cream for a fun twist. The warm, sweet peaches with cold ice cream create a delightful contrast. Enjoy every bite! {{image_2}} To make a gluten-free peach cobbler, swap all-purpose flour for a gluten-free blend. You can find many blends at stores. Make sure the blend contains xanthan gum for the right texture. The rest of the recipe stays the same. This way, everyone can enjoy this classic dessert. For a vegan version, replace milk with almond or oat milk. Use melted coconut oil instead of butter. Most sugar is vegan, but check labels to be sure. This keeps the cobbler light and tasty without using animal products. You can add more flavor to your peach cobbler by trying different spices. Nutmeg and ginger work great. Just a pinch can bring a warm, cozy taste. Mix these spices with the cinnamon for a delightful twist. Experiment to find your perfect blend. If you want to try these variations, check out the Full Recipe for the main steps. Each option makes this dessert even more fun to enjoy! After you enjoy your peach cobbler, store leftovers in an airtight container. This keeps it fresh. Place it in the fridge if you plan to eat it soon. It will last about 3-4 days. If you want it to stay good longer, freezing is a great option. To reheat, use an oven for the best results. Preheat your oven to 350°F (175°C). Place the cobbler in an oven-safe dish. Cover it with foil to prevent burning. Heat for about 15-20 minutes. If you want a softer texture, add a splash of water. You can also use a microwave. Heat in 30-second intervals until warm. Freezing peach cobbler is easy. First, let it cool completely. Cut it into squares for easy serving. Wrap each piece tightly in plastic wrap. Then, place them in a freezer bag. Label the bag with the date, so you remember when you froze it. It can last up to three months in the freezer. When you're ready to eat, thaw it in the fridge overnight before reheating. Enjoy your peach cobbler delight anytime! You will know the peach cobbler is done when the top turns golden brown. Insert a toothpick in the center. If it comes out clean, it is ready. The edges should be bubbly and slightly crispy. This takes about 45-50 minutes at 350°F (175°C). Yes, you can use canned peaches instead of fresh ones. Drain the peaches well to remove excess juice. Canned peaches are sweeter, so reduce the sugar a bit. Fresh peaches give a better texture, but canned peaches work in a pinch. If you need a substitute for milk, try almond milk, oat milk, or soy milk. These options work well and keep the batter moist. You can also use yogurt or sour cream for a richer taste. Just ensure the substitute is plain and unsweetened. To avoid a soggy bottom crust, follow these tips: - Preheat the oven before baking. - Avoid overloading the peach mixture with juice. - Pour the batter into a hot dish; this helps it rise. - Bake until the top is golden, not just the center. - Underbaking: Always check with a toothpick. If it's wet, bake longer. - Too much liquid: Drain fruits well. Use a slotted spoon if needed. - Batter too thick: If the batter is too thick, add a little more milk. - Not enough flavor: Taste the peach mixture. Add more sugar or lemon juice if needed. These tips help you create a perfect peach cobbler every time! Check out the Full Recipe for all the details. This blog post covered how to make a delicious peach cobbler. We went through the key ingredients and step-by-step instructions, ensuring you get the best results. I shared tips for perfect peaches and baking. We also explored fun variations like gluten-free and vegan options. Lastly, I provided storage advice and answered common questions. Now you can create your own peach cobbler at home. Enjoy sharing this sweet treat with friends and family!](https://tossedrecipes.com/wp-content/uploads/2025/06/aa29e1de-591e-4450-98bb-1598e0fe4539.webp)
Peach cobbler is a classic dessert that brings joy to any table. I am excited to share this simple and flavorful recipe that uses fresh ingredients for the best taste. …

Are you ready to elevate your dinner game? My Pan Seared Chicken with Lemon Mustard Sauce is a quick and tasty option that’s packed with flavor. In this recipe, you’ll …
Are you ready to master the art of Southern fried chicken? In this post, I’ll share my ultimate, crispy, and delicious recipe that will impress everyone at your table. With …
If you’re looking for a delicious and simple dish, this Easy Crustless Tomato Pie is a winner. Bursting with flavor and fresh ingredients, it’s perfect for any meal. You’ll love …

Get ready to savor summer with homemade Peach Cobbler Ice Cream! This delightful treat combines the sweetness of ripe peaches, rich cream, and a hint of cinnamon, making it perfect …
Are you ready to dive into a flavor-packed dish that will take your dinner game to the next level? Chicken Lazone offers tender chicken smothered in a creamy, savory sauce …