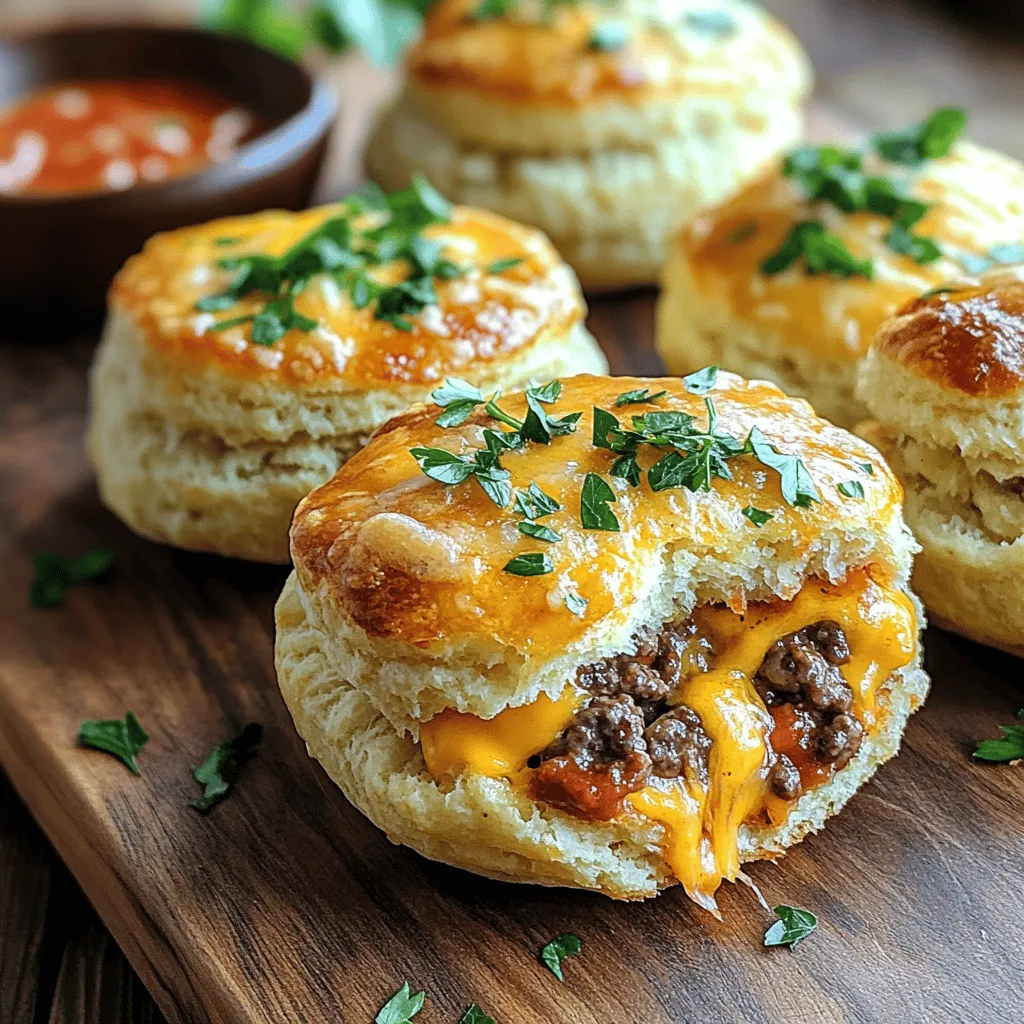
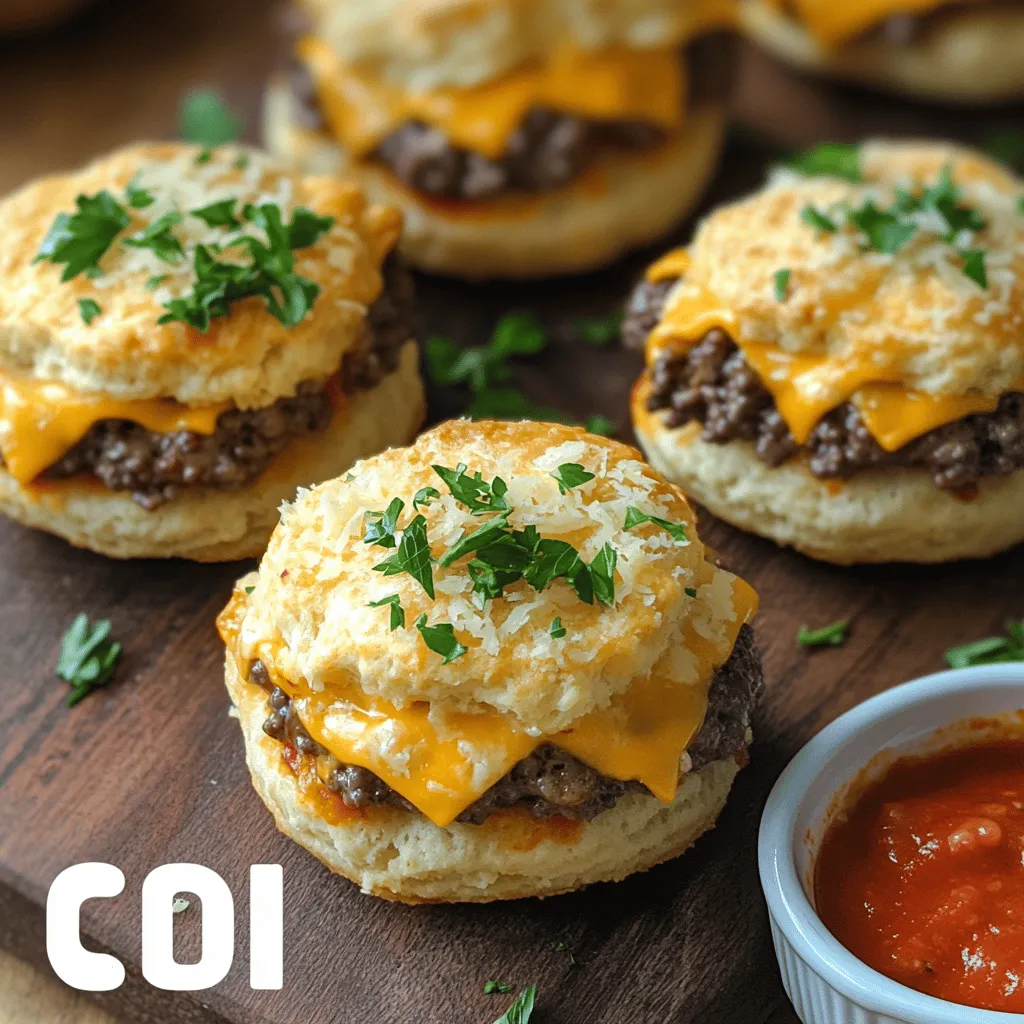
Are you ready to take your taste buds on a journey? In this post, I’ll show you how to make Garlic Parmesan Cheeseburger Bombs that are heavenly bites of joy. Imagine juicy beef, creamy cheese, and the rich taste of garlic, all wrapped in a warm, golden crust. Whether for game day or a family dinner, these treats are sure to impress. Let’s dive into the delicious details!
Ingredients
Main Ingredients List
– 1 lb ground beef
– 1 cup shredded cheddar cheese
– 1/2 cup grated Parmesan cheese
– 1/2 cup breadcrumbs
– 2 cloves garlic, minced
– 1 teaspoon dried Italian herbs (oregano, basil, thyme)
– Salt and pepper to taste
– 1 pack refrigerated biscuit dough (8-count)
– 2 tablespoons melted butter
– Chopped fresh parsley for garnish
These ingredients create a tasty mix. The ground beef gives a rich flavor. The cheeses add creaminess and depth. The garlic brings a strong aroma and taste. Italian herbs spice things up. Biscuit dough wraps everything in a warm hug.
Optional Ingredients
– Hot sauce for heat
– Sautéed onions for sweetness
– Cooked bacon for extra crunch
– Sliced jalapeños for a spicy kick
These add-ons let you make the bombs your own. You can mix and match to find your perfect flavor.
Cooking Tools Needed
– Mixing bowl
– Baking sheet
– Parchment paper
– Spoon for mixing
– Brush for butter
These tools help you create these delicious bites with ease. The mixing bowl blends flavors well. The baking sheet holds all the bombs in place. Parchment paper keeps them from sticking. A spoon and brush make the process smooth.
For the full recipe, check out the details above!
Step-by-Step Instructions
Preparation Steps
1. Preheat the Oven: First, set your oven to 375°F (190°C). This will help your bombs bake evenly.
2. Prepare the Filling: In a large bowl, mix 1 pound of ground beef, 1 cup of shredded cheddar cheese, and 1/2 cup of grated Parmesan cheese. Add 1/2 cup of breadcrumbs, 2 minced garlic cloves, 1 teaspoon of dried Italian herbs, and salt and pepper to taste. Stir well until everything combines nicely.
Assembly of Cheeseburger Bombs
3. Form the Bombs: Open your pack of refrigerated biscuit dough. Take each biscuit and flatten it gently in your palm. Place about 1 tablespoon of the beef mixture in the center of each biscuit. Then, fold the edges over the filling and pinch to seal. Roll each one into a round shape.
4. Brush with Butter: Place the sealed bombs on a baking sheet lined with parchment paper, seam-side down. Brush the tops with 2 tablespoons of melted butter. This will give them a nice golden color.
Baking Instructions
5. Bake: Put the baking sheet in your preheated oven. Bake for 15 to 20 minutes, or until the bombs turn golden brown and are cooked through.
6. Garnish and Serve: Once they are done, take them out and let cool for a few minutes. Before serving, sprinkle chopped fresh parsley on top for a burst of color and flavor.
You can find the Full Recipe for more details. Enjoy making these tasty Garlic Parmesan Cheeseburger Bombs!
Tips & Tricks
Perfecting the Flavor
To make your Garlic Parmesan Cheeseburger Bombs shine, focus on the meat. Use fresh ground beef for the best taste. Mix in minced garlic and grated Parmesan for a bold flavor. Don’t forget the dried herbs; they bring warmth and depth. Adjust salt and pepper to suit your taste. You can also add a splash of Worcestershire sauce for extra flair!
Common Mistakes to Avoid
One mistake is overfilling the biscuits. If you add too much filling, they may burst while baking. Ensure you seal each bomb well to avoid leaks. Also, don’t skip the butter brush before baking. It helps achieve a golden crust. Lastly, keep an eye on the baking time; ovens can vary. You want them golden brown, not burnt!
Serving Suggestions and Pairings
These bombs taste great on their own, but dips elevate the experience. Serve with marinara or ranch for a fun twist. For a side, consider crispy fries or a fresh salad. A light, chilled drink pairs well too. Think lemonade or iced tea to balance the rich flavors. For the full recipe, check the link. Enjoy your culinary adventure!

Variations
Vegetarian Alternatives
You can easily switch to a vegetarian option. Use cooked lentils or black beans instead of ground beef. Mix in mushrooms for a meaty texture. Add your favorite spices for more flavor. Don’t forget to use the same cheese blend for that rich taste.
Different Cheese Combinations
Cheese is key in these bombs! Try using mozzarella for a gooey center. Feta adds a tangy twist. A mix of gouda and cheddar creates a rich, smoky flavor. Experiment and see what you like best!
Flavor Twist Ideas
Add some heat by mixing diced jalapeños into the filling. Want a sweet touch? Try caramelized onions. You can also use barbecue sauce for a smoky flavor. Each twist makes these bombs unique and fun to eat. For the full recipe, check above.
Storage Info
Short-Term Storage Tips
After you make your Garlic Parmesan Cheeseburger Bombs, let them cool down. Place them in an airtight container. They stay fresh in the fridge for about three days. This keeps the flavors strong and the texture nice. If you want to keep them longer, consider freezing.
Reheating Instructions
To bring back that fresh-baked taste, reheat the bombs in the oven. Set your oven to 350°F (175°C). Place the bombs on a baking sheet and heat for about 10-15 minutes. This will make them warm and crispy again. You can also use a microwave if you’re in a hurry. Heat them for about 30-45 seconds. Just remember, the oven gives a better texture.
Freezing Garlic Parmesan Cheeseburger Bombs
If you want to freeze these tasty treats, follow these steps. First, let the bombs cool completely. Then, wrap each one in plastic wrap. Place them in a freezer bag or airtight container. They can last up to three months in the freezer. When you’re ready to eat, thaw them in the fridge overnight. Bake them again to enjoy their full flavor. For the full recipe, refer back to the instructions.
FAQs
Can I use a different type of meat?
Yes, you can use other meats. Ground turkey or chicken works well. You might also try pork for a different flavor. Each meat brings a unique taste to the bombs. Just ensure that any meat you pick is cooked through.
How long do leftovers last?
Leftovers can stay fresh in the fridge for up to three days. Store them in an airtight container. This keeps them from drying out. You can also freeze them for up to three months. Just remember to wrap them well before freezing.
Can I prepare these bombs ahead of time?
Yes, you can prep these bombs ahead of time. You can make the filling and fill the biscuits. Then, cover and chill them in the fridge for a few hours. When you are ready, bake them straight from the fridge. This makes serving easy and fun. For the full recipe, check out the main section.
You learned about making tasty cheeseburger bombs. We covered the main and optional ingredients, plus the tools you’ll need. The step-by-step guide helped you prepare and bake these delicious treats. We shared tips to enhance the flavor and avoid common mistakes. You now know about fun variations and smart storage options.
Try these bombs at your next gathering. They are sure to impress! Enjoy the joy of cooking and savoring with friends.

