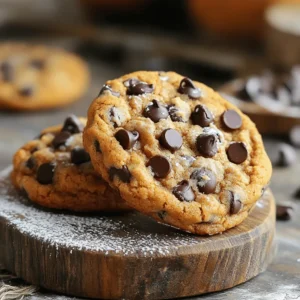
If you love cookies, you’re in for a treat! My Brown Butter Pumpkin Chocolate Chip Cookies combine fall flavors with rich, nutty butter. Perfectly chewy and packed with chocolate, these cookies make any day feel special. Whether you crave a sweet snack or want to impress guests, this recipe is for you. Let’s dive into the ingredients, steps, and tips to create your new favorite treat!
Ingredients
Complete list of ingredients
For these Brown Butter Pumpkin Chocolate Chip Cookies, you need:
– 1 cup unsalted butter
– 1 cup pumpkin puree
– 1 cup brown sugar, packed
– 1/2 cup granulated sugar
– 1 large egg
– 2 teaspoons vanilla extract
– 2 cups all-purpose flour
– 1 teaspoon baking soda
– 1 teaspoon ground cinnamon
– 1/2 teaspoon ground nutmeg
– 1/2 teaspoon salt
– 1 cup chocolate chips
– 1/2 cup chopped pecans (optional)
Measurements and their importance
Each ingredient plays a key role in the cookie’s flavor and texture. The unsalted butter gives richness. Browning it adds a nutty taste that pairs well with pumpkin. Pumpkin puree keeps the cookies soft and moist. Brown sugar adds depth, while granulated sugar helps with sweetness and crispiness.
Flour is the base that gives structure. Baking soda helps cookies rise, making them fluffy. Spices like cinnamon and nutmeg provide warmth and a cozy aroma. Salt balances sweetness and enhances flavors. Chocolate chips are the star, bringing joy in every bite. Pecan adds crunch but is optional.
Suggested substitutions for dietary needs
If you need alternatives, here are some ideas:
– Use coconut oil instead of butter for a dairy-free option.
– Substitute pumpkin puree with applesauce for a lighter cookie.
– Use a gluten-free flour blend instead of all-purpose flour.
– Replace granulated sugar with coconut sugar for a lower glycemic index.
– Dark chocolate or dairy-free chocolate chips can replace regular chocolate chips.
Feel free to mix and match these substitutions based on your needs!
Step-by-Step Instructions
How to brown butter effectively
To brown butter, start with unsalted butter. Place it in a saucepan over medium heat. Stir it often as it melts. Keep cooking until it turns golden brown. Look for a nutty smell; this means it’s ready. It takes about 5 to 7 minutes. Be careful not to burn it, as burnt butter tastes bitter. Once it’s browned, remove it from heat and let it cool slightly.
Mixing wet and dry ingredients
In a large bowl, combine the cooled brown butter with pumpkin puree, brown sugar, and granulated sugar. Mix them well until the mixture is smooth. Then, add the egg and vanilla extract. Whisk until everything is blended. In a different bowl, whisk together all-purpose flour, baking soda, cinnamon, nutmeg, and salt. It’s important to mix them well to avoid clumps. Gradually add the dry mix into the wet mix. Stir gently until combined without overmixing.
Chilling the dough and its benefits
Once mixed, cover the dough with plastic wrap and chill it in the fridge for at least 30 minutes. Chilling the dough helps the flavors meld. It also makes the dough firmer, which keeps the cookies from spreading too much while baking. This step is key for a chewy texture. If you skip this, the cookies might turn out flat.
Baking and cooling process
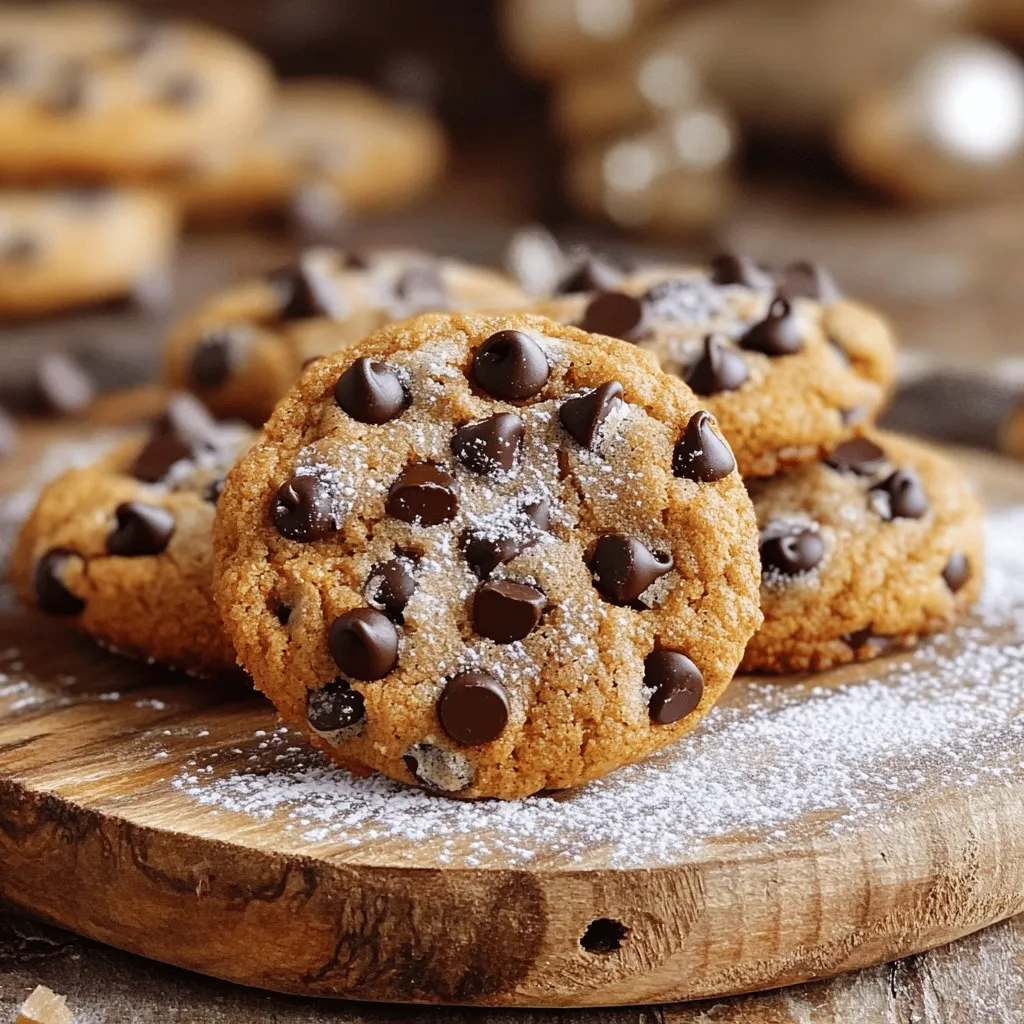
Preheat your oven to 350°F (175°C). Line two baking sheets with parchment paper. Roll the chilled dough into balls and place them on the sheets. Leave about 2 inches between each one. Bake for 10 to 12 minutes until the edges are golden. The centers might look a bit soft, which is okay. Let the cookies cool on the sheets for 5 minutes. Then, transfer them to wire racks to cool completely. Enjoy these delightful cookies warm or at room temperature. For the full recipe, check the main article.
Tips & Tricks
How to achieve the perfect cookie texture
To get the best cookie texture, start with brown butter. The nutty flavor adds depth. Use room temperature ingredients. This helps the dough mix well. Measure your flour correctly. Too much flour makes cookies dry. Use a light hand when mixing. Overmixing can make cookies tough. Bake until the edges are golden. The centers should look soft but set.
Best practices for chocolate chip incorporation
When adding chocolate chips, fold them in gently. This keeps the dough light and fluffy. You can use semi-sweet, dark, or milk chocolate chips. Each type brings a different taste. If you want more chocolate flavor, add extra chips. For a fun twist, try using chocolate chunks or discs. They give a nice texture and look great.
Significance of resting the dough
Resting the dough is key for flavor and texture. Chill the dough for at least 30 minutes. This helps the flavors blend well. A colder dough spreads less while baking. You get thicker, chewier cookies. If you have time, let the dough rest longer. Some people say overnight resting improves the taste even more. This simple step makes a big difference in your cookies. For more details, check out the Full Recipe.
Variations
Adding nuts or spices for different flavors
You can change the taste of these cookies easily. Adding chopped nuts like pecans or walnuts gives a nice crunch. You can also try mixing in spices. A dash of ginger or cloves adds a warm flavor. Each choice makes the cookies unique and fun.
Using different types of chocolate
You are not limited to just one type of chocolate. Dark chocolate chips bring a rich taste. Milk chocolate chips add sweetness. If you are feeling adventurous, try white chocolate or even chocolate chunks. Each type creates a different cookie experience.
Alternatives for pumpkin and dietary modifications
If you want to switch out pumpkin, use applesauce or mashed bananas. These still keep the cookies moist. For dietary needs, try gluten-free flour to make them safe for all. You can also use coconut sugar instead of brown sugar for a lower glycemic index. Check out the Full Recipe for more ideas on substitutions.
Storage Info
Best storage methods for freshness
To keep your cookies fresh, store them in an airtight container. This helps retain moisture and keeps them soft. If you place them in a cookie jar, make sure it has a lid. You can also layer them with parchment paper to avoid sticking.
Freezing cookie dough or baked cookies
You can freeze both the dough and the baked cookies. For dough, scoop it into balls and place them on a baking sheet. Freeze until solid, then transfer to a freezer bag. This way, you can bake fresh cookies anytime. For baked cookies, let them cool completely. Then, place them in a freezer bag and remove as much air as possible.
Shelf life and reheat recommendations
Stored properly, baked cookies last about a week at room temperature. If frozen, they can last up to three months. To reheat, place them in a 350°F oven for 5-7 minutes. This warms them up and revives their soft texture. Enjoy your Brown Butter Pumpkin Chocolate Chip Cookies anytime with these simple tips. For the complete recipe, check out the Full Recipe section!
FAQs
Can I use canned pumpkin puree?
Yes, you can use canned pumpkin puree. It saves time and still gives great flavor. Look for 100% pumpkin puree, not pumpkin pie filling. This is key since filling has added sugar and spices. I often use canned pumpkin for my cookies. It’s easy and reliable.
How can I make these cookies gluten-free?
To make these cookies gluten-free, swap the all-purpose flour for a gluten-free blend. Many brands work well in baking. Just make sure the blend includes a binding agent, like xanthan gum. I’ve had great success with a one-to-one gluten-free flour mix. Your cookies will still taste amazing!
What’s the best way to measure flour?
The best way to measure flour is to spoon it into a measuring cup. Avoid packing it down. Use a knife to level it off for an accurate measurement. This helps prevent dense cookies. I always measure flour this way to keep my cookies light and fluffy.
Do I need to chill the dough?
Yes, chilling the dough is important. It helps the cookies keep their shape while baking. Chilling also allows the flavors to meld. I recommend at least 30 minutes in the fridge. This little step makes a big difference in texture and taste. For the full recipe, don’t forget to check the step on chilling the dough!
We covered key ingredients and their measurements for your cookie recipe. You learned the steps to brown butter, mix ingredients, and chill dough. I shared tips for perfect texture and ways to add flavor. You discovered storing methods, shelf life, and how to freeze dough and cookies. Remember, experimenting with ingredients can lead to fun new treats. Use the information to create tasty cookies each time. Happy baking!