Appetizers
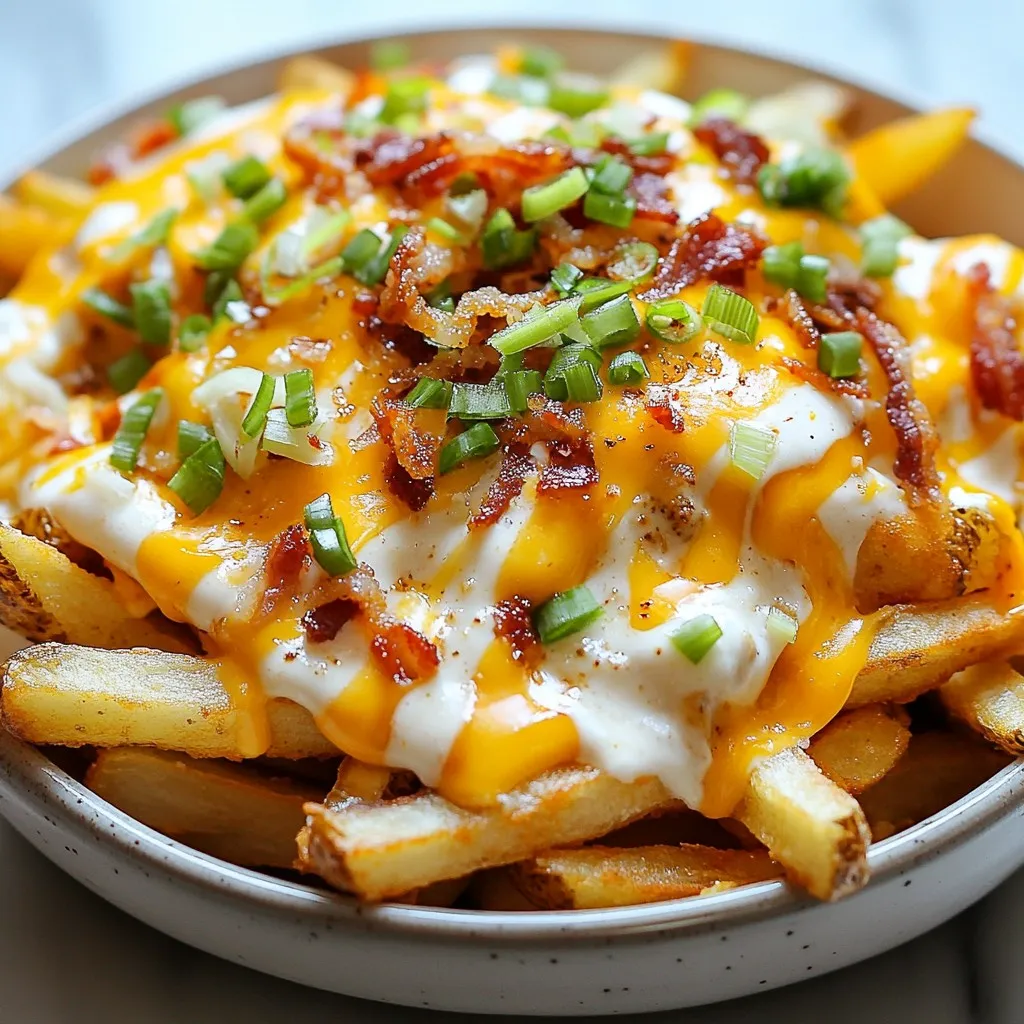
Cheddar Ranch Loaded Fries Flavorful and Easy Recipe
If you’re craving a fun and tasty snack, you’ve found it! Cheddar Ranch Loaded Fries are your answer, blending crispy fries with rich cheddar and
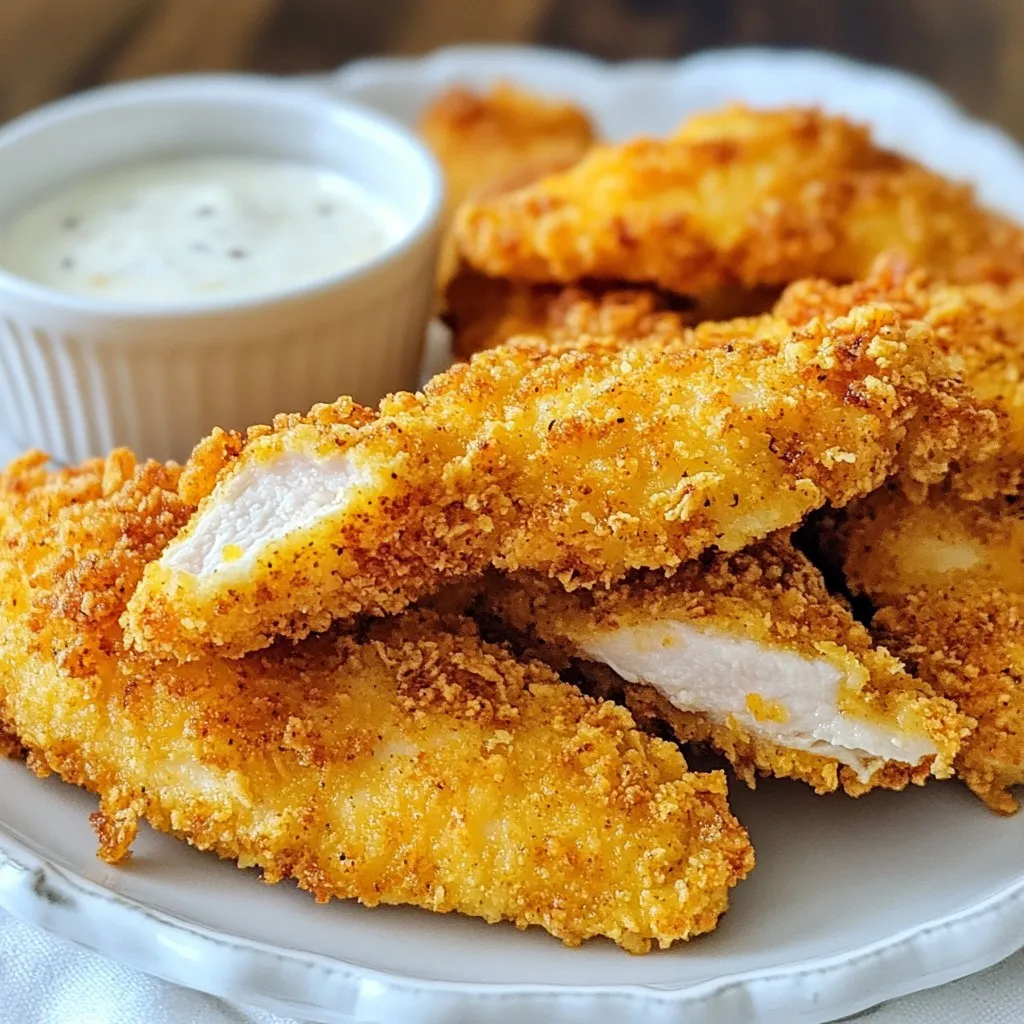
Crispy Homemade Chicken Tenders Perfectly Fried Treat
If you crave crispy homemade chicken tenders, you’re in the right place! I’ll share my secret tips for perfectly fried tenders that everyone will love.
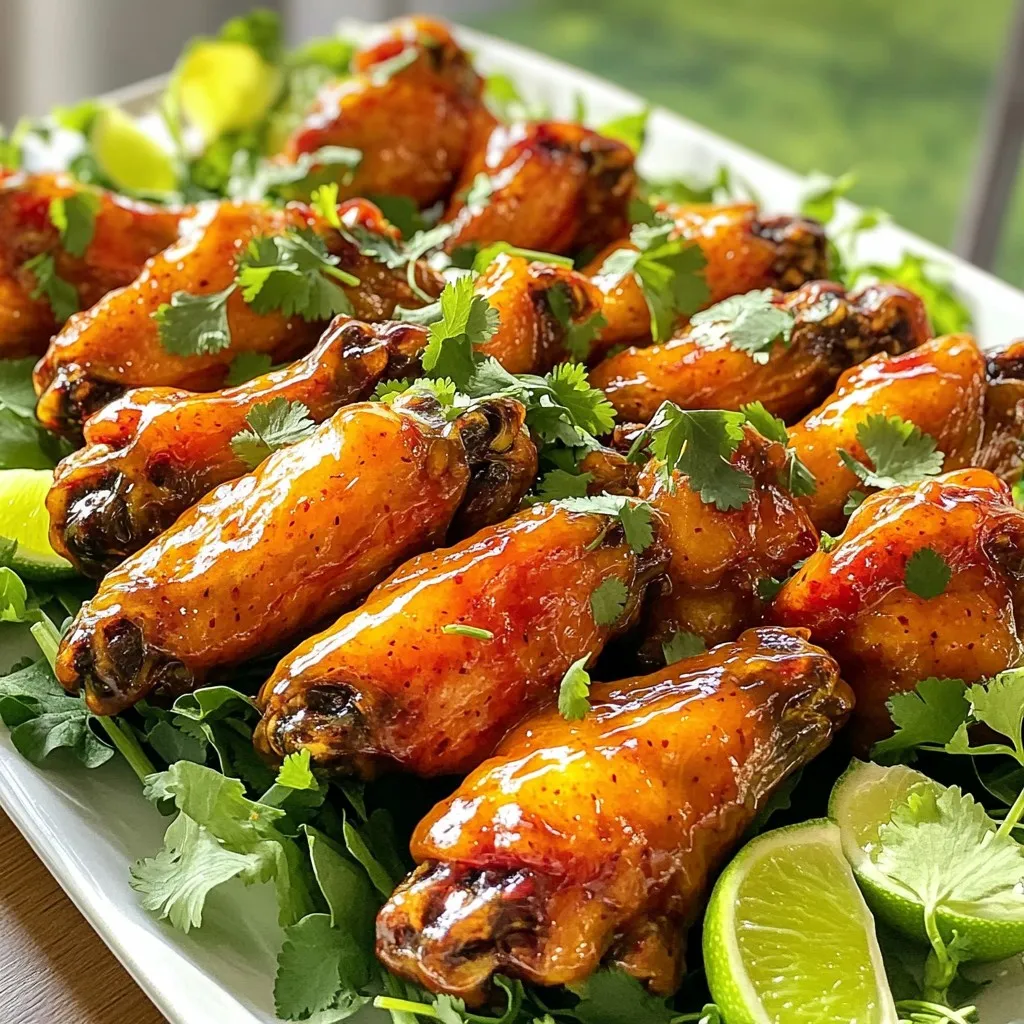
Mango Habanero Sticky Chicken Wings Flavorful Delight
Get ready to spice up your next game night or family dinner! My Mango Habanero Sticky Chicken Wings are a flavorful delight that marries sweet
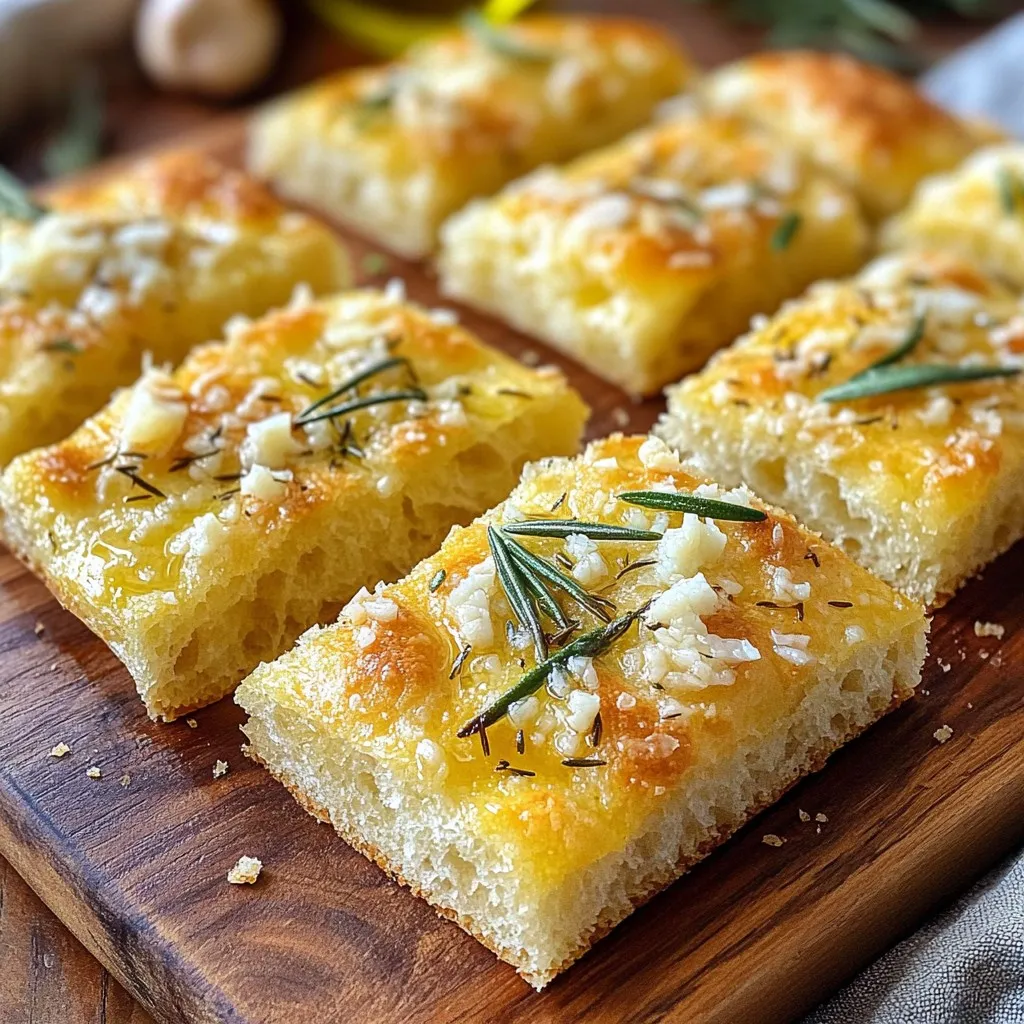
Garlic Parmesan Focaccia Flavorful and Simple Recipe
Are you ready to impress your friends and family with a simple yet delicious Garlic Parmesan Focaccia? This easy recipe involves just a few ingredients
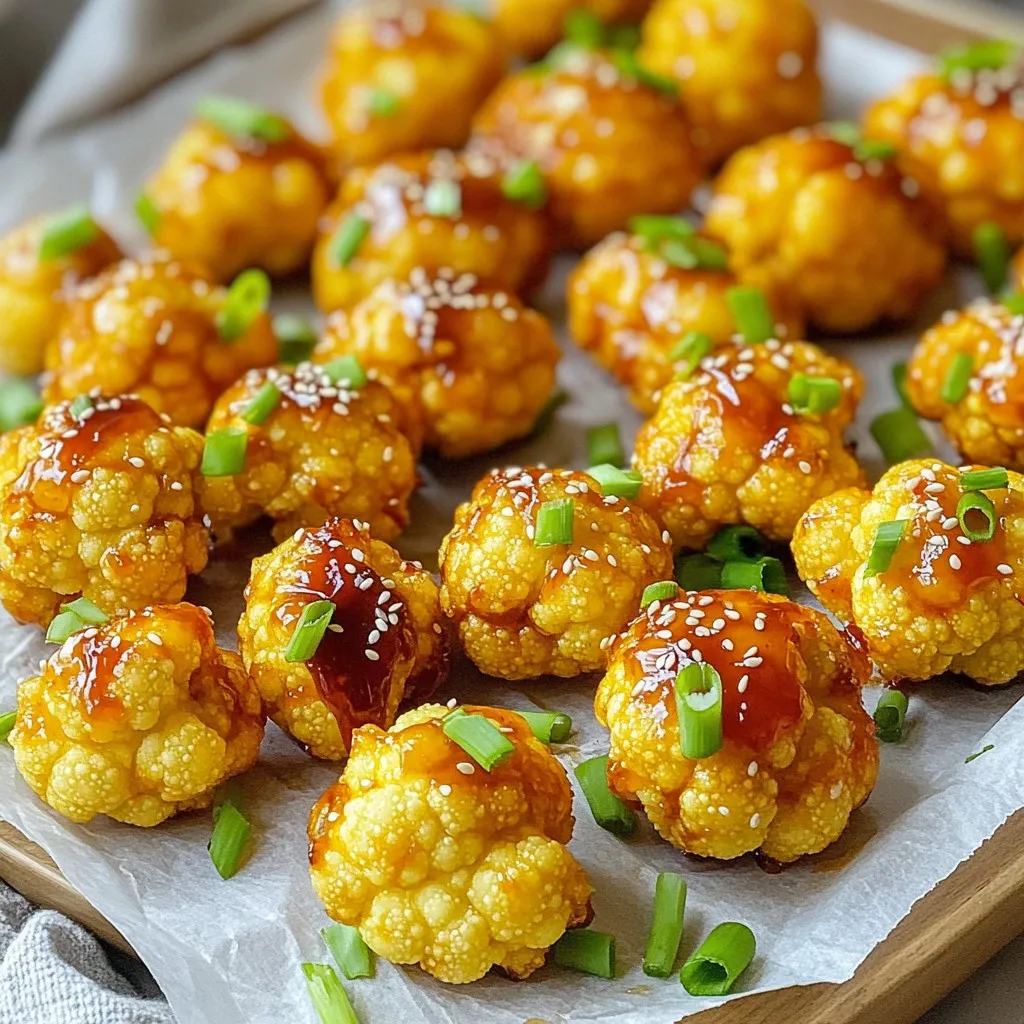
Air Fryer Honey Sriracha Cauliflower Bites Delight
Get ready to spice up your snack game with Air Fryer Honey Sriracha Cauliflower Bites! These tasty bites combine crispy cauliflower, sweet honey, and a
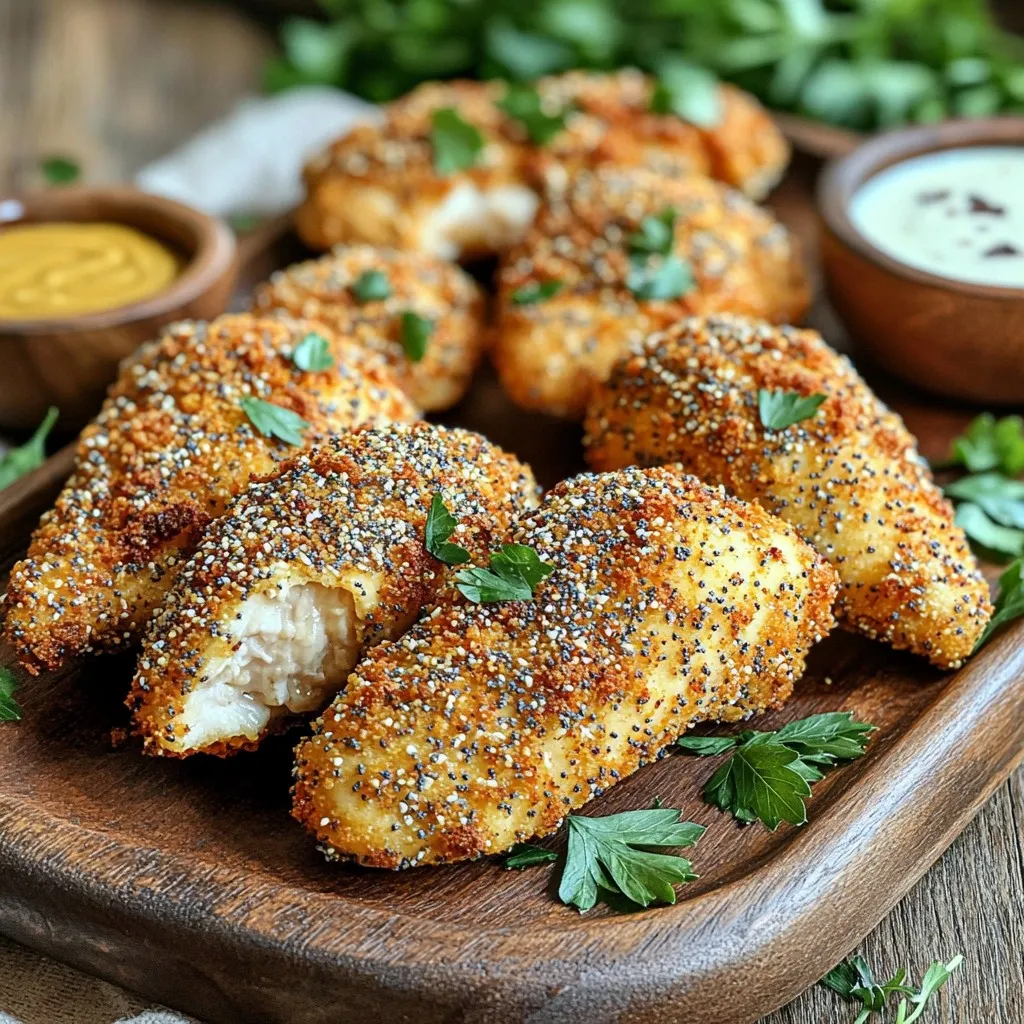
Air Fryer Everything Bagel Chicken Tenders Delight
If you love quick, tasty meals, you’re in for a treat! My Air Fryer Everything Bagel Chicken Tenders are crunchy, flavorful, and easy to make.
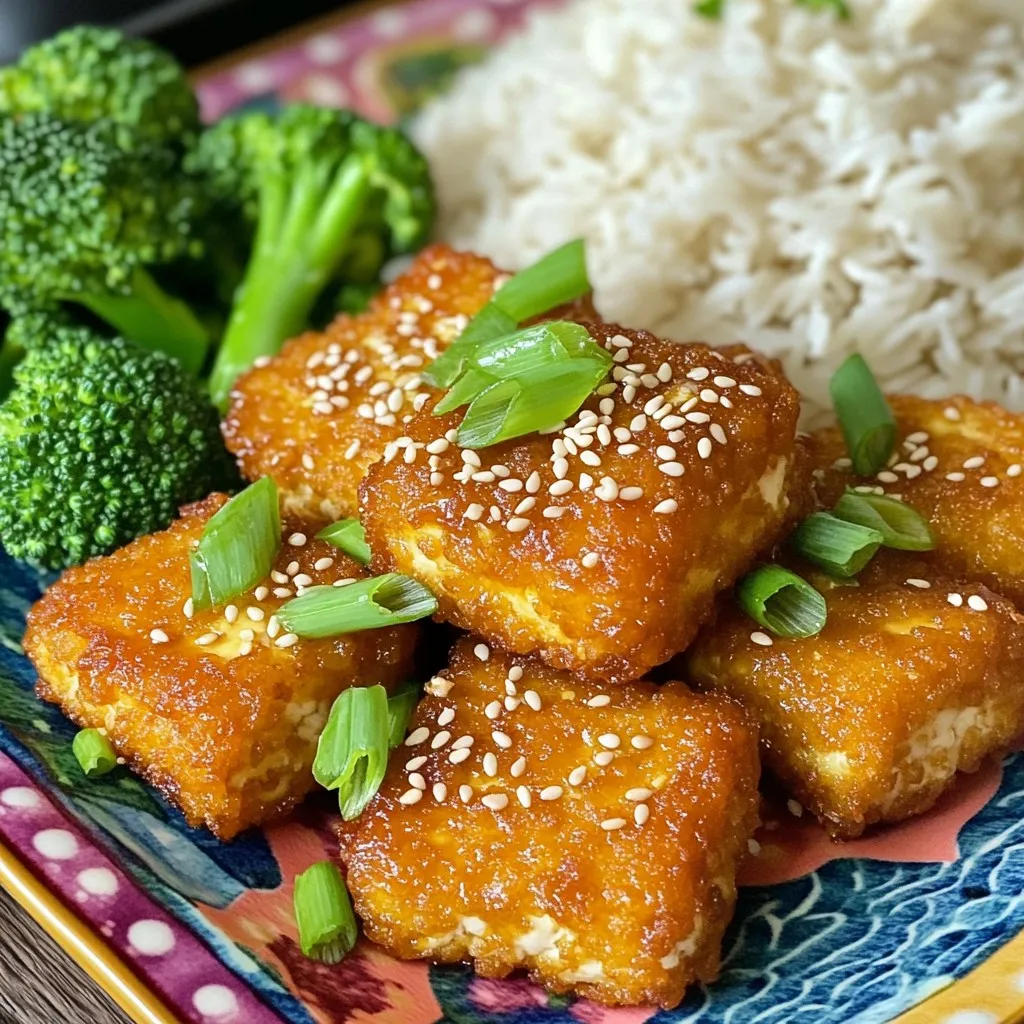
Air Fryer Teriyaki Tofu Nuggets Crispy and Delicious
Are you ready to enjoy a crunchy, tasty snack with a twist? These Air Fryer Teriyaki Tofu Nuggets are the answer! In this guide, I’ll

Homemade Garlic Knots Tasty and Easy Recipe Guide
If you love warm, buttery garlic knots, you’re in the right place! In this easy recipe guide, I’ll show you how to make these tasty
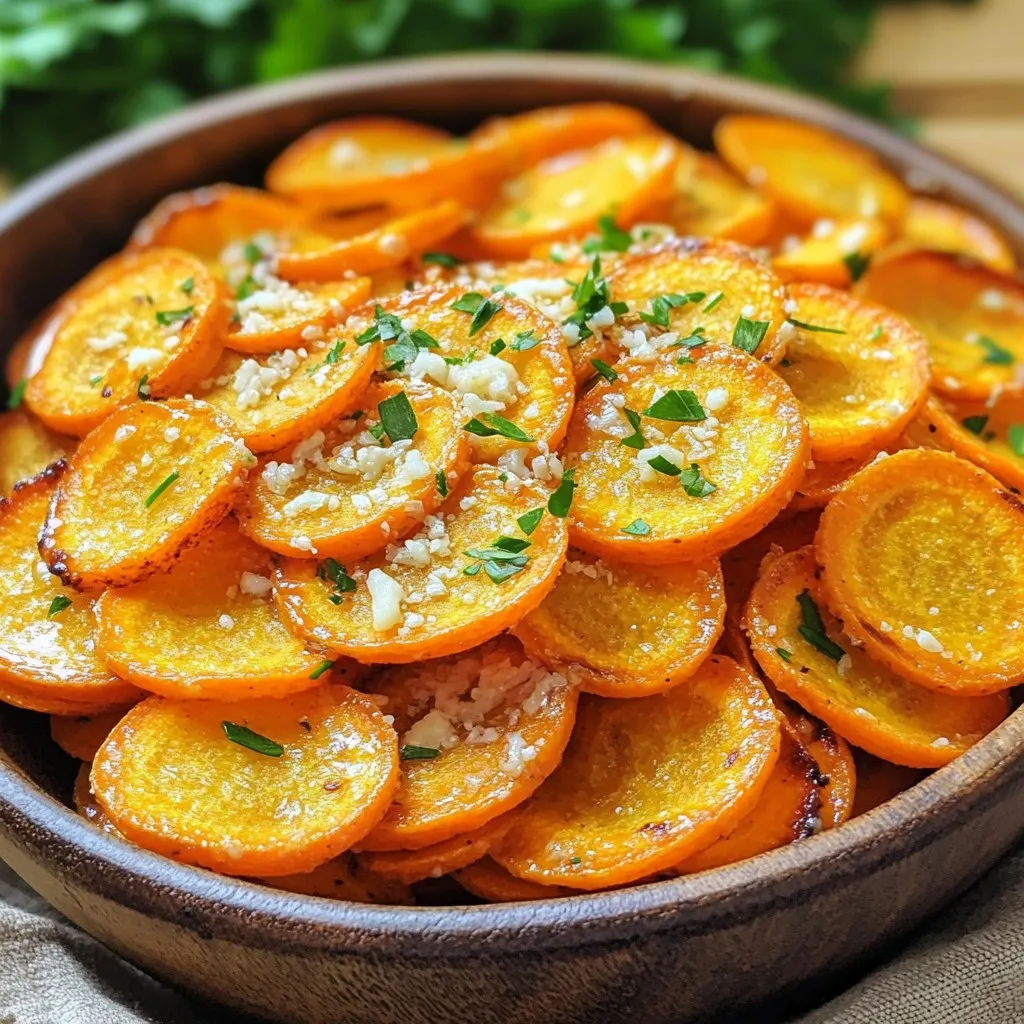
Air Fryer Garlic Parmesan Carrot Chips Crunchy Snack
Looking for a crunchy snack that’s easy to make? You’ve found it! Air Fryer Garlic Parmesan Carrot Chips offer a tasty twist on traditional chips.
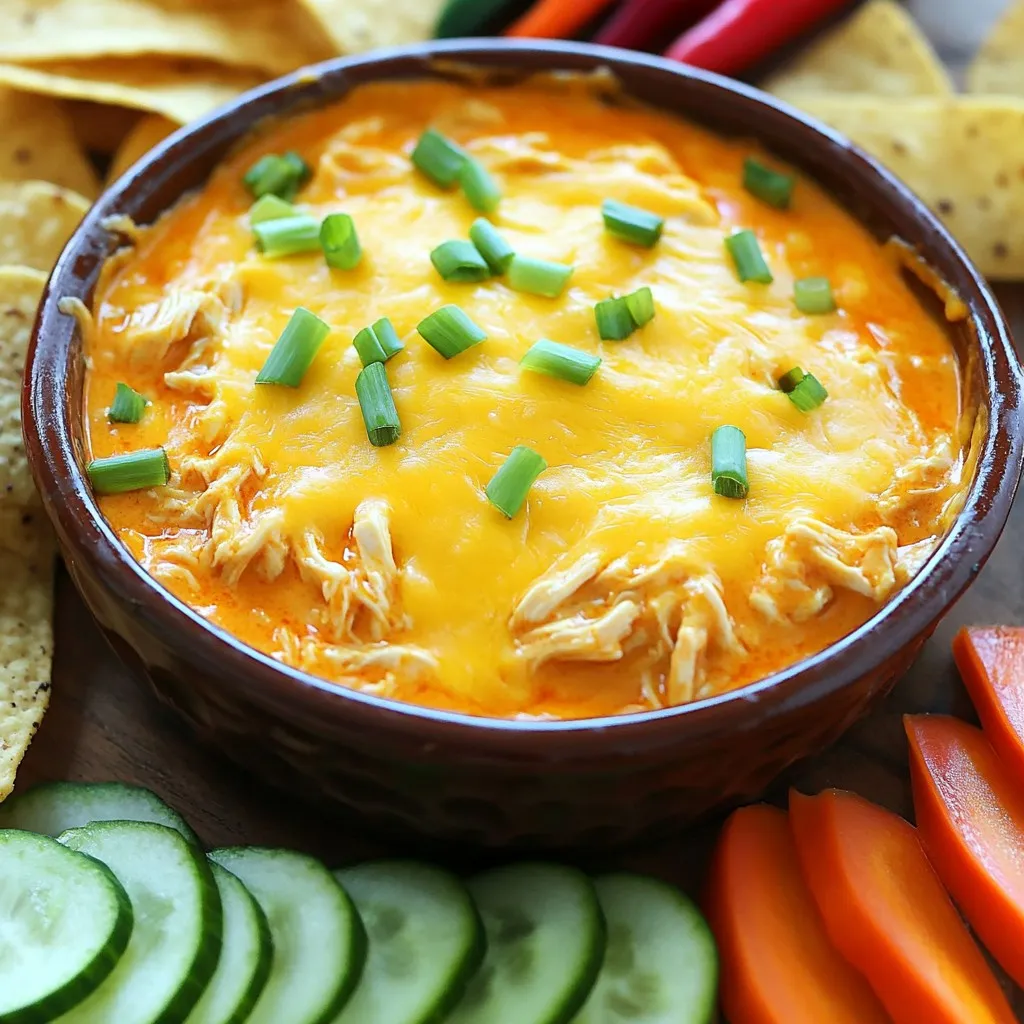
Slow Cooker Buffalo Chicken Dip Tasty Game Day Treat
Get ready for game day with my Slow Cooker Buffalo Chicken Dip! This creamy, spicy dip is easy to make and perfect for sharing. You’ll