Appetizers
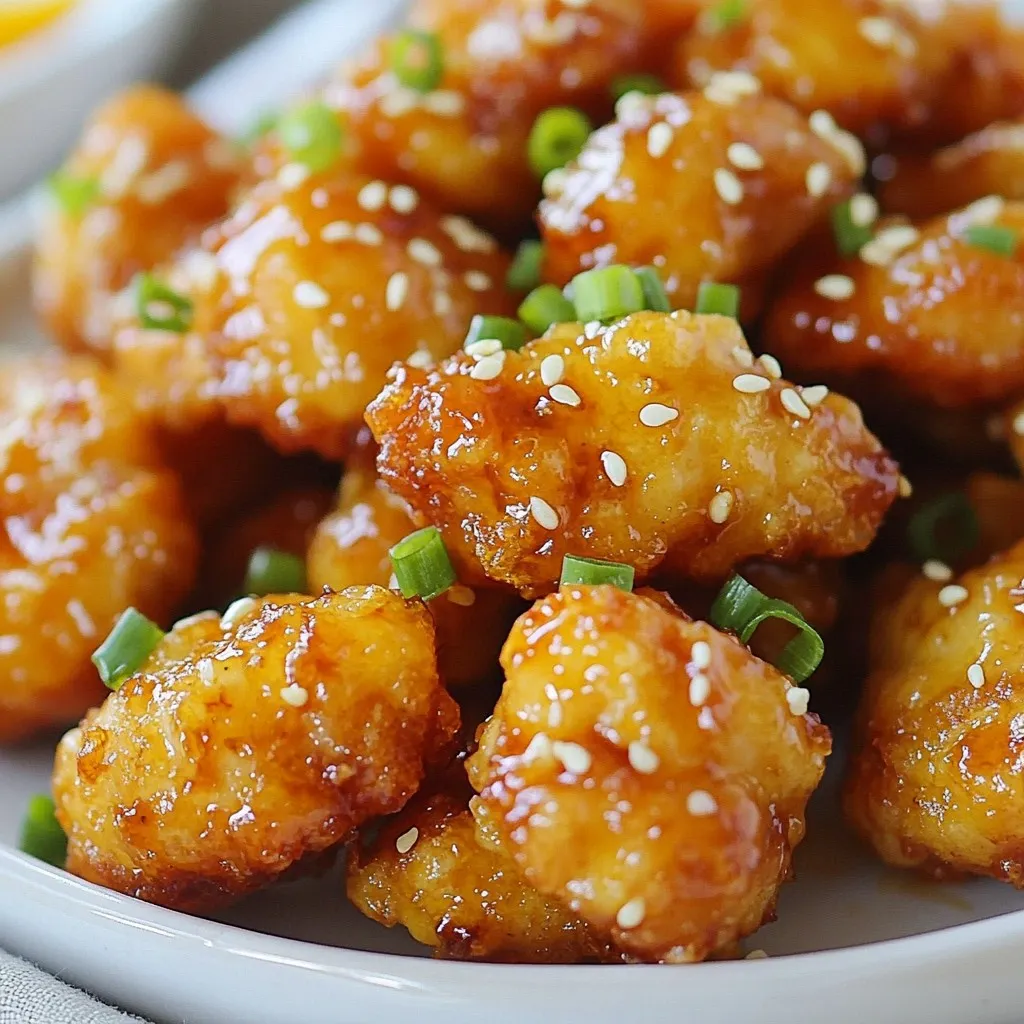
Air Fryer Orange Chicken Bites Flavorful Snack Idea
Looking for a tasty snack that’s quick to make? You’ll love these Air Fryer Orange Chicken Bites! They are crispy, sweet, and packed with flavor.
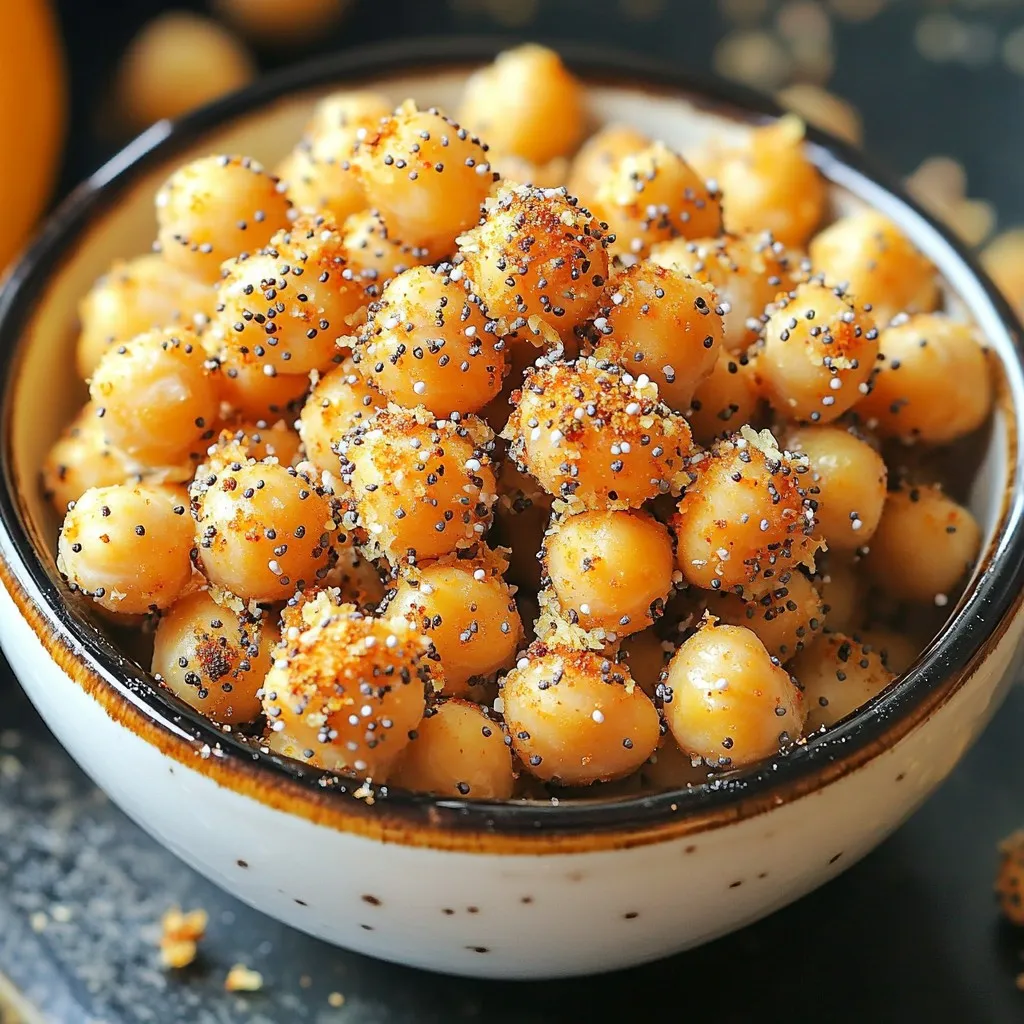
Air Fryer Everything Bagel Chickpeas Simple Snack
Looking for a fun and tasty snack? You’re in for a treat with Air Fryer Everything Bagel Chickpeas! This simple recipe packs a punch of
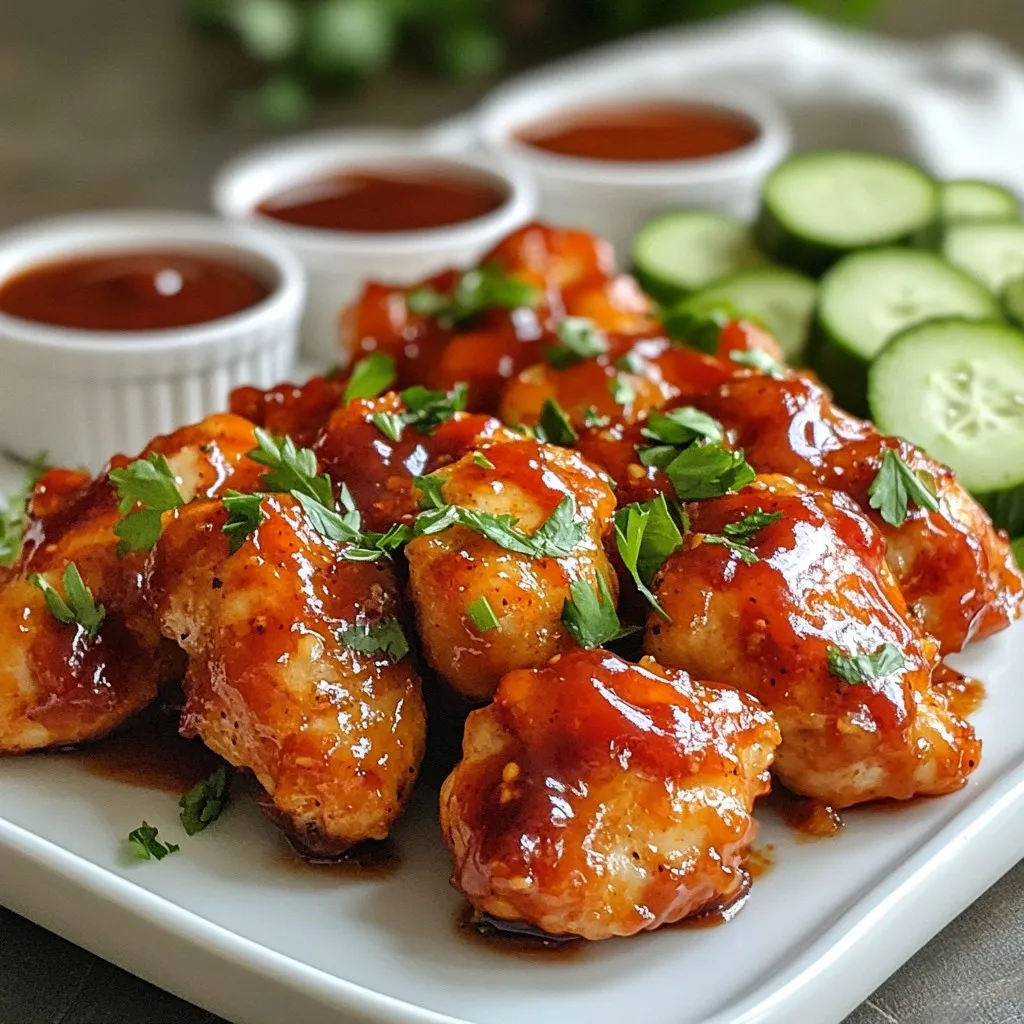
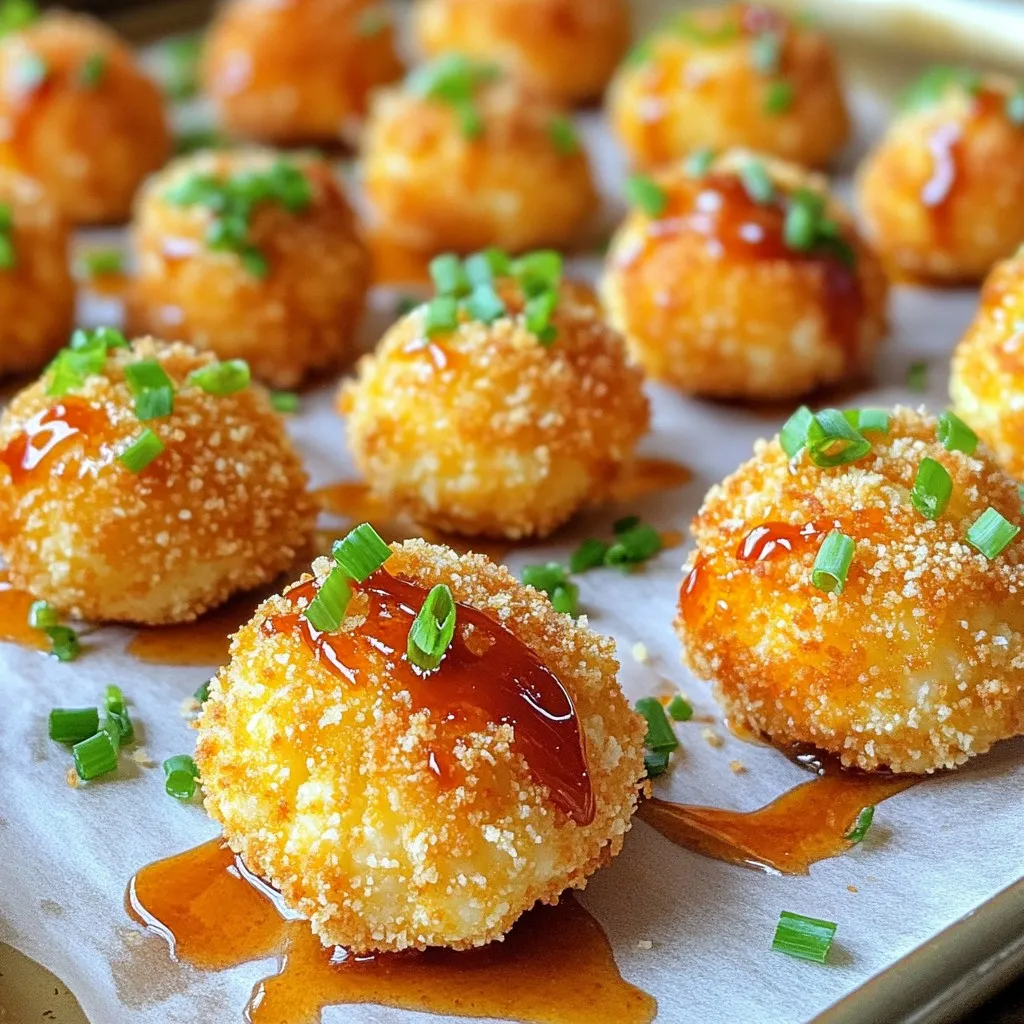
Honey BBQ Chicken Bites Flavorful and Easy Recipe
Are you ready to delight your taste buds with a simple yet flavorful dish? In this post, I’ll guide you through my easy Honey BBQ
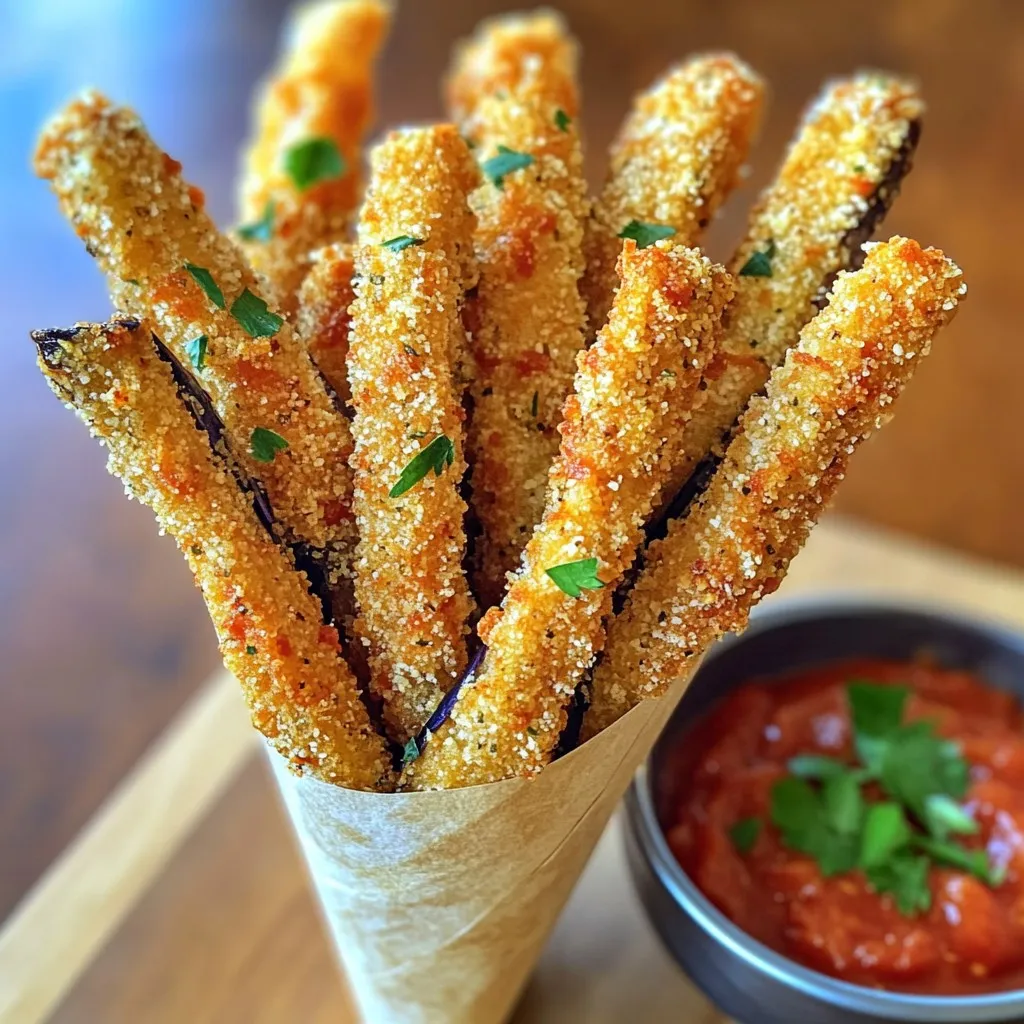
Crispy Parmesan Crusted Eggplant Fries Recipe Guide
If you’re on the hunt for a tasty yet healthy snack, you’ve found it! Crispy Parmesan Crusted Eggplant Fries are the perfect blend of crunch

Caramelized Onion & Gruyère Pull-Apart Bread Delight
Get ready to dive into a warm, cheesy delight! In this post, I’ll guide you through making Caramelized Onion & Gruyère Pull-Apart Bread. This dish
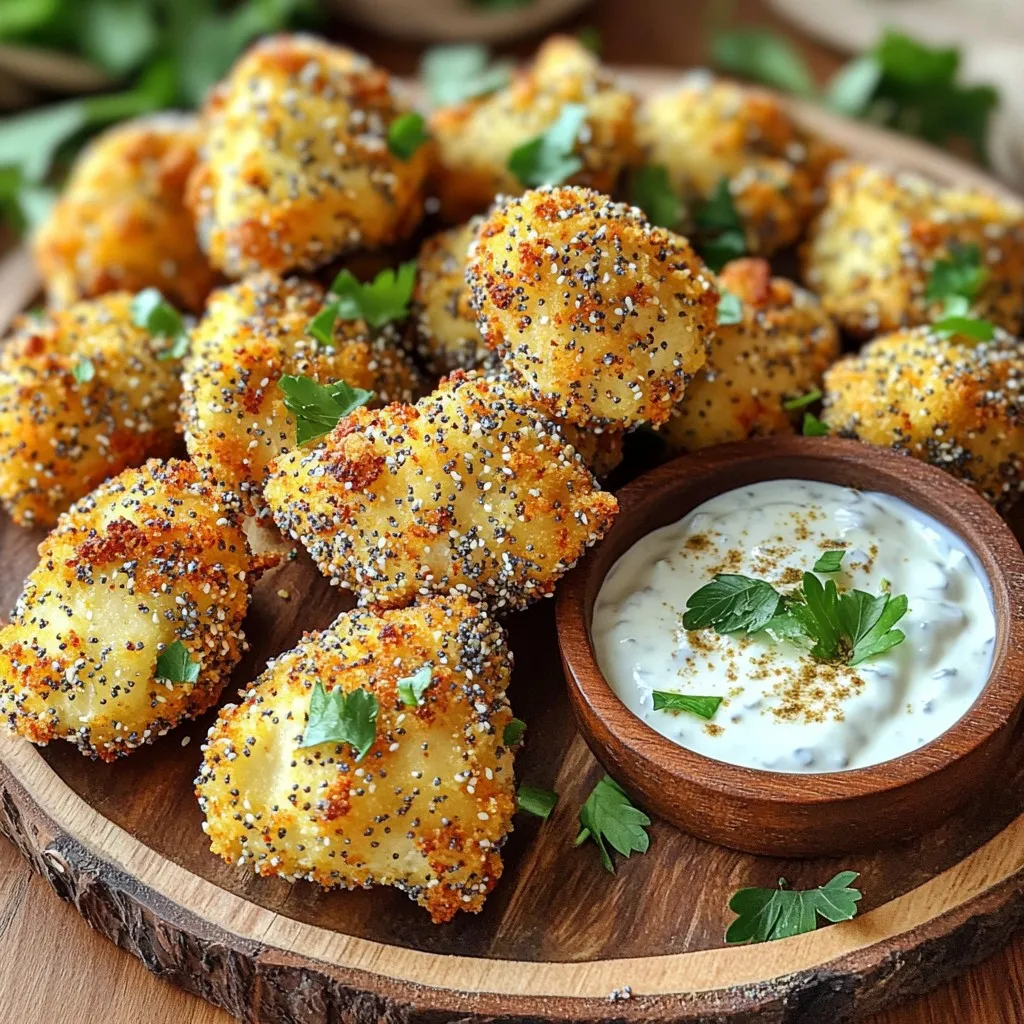
Air Fryer Everything Bagel Chicken Bites Flavor Kick
Get ready to elevate your dinner game with these Air Fryer Everything Bagel Chicken Bites! Packed with flavor and a satisfying crunch, these bites are
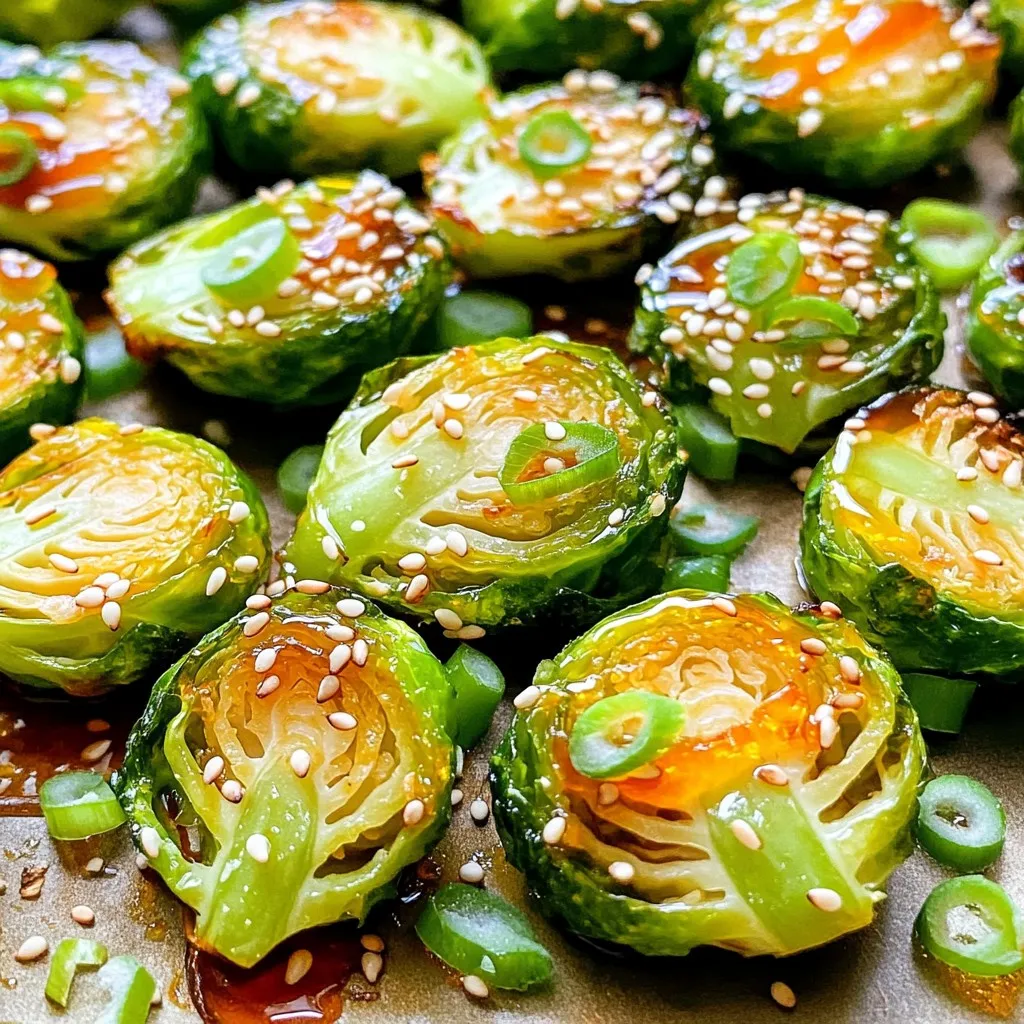
Honey Sriracha Brussels Sprouts Tasty and Easy Recipe
Craving a tasty side that’s both easy to make and packs a punch? Look no further! With just a few simple ingredients, you can whip
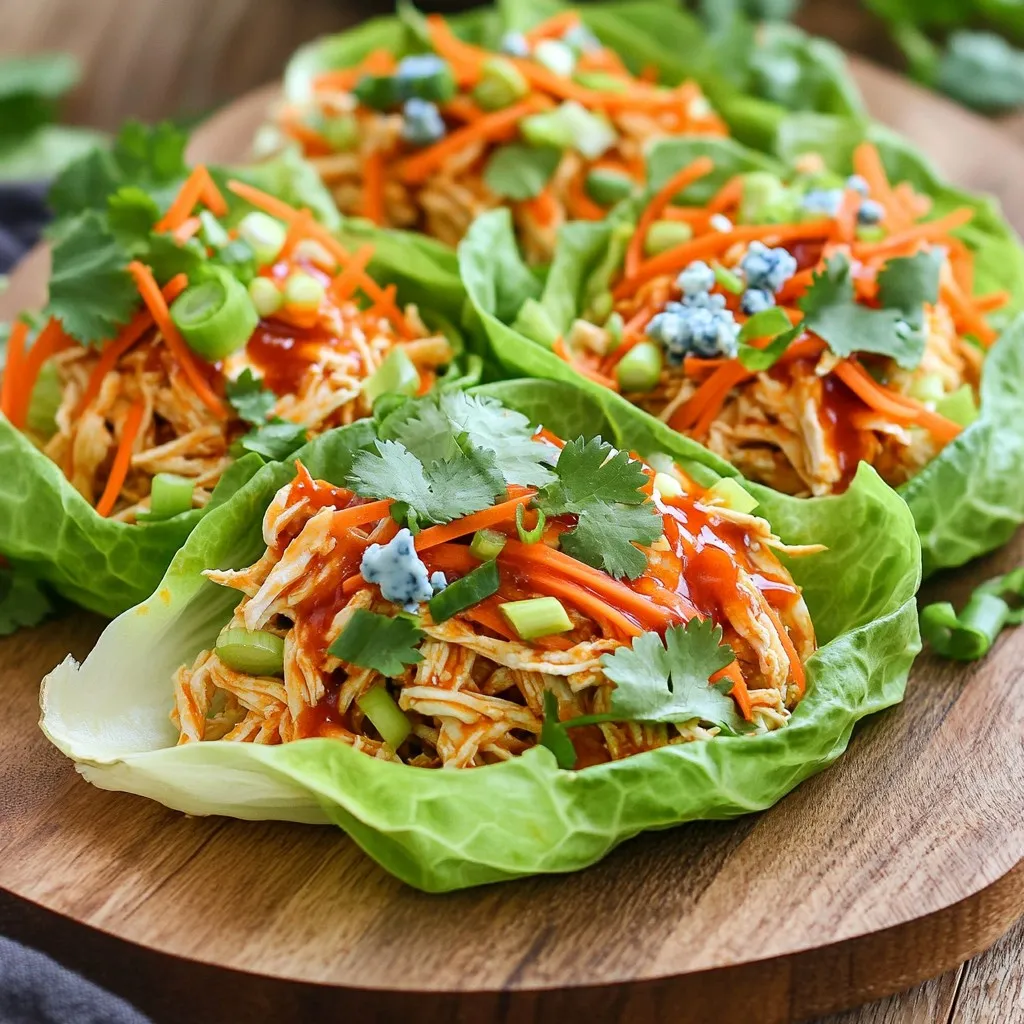
Slow Cooker Buffalo Chicken Lettuce Wraps Tasty Delight
Are you craving a tasty and quick meal? Meet your new favorite dish: Slow Cooker Buffalo Chicken Lettuce Wraps. This simple recipe features tender, juicy
Honey Sriracha Cauliflower Bites Simple Flavor Punch
Are you ready to spice up your snack game? These Honey Sriracha Cauliflower Bites deliver a simple flavor punch that will make your taste buds

Crispy Parmesan Zucchini Fries Easy Homemade Snack
Welcome to a tasty adventure! Today, I’ll show you how to make Crispy Parmesan Zucchini Fries that are easy and fun. These fries are perfect