Appetizers
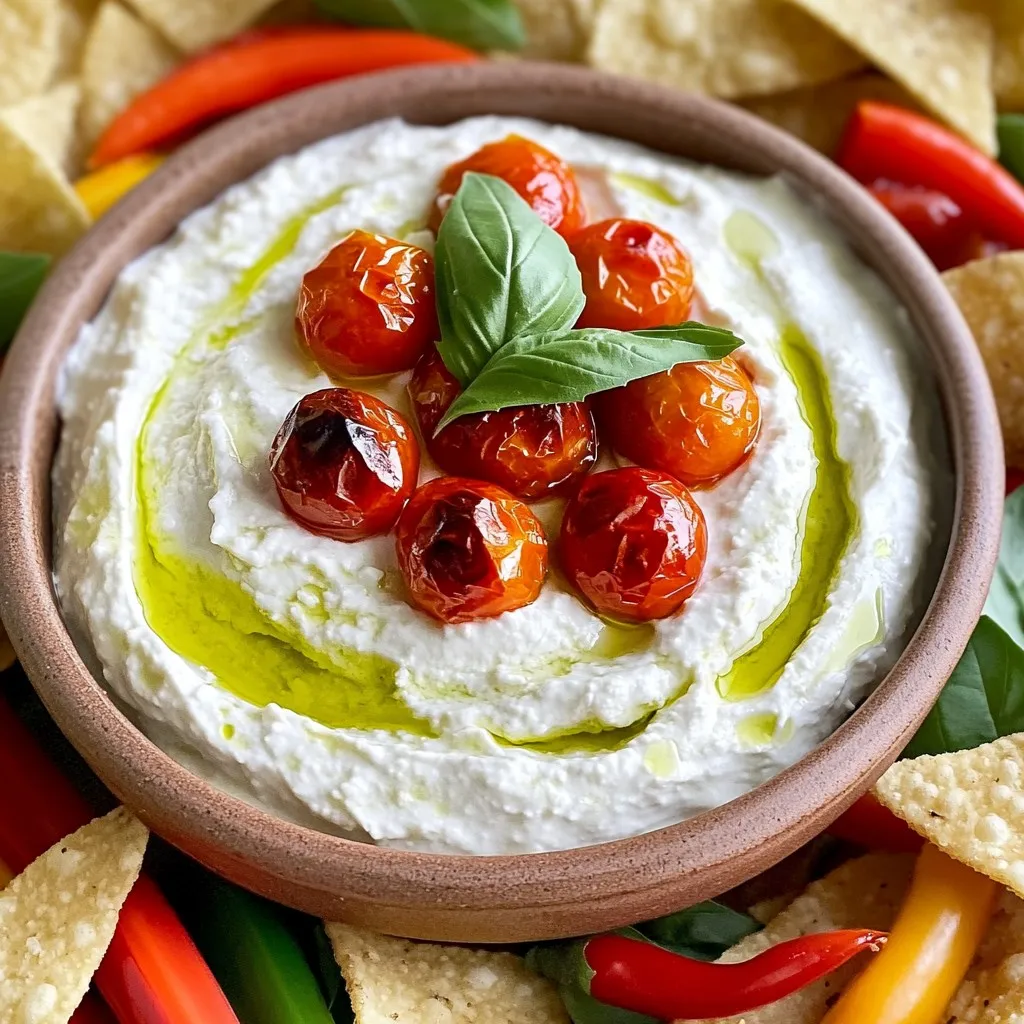
Whipped Feta Roasted Tomato Dip Easy and Flavorful Treat
Craving a dip that’s both easy to make and packed with flavor? Look no further! This Whipped Feta Roasted Tomato Dip combines creamy feta, sweet
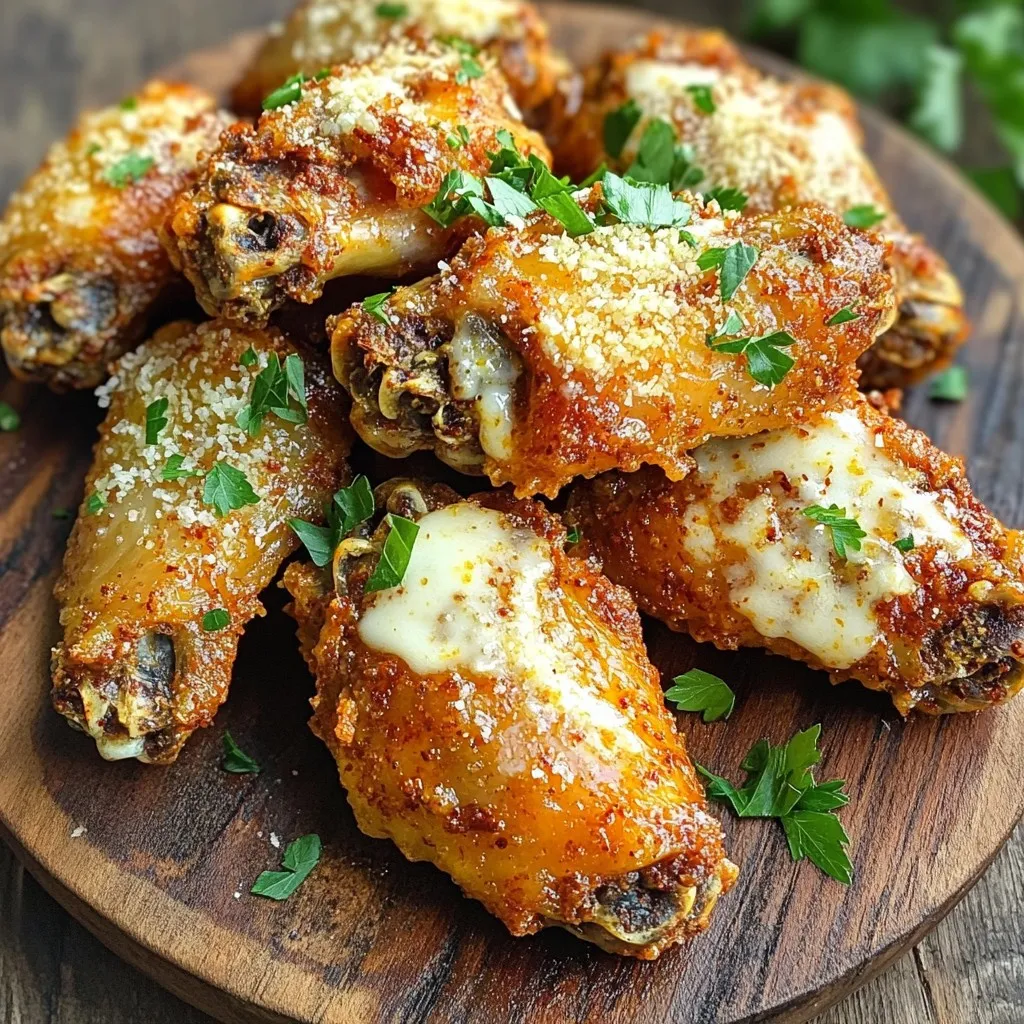
Air Fryer Garlic Parmesan Wings Crispy Flavor Boost
Looking for a quick and tasty snack? My Air Fryer Garlic Parmesan Wings will wow your taste buds! These wings are crispy, flavorful, and packed
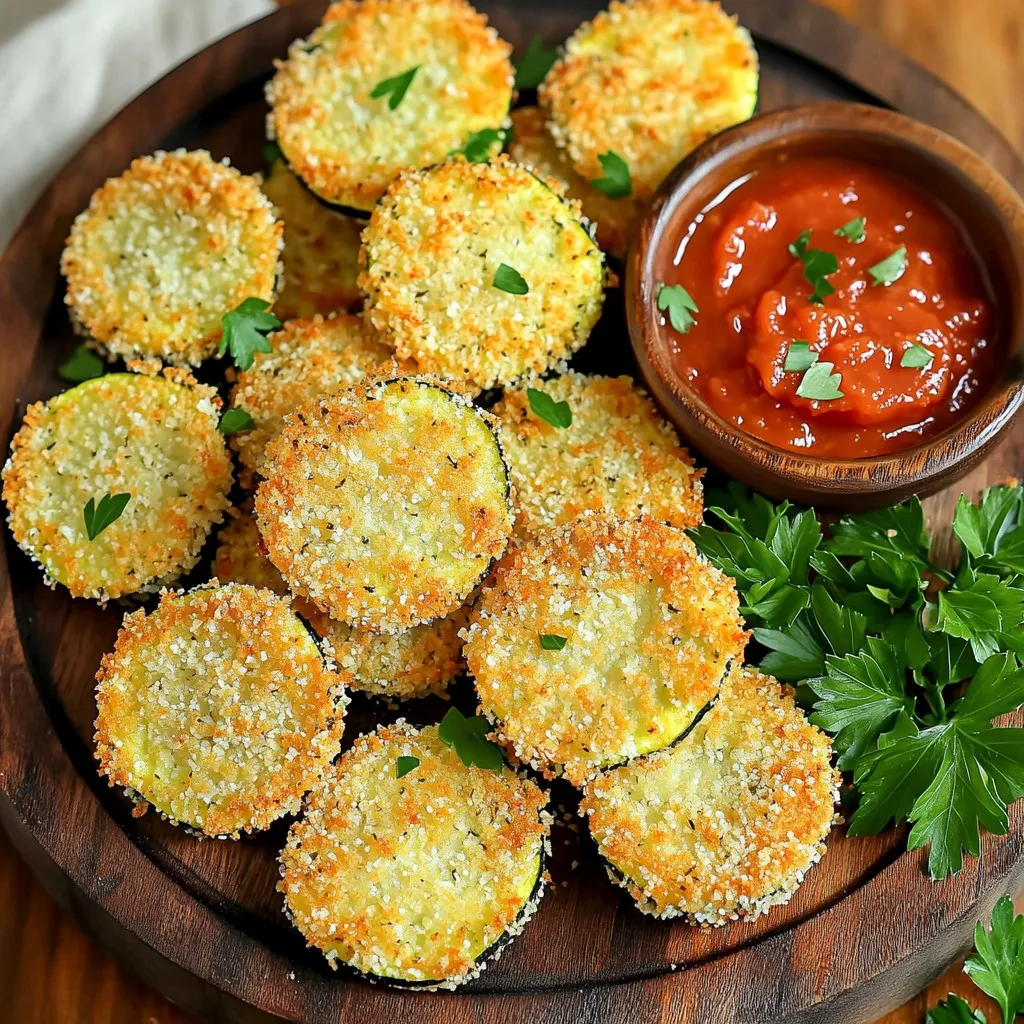
Air Fryer Garlic Breaded Zucchini Crispy Delight
Are you ready to transform simple zucchini into a crispy, tasty treat? My Air Fryer Garlic Breaded Zucchini recipe is here to help! With just
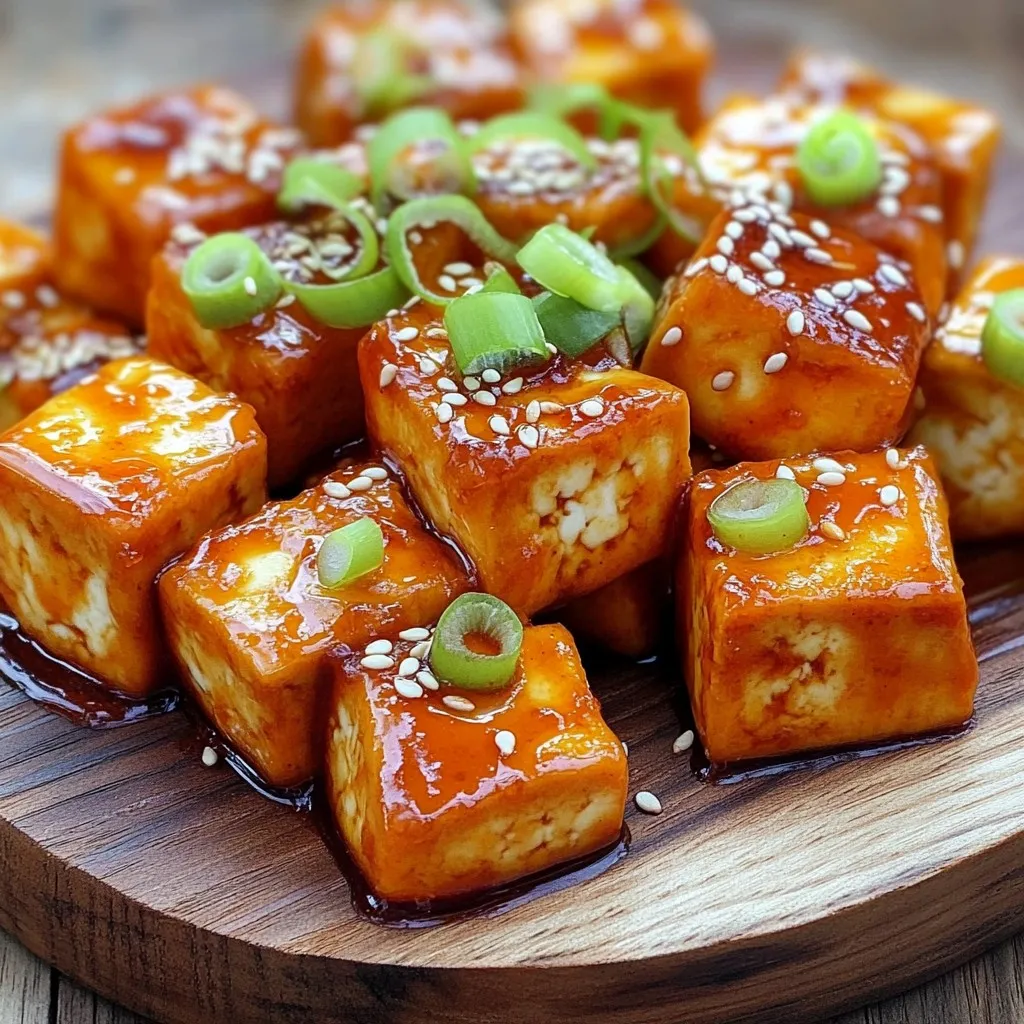
Air Fryer Crispy Honey Sriracha Tofu Delight
Are you craving a dish that’s bursting with flavor and crunch? My Air Fryer Crispy Honey Sriracha Tofu Delight will satisfy your taste buds and
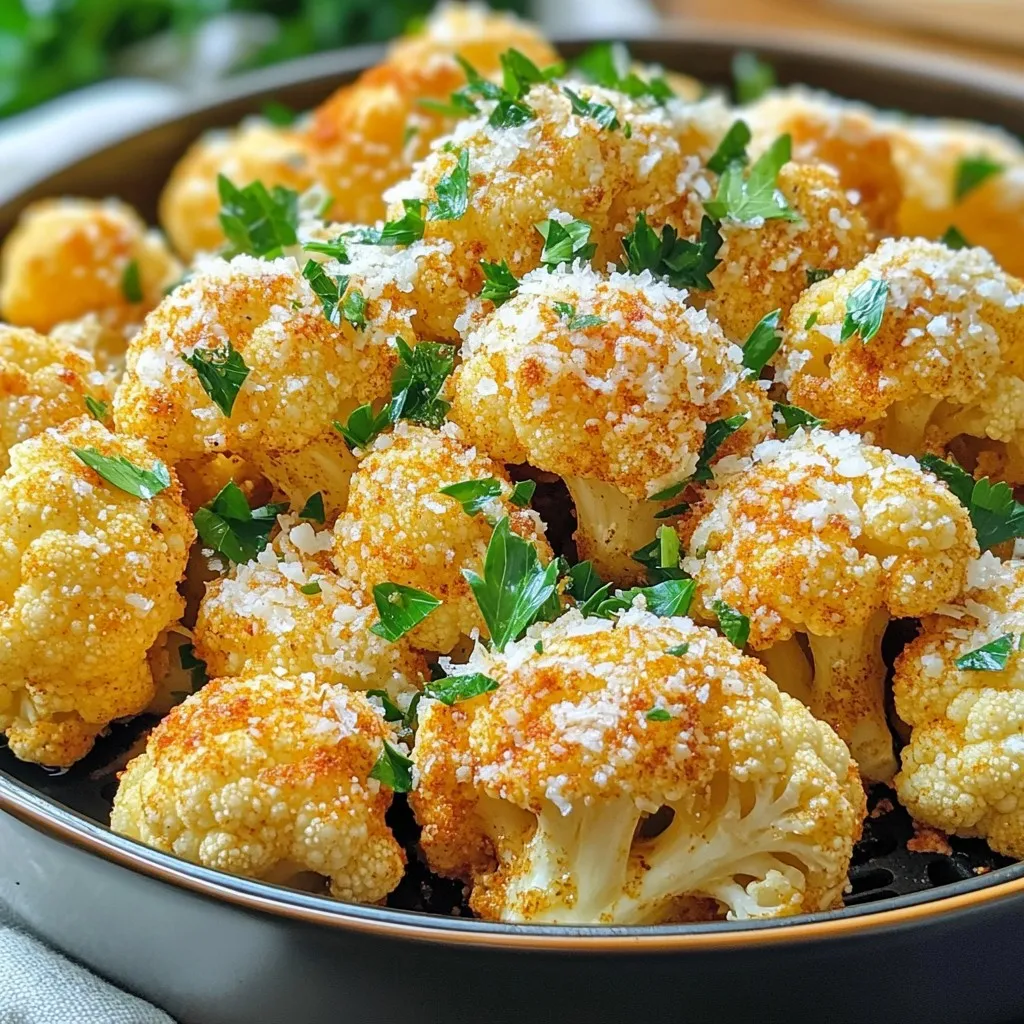
Air Fryer Garlic Parmesan Cauliflower Tasty Side Dish
Are you ready to elevate your dinner table? This Air Fryer Garlic Parmesan Cauliflower is a delicious side dish that’s simple to make and will
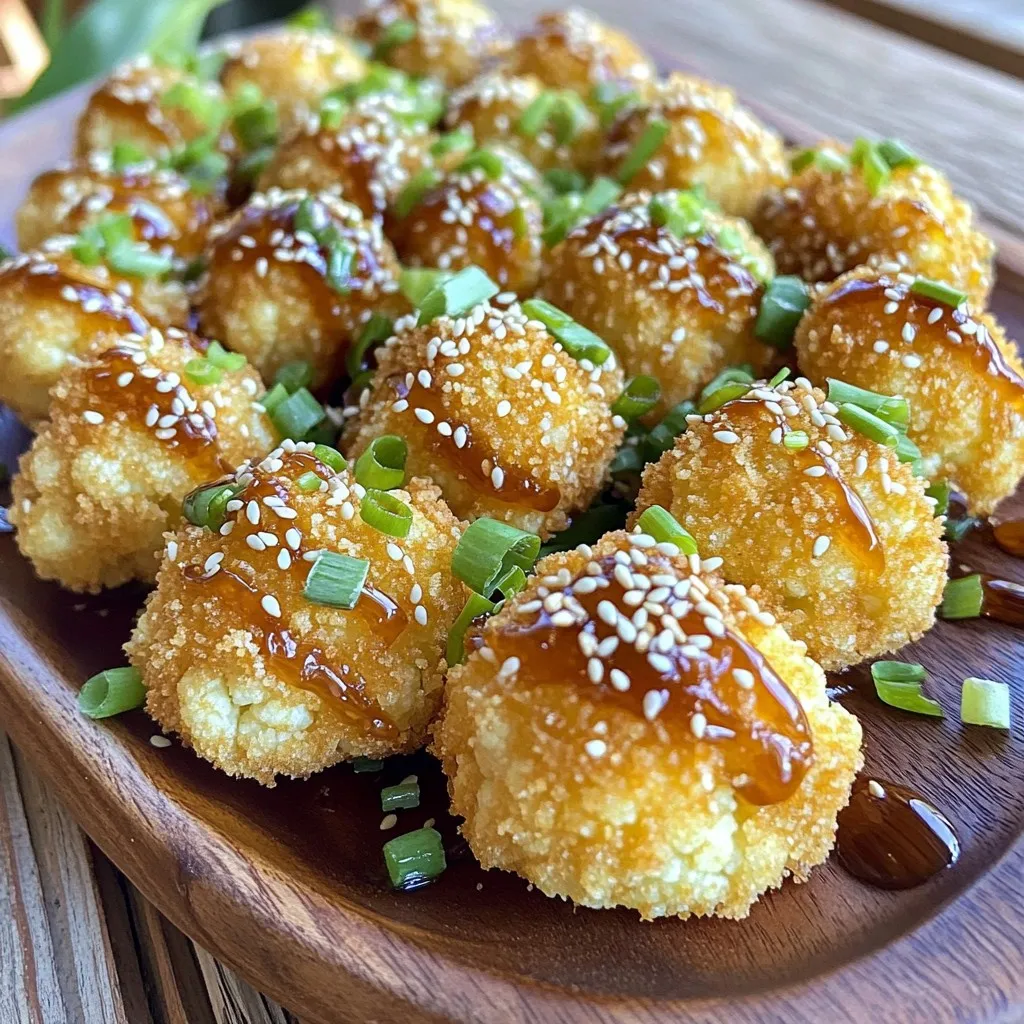
Crispy Asian Sesame Cauliflower Bites Recipe Delight
Looking for a tasty snack that packs a crunch? My Crispy Asian Sesame Cauliflower Bites are the answer! This easy recipe transforms cauliflower into a
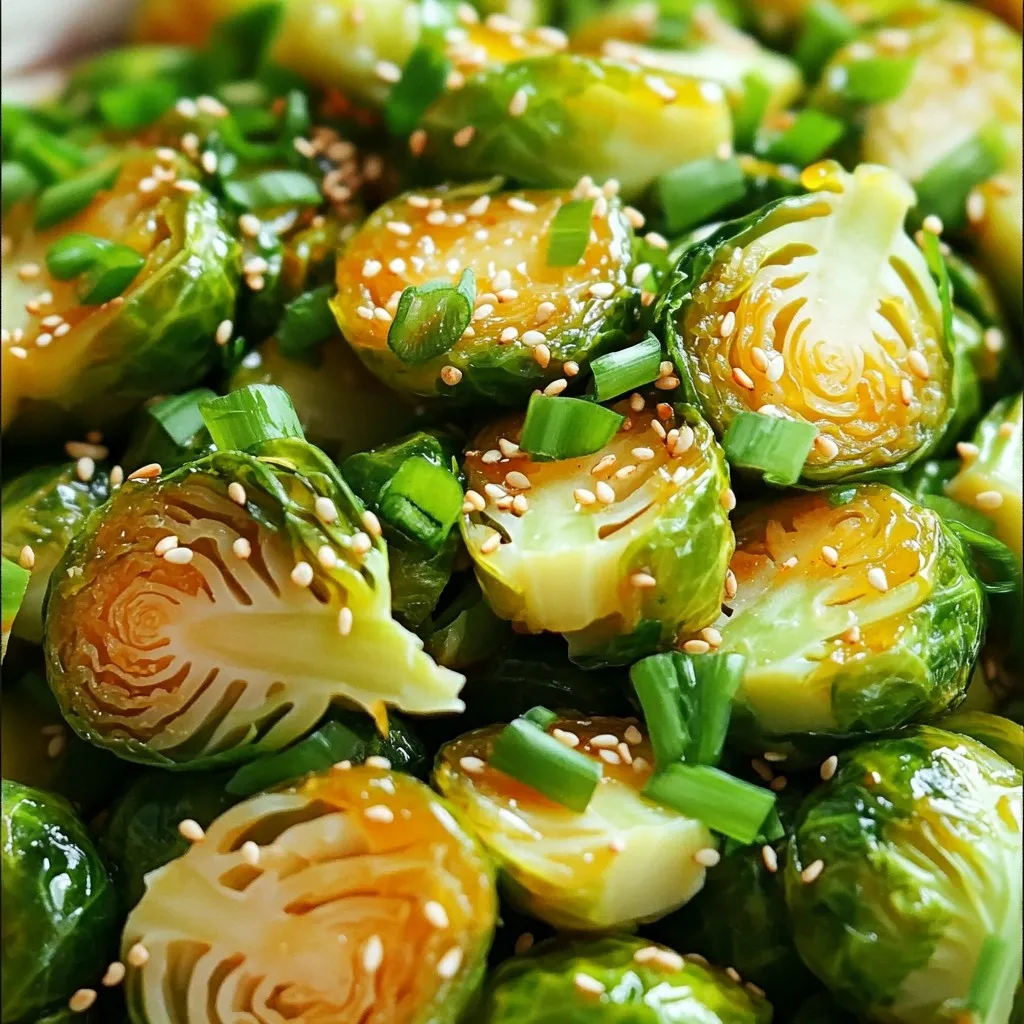
Honey Sriracha Brussels Sprouts Air Fryer Delight
If you’re looking for a tasty and easy side dish, you need to try these Honey Sriracha Brussels Sprouts! With an air fryer, you can
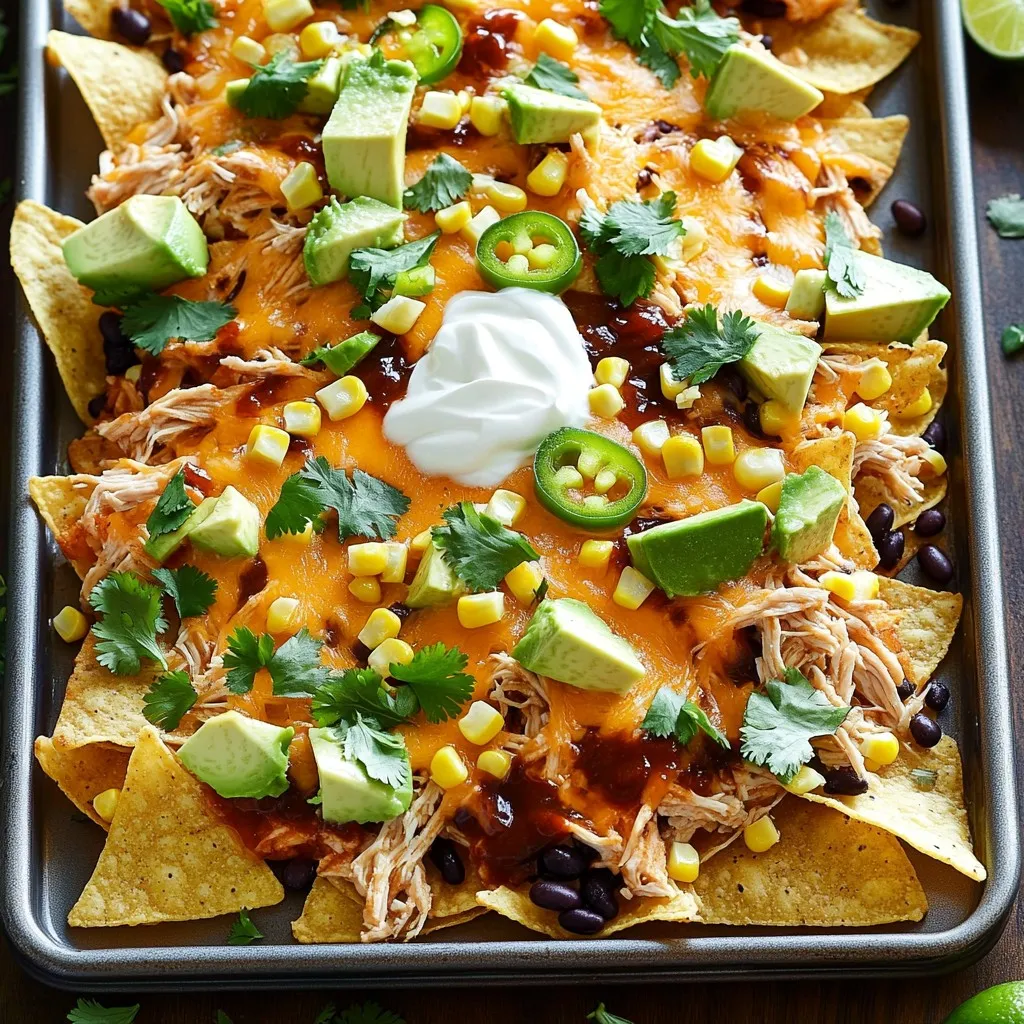
Sheet Pan BBQ Chicken Nachos Flavorful Family Feast
Welcome to a dish that brings family together: Sheet Pan BBQ Chicken Nachos! If you love bold flavors and crispy chips, this meal is for
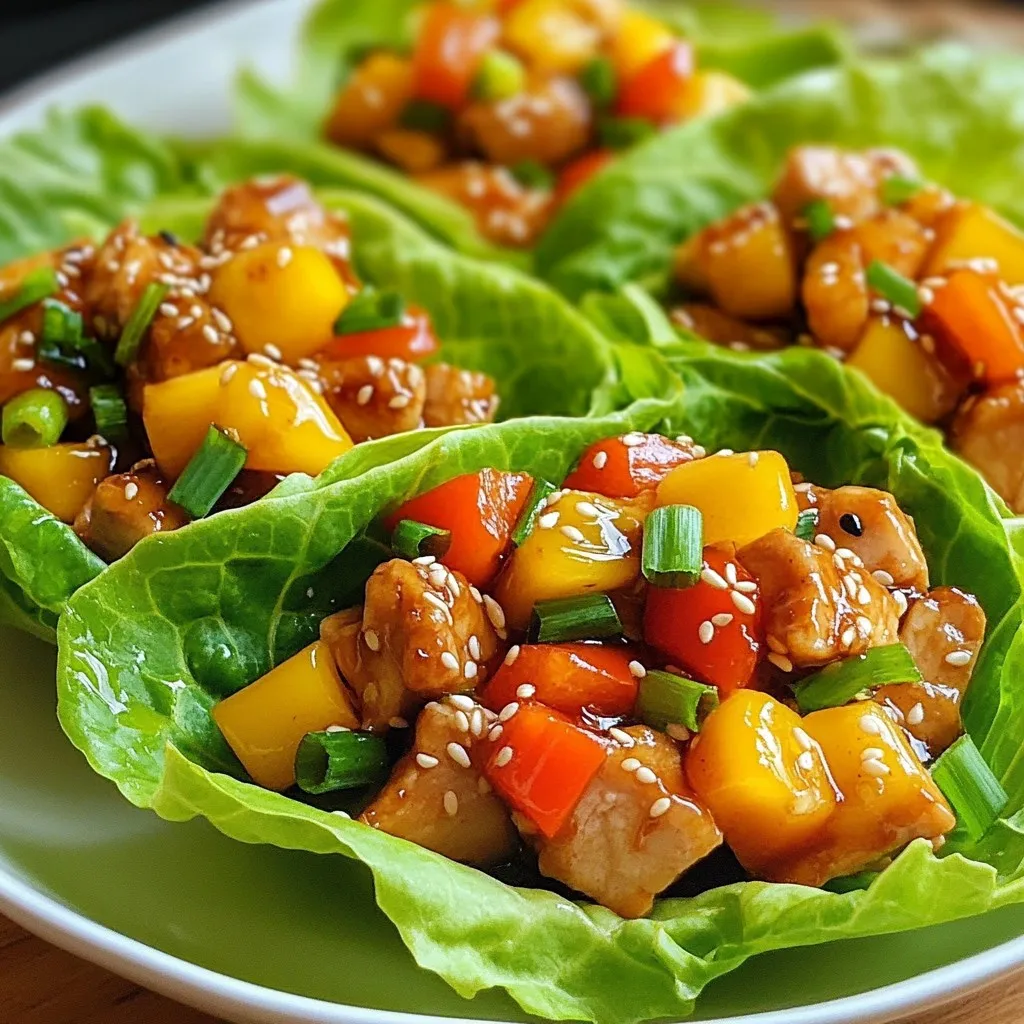
Teriyaki Chicken Lettuce Cups Fresh and Flavorful Meal
Are you ready for a fresh and flavorful meal? Teriyaki Chicken Lettuce Cups are the perfect solution! Packed with tender chicken, crunchy veggies, and a
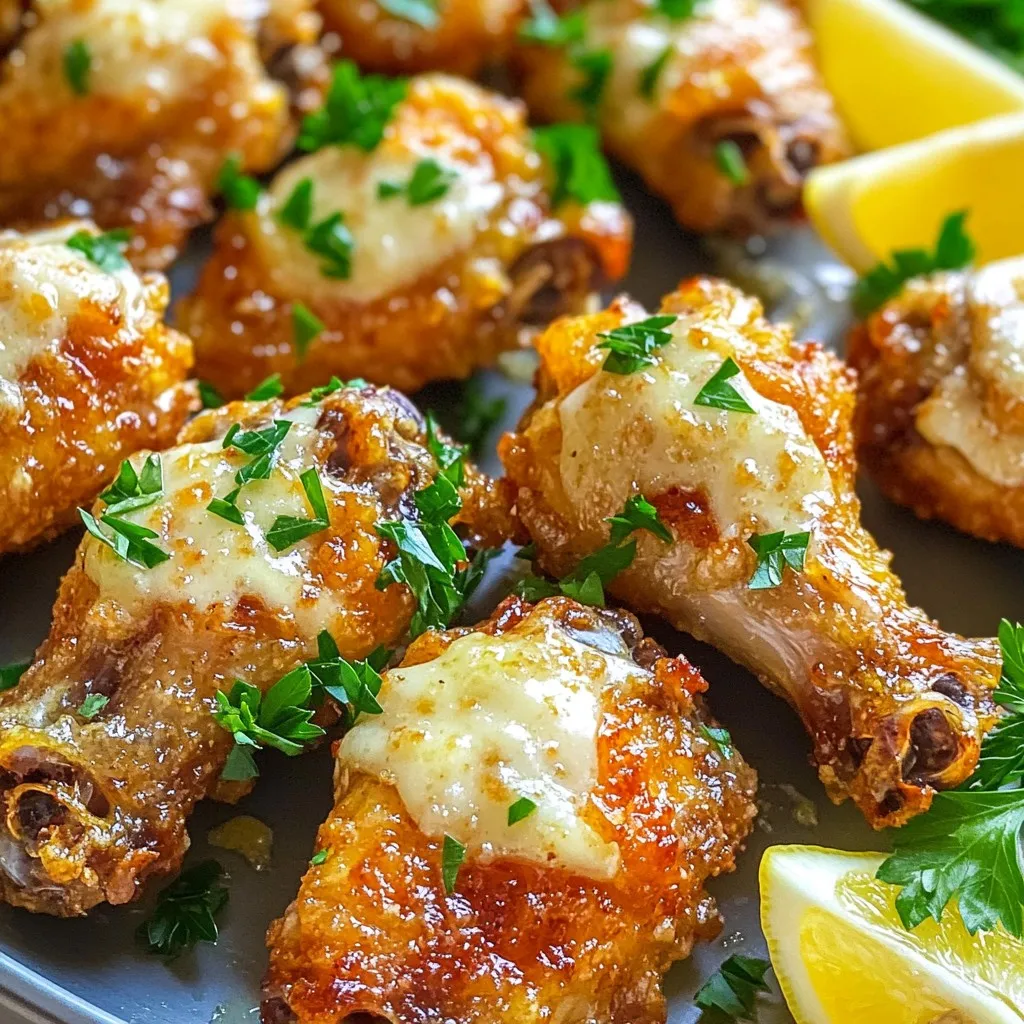
Air Fryer Garlic Parmesan Chicken Wings Delight
If you love crispy chicken wings, you’re in for a treat! In this blog, I’ll show you how to make Air Fryer Garlic Parmesan Chicken