Appetizers
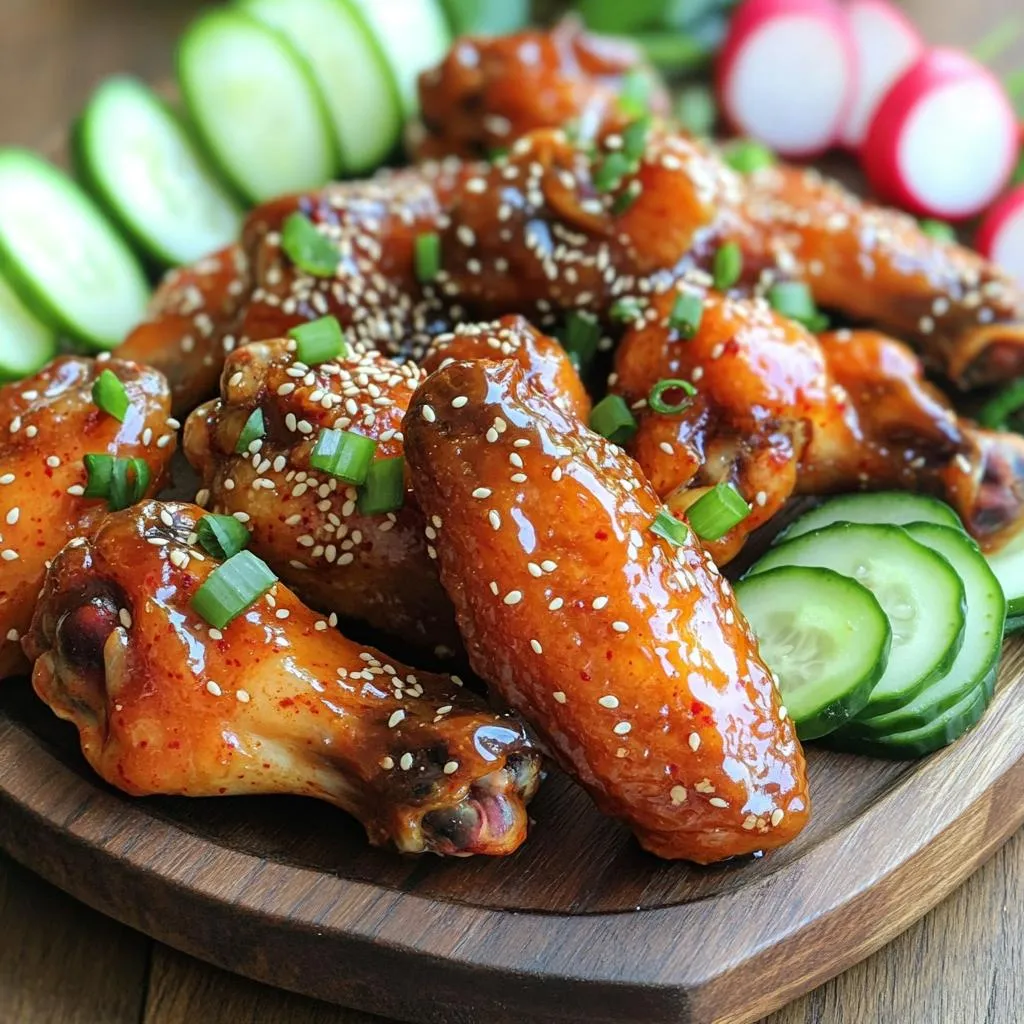
Savory Spicy Korean BBQ Chicken Wings Recipe
Get ready to spice up your game day or dinner table with my Savory Spicy Korean BBQ Chicken Wings recipe! These wings pack a punch
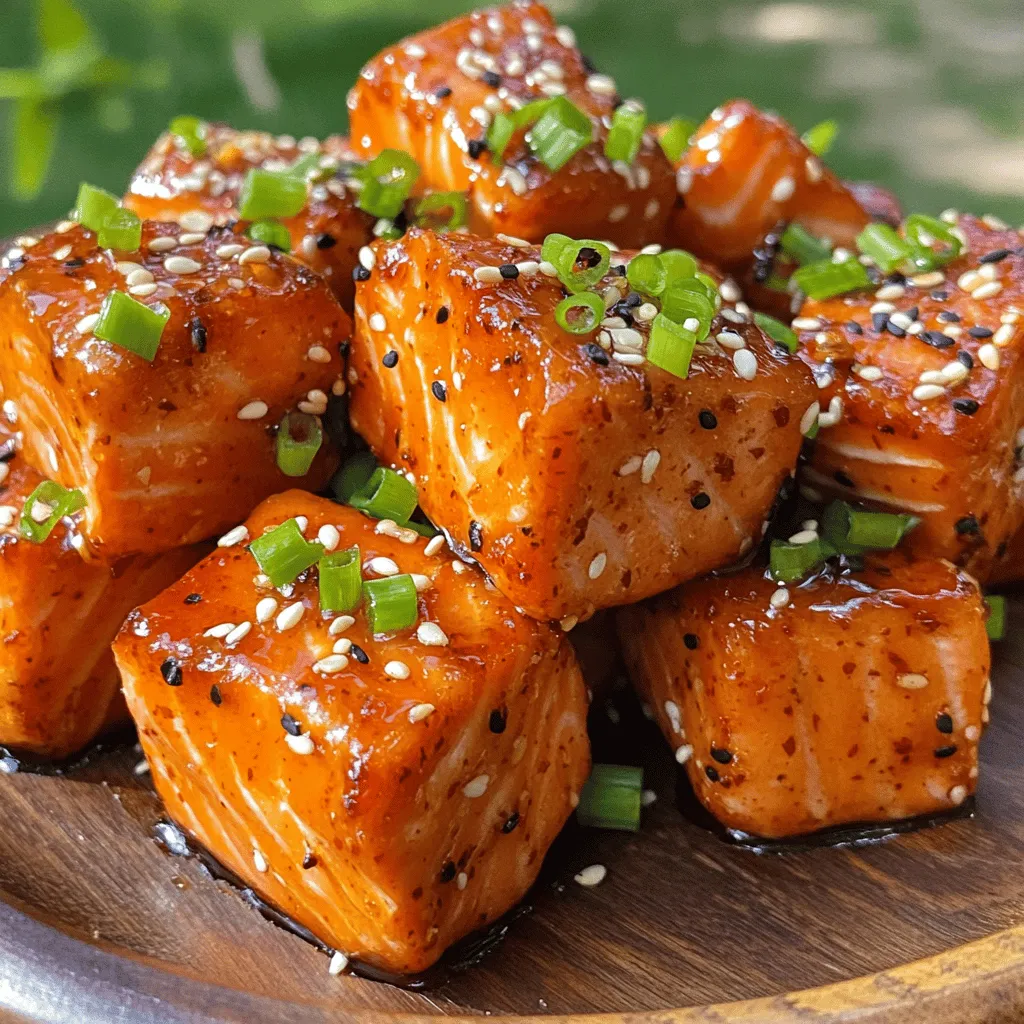
Air Fryer Honey Sriracha Salmon Bites Flavorful Treat
Looking for a flavor-packed treat that’s easy to make? Try my Air Fryer Honey Sriracha Salmon Bites! They combine sweet honey and spicy Sriracha for
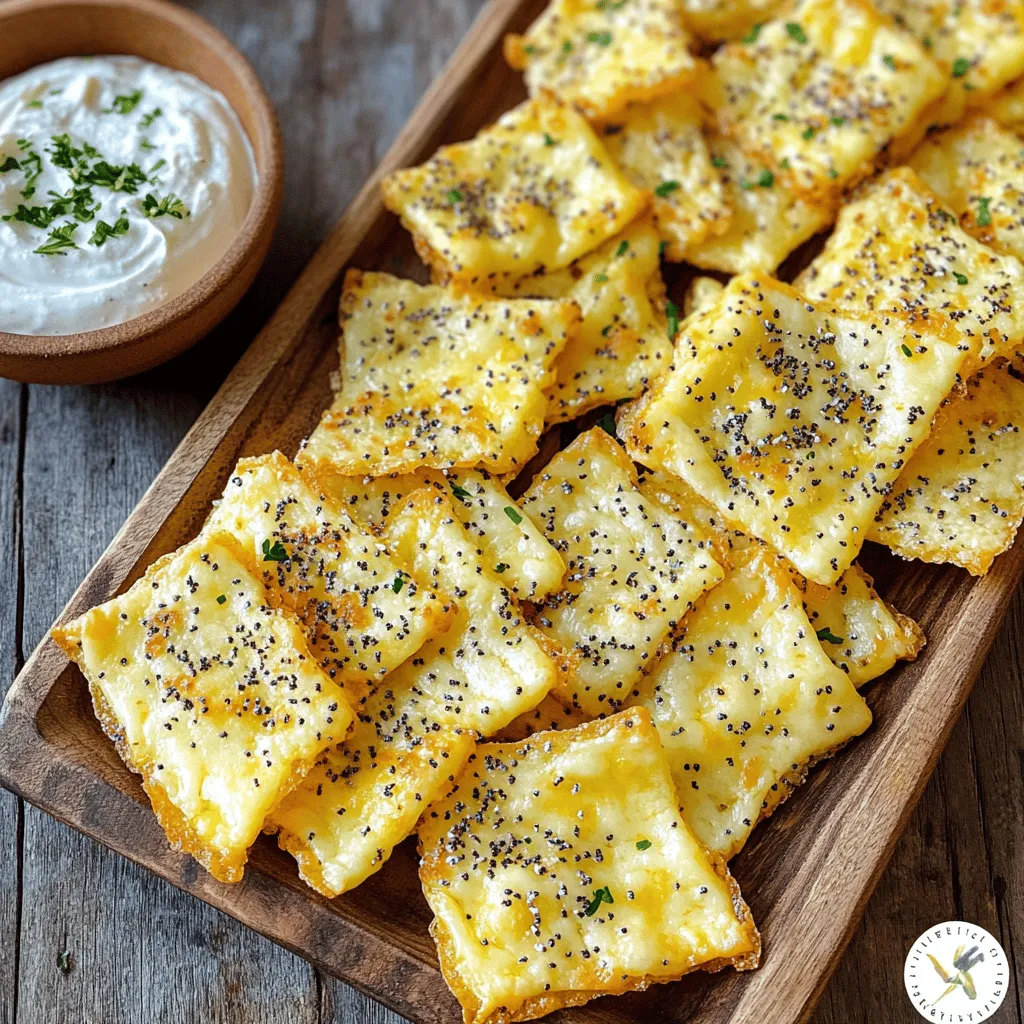
Keto Everything Bagel Cheese Chips Crispy Snack Treat
Looking for a crispy snack that fits your keto lifestyle? Try my Keto Everything Bagel Cheese Chips! This savory treat uses just a few simple
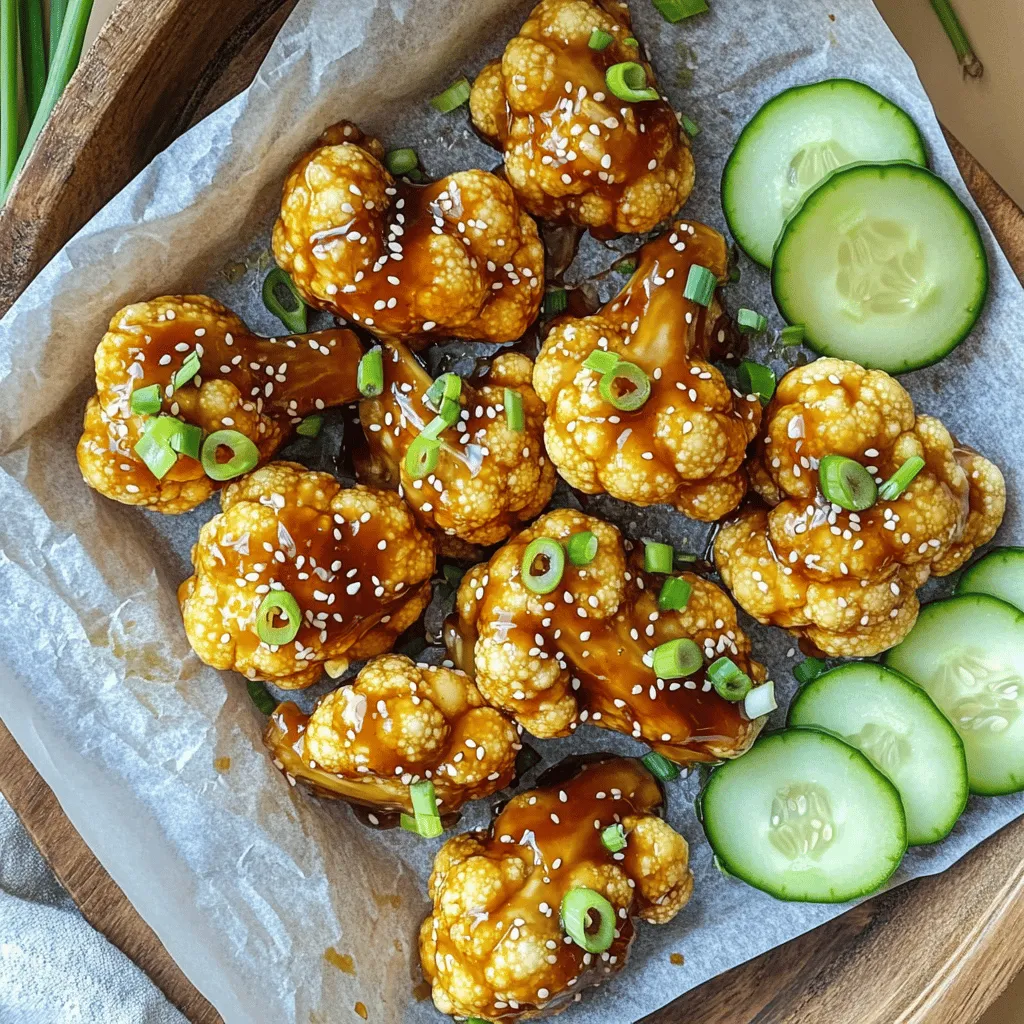
Savory Air Fryer Teriyaki Cauliflower Wings Recipe
If you’re looking for a tasty snack that’s also healthy, I’ve got the perfect recipe for you. My Savory Air Fryer Teriyaki Cauliflower Wings are
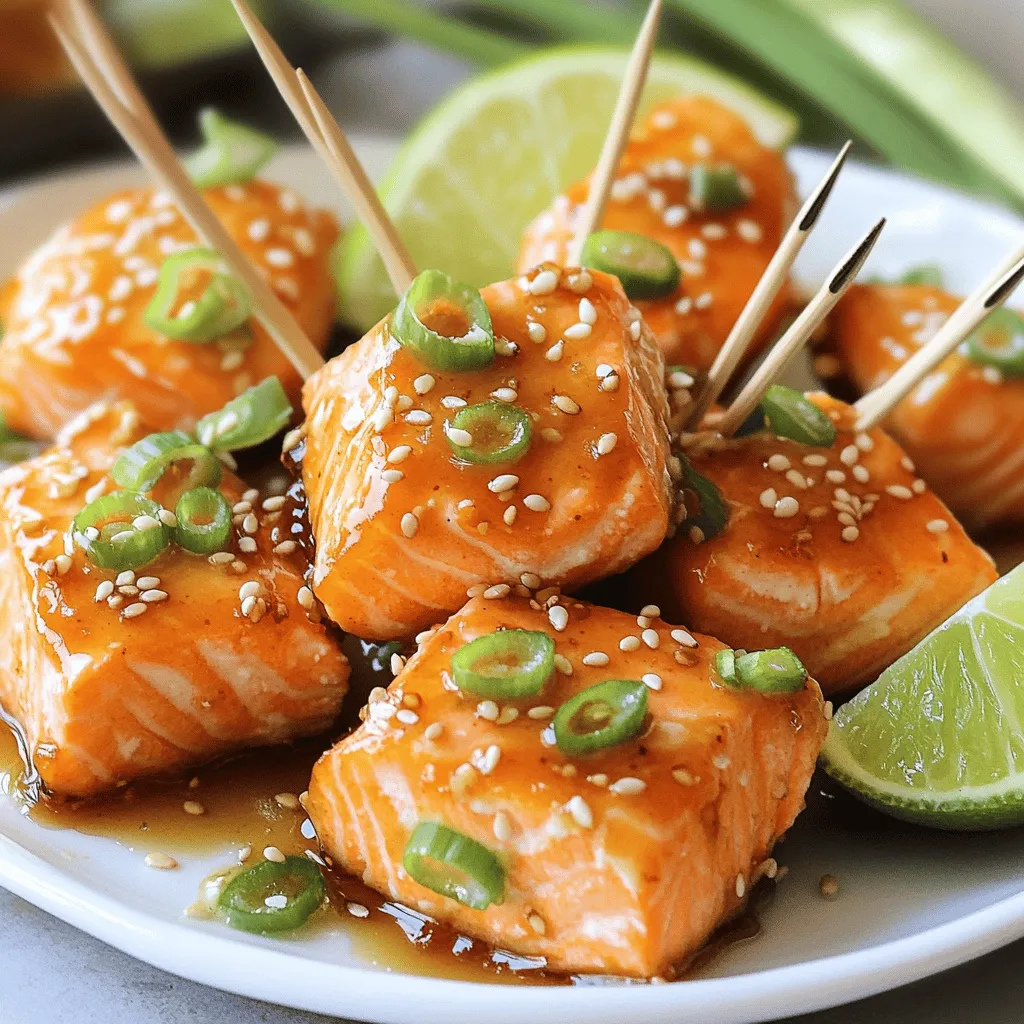
Minute Honey Garlic Salmon Bites Quick and Tasty Treat
Are you ready for a quick and tasty treat? These Minute Honey Garlic Salmon Bites are a game changer! With just a few simple ingredients
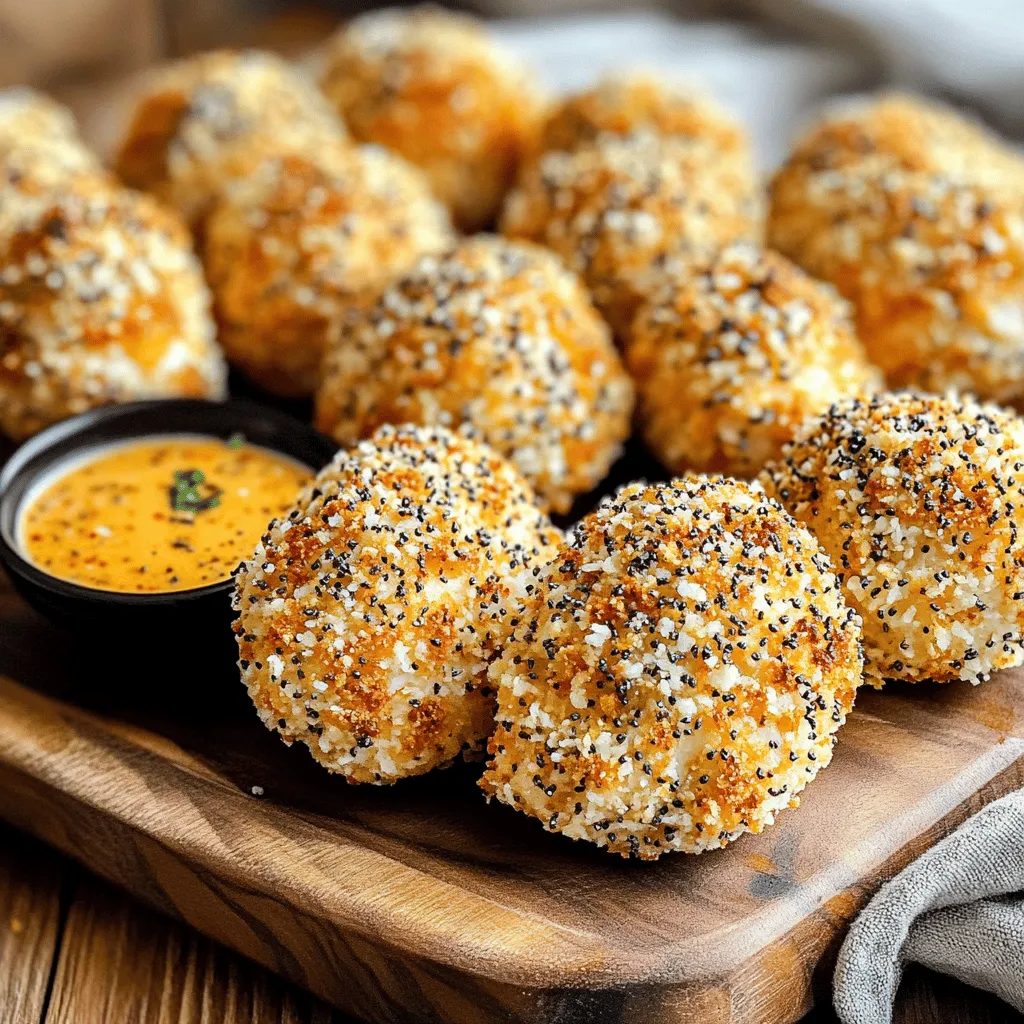
Air Fryer Everything Bagel Chicken Bites Recipe
Looking for a tasty snack that’s easy to make? These Air Fryer Everything Bagel Chicken Bites are perfect! You get juicy chicken coated in a

Cheesy Garlic Pull-Apart Flatbread Irresistible Delight
Are you ready to make a snack that everyone will love? This Cheesy Garlic Pull-Apart Flatbread is easy, fun, and packed with flavor. You’ll enjoy
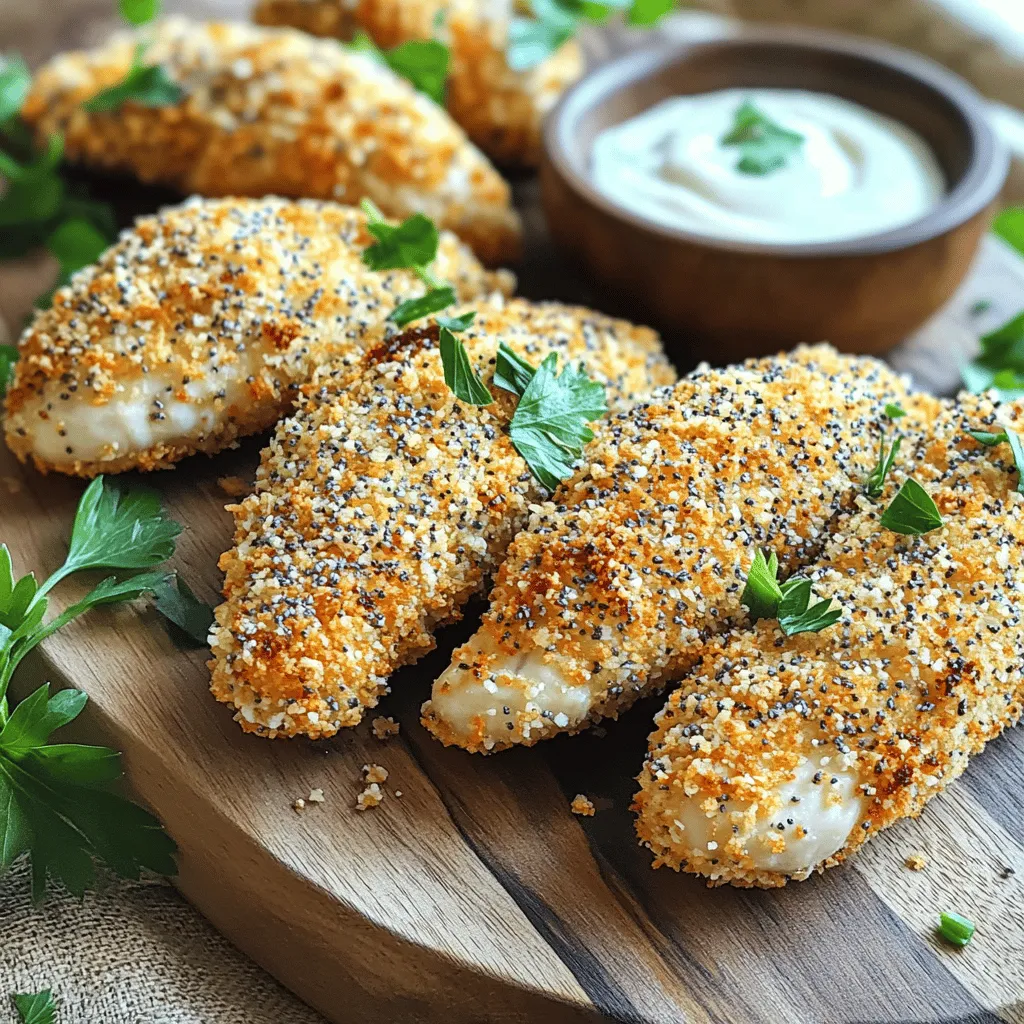
Air Fryer Everything Bagel Chicken Tenders Crispy Treat
Craving a crispy treat that packs flavor? Look no further! My Air Fryer Everything Bagel Chicken Tenders combine the crunch of panko breadcrumbs with savory
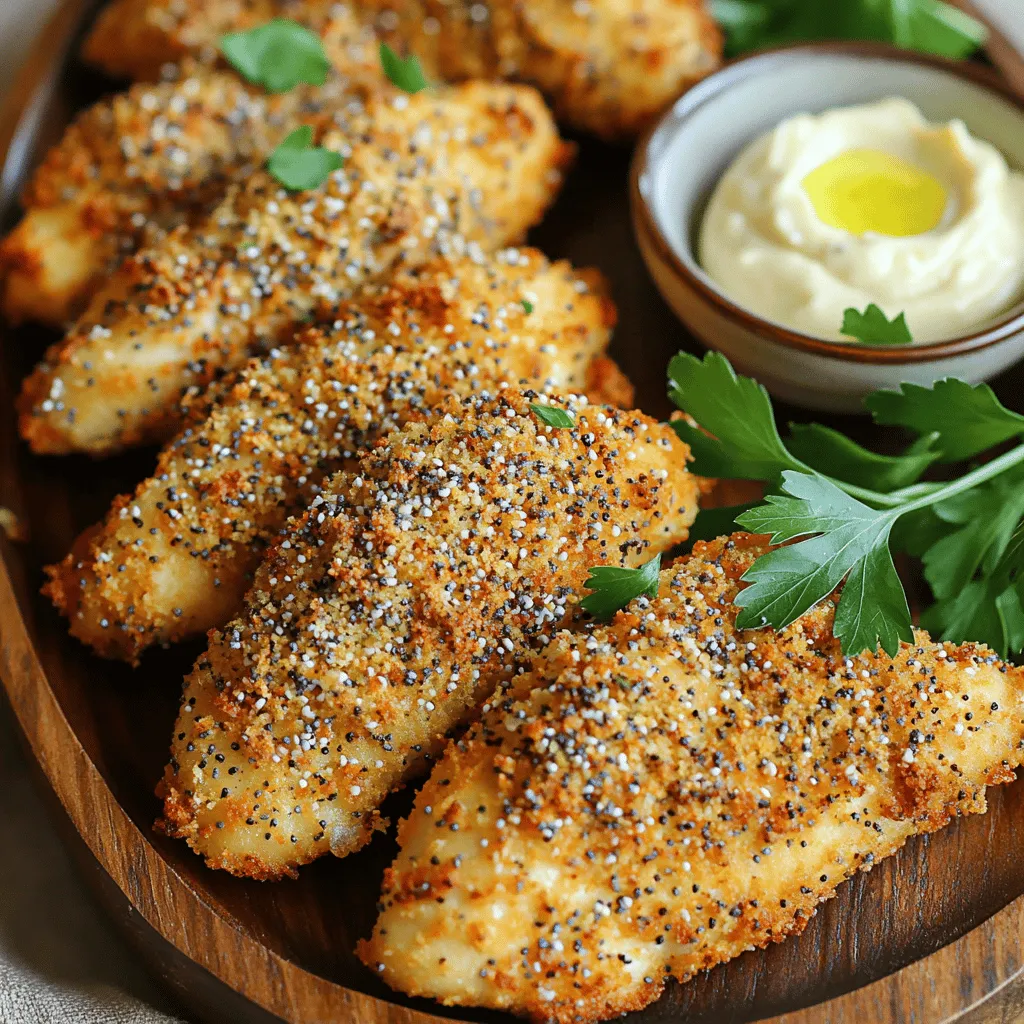
Air Fryer Everything Bagel Chicken Tenders Recipe
Looking for a fun and tasty way to cook chicken? Try my Air Fryer Everything Bagel Chicken Tenders! This recipe combines juicy chicken with the

Air Fryer Buffalo Chicken Meatballs Tasty and Easy Recipe
If you crave flavor and ease in the kitchen, you’ll love my Air Fryer Buffalo Chicken Meatballs recipe. These meatballs pack a spicy punch and