Appetizers
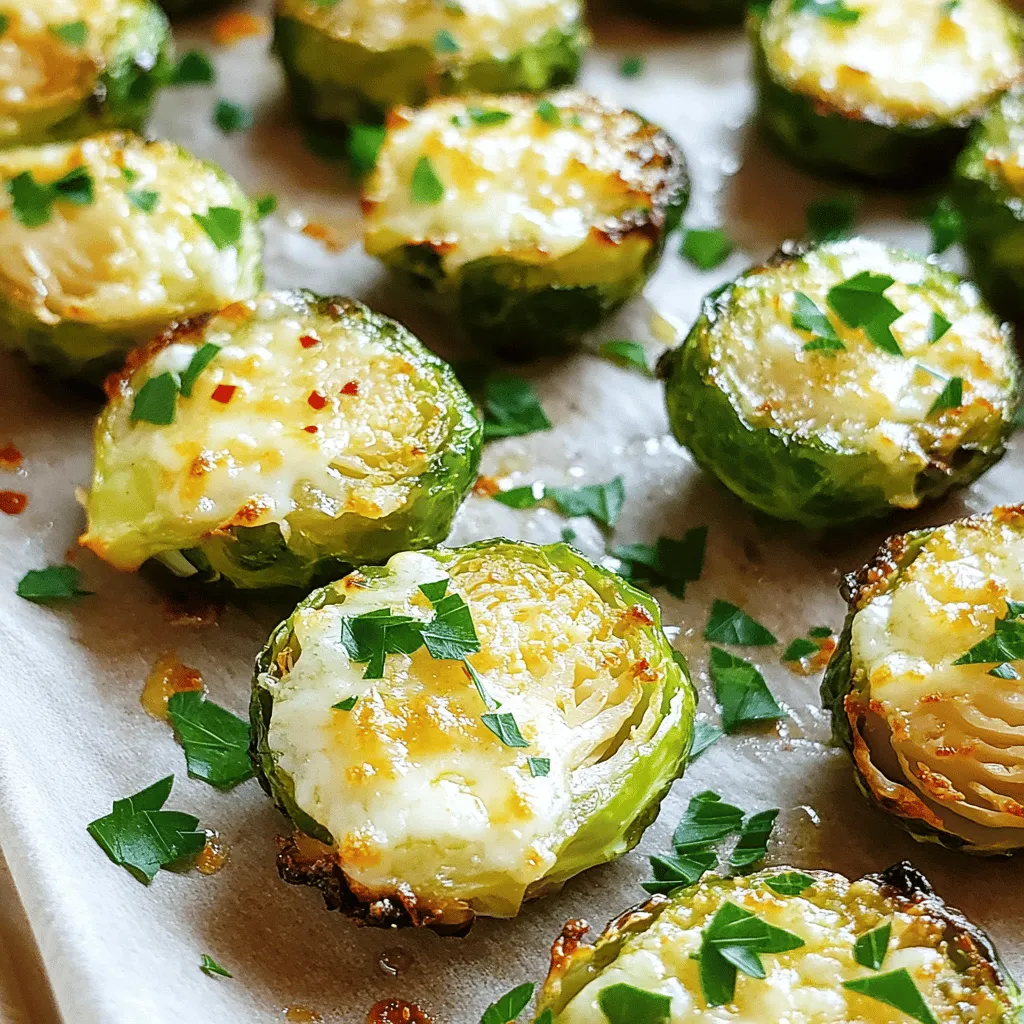
Garlic Parmesan Roasted Brussels Sprouts Delight
Looking for a tasty side dish that will impress your family? Garlic Parmesan Roasted Brussels Sprouts Delight is your answer! These sprouts are crispy, savory,
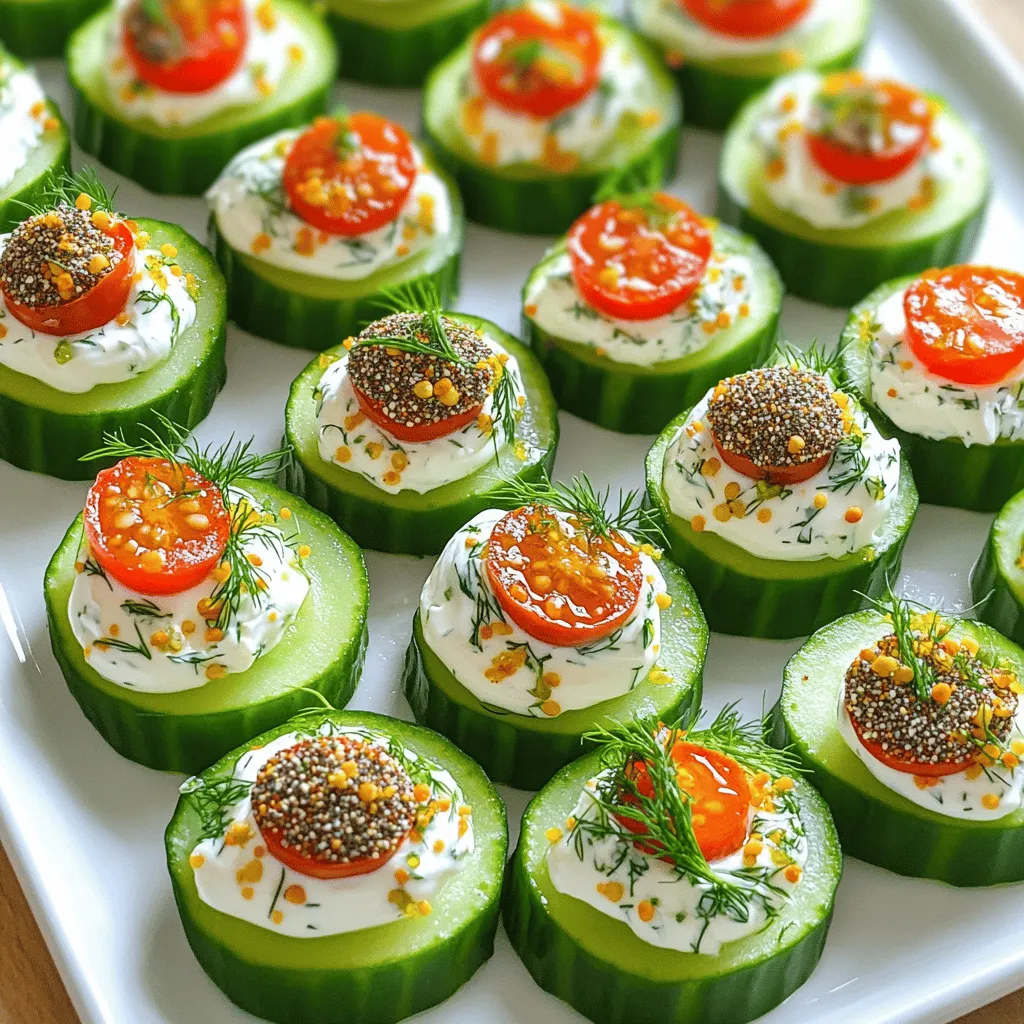
Everything Bagel Cucumber Bites Fresh and Flavorful Treat
Looking for a fresh and fun snack? Everything Bagel Cucumber Bites are the perfect choice! With crisp cucumbers and creamy toppings, they’re bursting with flavor.
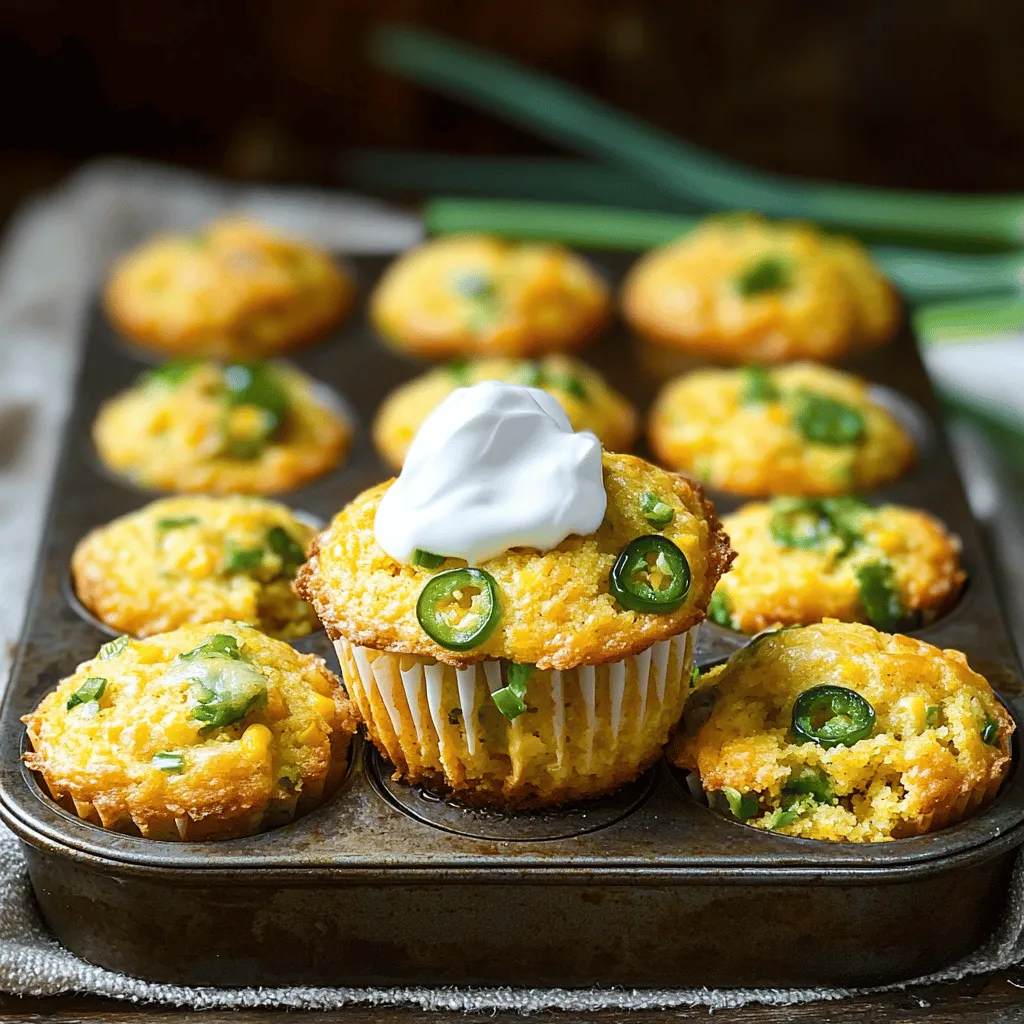
Cheesy Jalapeño Cornbread Muffins Simple and Tasty
If you crave a warm, spicy treat, you’re in for a delight! Cheesy jalapeño cornbread muffins are simple to make and bursting with flavor. In
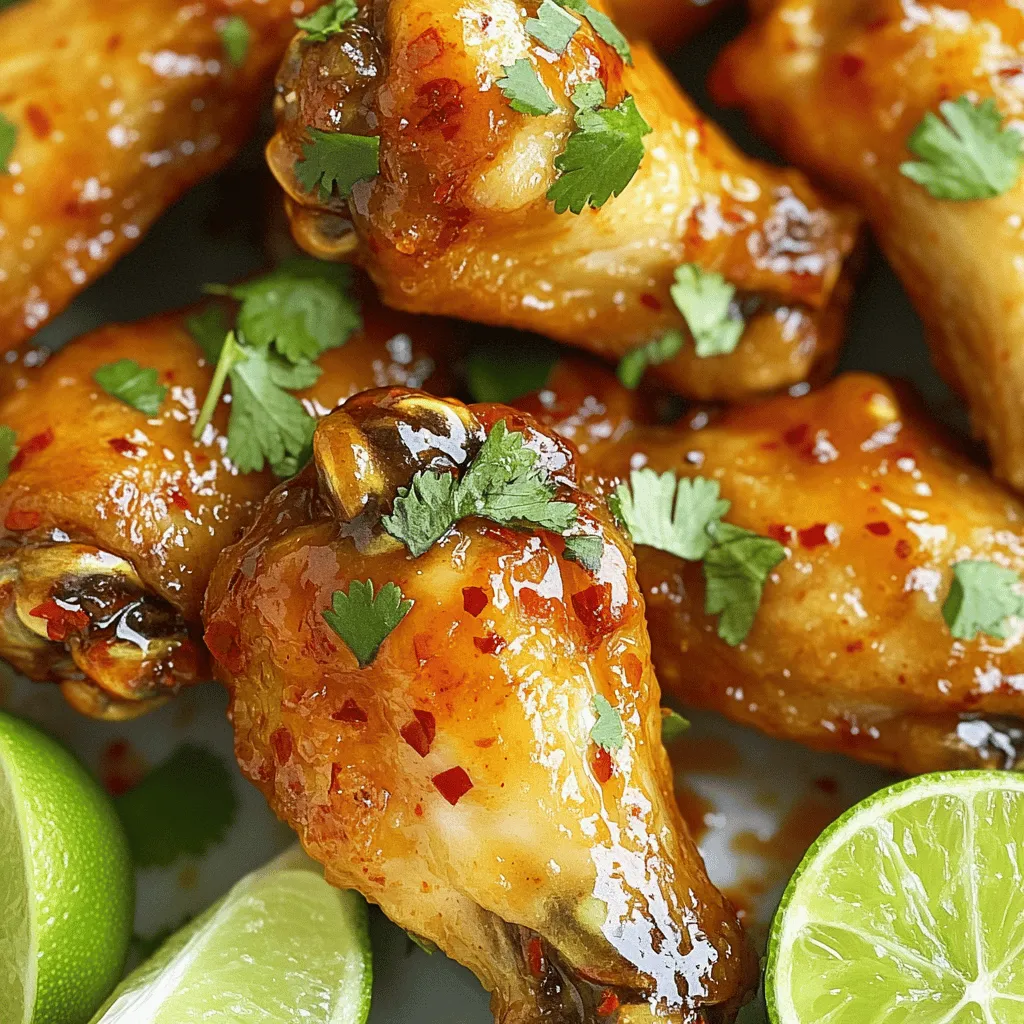
Air Fryer Sweet Chili Chicken Wings Crispy Delight
Looking to make the perfect wings? My Air Fryer Sweet Chili Chicken Wings are a crispy delight! With just a few simple ingredients like chicken
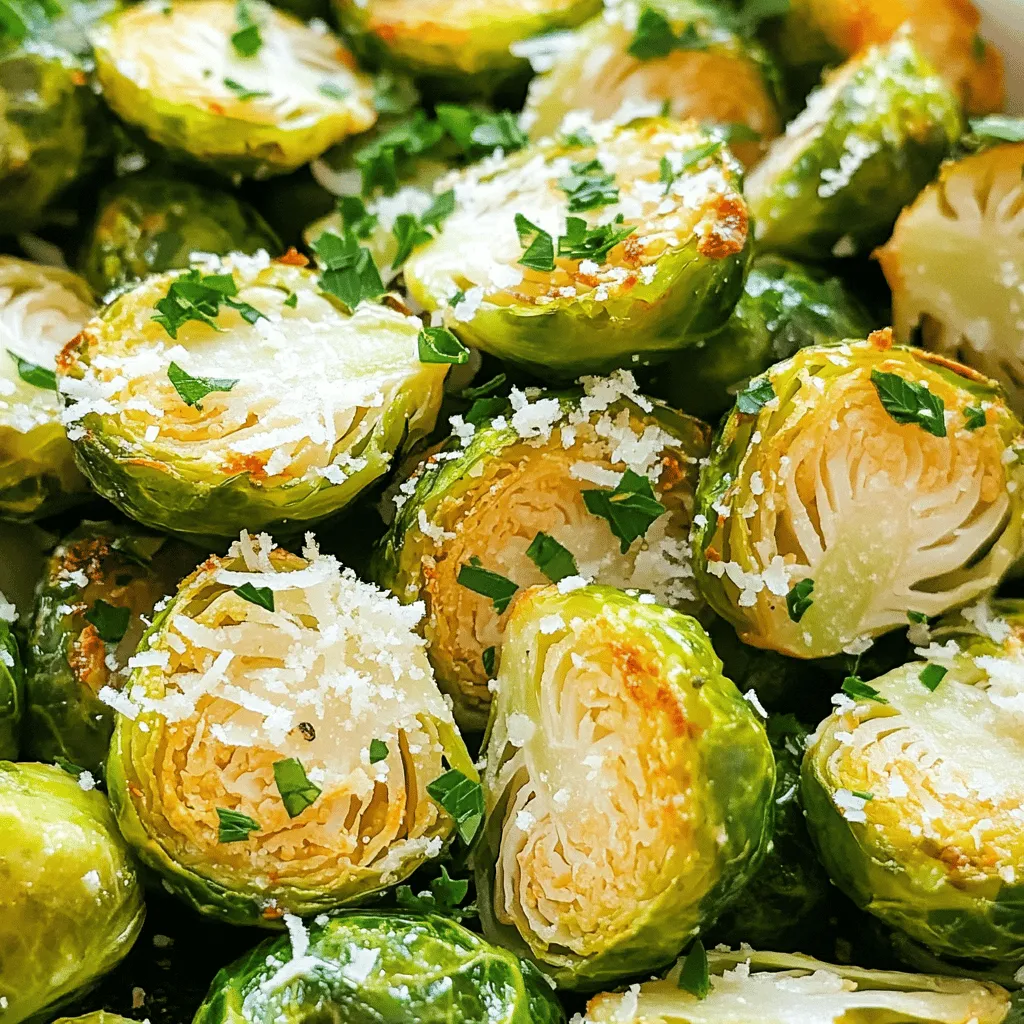
Air Fryer Garlic Parmesan Brussels Sprouts Delight
Are you ready to transform your Brussels sprouts into a crunchy, cheesy delight? With the air fryer, you can achieve perfectly crispy Garlic Parmesan Brussels
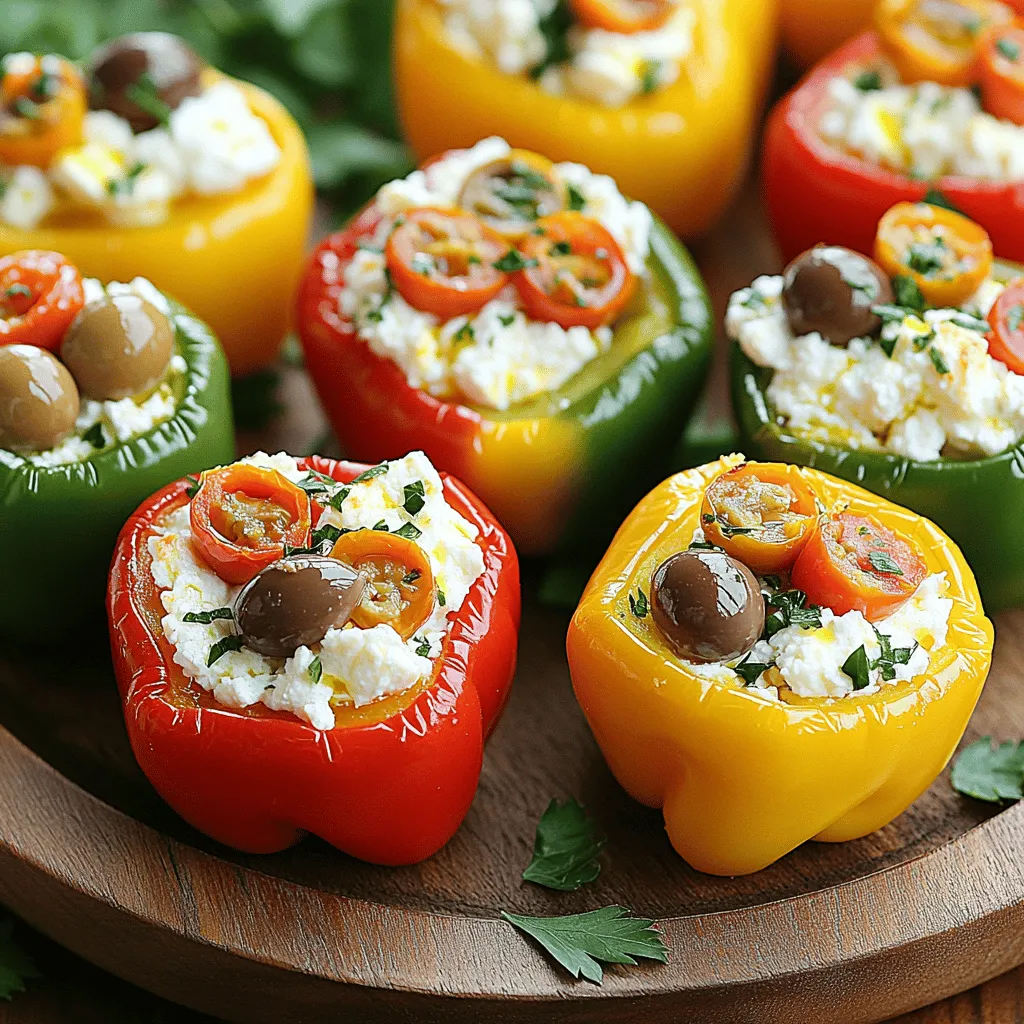
Crispy Feta Stuffed Peppers Air Fryer Delight
Looking for a tasty dish that’s easy to make? Try my Crispy Feta Stuffed Peppers in the air fryer! This delightful recipe offers a crunch
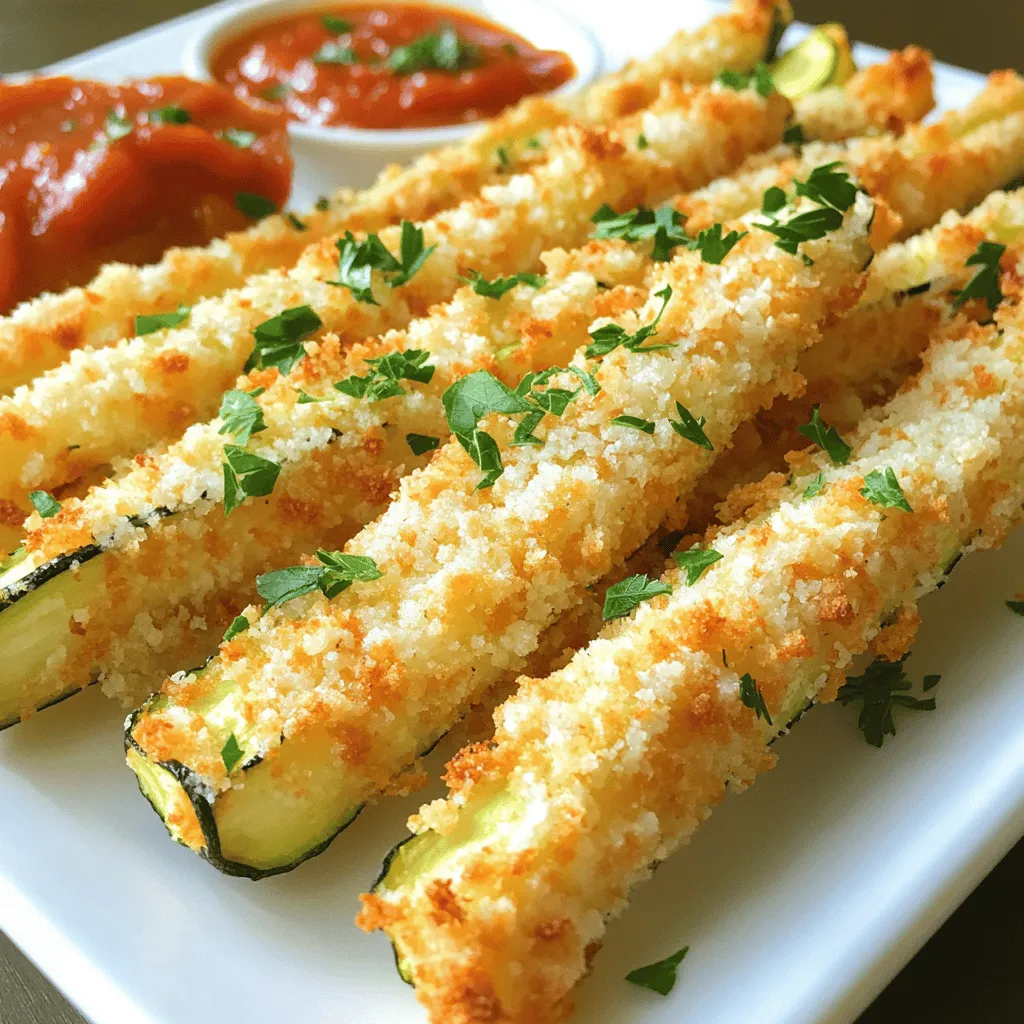
Crispy Parmesan Zucchini Fries Irresistible Snack Treat
Looking for a tasty snack that is both crispy and healthy? You’re in the right place! These Crispy Parmesan Zucchini Fries are simple to whip
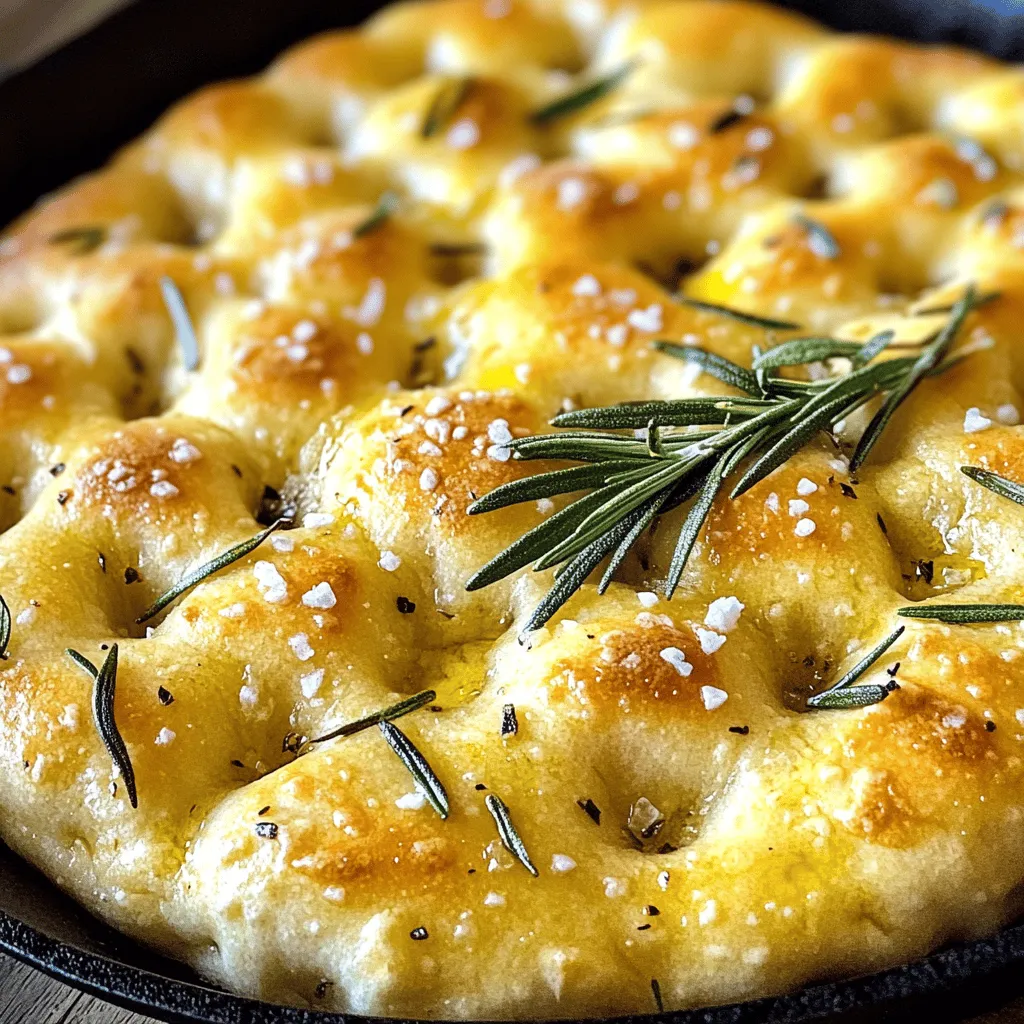
No-Knead Rosemary Focaccia Easy and Flavorful Recipe
If you love fresh bread but hate the mess, you’re in the right place! This No-Knead Rosemary Focaccia is easy to make and packed with
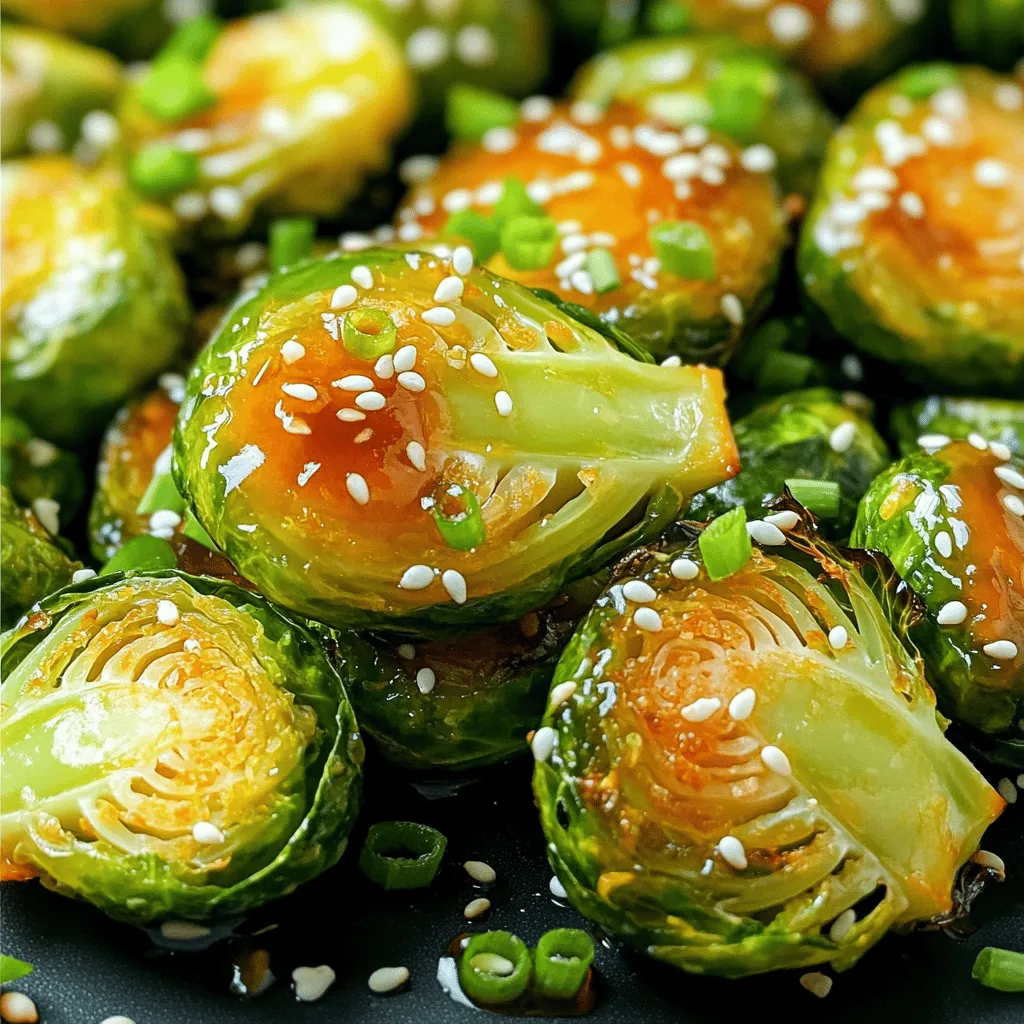
Honey Sriracha Brussels Sprouts Flavorful and Simple Recipe
Are you ready to transform your Brussels sprouts into a crowd-pleasing dish? My Honey Sriracha Brussels Sprouts bring the perfect blend of sweet and spicy
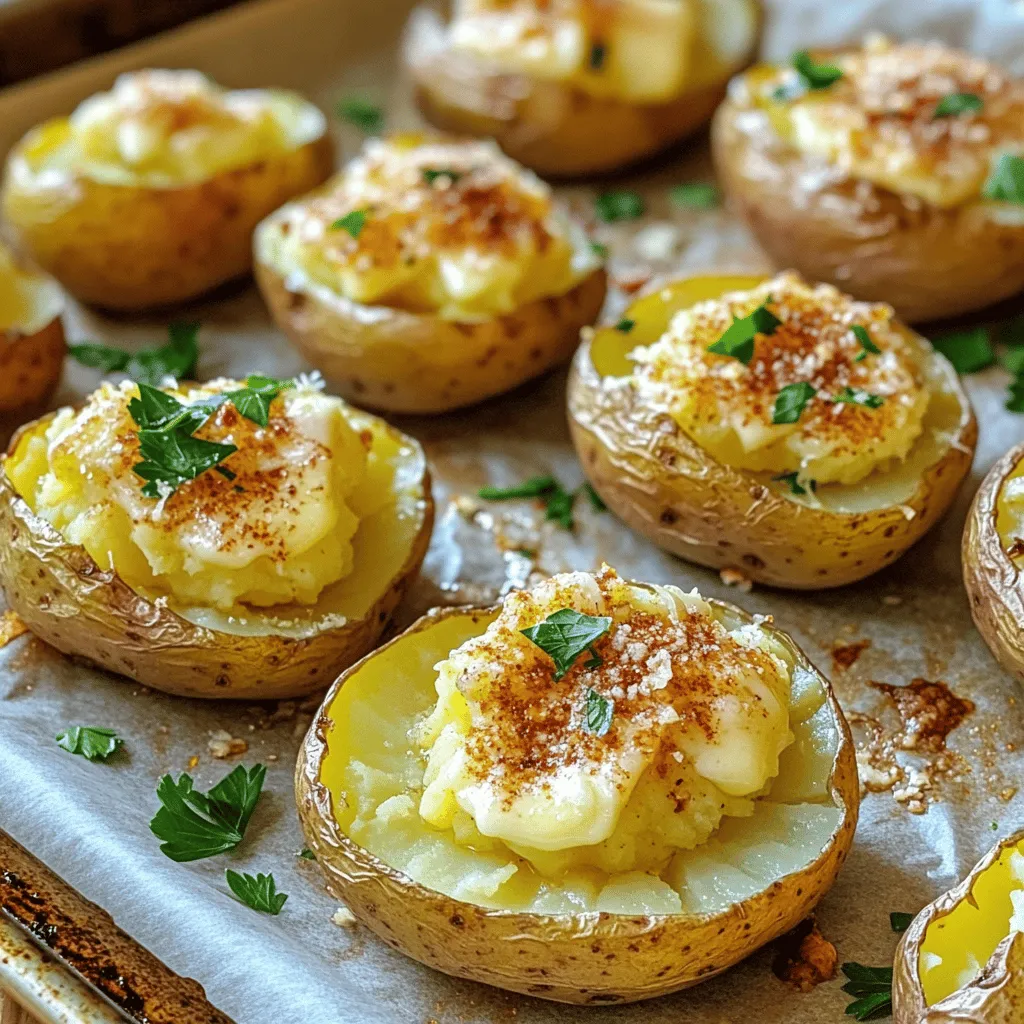
Smashed Garlic Butter Potatoes Crispy Flavor Boost
Craving a side that steals the show? Let me introduce you to Smashed Garlic Butter Potatoes! These crispy delights blend the rich taste of garlic