Appetizers

Cauliflower Buffalo Bites Tasty and Simple Snack
Are you ready for a snack that’s both tasty and simple? These Cauliflower Buffalo Bites pack a spicy punch while keeping things healthy. You can
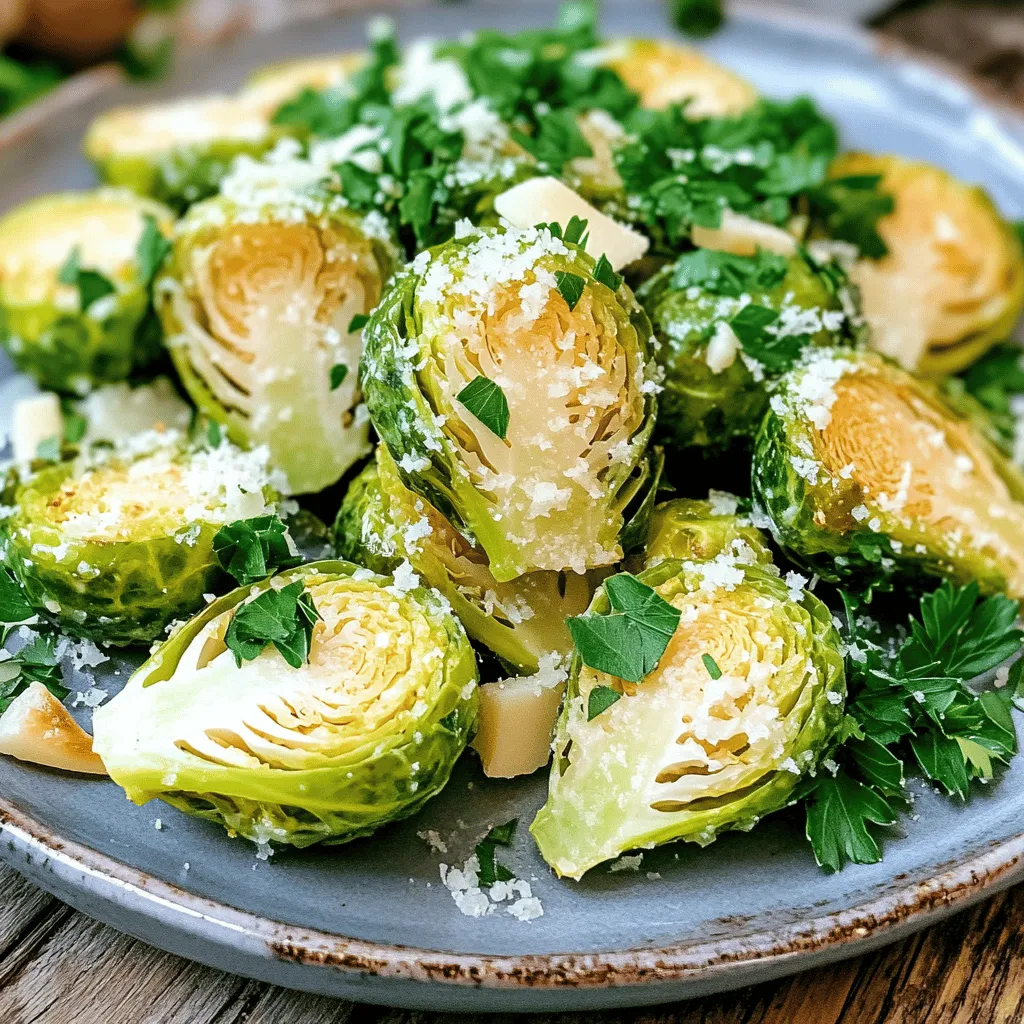
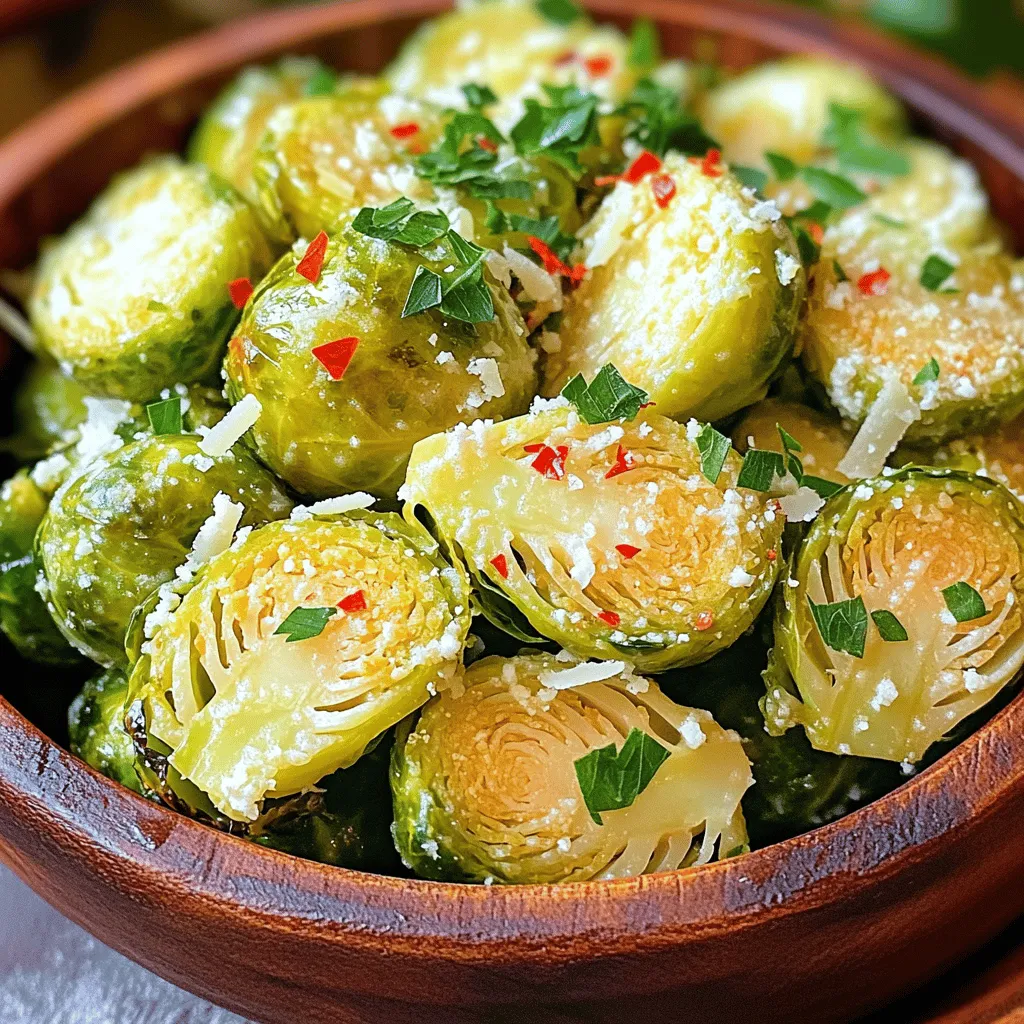
Air Fryer Garlic Parmesan Brussels Sprouts Delight
Looking for a tasty way to enjoy Brussels sprouts? Try my Air Fryer Garlic Parmesan Brussels Sprouts Delight! This dish mixes crispy sprouts with garlic
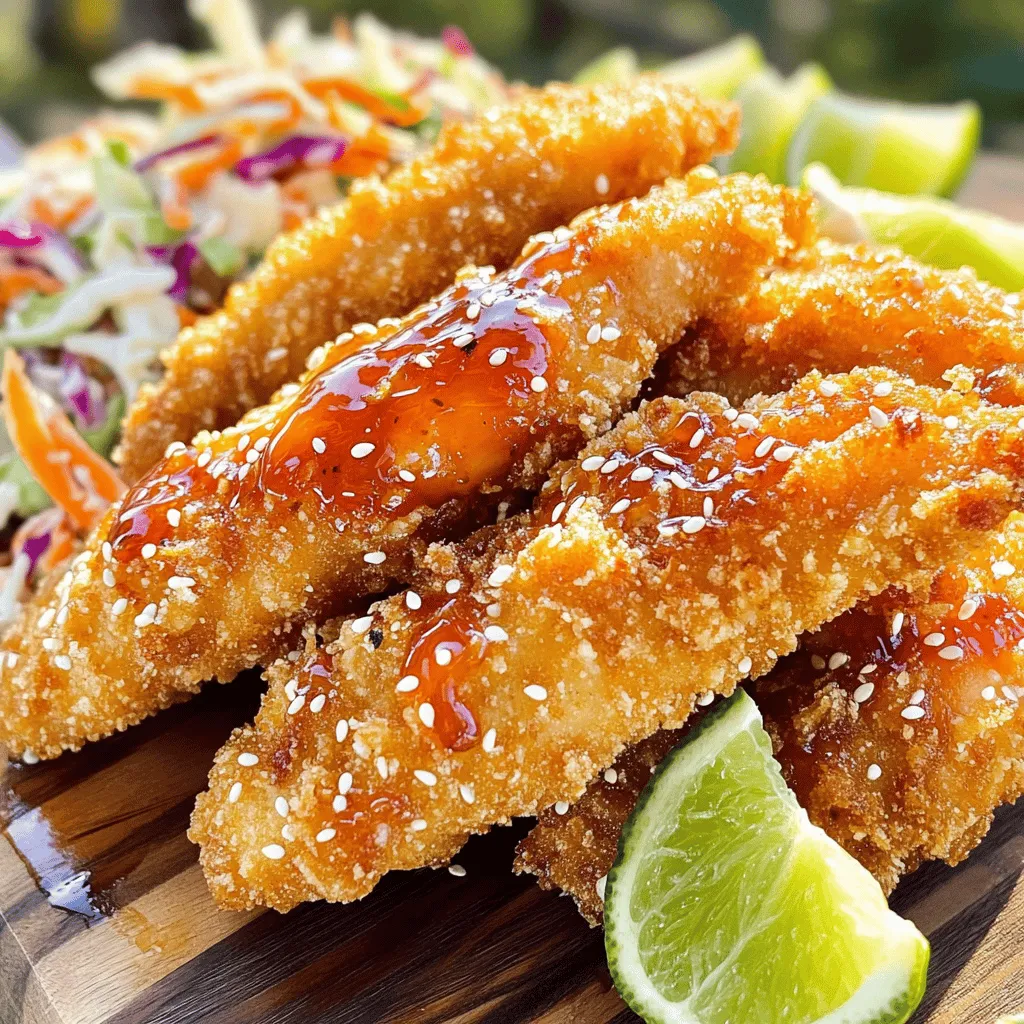
Sriracha Honey Chicken Tenders Flavorful and Easy Recipe
If you’re craving a dish that bursts with flavor, you’ve found it! My Sriracha Honey Chicken Tenders are simple yet delicious. With the perfect sweet
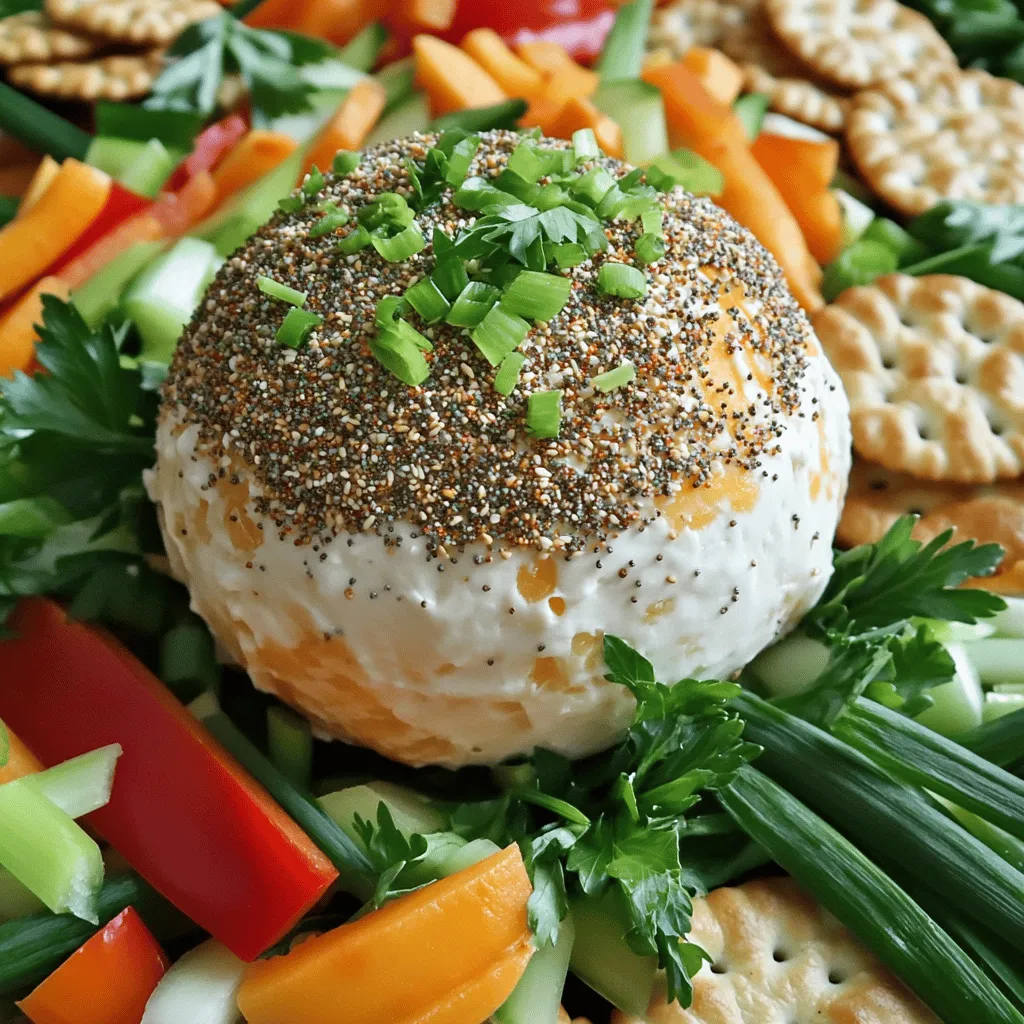
Everything Bagel Cheese Ball Tasty and Simple Snack
Looking for a fun and tasty snack? You’ve found it! This Everything Bagel Cheese Ball is easy to make and perfect for any gathering. With

Crispy Parmesan Crusted Zucchini Fries Recipe Guide
Are you ready to whip up a tasty snack? This crispy Parmesan crusted zucchini fries recipe will change how you see veggies! With a perfect
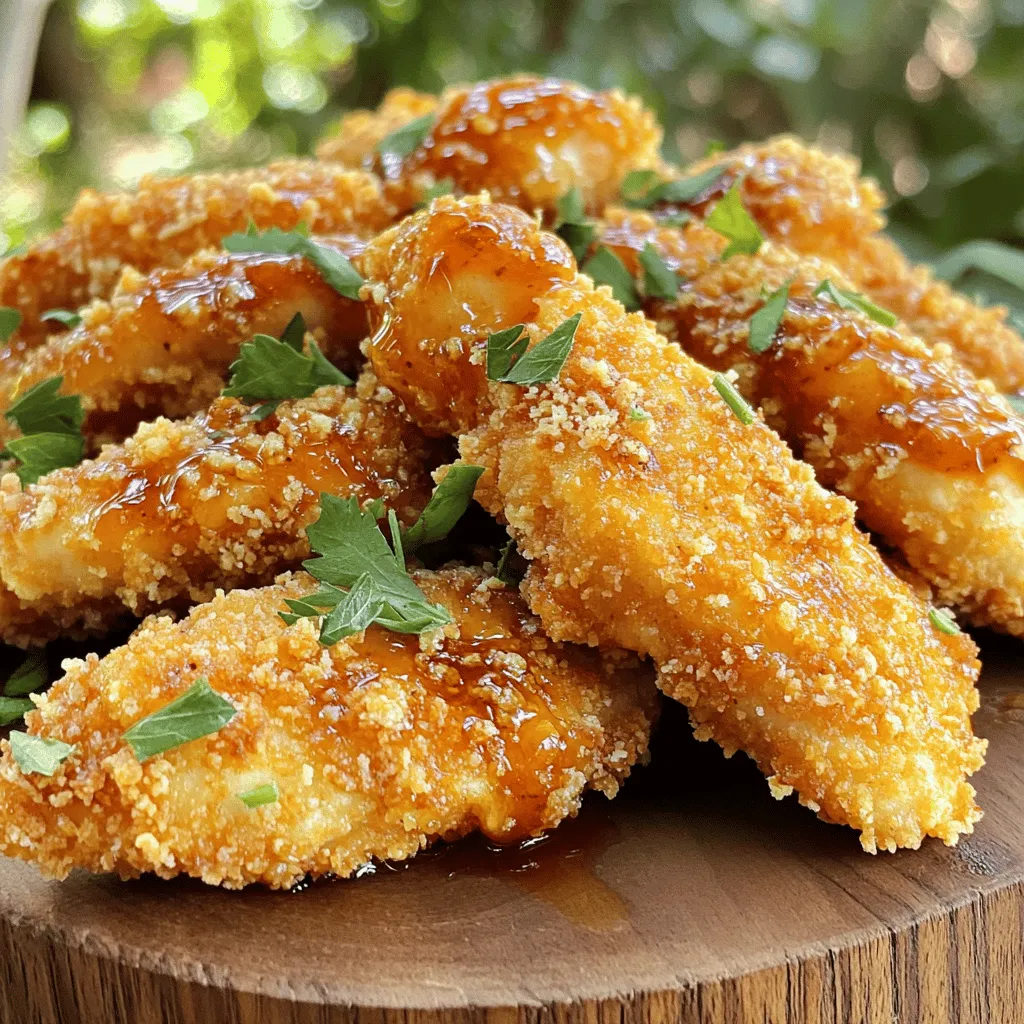
Honey Sriracha Chicken Tenders Flavorful and Simple Recipe
Craving something sweet with a kick? My Honey Sriracha Chicken Tenders recipe combines the rich flavor of honey with spicy Sriracha, making a dish that’s
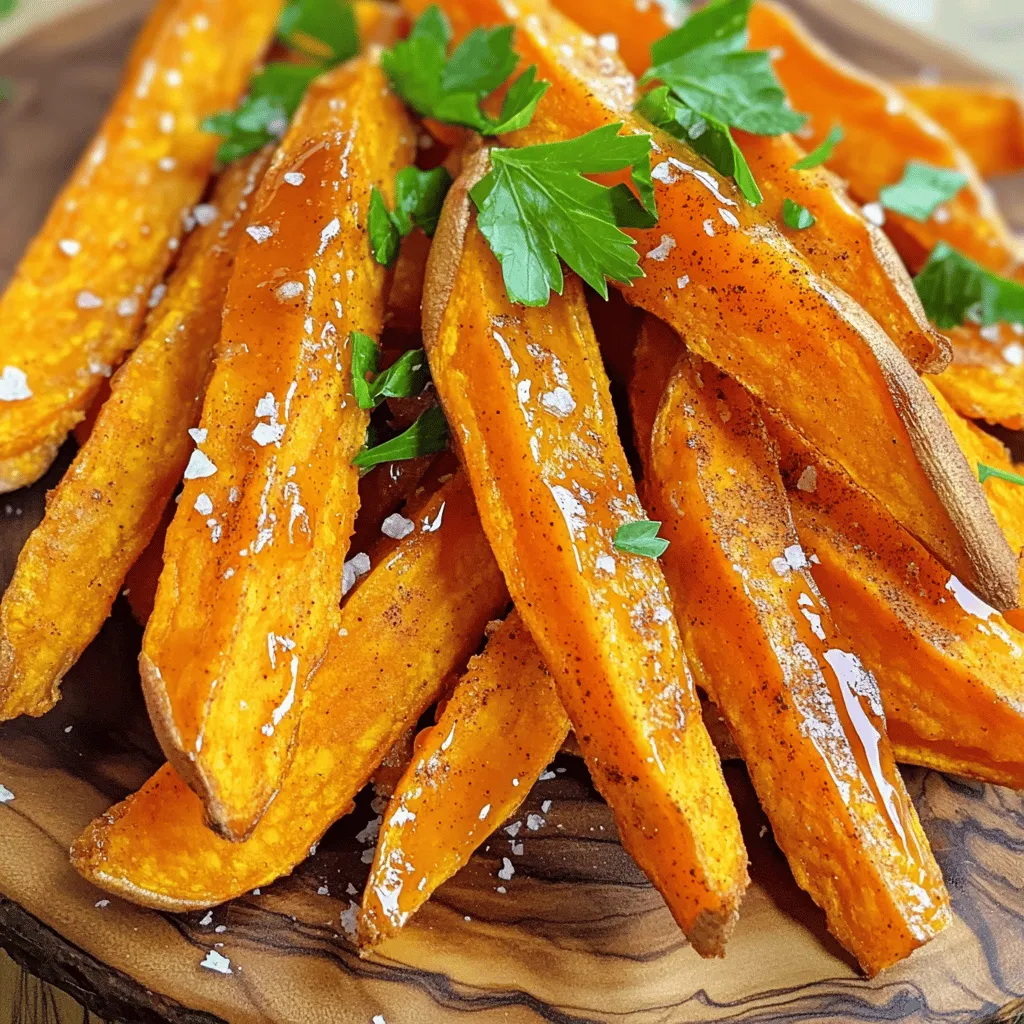
Maple Glazed Sweet Potato Fries Tasty and Simple Treat
If you’re looking for a tasty snack that’s both sweet and savory, you’re in the right place! These maple glazed sweet potato fries are simple
Air Fryer Garlic Parmesan Brussels Sprouts Delight
Welcome to the crunchy world of Air Fryer Garlic Parmesan Brussels Sprouts! If you’re curious about how to make this dish pop with flavor and
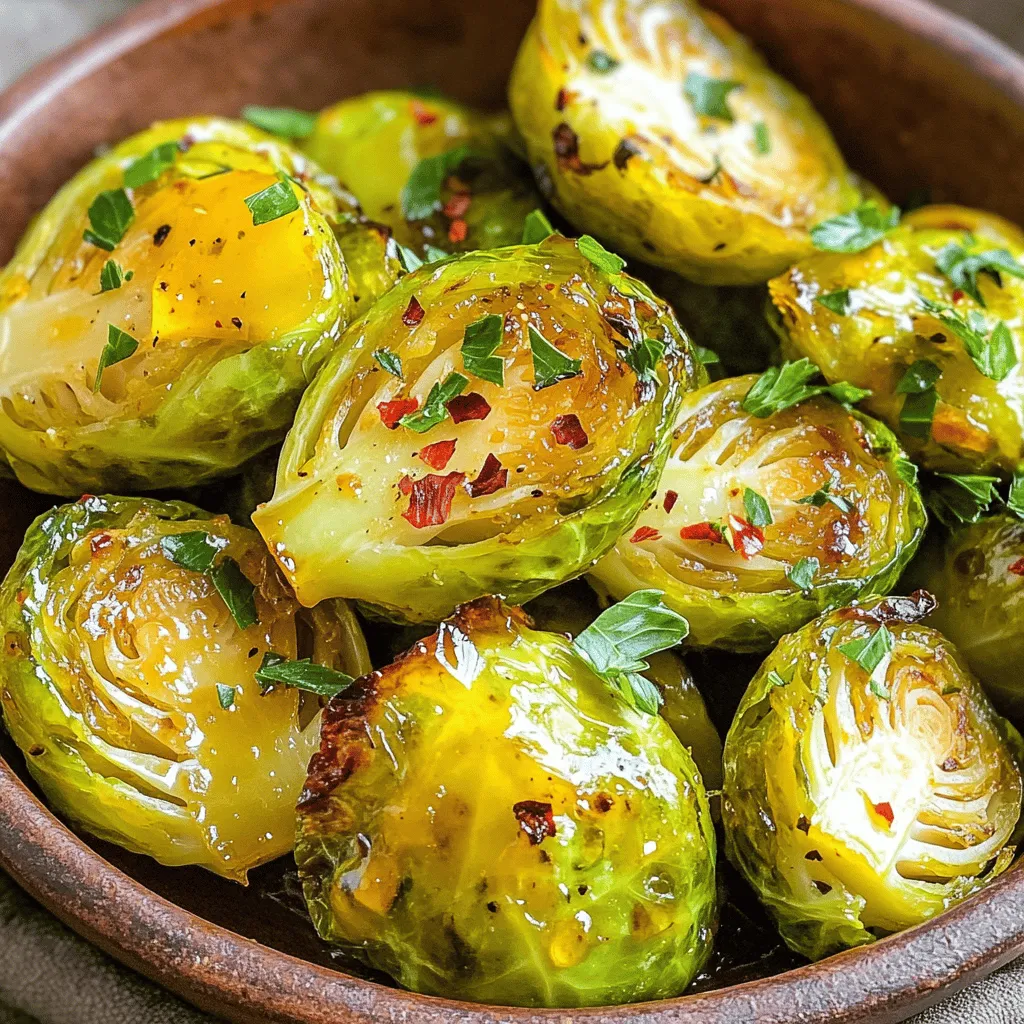
Hot Honey Brussels Sprouts Flavorful and Crispy Treat
If you’re looking for a side dish that packs a punch, Hot Honey Brussels Sprouts are the answer! These crispy, sweet, and spicy bites will
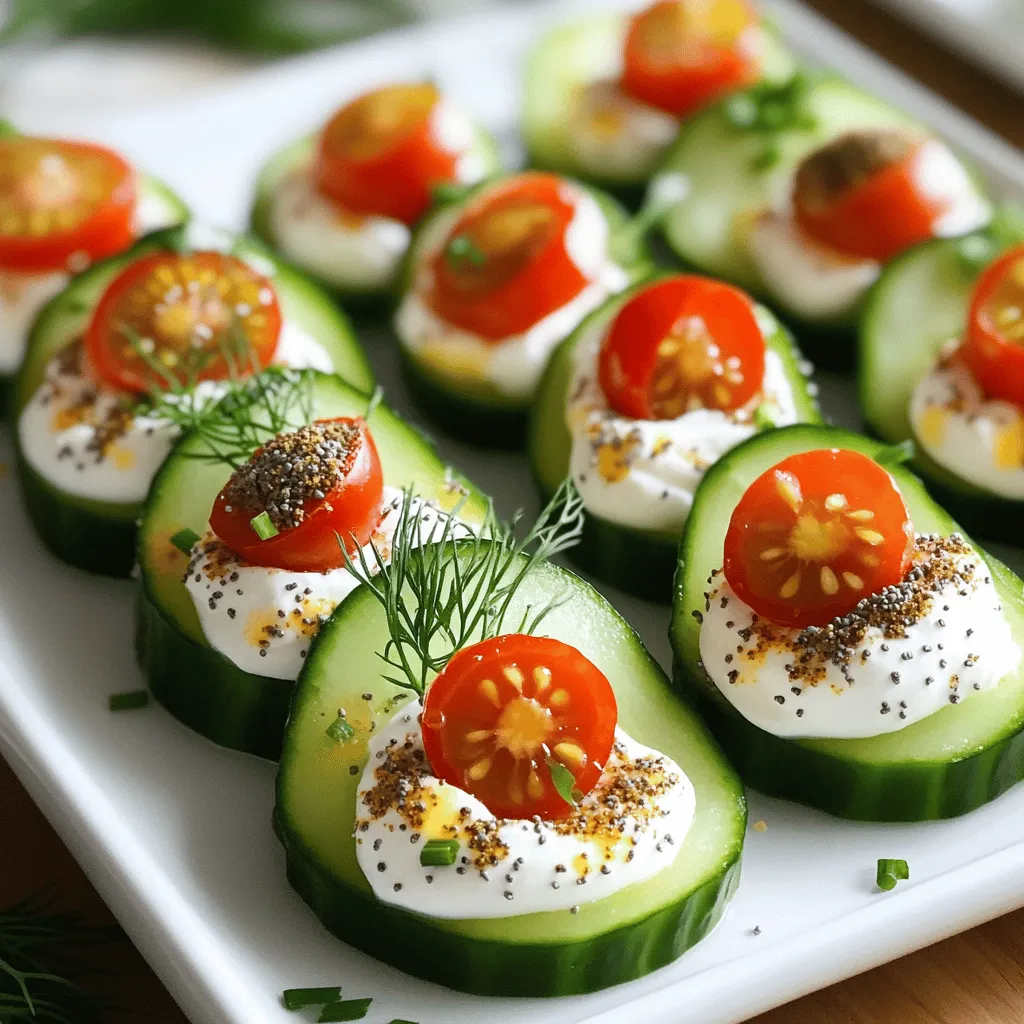
Everything Bagel Cucumber Bites Simple and Tasty Snack
Looking for a simple and tasty snack? You’re in the right place! These Everything Bagel Cucumber Bites are refreshing, easy to make, and packed with